Ed Nisley's Blog: Shop notes, electronics, firmware, machinery, 3D printing, laser cuttery, and curiosities. Contents: 100% human thinking, 0% AI slop.
Category: Science
If you measure something often enough, it becomes science
The seasoning in between the scuffs & scrapes remains in fine shape. Running the Scotchbrite pad around the perimeter obviously wears the coating, but, on the whole, nothing sticks anywhere.
I’ve started re-seasoning it after each use, which isn’t a big deal, and we’ll see how the scratches level out.
The lovely gray-black patina on the nubbly outside surface from the original moderate-woo oven seasoning requires no further attention.
Although I’m not the type of guy who thinks twinkly LEDs will enhance his apparel, one of Mary’s quilting thread sources had a closeout deal on their “wearable electronics”, including a large cone of stainless steel thread / yarn:
Stainless steel thread
… CR2032 lithium cells & holders, plus assorted LEDs on small PCBs.
The usual advice for connecting the thread seems to involve knotting it through the PCB holes, then sewing it to the backing fabric. Alas, I’m bad with knots and the stainless steel yarn isn’t all that cohesive:
Emerald LED – Stainless steel thread – knotted
The holder has an even smaller hole, but Mary gave me a needle threader that helped:
CR2032 – Stainless steel thread – knotted
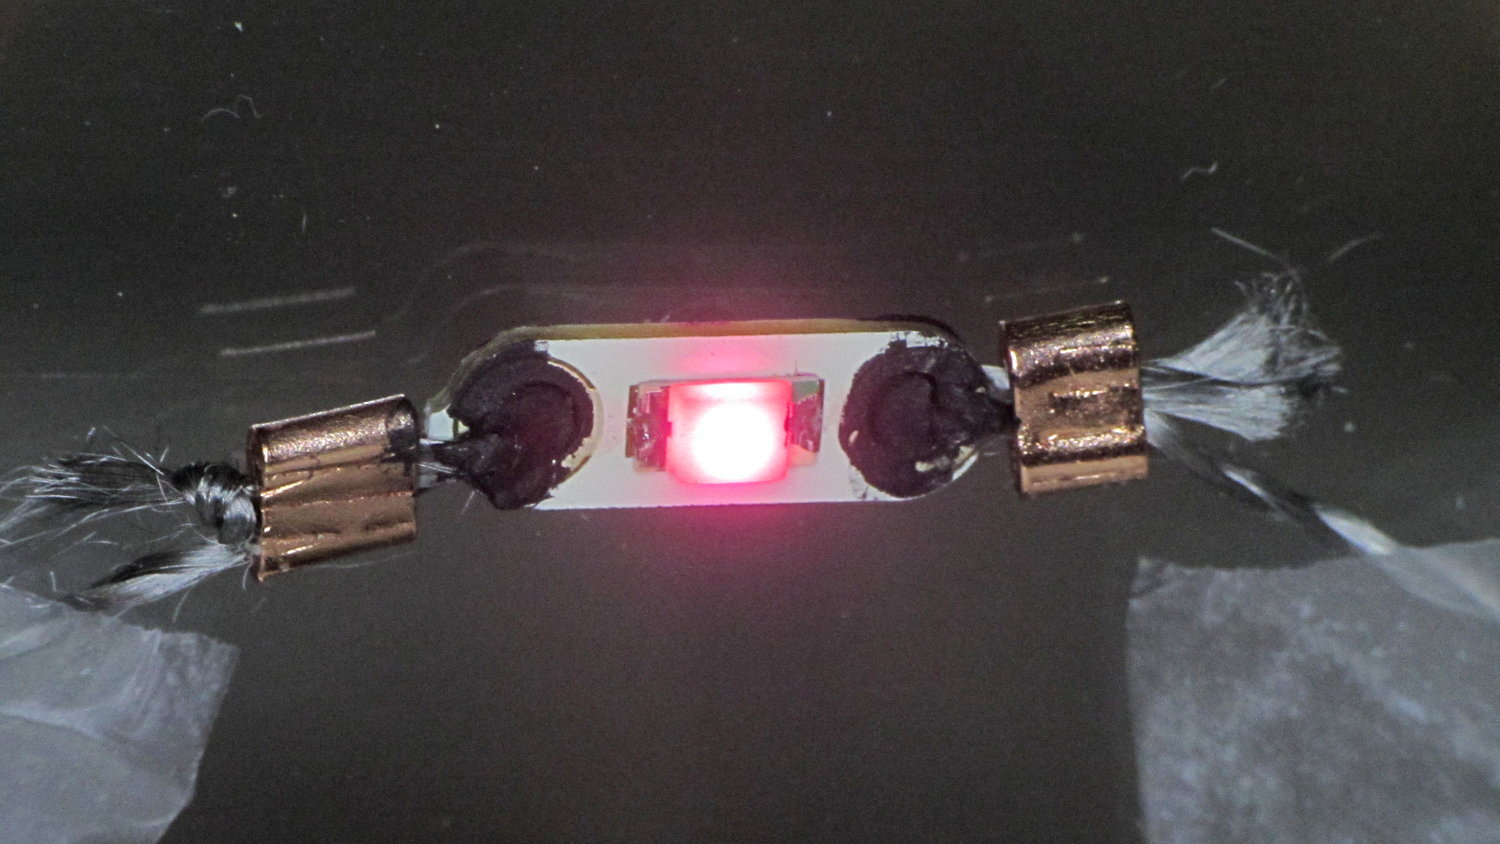
Some advice found on The InterTubes suggests using copper crimp beads (perhaps with solder) to prevent the thread from completely unraveling and keep the thread loop tight around the PCB hole:
Rose LED – Stainless steel thread – Crimp bead – Wire Glue
Beadworkers use crimping pliers that leave a tidy dent; I mashed the beads with a needlenose pliers and called it good.
The LEDs seem to be white LEDs with filters or, perhaps, blue / violet LEDs with different phosphors: their forward voltages look more blue than red or green. Everybody in this field depends on the minor miracle that lithium cell voltages match blue LED forward drops closely enough that you can get away without a ballast resistor.; the cell’s 20-ish Ω internal resistance doesn’t hurt in the least. An interesting white paper (SWRA349) from TI explores the effect of current on cell capacity and how to size a parallel capacitor that reduces the peak battery current.
The black gunk is Wire Glue, which costs about five bucks for a lifetime supply in a small jar (or nigh onto 15 bucks via Amazon Prime) and is basically carbon powder in a water-based binder. Apply a dab to the connection and the water evaporates to leave the carbon + binder behind.
That works better on joints that don’t move, which is precisely what you don’t have in a wearable electronic situation. You can see the crumbling Wire Glue after the trip back from a Squidwrench meeting:
I also picked up a Permatext Rear Window Defogger repair kit (09117, if you’re looking) that seems to be a staggeringly expensive way to get a tenacious high-current conductive adhesive. More on that later.
The yarn runs 3.5 Ω/ft, much lower than Adafruit’s three-ply yarn (10 Ω /ft), and suggests itself for flexible connections, EMI gaskets, and suchlike.
Those LEDs are taped to the kitchen window, where they cast a cool light over the table, with the battery holders sitting on the sash. I’d just replaced some data logger CR2032 cells, so they’re running from nearly dead lithium batteries.
For future reference: 2.77 V and falling, pushing less than 2 mA through the LEDs.
Then you can insert Unicode characters without memorizing their hex values. Of course, you must memorize the Compose key sequences. Fortunately, they’re more-or-less mnemonic for the ones I occasionally use, which are hereby cherrypicked from that list.
Press-and-release the Compose key (right-Win), then type the characters as shown to get the symbol in quotes:
Producing Greek letters requires a “dead_greek” key, so it’s easier to start with bare hex Unicode values at U0391 (Α) and U03b1 (α) and work upward until you find what you need:
U03A3 Σ uppercase sigma
U03a9 Ω uppercase omega
U03C3 σ lowercase sigma
U03c9 ω lowercase omega
U03c4 τ lowercase tau
U03c0 π lowercase pi
U0394 Δ uppercase delta
U03F4 ϴ uppercase theta
U03B8 θ lowercase theta
U03D5 ϕ phi math symbol
U03A6 Φ uppercase phi
U03C6 φ lowercase phi
Odds and ends:
U00a0 | | non-breaking space
U2007 | | figure space (invisible digit space)
U202F | | narrow space
U2011 ‑ non-breaking hyphen
U2030 ′ prime (not quote)
U2033 ″ double-prime (not double-quote)
U2018 ‘ left single quote
U2019 ’ right single quote
U201C “ left double quote
U201D ” right double quote
U2245 ≅ approximately equal
U2264 ≤ less-than or equal
U2265 ≥ greater-than or equal
U221A √ square root
U221B ∛ cube root
U221C ∜ fourth root (yeah, right)
U221D ∝ proportional to
U2300 ⌀ diameter
U25CA ◊ lozenge
If you set the keyboard layout to US International With Dead Keys, maybe you (definitely not I) could remember all the dead keys.
The Mighty Wappinger Creek runs low after months with very little rain and we saw more of the rocky streambed than any time in recent memory:
Wappinger Creek – streambed at Red Oaks Mill – 2016-09-23
Much of the deteriorated Red Oaks Mill Dam stands high and dry:
Wappinger Creek – Red Oaks Mill Dam – 2016-09-23
Just upstream from the bridge, you can see how water carves potholes into the rock:
This slideshow requires JavaScript.
Back in the day, my parents took us to see the far more impressive Susquehanna River potholes (*) near Harrisburg. They range from finger-size pits up to craters large enough to comfortably hold an adult. I’m sure one of their photo albums, now tucked in our closet, contains similar pictures of those holes.
Searching for red oaks mill dam will turn up previous posts and pictures for comparison.
(*) Exploration of the pages linked there will show how, with sufficient mental effort, one can force-fit a non-erosion-based explanation of eroded potholes to match a pre-conceived timeline and narrative. Your opinion of that narrative and the effort required to fit evidence into it may differ from mine.
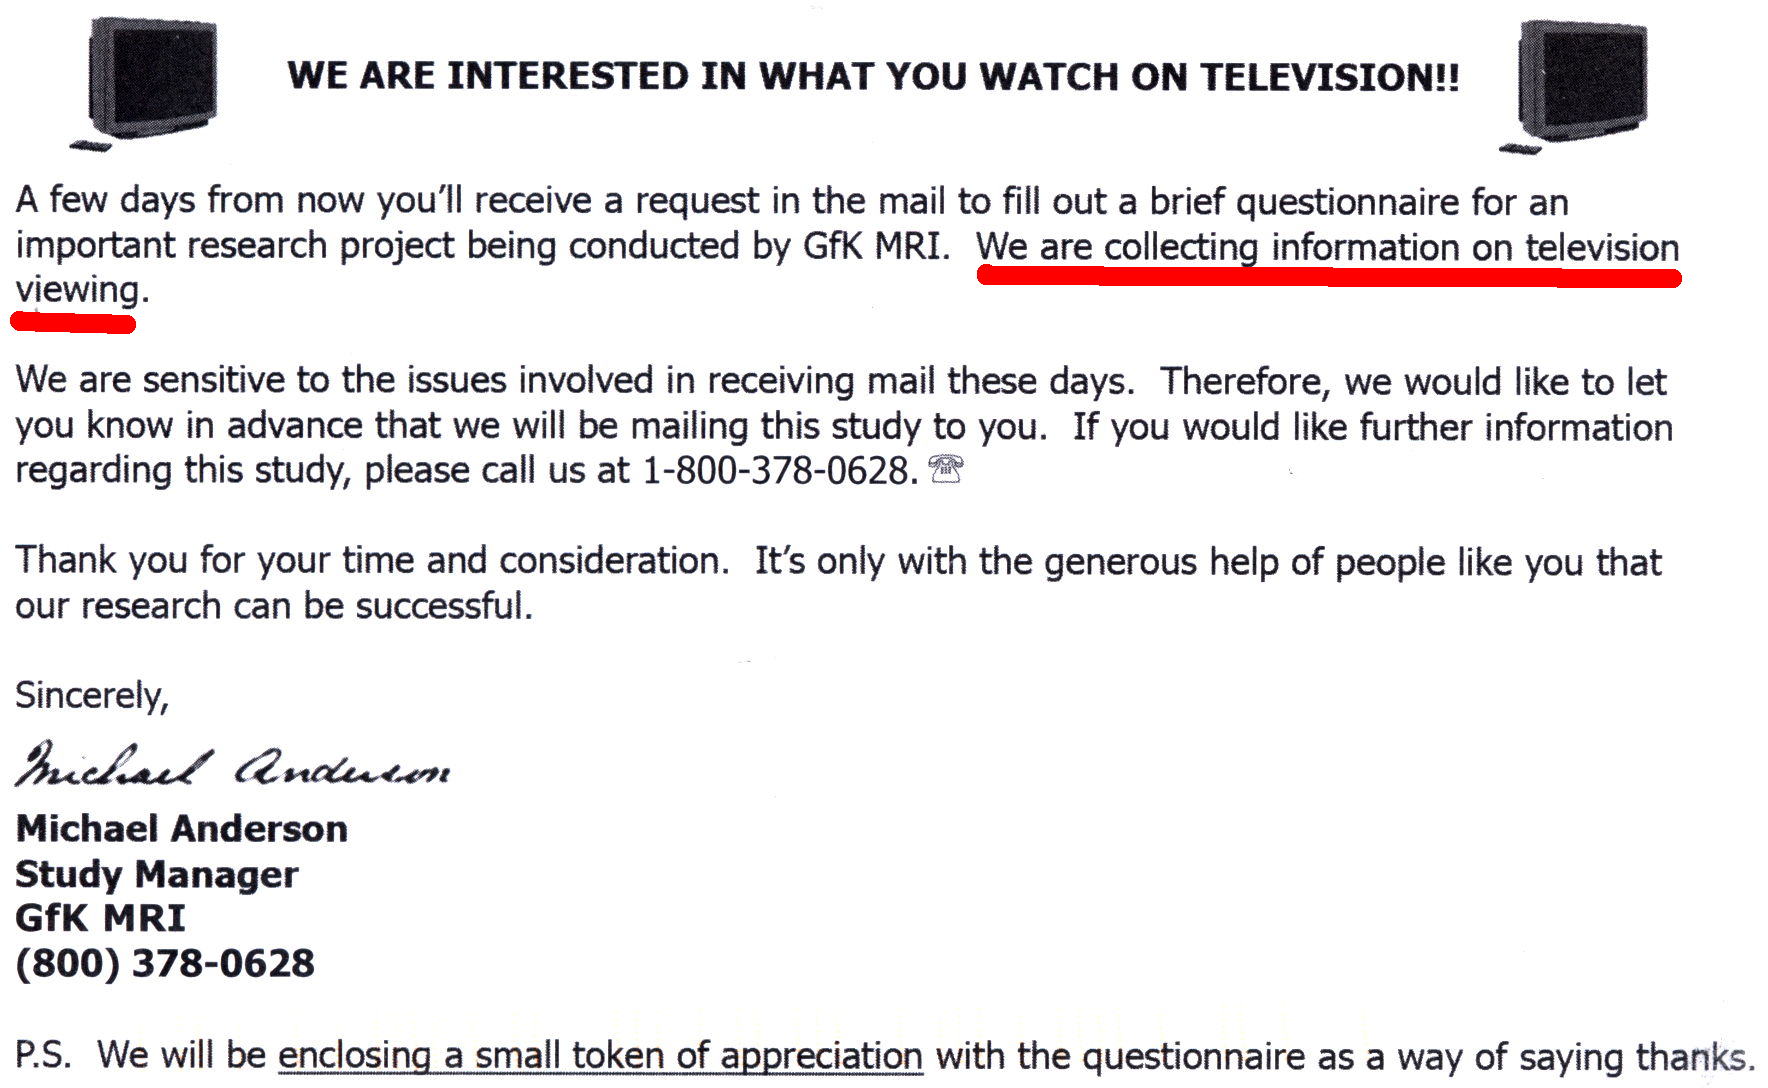
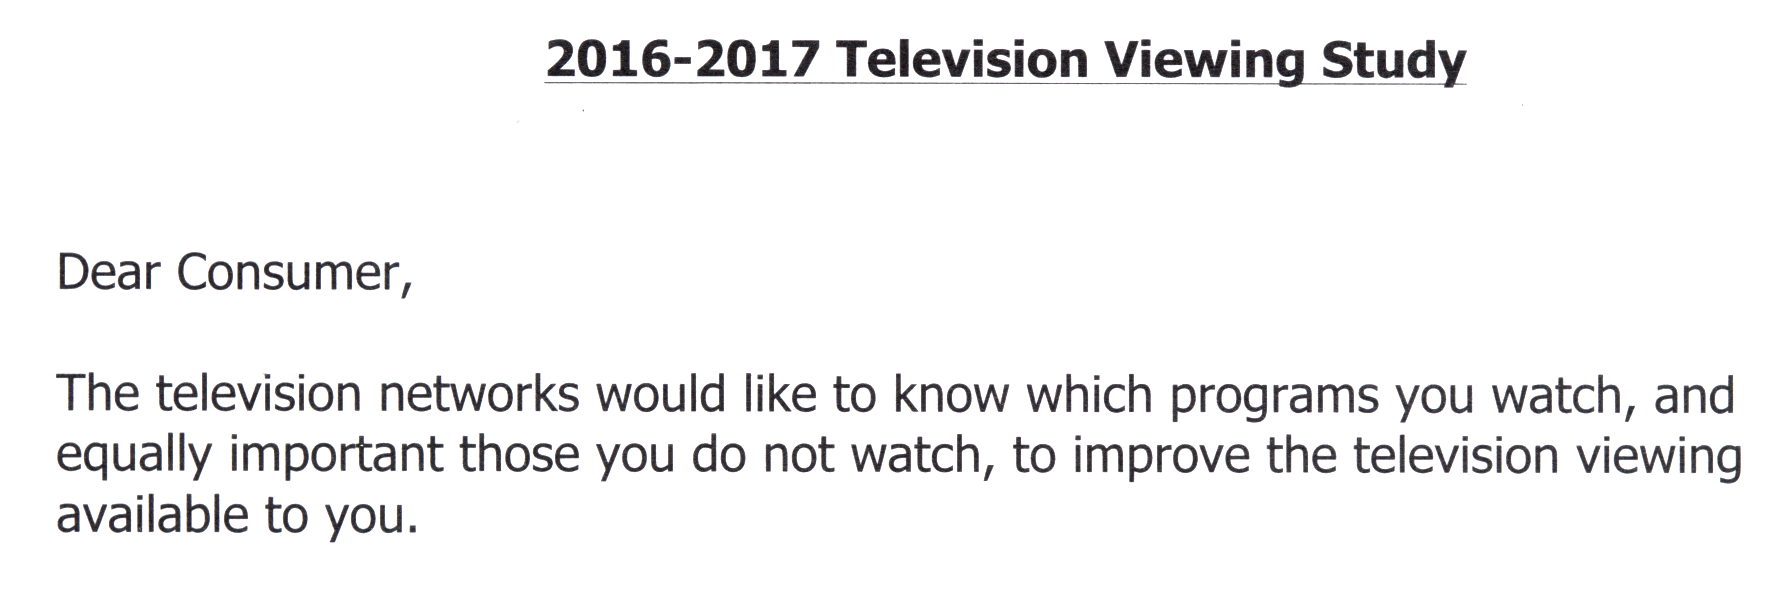
You cannot imagine my excitement when the actual survey arrived, complete with a crisp $5 bill:
GfK MRI Survey
These folks are cheapskates; Nielsen paid better, although I haven’t gotten anything further from them.
It didn’t take long to fill out; my fat Sharpie slashed through the NO columns at a pretty good clip. I did attach a note saying we didn’t have a TV and regarded all TV programs as crap, just in case they didn’t get the message.
Now they know.
FWIW, I did not fill out the form that would enter us in a drawing for one of five $500 prizes, because that would let them associate my name with my response without fattening my wallet. The survey itself probably encodes my identity, even though it didn’t have any obvious bar codes or other ID; they could simply print the questions in a unique order in each survey.
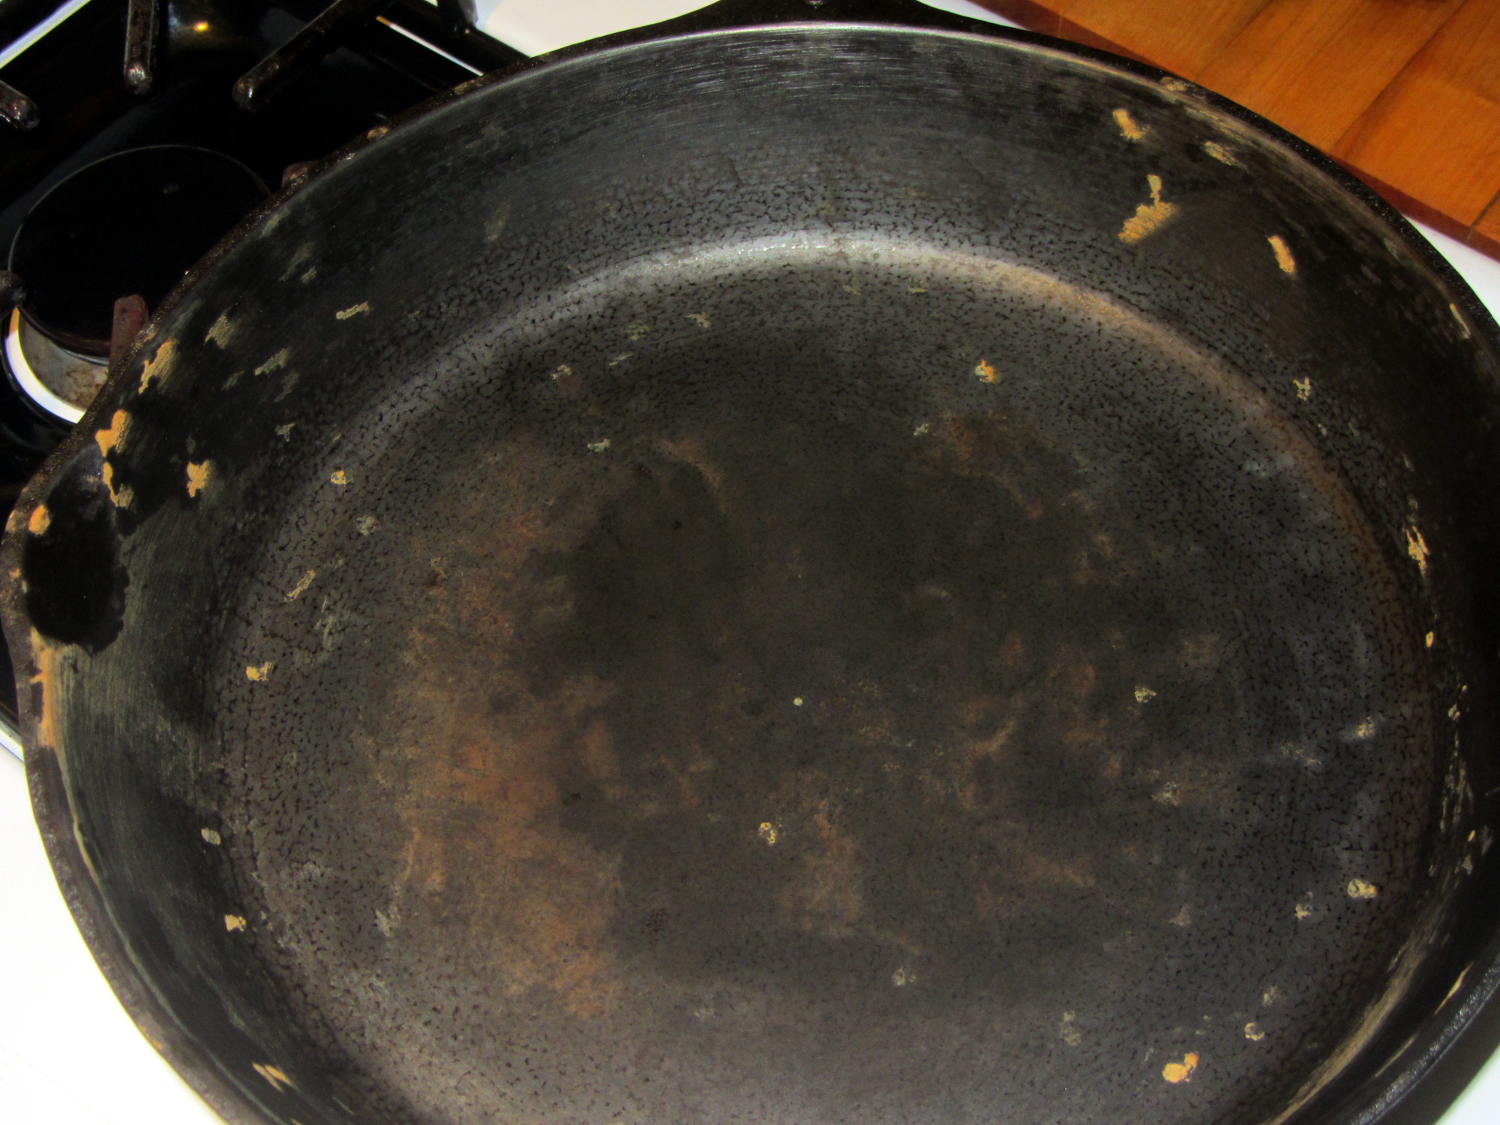
The original cast-iron seasoning recipe, after half a dozen iterations of flax seed oil & high-temperature baking, produced disappointing results:
Wagner cast iron skillet – washed – top
The key point of seasoning seems to require heating the oil enough to polymerize its molecular thingies, with (IMO) pretty nearly everything else boiling down to woo.
Since that rusting incident, I’ve done this after every use:
Wipe the pan clean with the same hot soapy water I use for everything else
Remove crud with the same Scotchbrite / sponge pad I use for everything else
Rinse and wipe dry with the sponge side of the pad
Set stove timer for 3 minutes
Put pan on simmer burner, set to high flame
Continue cleanup until timer sounds
Set stove timer for 3 minutes
Wipe half a dozen drops of flax seed oil around pan with cotton cloth scrap
Continue cleanup until timer sounds
Turn off simmer burner
Wipe pan with that oily cotton scrap
The pan reaches about 300 °F after 3 minutes. The “opening the pores” thing is woo, but a completely dry pan doesn’t spit back and that’s a major plus.
The pan tops out at a bit over 400 °F after a total of 6 minutes. There’s no smoke, no excitement, just a hot pan on the back burner.
Given that I’m washing the pan anyway, the whole “seasoning” operation adds maybe two minutes to the process. By now, it’s entirely automatic.
Nota Bene: Set the timer before turning on the burner and before adding the oil, because you will become distracted and will not remember the pan quietly heating on the back burner. You have been warned.
After two months of doing that about once a day:
Wagner Cast Iron Skillet – Low Woo Seasoning
Granted, it looks about the same as the previous results, but this uniform dull black coating repels water, doesn’t rust, loves oil, wipes clean without scouring, and the daily omelet doesn’t stick hardly at all. Obviously, the key difference is that I’ve polymerized a gazillion coats of oil, rather than half a dozen.
Although I have no idea whether I’m exposing us to lethal free radicals created by the polymerization process, I doubt anybody else knows anything on that subject with regard to their own seasoning technique, so we’re pretty much even. As with most such worries, It Doesn’t Matter.
Next, I’ll just wipe the pan and let it dry in the rack. That coating should eventually wear off, at least in the high-traffic areas; let’s see how little maintenance it requires.
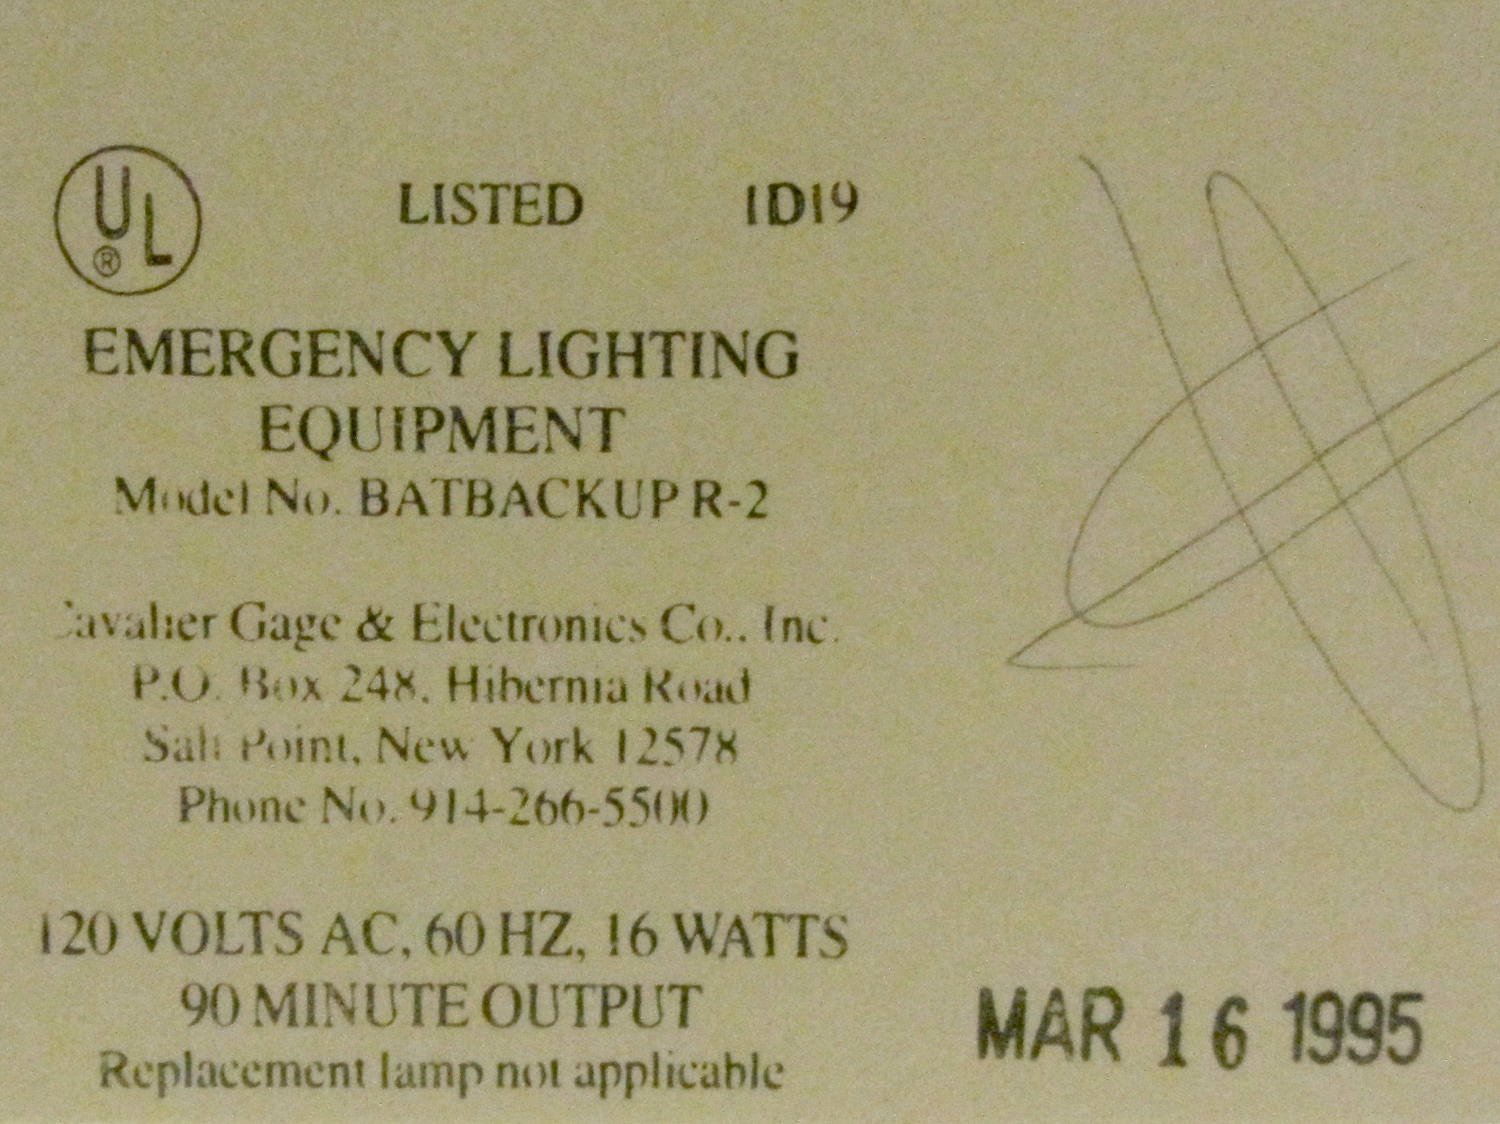
While at another Vassar concert, I noticed a manufacturing date stamp on one of the LED exit signs in Skinner Hall:
Exit Sign – Manufacturing date
I like the “Replacement lamp not applicable” line. I wonder how recently they’ve tested the battery for the projected 90 minutes of backup time…
These old LEDs show the expected brightness variations:
Exit Sign – LED aging
So, now you know what your discrete LEDs will look like after two decades of continuous use. That’s if anybody (else) still uses discrete LEDs, of course.