Got a call from a friend who was having trouble getting BitDefender to accept its new license key, so I drove over; she’s at the top of a killer hill and I’d already biked my two dozen miles for the day. Solving that problem was straightforward, if you happen to know that they use “authorization” and “license” as synonyms and that you access the key entry dialog by clicking on a text field that doesn’t look at all clickable.
I should have declared victory and returned to the Basement Laboratory, but, no, I had to be a nice guy.
BitDefender kvetched that it had been 777 days since its last scan, so I set up some regularly scheduled scans and automagic updates for everything in sight; we agreed she’d just let the thing run overnight on Mondays to get all that done.
BitDefender also suggested a handful of critical Windows XP updates, plus the usual Adobe Flash and Reader updates, plus some nonsense about Windows Live Messenger that seemed to require downloading and installing a metric shitload of Microsoft Bloatware. Rather than leave all that for next Monday’s unattended update, I unleashed the critical ones, did the Flash and Reader updates, and stuffed the Messenger update back under the rug.
Then AOL recommended an urgent update to AOL Desktop 9.7. She has a couple of AOL email addresses, mostly for historic reasons, and I asked if she ever used the AOL Desktop. She wasn’t sure, so I lit up the installed AOL Desktop 9.6: “Oh, that’s how I get all my email!” OK, so we’ll update that, too.
After all the thrashing was done, the system rebooted and presented us with the single most unhelpful error message I’ve ever seen:
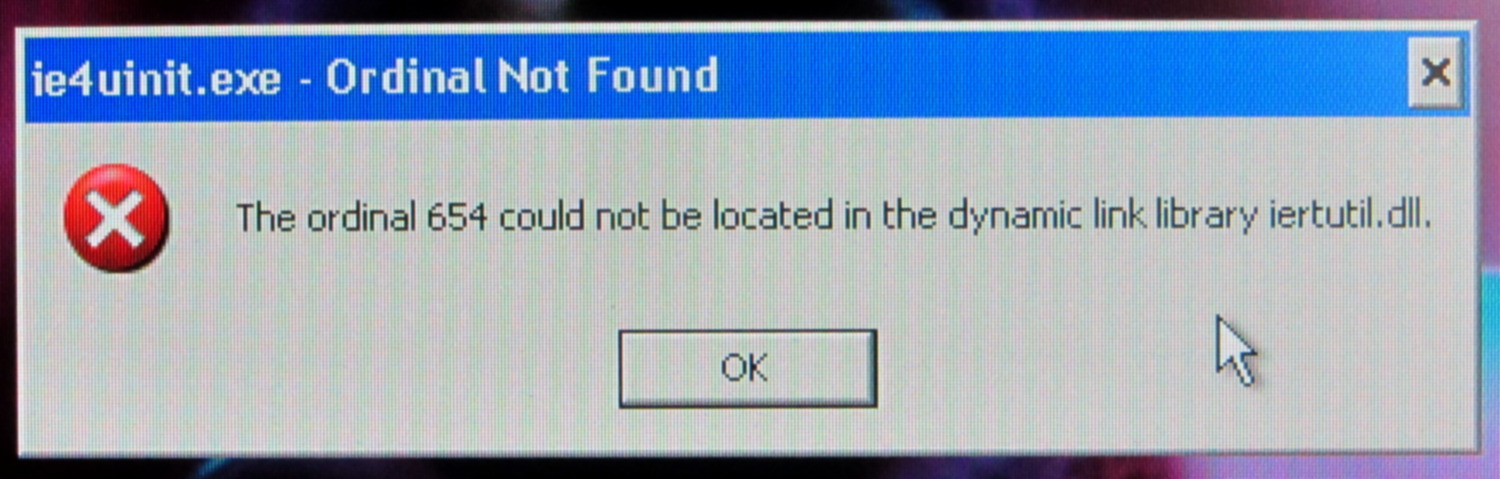
No, you chowderheads, that is not OK…
Searching on the obvious terms indicated this had something to do with Internet Explorer 8 (remember IE 8?) and produced a number of irrelevant suggestions. The least awful seemed to involve running the Microsoft System File Checker utility:
sfc /scannow
Which I did.
It ran for the better part of an hour, then suggested a reboot. During the shutdown, it replaced 29 files at an average of about 5 minutes per file.
After which, Windows restarted and displayed exactly the same error message. Actually, a series of them; various programs couldn’t locate a fairly wide selection of ordinals in several DLLs.
OK. I give up.
We located a tech who does this sort of thing for a living. I’ve offered to split the cost of getting the box up and running again, with the understanding that it may be easier to start with a fresh off-lease Dell box running Windows 7 than to exhume an aging Windows XP installation.
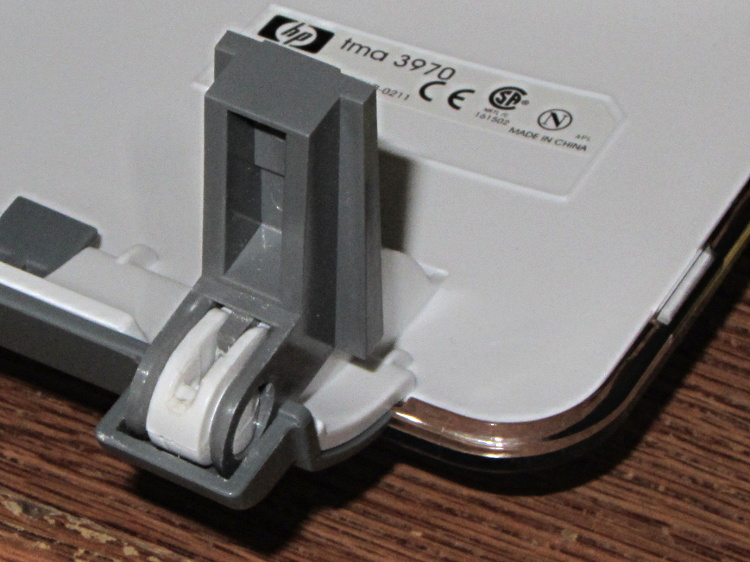
I stopped caring about Windows toward the end of the last millennium and now keep a Token Windows Box only for hardware like the HOBOWare dataloggers and software like TurboTax.
Other than that, well…
I. Don’t. Care.