Ed Nisley's Blog: Shop notes, electronics, firmware, machinery, 3D printing, laser cuttery, and curiosities. Contents: 100% human thinking, 0% AI slop.
We often have supper on the patio, with a fly swatter at the ready, but honeybees get special treatment:
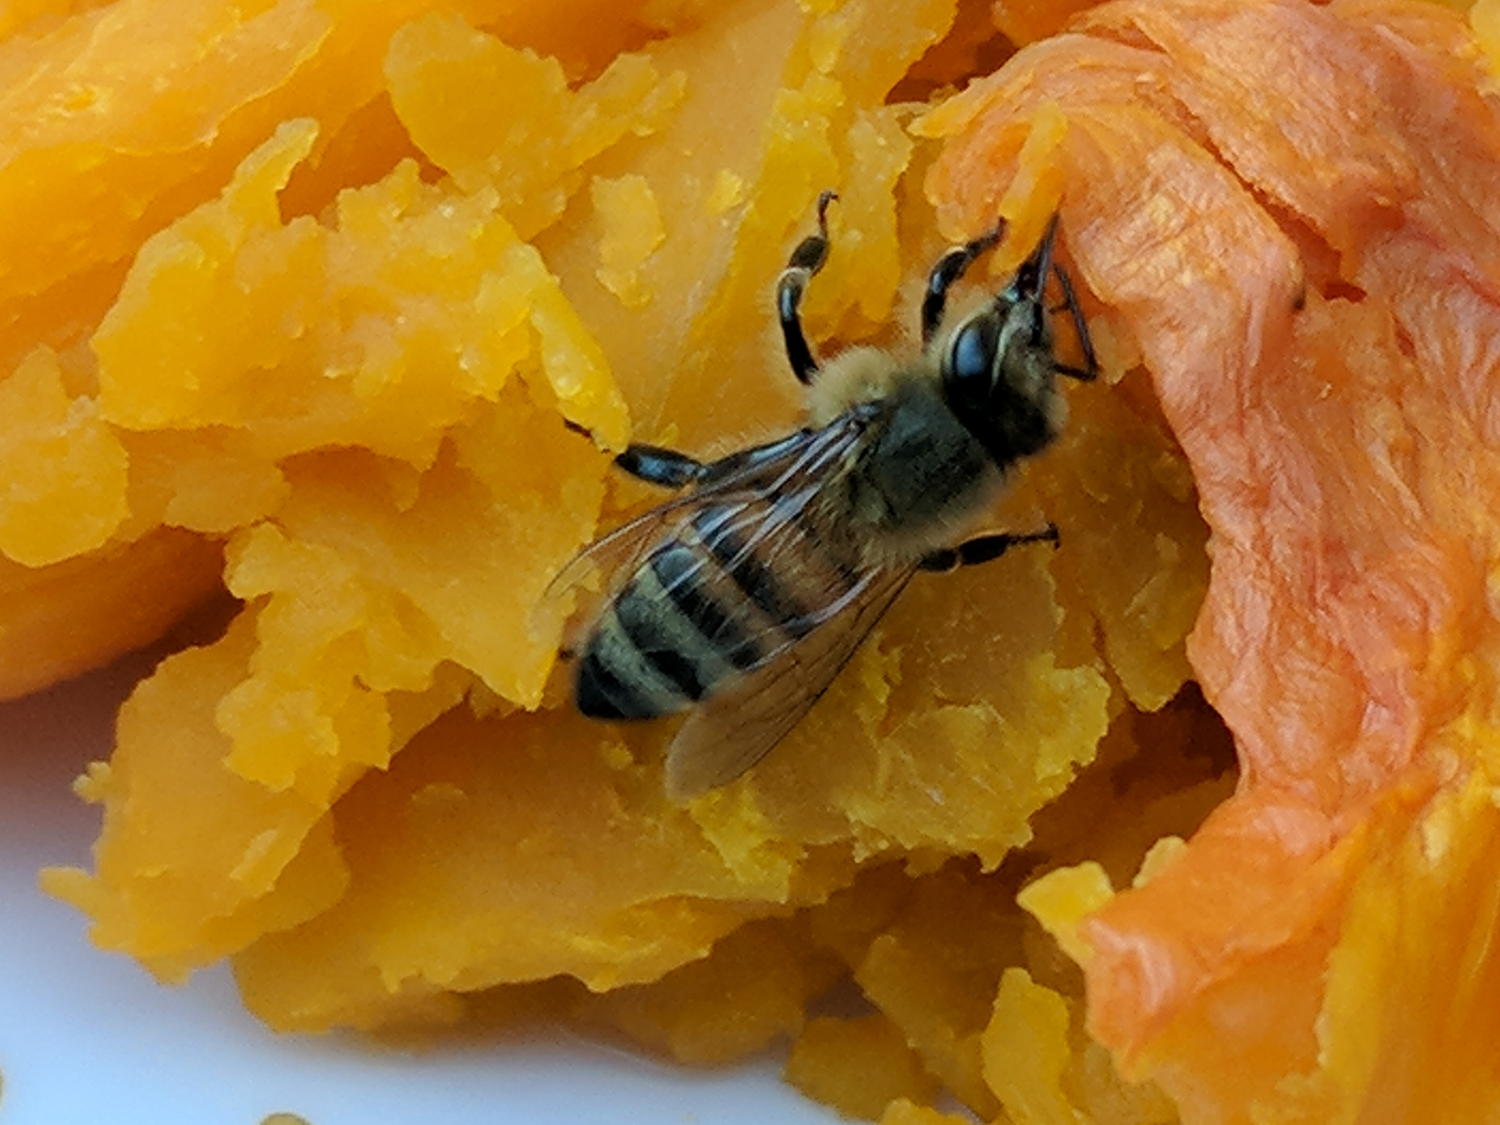
Honeybee on cooked squash
She surveyed both our plates, landed on my cooked squash, and probed into the crevices as she would to extract nectar from a flower. The weather has been dry for the last few days and we think she was looking for anything providing a bit of moisture.
I splashed some water on the table and plopped that part of the squash nearby, in the hopes she’d find what she needs. We’ll never know the end of the story.
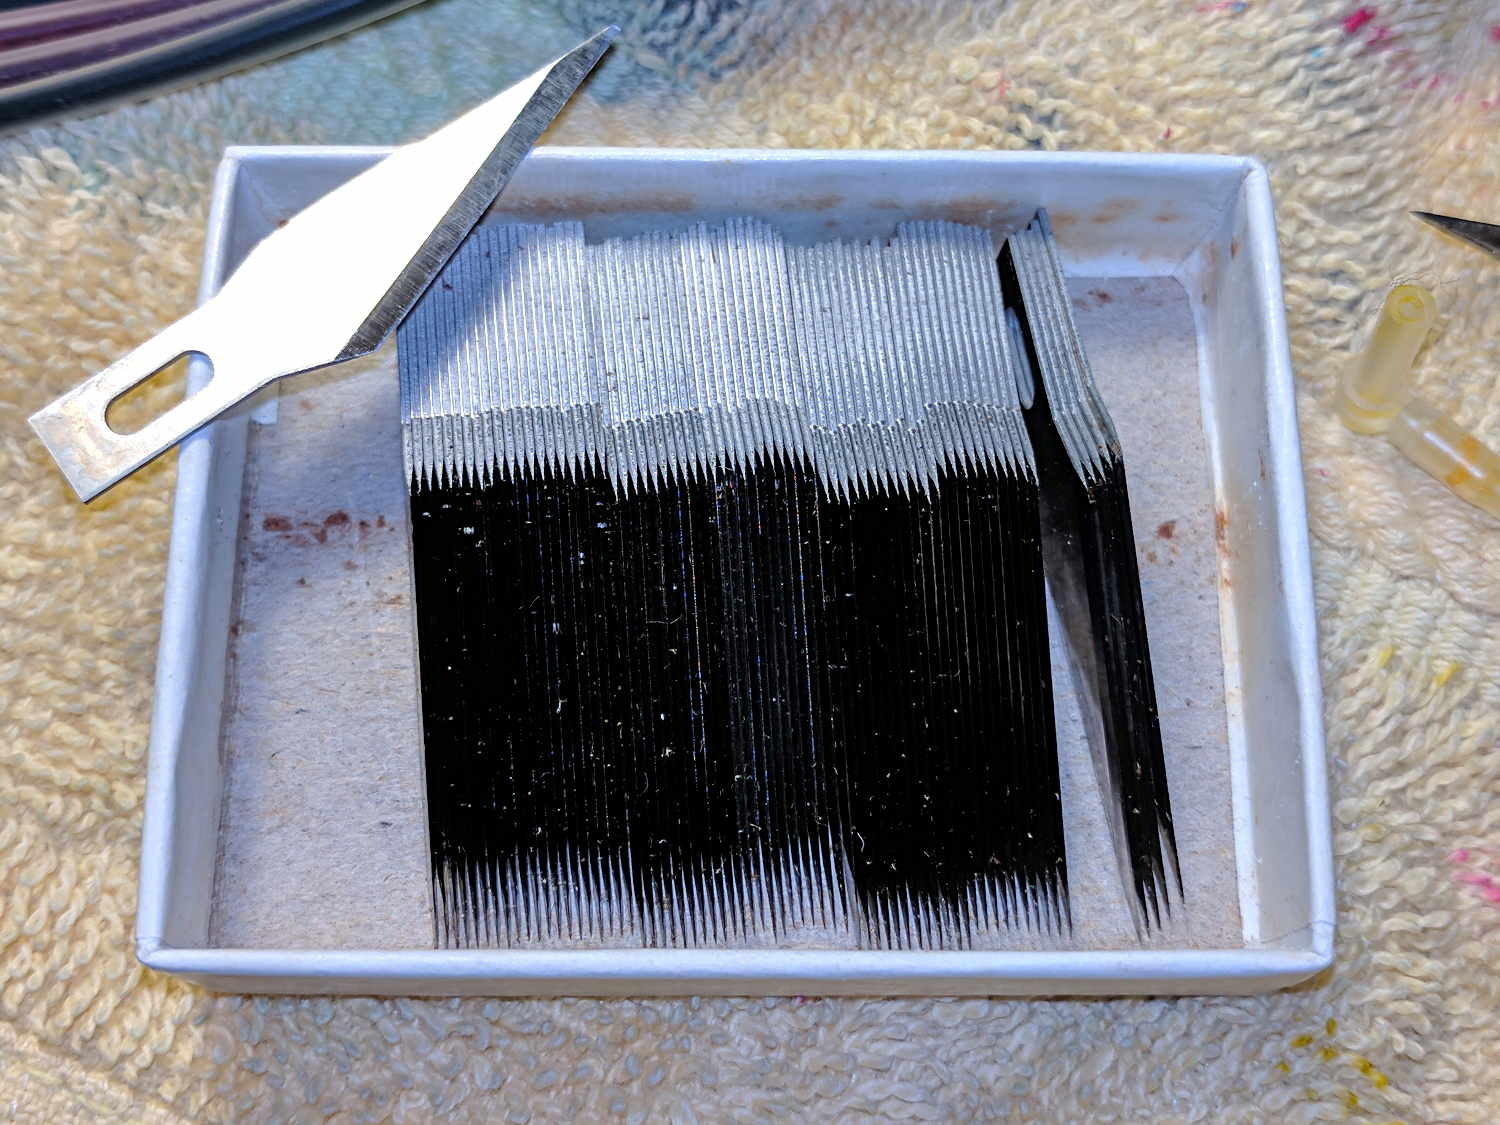
The best way to get a pure, non-reflective black uses optics, not pigments:
Matte black blade edges
The shiny steel blades reflect light just fine, but the reflections have no way back out of the gap between adjacent edges: the angle of reflection always points away from you and the incoming light.
I always admire the blackness when I open that box.
Yes, I’m a member of the Society of the Easily Amused.
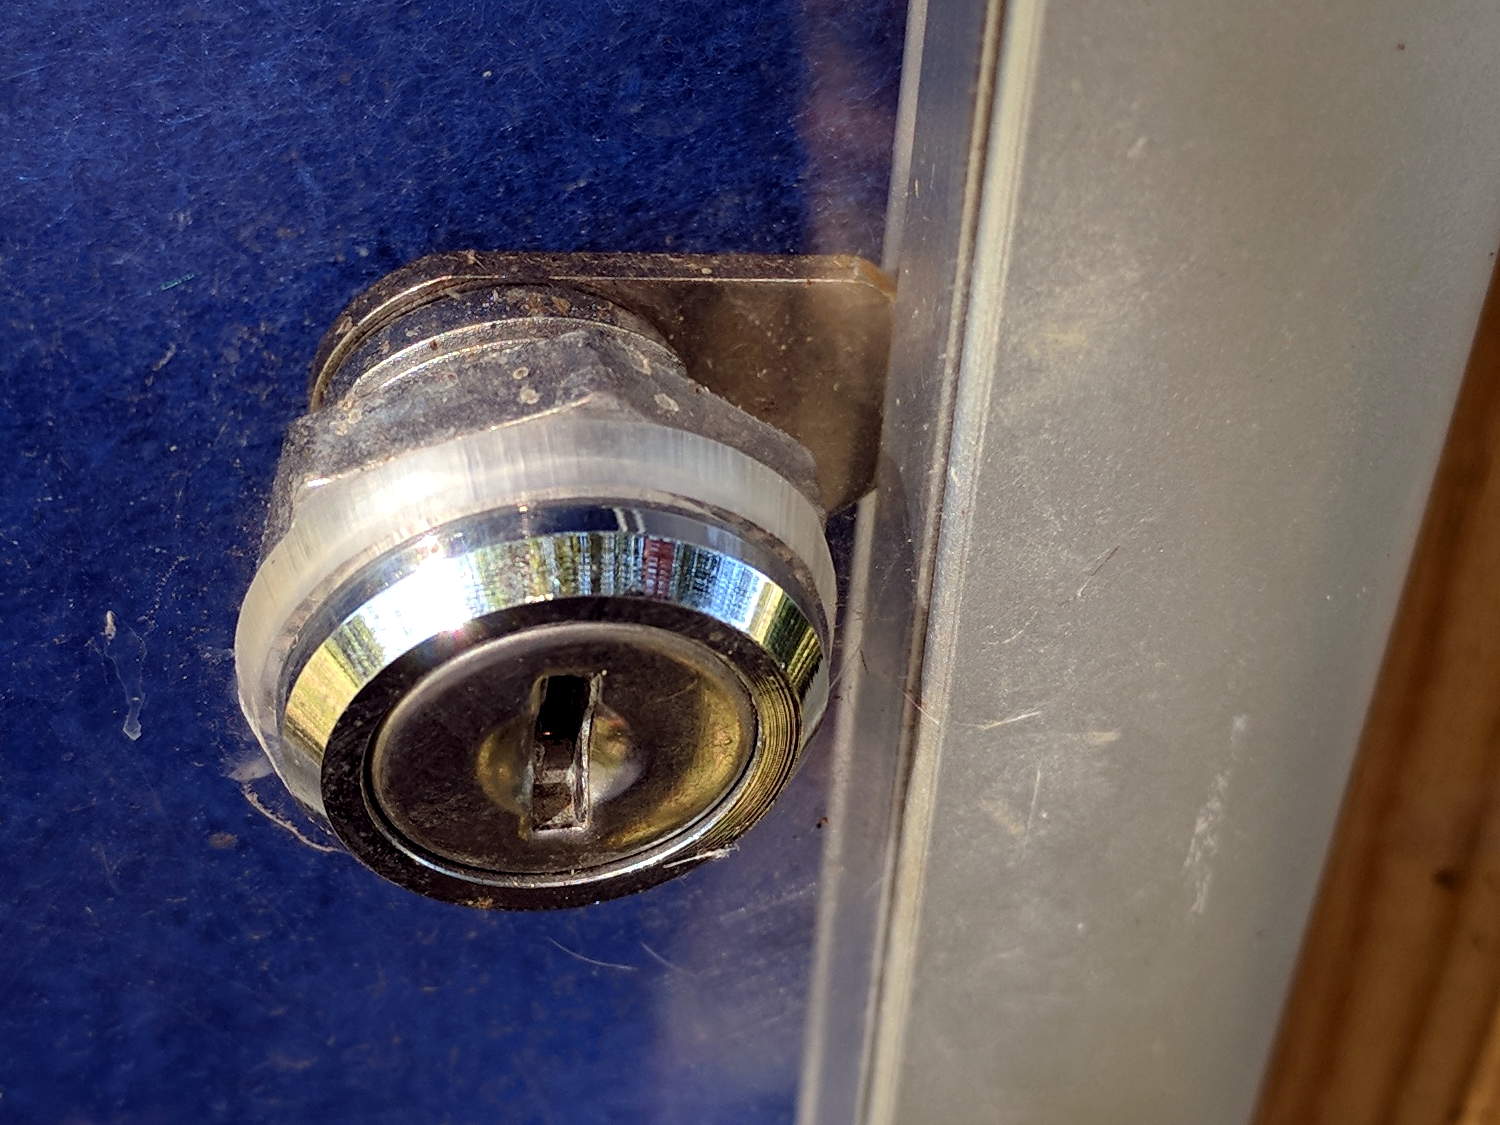
For reasons not relevant here, I was called upon to open a bulletin-board lock with a complete lack of keys:
Bulletin Board Lock – locked
It’s obviously not the highest security lock you’ve ever seen. Armed with a small screwdriver and an old darning needle, this took the better part of 30 seconds:
Bulletin Board Lock – opened
Actually, I devoted a few minutes to verify none of my collection of random keys would suffice.
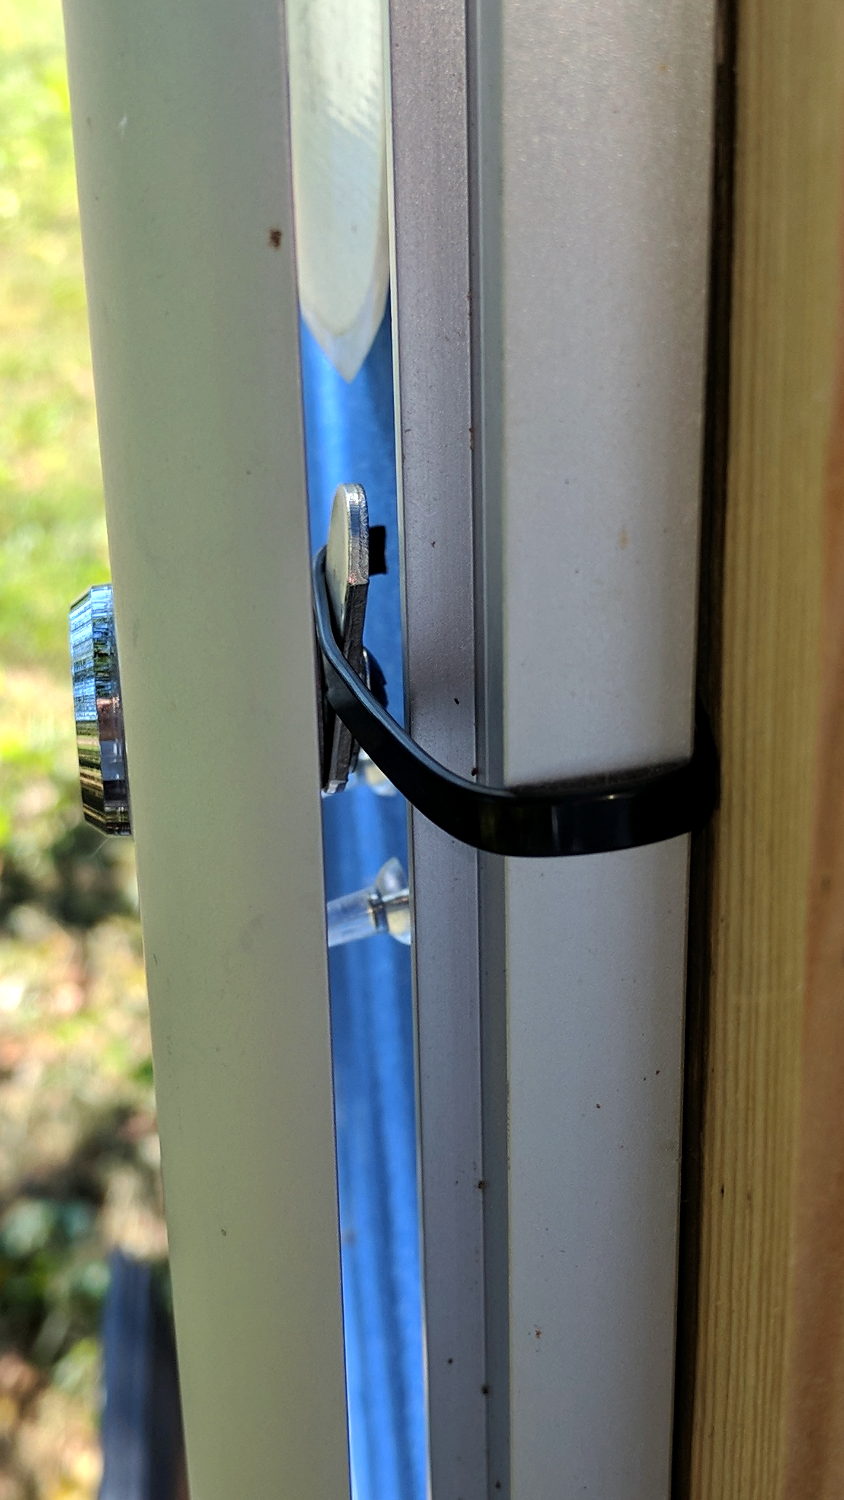
Replacing the lock not being within my remit, I improvised a simple retainer from available materials:
Bulletin Board Lock – improvised strap retainer – front
Yes, the nylon cable tie will surely pull out of the latch:
Bulletin Board Lock – improvised strap retainer
And I admit the installation’s security has taken a definite downward step:
Bulletin Board Lock – push pin security
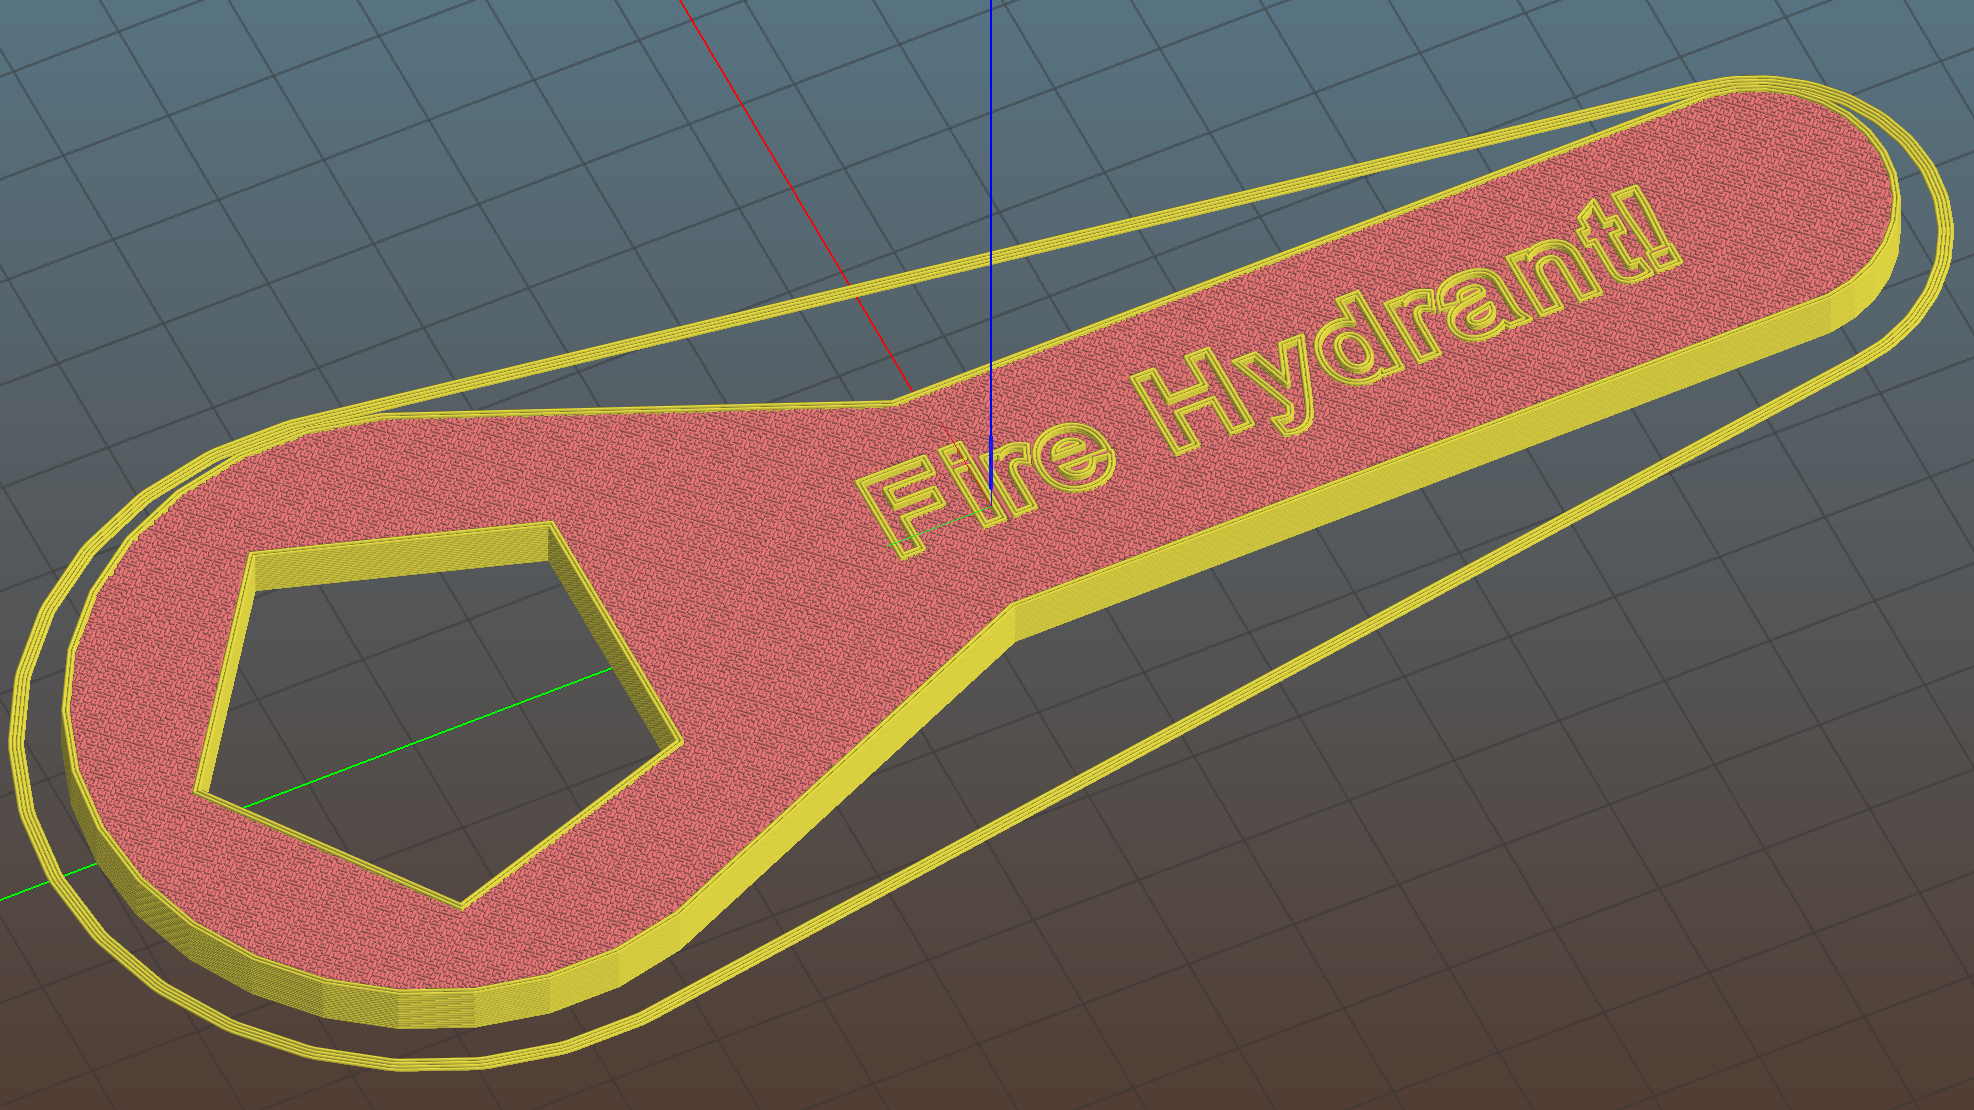
Some day, I’ll tote a wrench to the site, remove the lock, and improve the improvisation.
Replacing the lock seems mired in an intractable budgetary wrangle. Similar locks being five bucks on Amazon, I’m tempted to just make it happen, but doing so would apparently roil the decision-making stratum. I’m perfectly happy to remain an on-call techie devoid of political ambition.
Even an inch-thick handle wouldn’t have enough mojo for the task.
Wikipedia has the equations you need to go from the easily measured “height” (vertex to opposite side) dimension to the pentagon’s “outside radius”, which equals the radius of the circumscribed circle needed by OpenSCAD.
This file contains hidden or bidirectional Unicode text that may be interpreted or compiled differently than what appears below. To review, open the file in an editor that reveals hidden Unicode characters.
Learn more about bidirectional Unicode characters
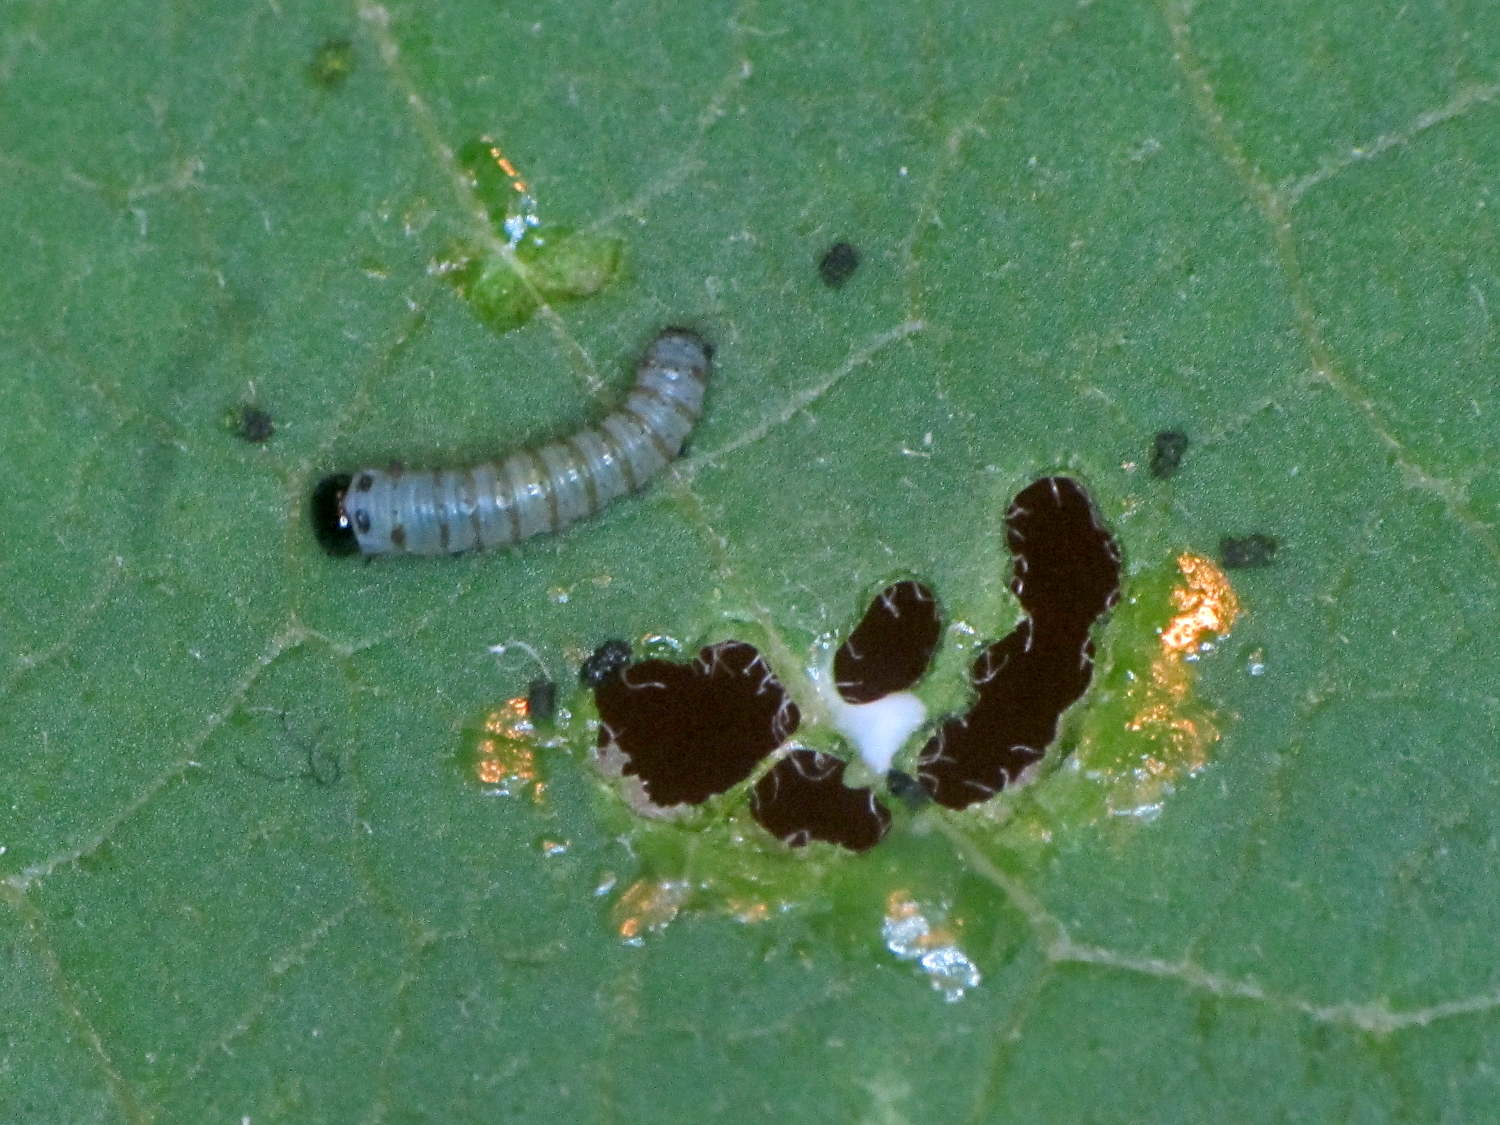
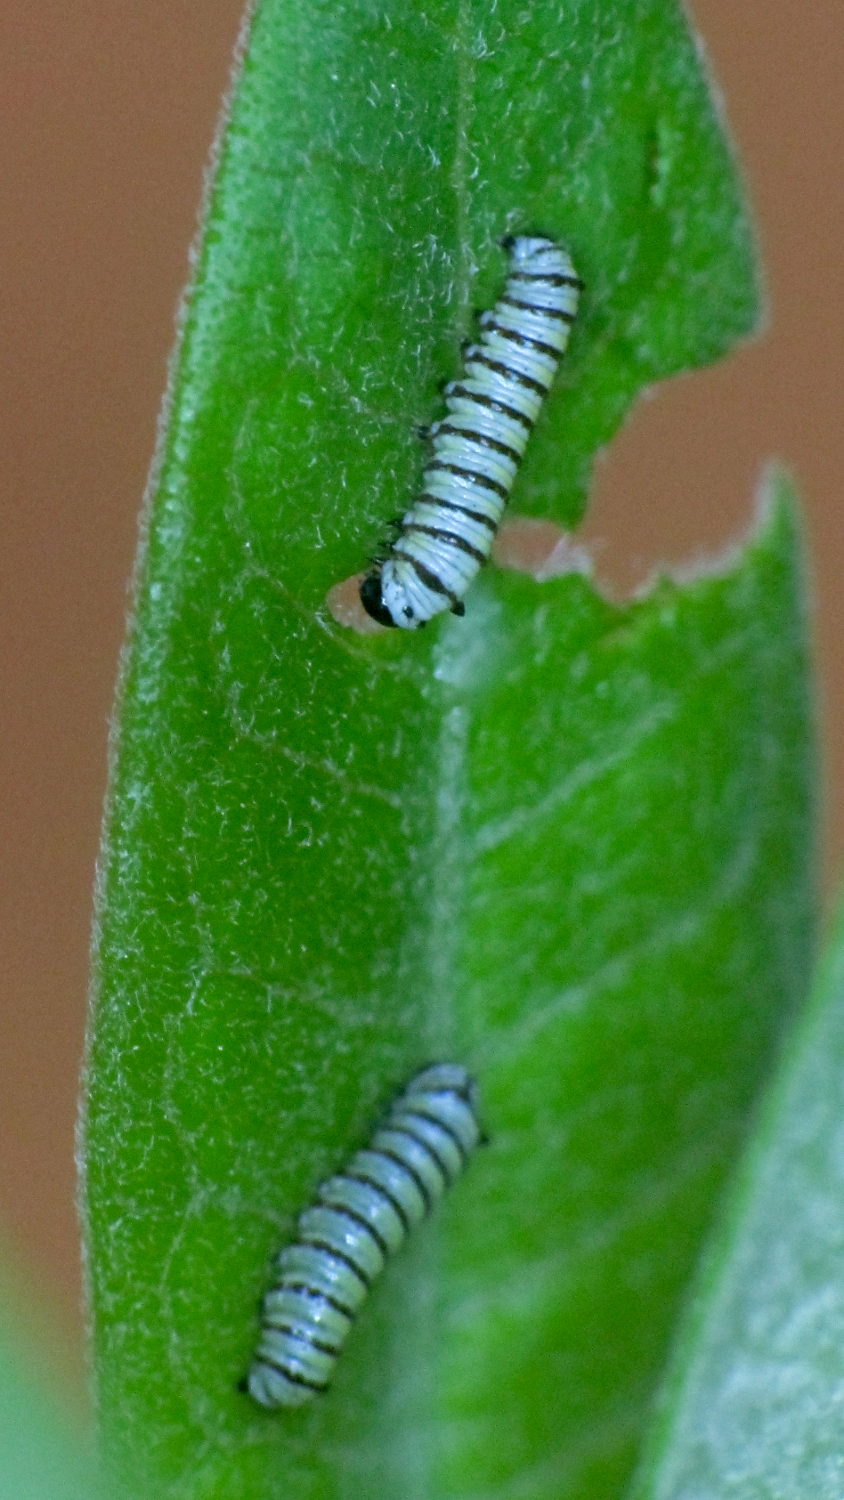
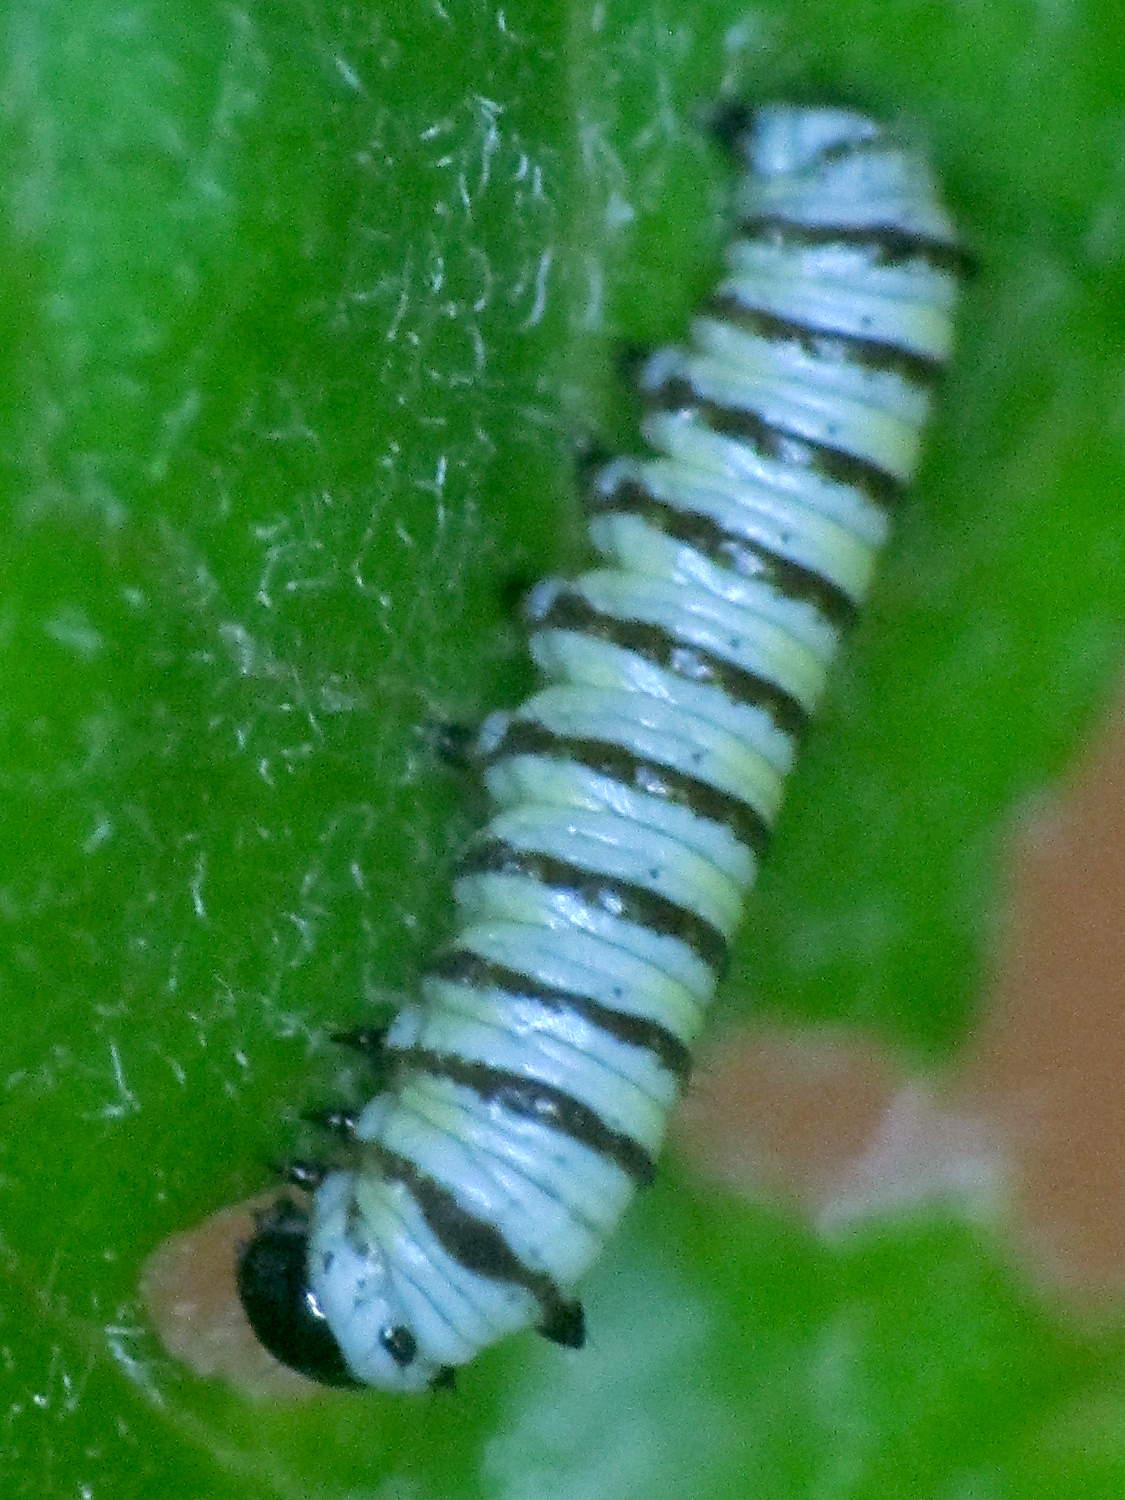
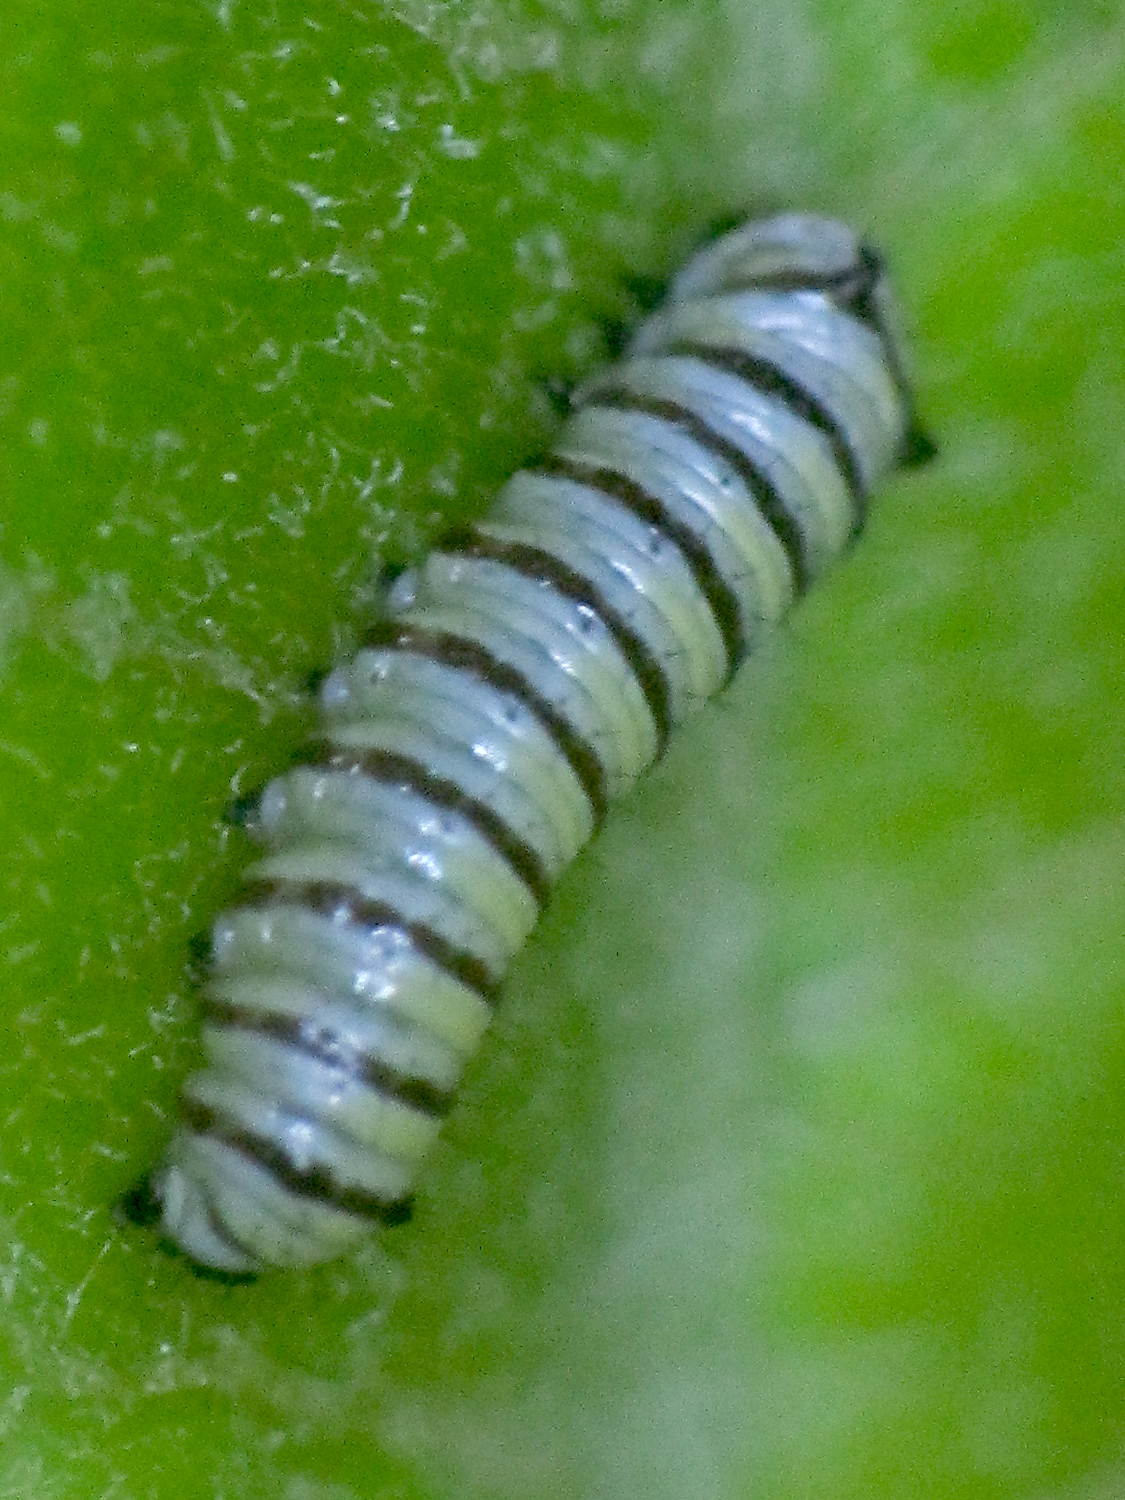
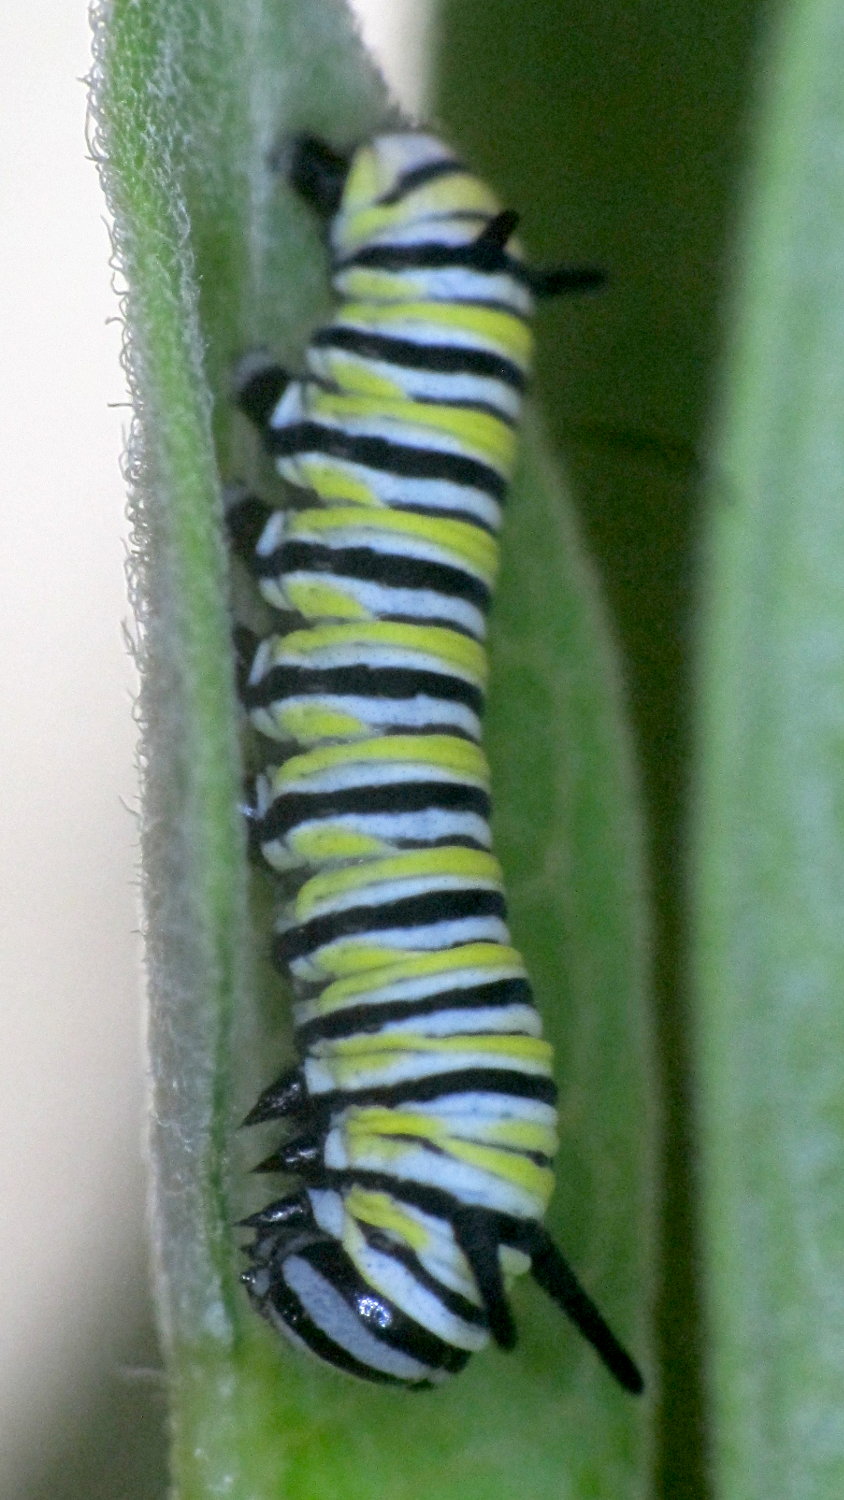
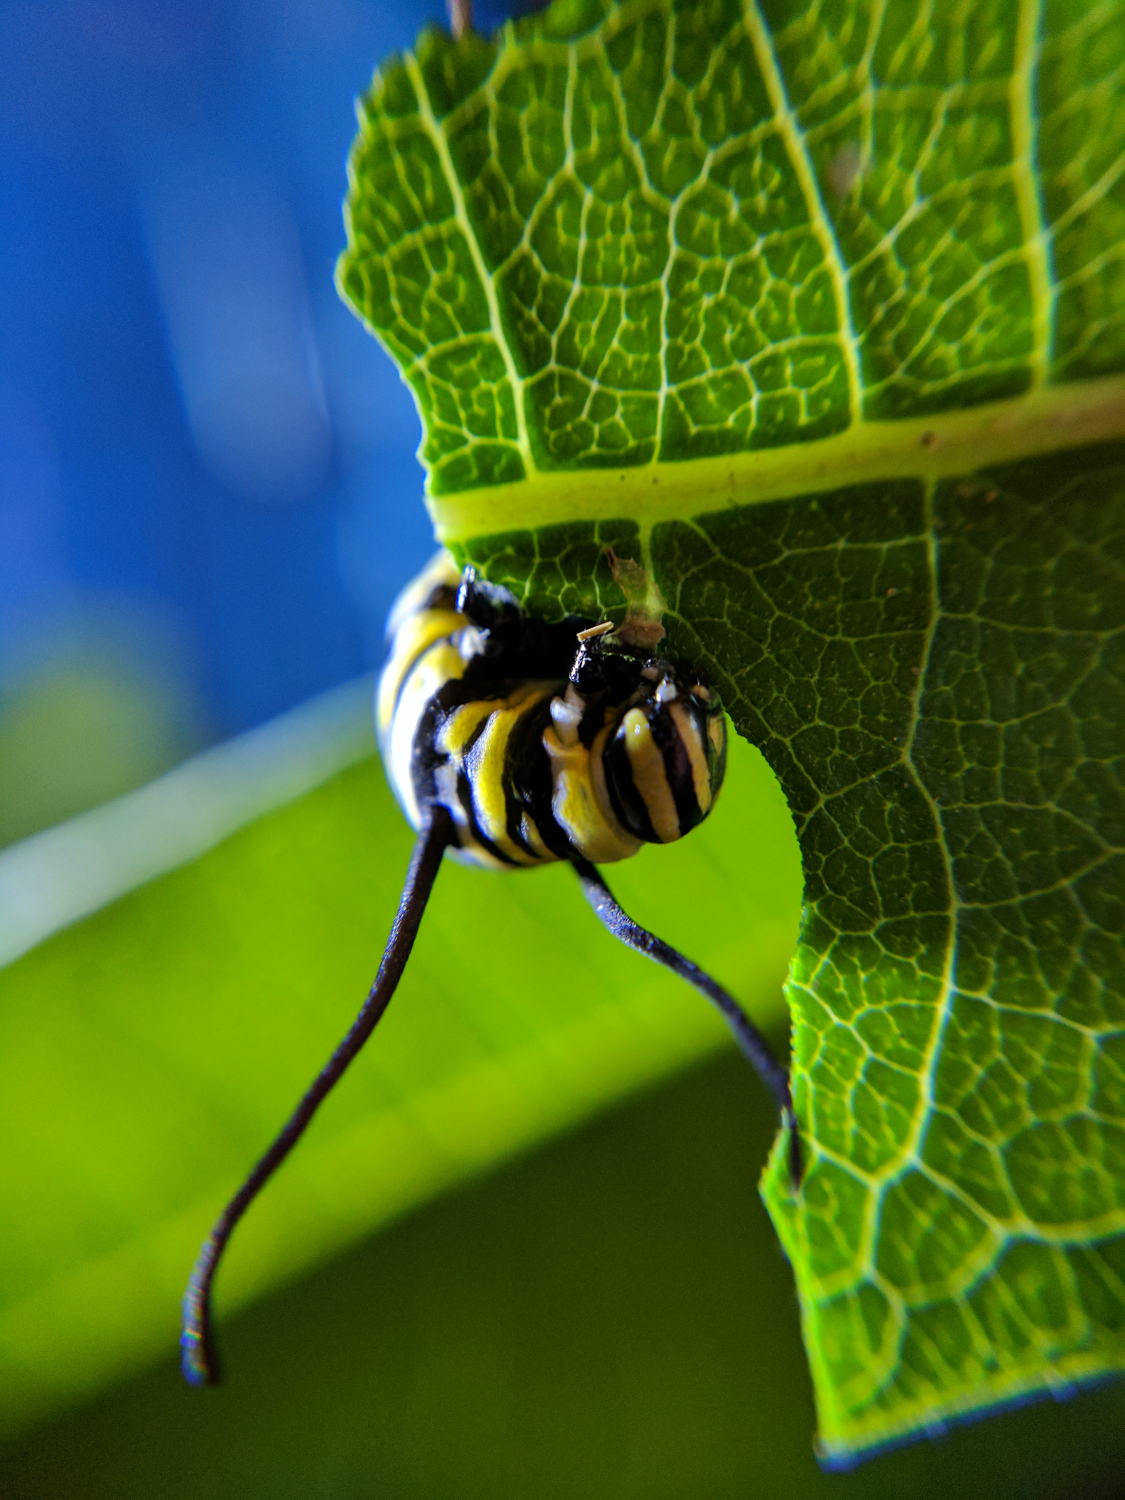
We kept fresh milkweed branches in a vase and the caterpillar ate almost continuously:
Monarch caterpillar – 2017-08-13
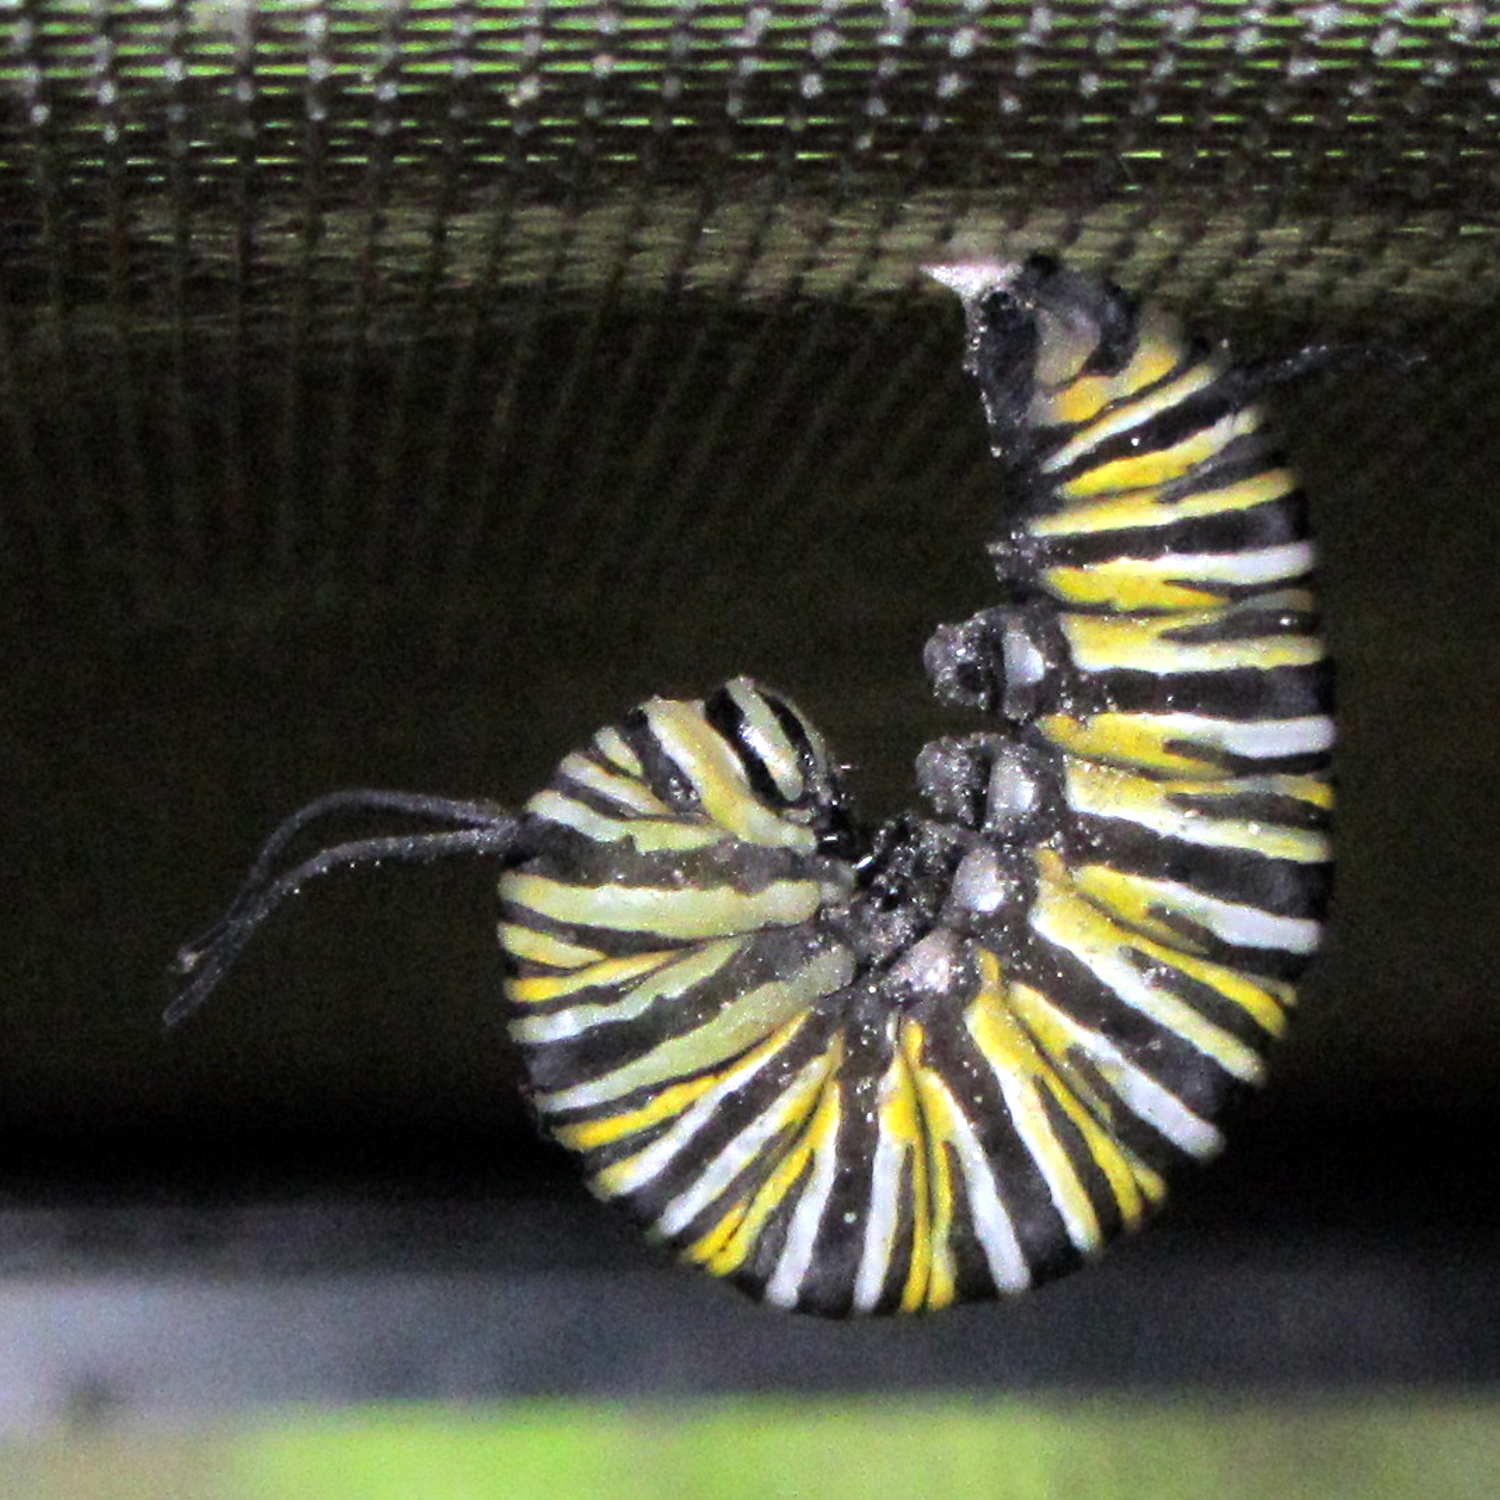
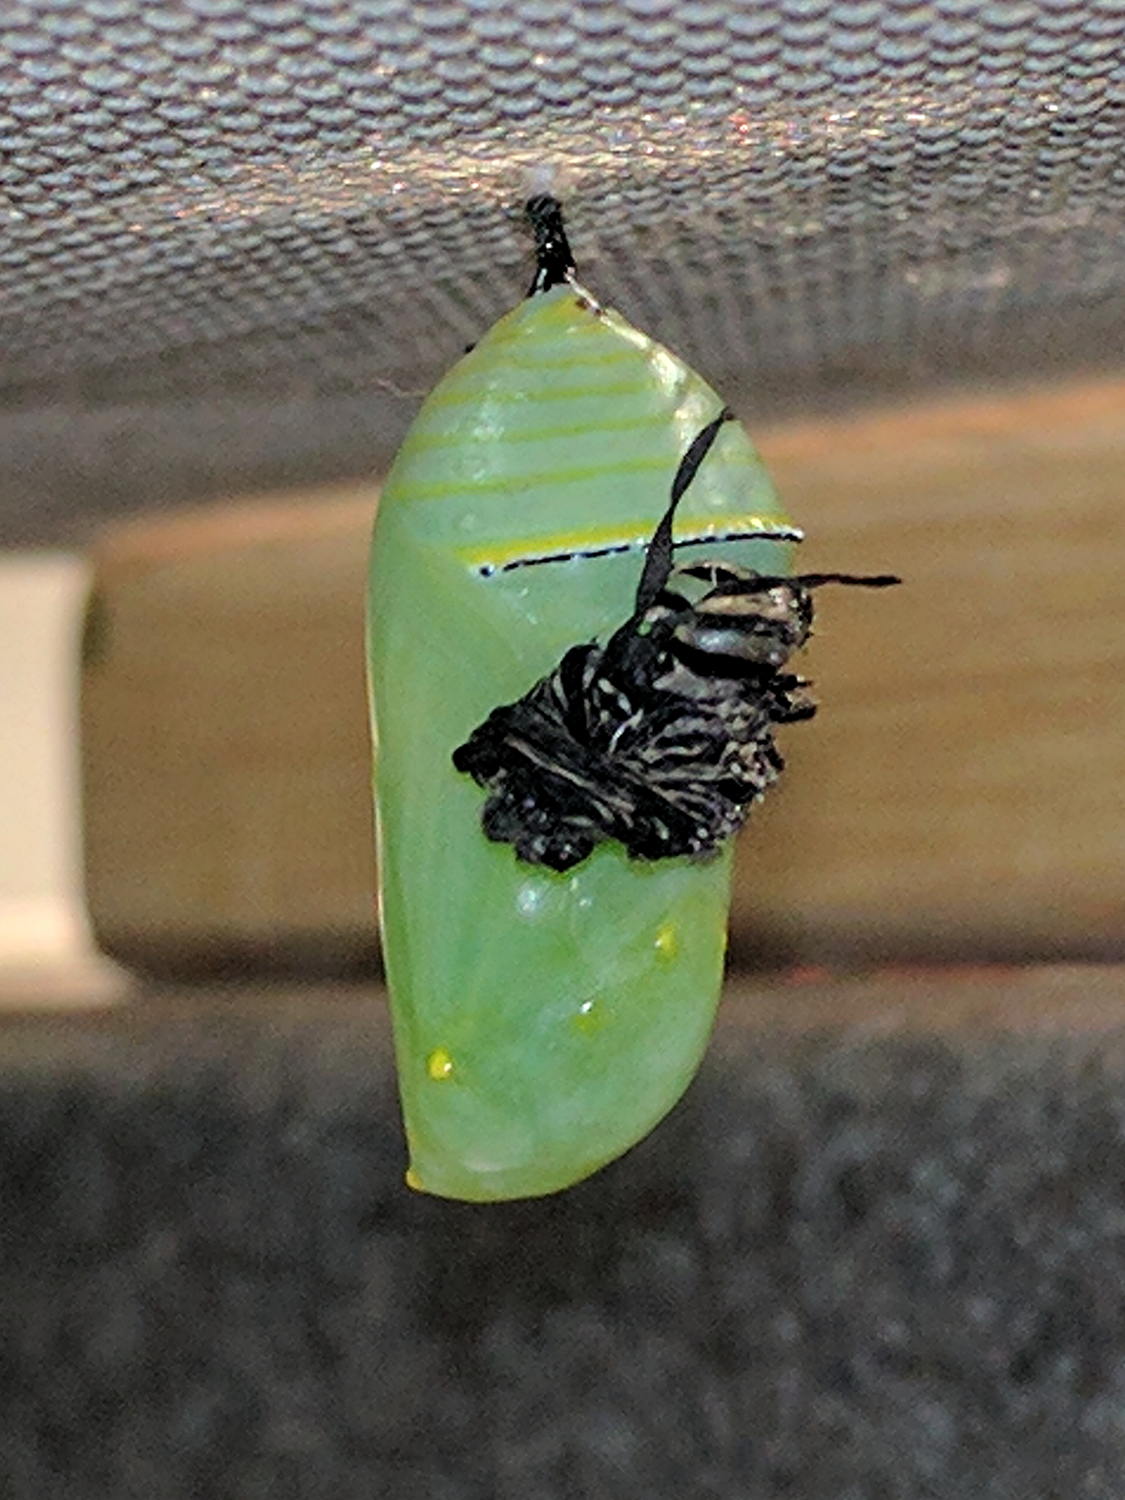
By August 15, the caterpillar was ready for the next stage in its life. At 10 in the morning it had attached itself to the screen covering the aquarium and assumed the position:
The discarded skin remained loosely attached until I carefully removed it.
What look like small yellow spots are actually a striking metallic gold color.
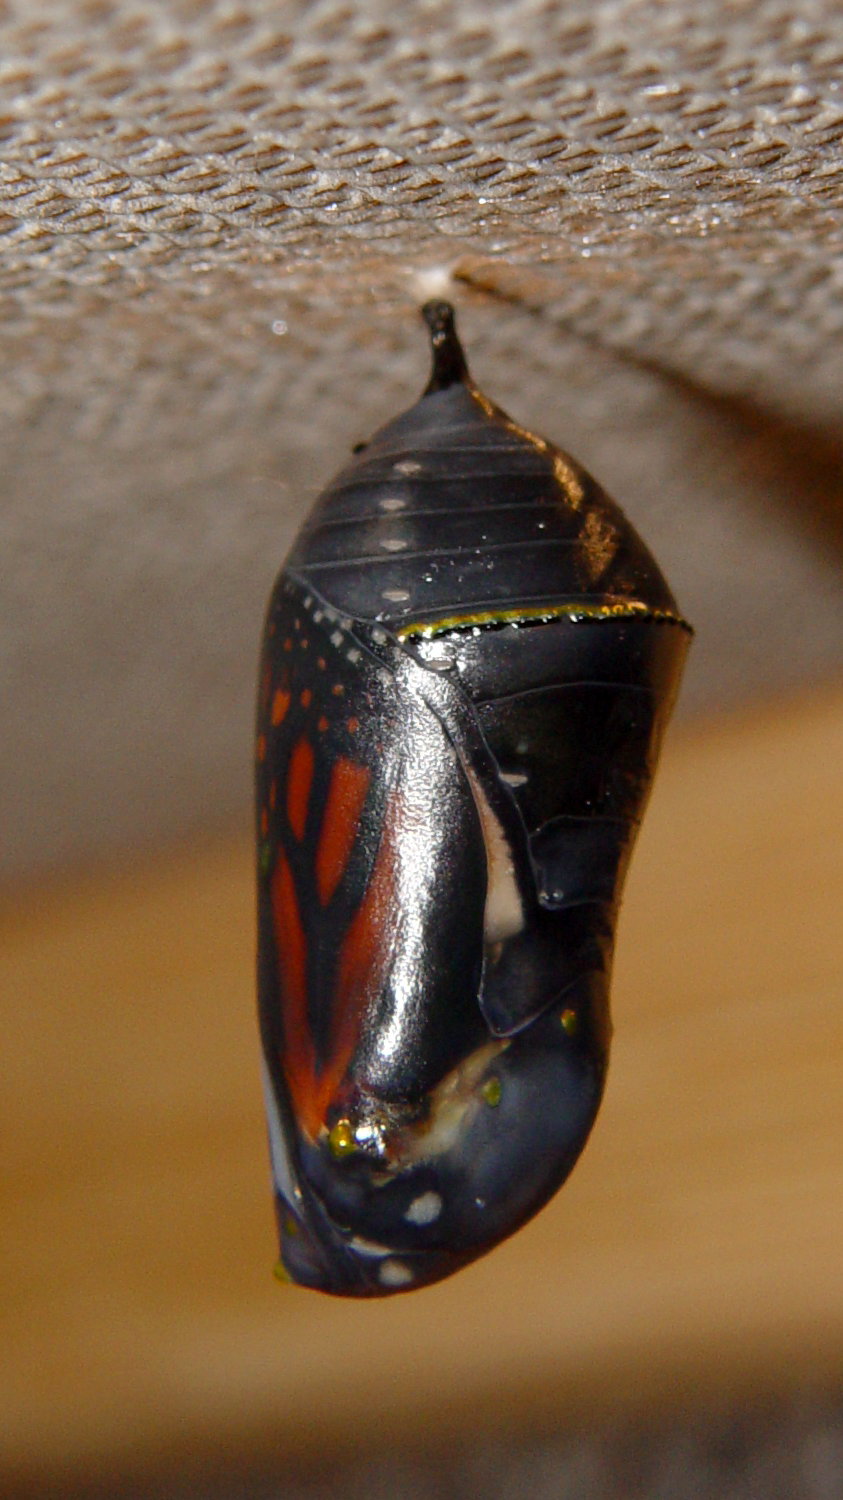
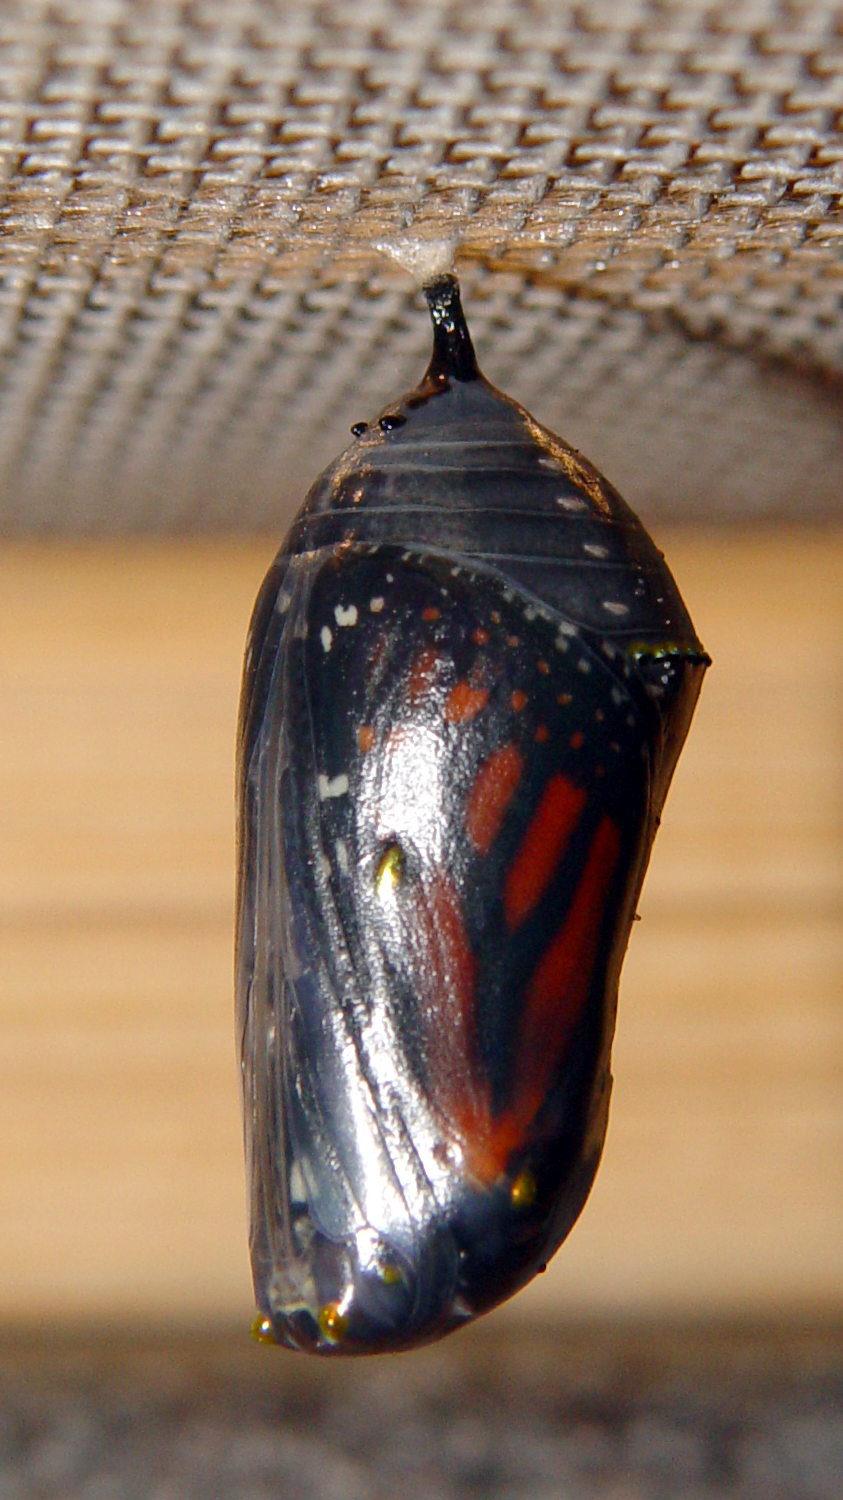
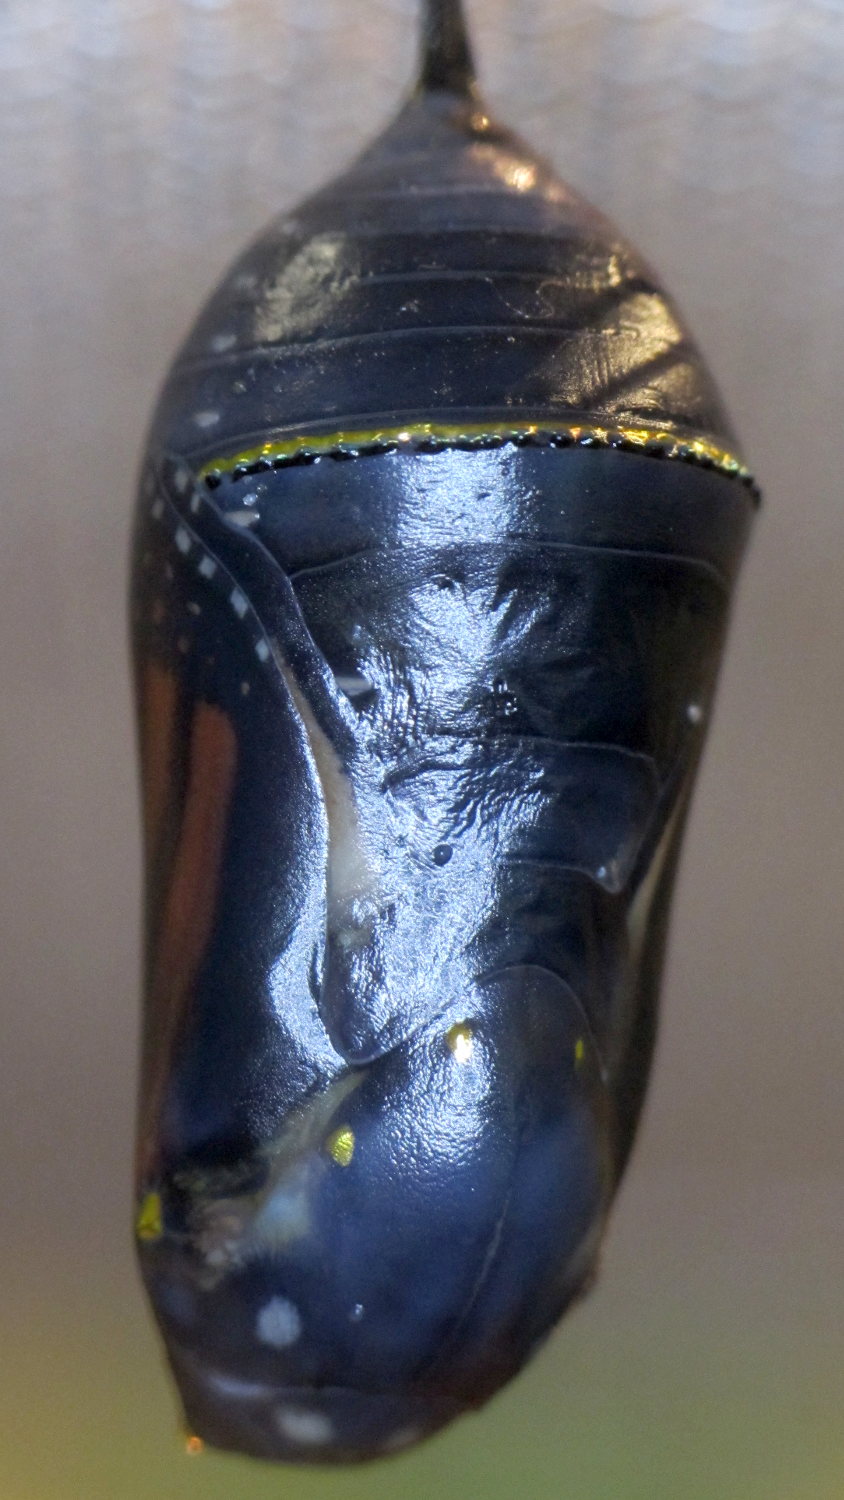
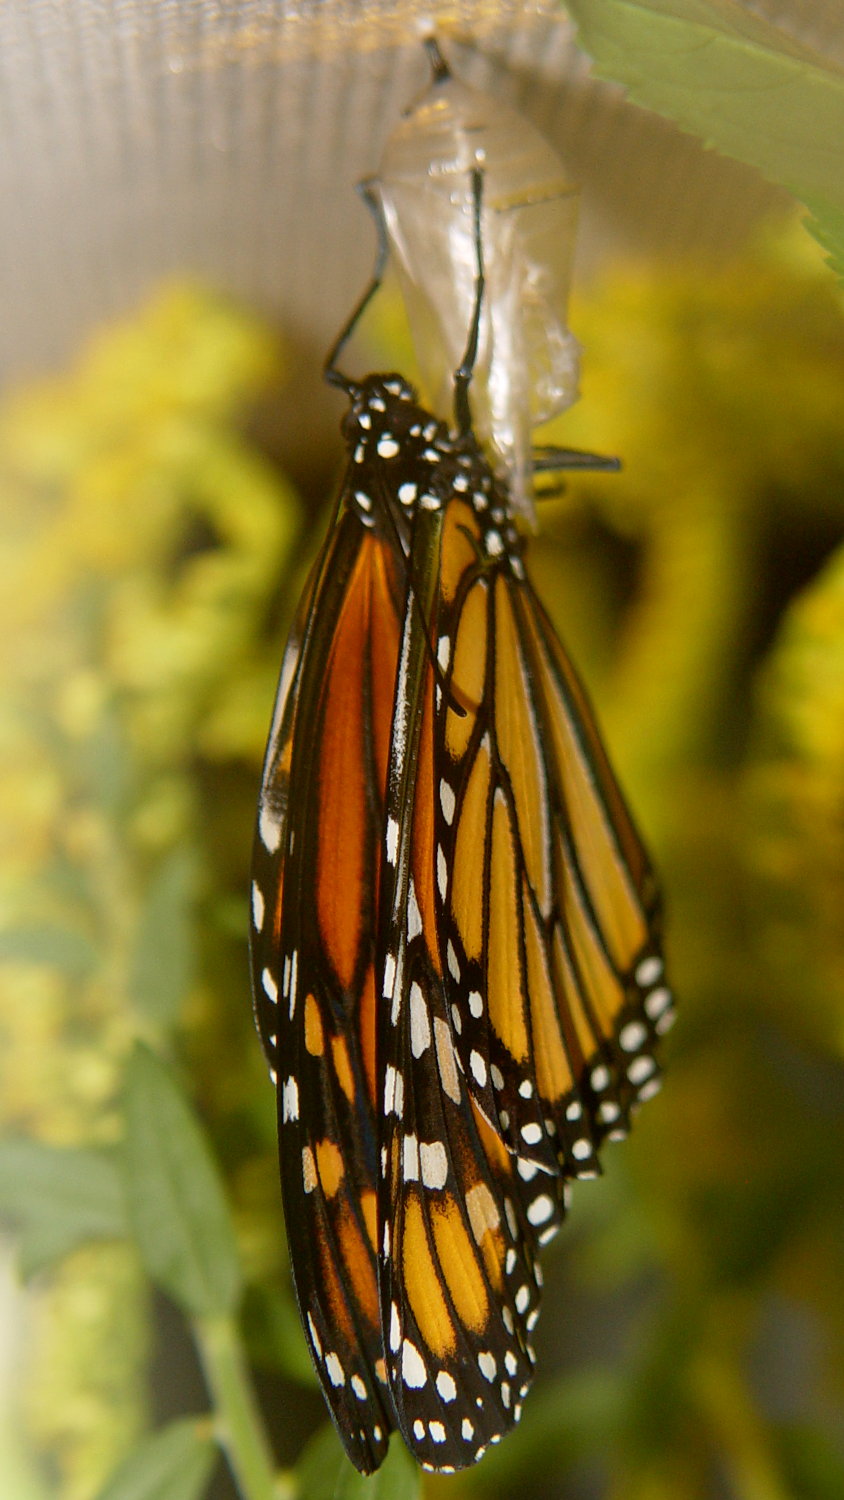
Eleven days later, on August 26 at 9 AM, the chrysalis suddenly became transparent:
Monarch chrysalis – ready – left
And:
Monarch chrysalis – ready – right
The shape of the butterfly becomes visible in reflected light:
Monarch chrysalis – ready – ventral detail
The gold dots and line remained visible.
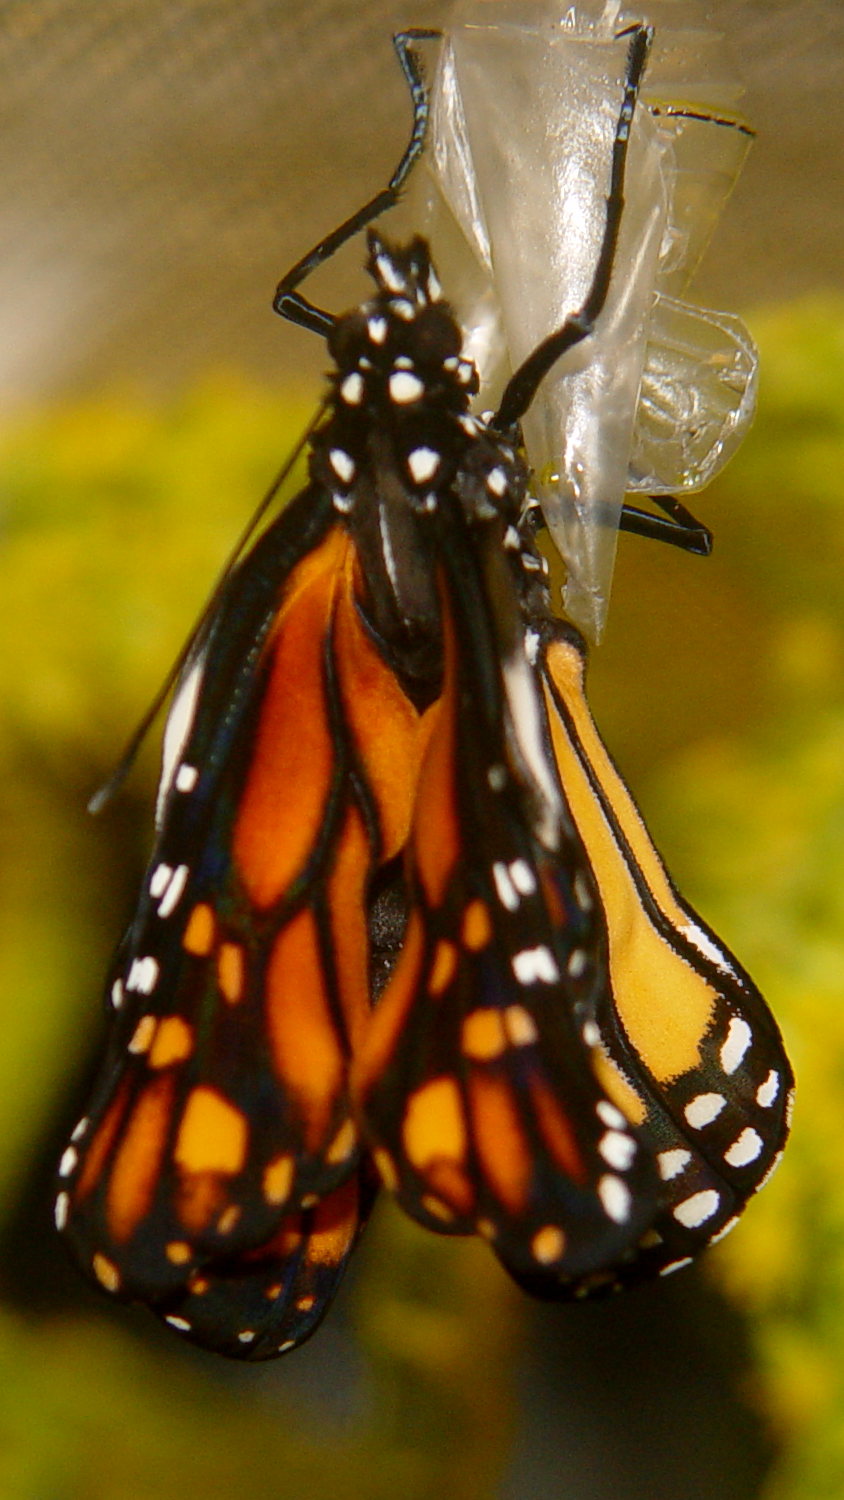
The magic happened at 3 PM:
Monarch chrysalis – emerging – unfolding
The compacted wings emerge intense orange on the top and lighter orange on the bottom:
Monarch unfolding – left
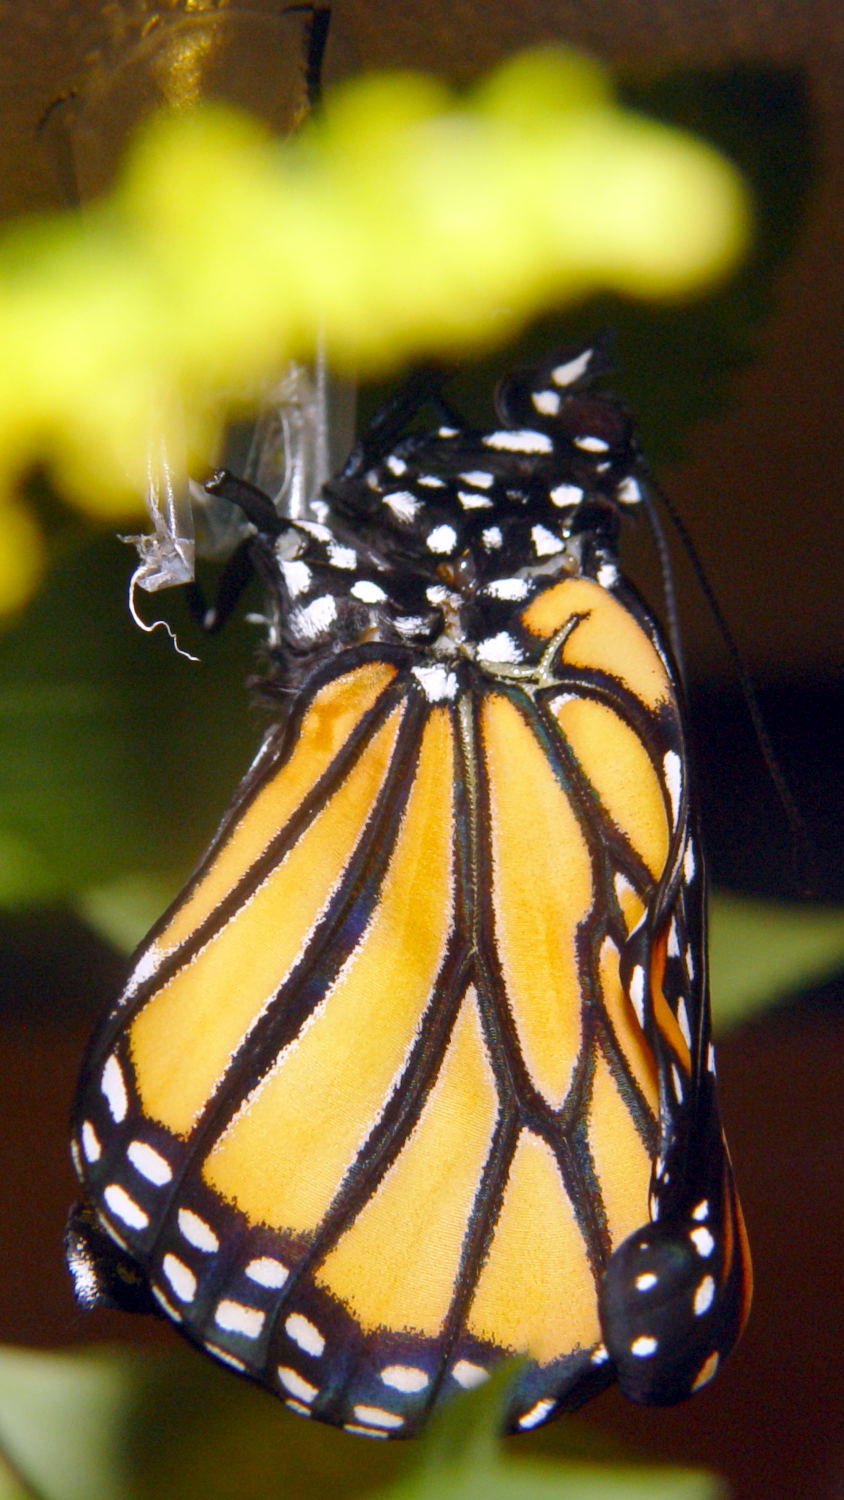
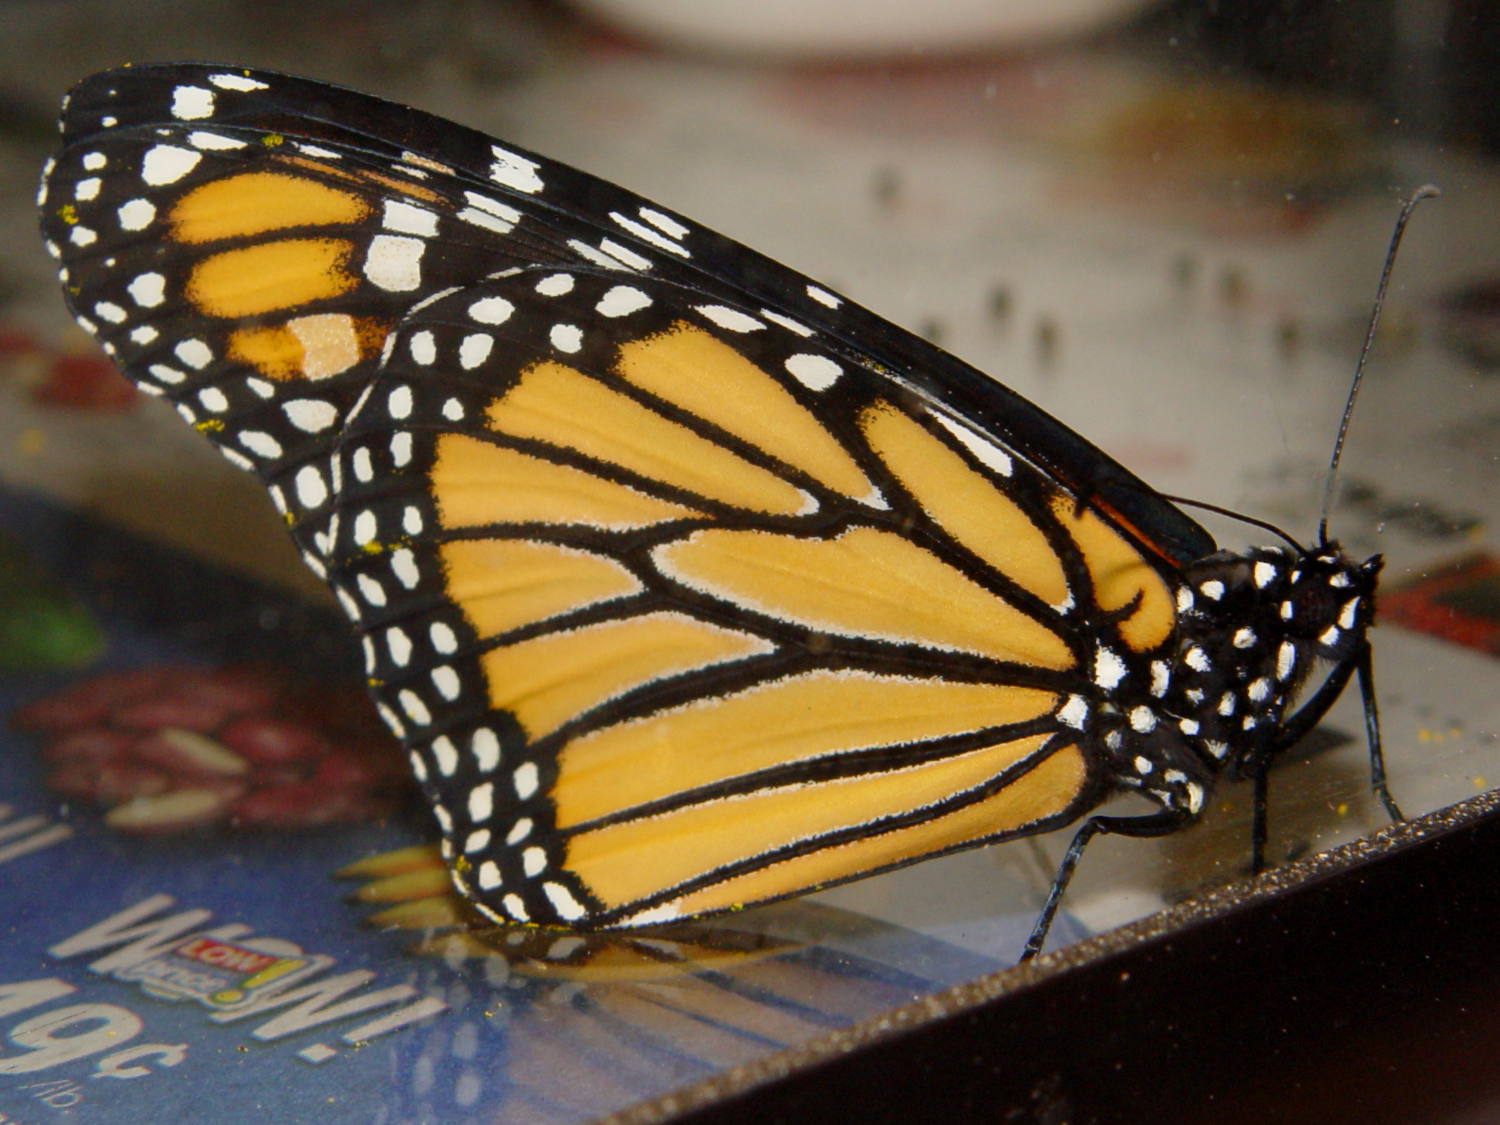
The butterfly took most of the day to unfurl and stiffen its wings into flat plates:
Monarch unfolding – dorsal
And:
Monarch unfolding – right
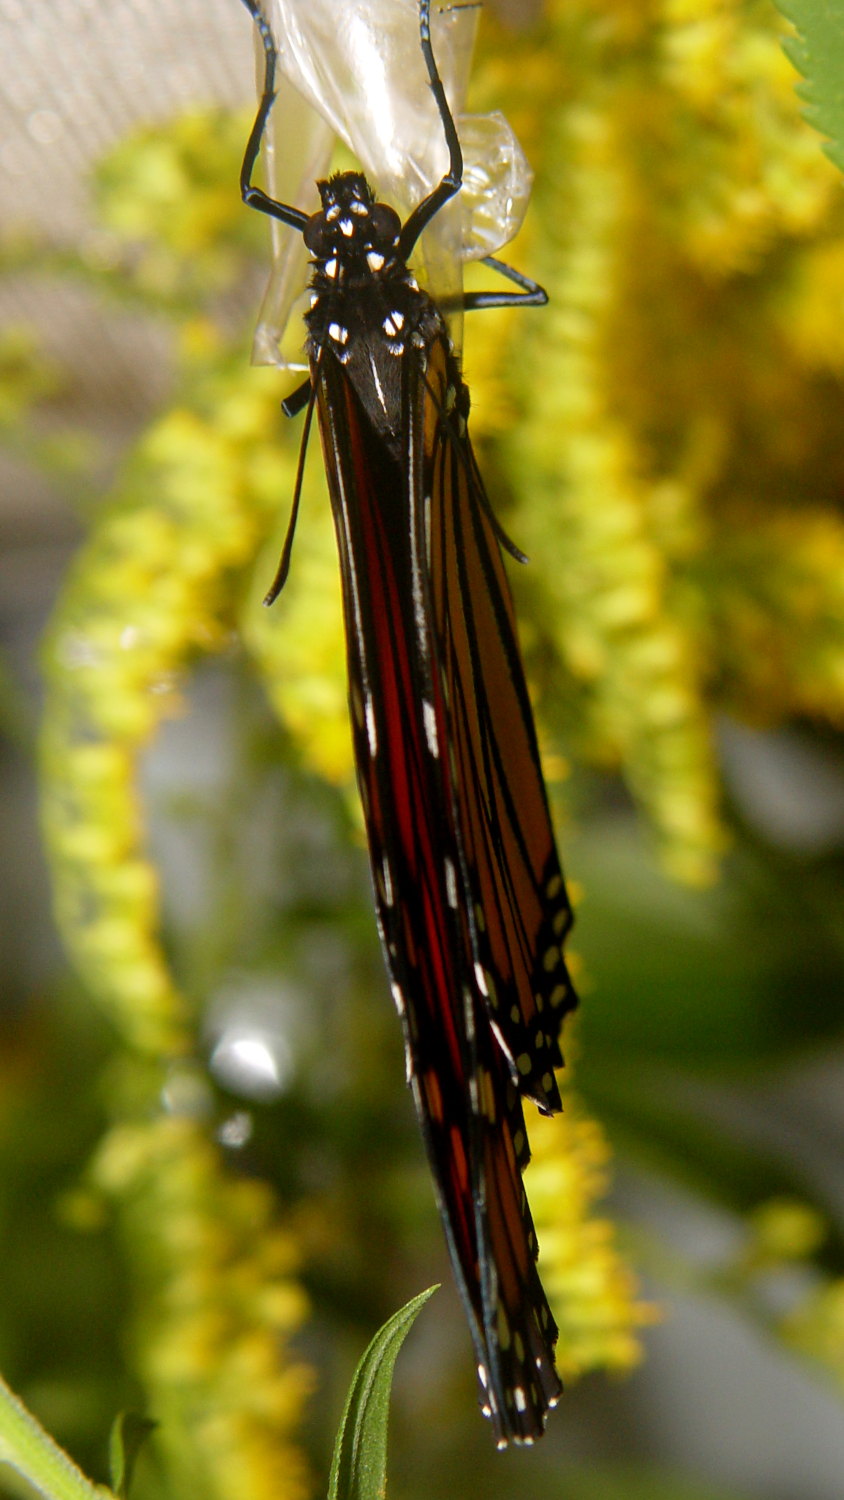
By 8 PM it began exploring the aquarium:
Monarch unfolded – right
As adults, they sip nectar from flowers, but don’t feed for the first day, so we left it in the aquarium overnight.
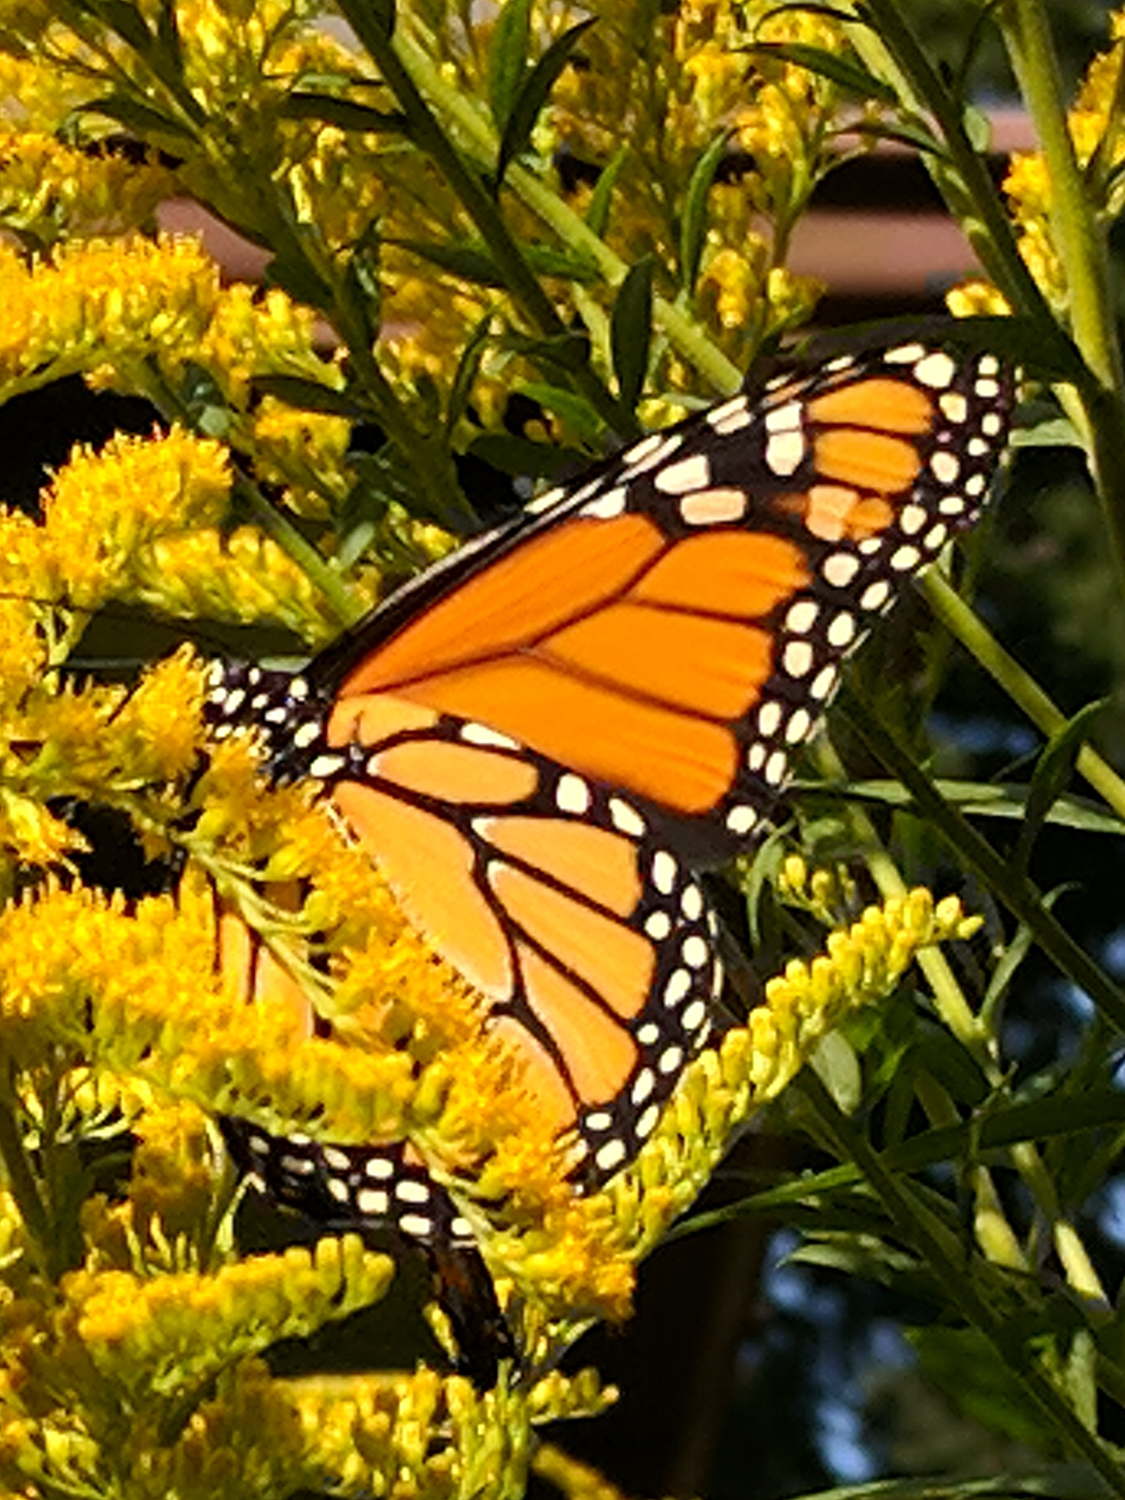
At 10 AM on August 27, we transported it to the goldenrod in the garden, where it immediately began tanking operations:
Monarch on Milkweed – left
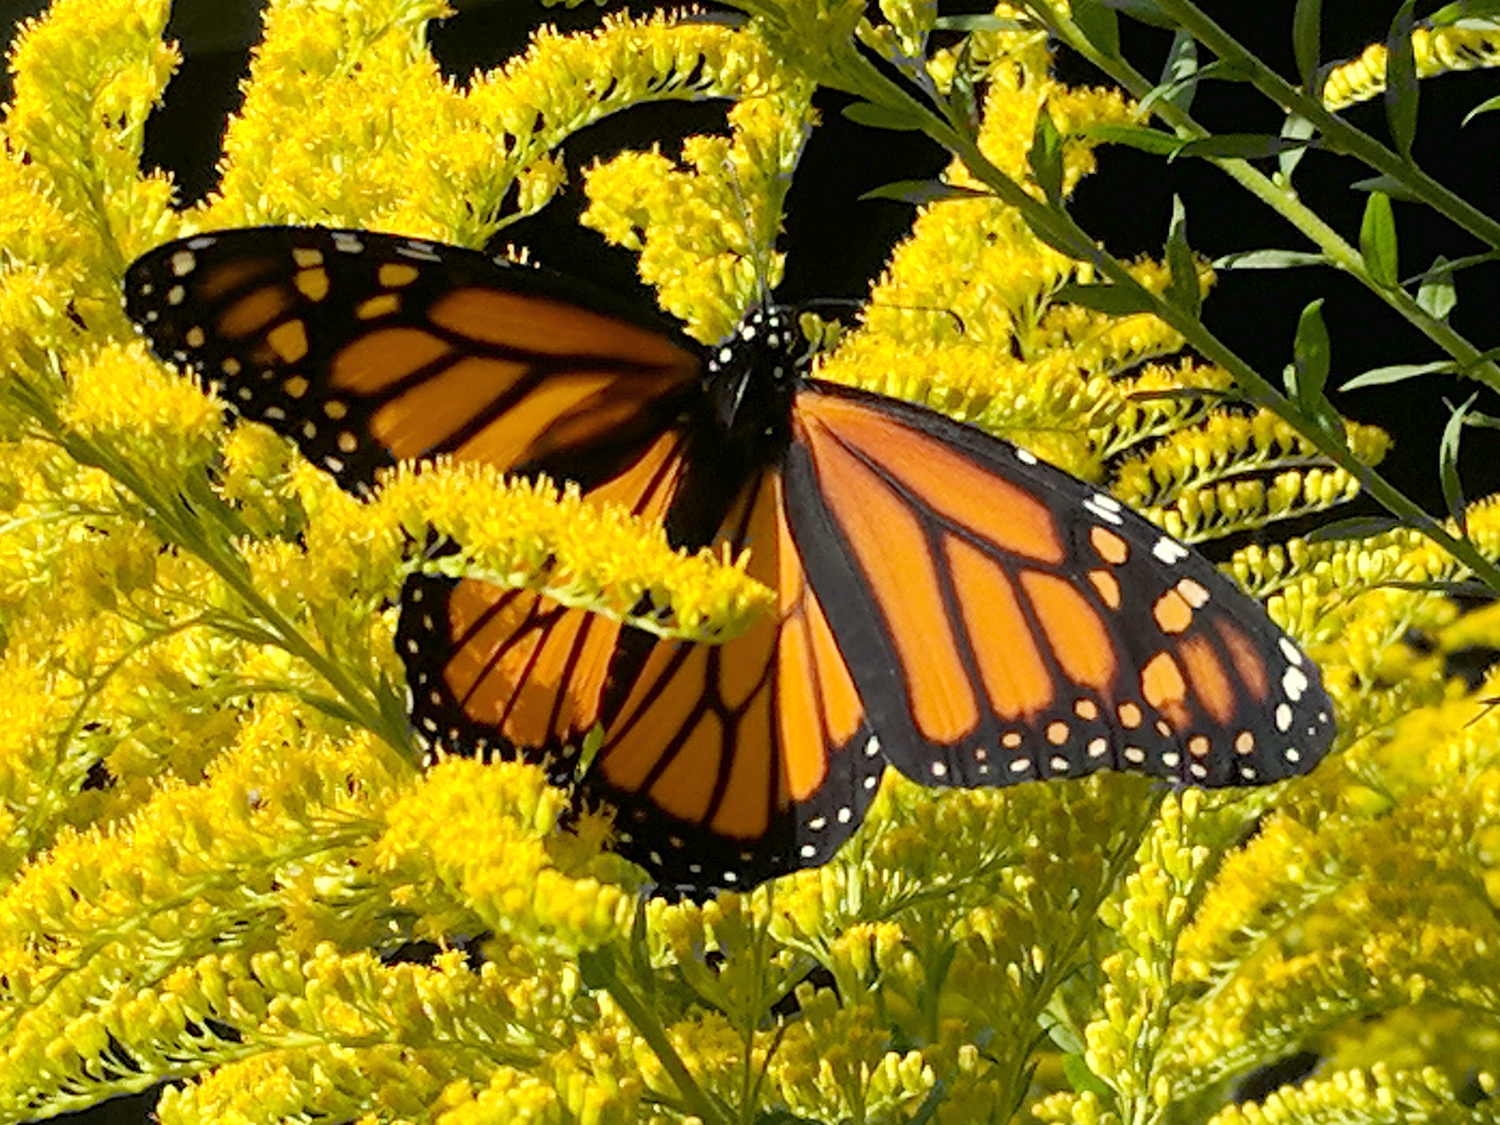
A few minutes later, it began sun-warming operations:
Monarch on Milkweed – dorsal
Mary watched it while she was tending the garden and, an hour or so later, saw it take off and fly over the house in a generally southwest direction. It will cross half the continent under a geas prohibiting any other action, eventually overwinter in Mexico with far too few of its compadres, then die after producing the eggs for a generation beginning the northward journey next year.
Godspeed, little butterfly, godspeed …
In the spirit of “video or it didn’t happen”, there’s a 15 fps movie of the emergence taken at 5 s/image.
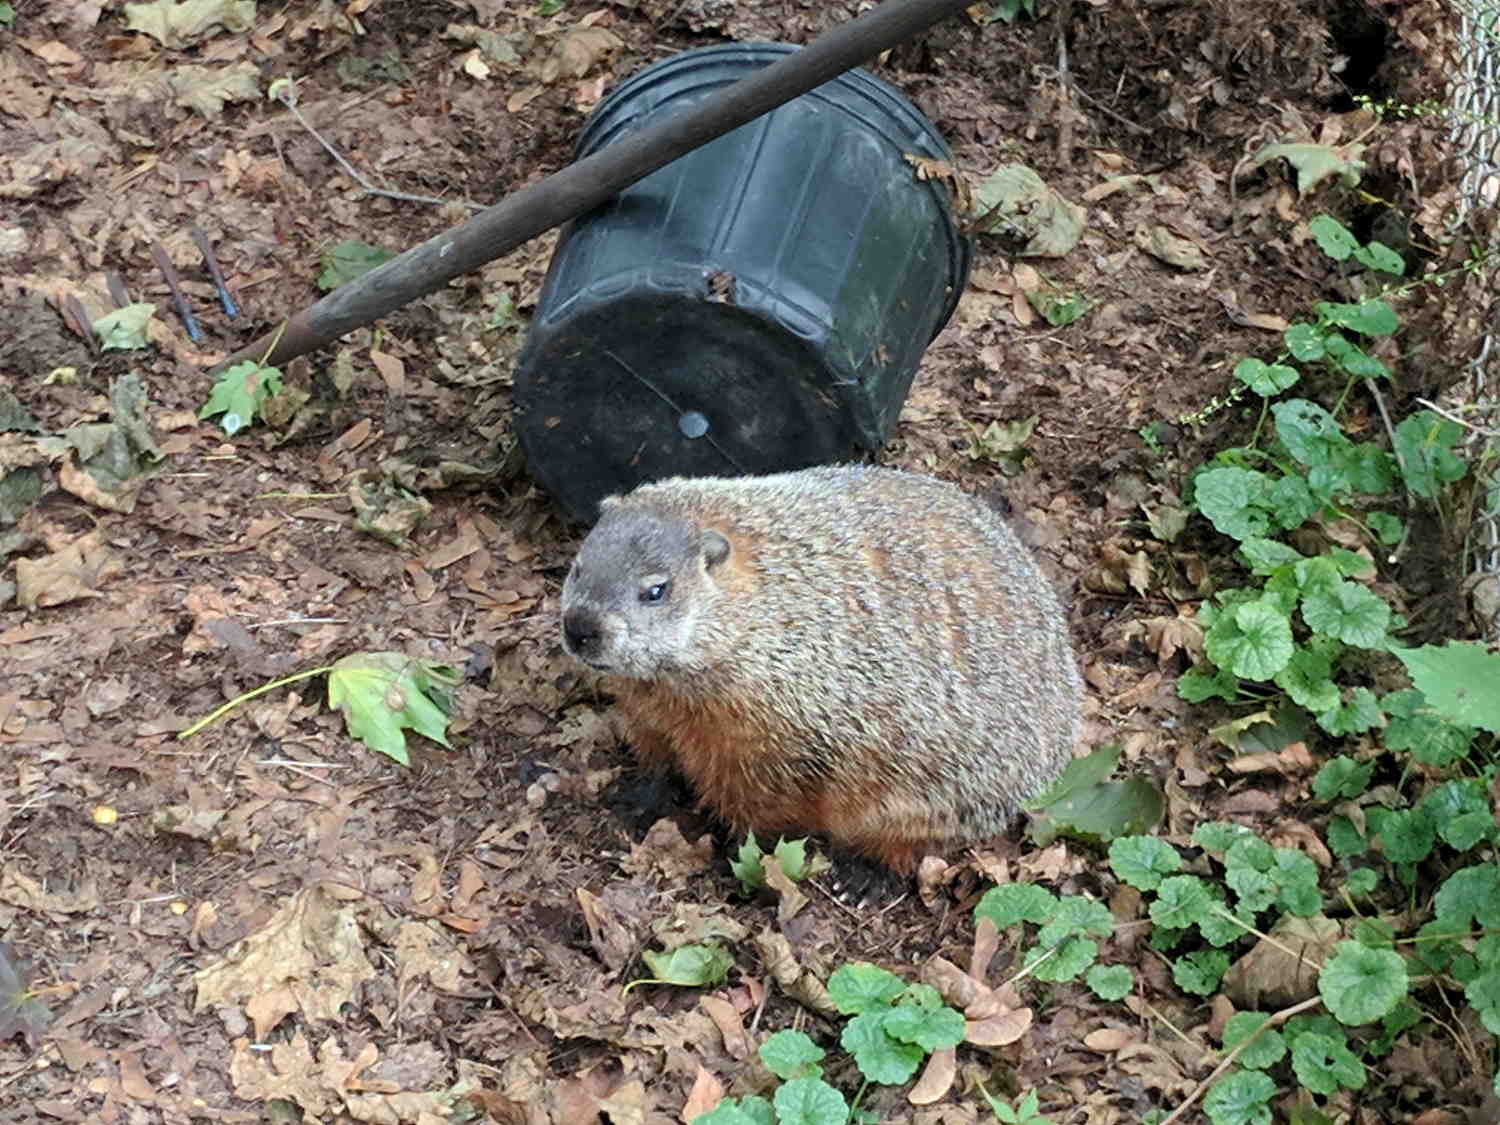
Mary confronted this critter in the garden, whereupon it fled into the compost bin:
Groundhog in the compost bin – front
She barricaded it with spare tomato cages across the bin’s entrance, I wedged an aluminum sheet behind the cages, and we got the stinkeye for our efforts:
Groundhog in the compost bin – left
I deployed the hose, watered it for a few minutes, and we left it to consider its options. Groundhogs are pretty much waterproof, but we hoped the wetdown would be sufficiently unpleasant to mark the garden as “Here be dragons” in its mental map.
After an hour, it had vanished. We know from past experience that groundhogs can climb up-and-over the chain link fence surrounding the compost bin (it was a dog pen for the previous owners), although it knocked down the aluminum sheet and may have exited through the garden.
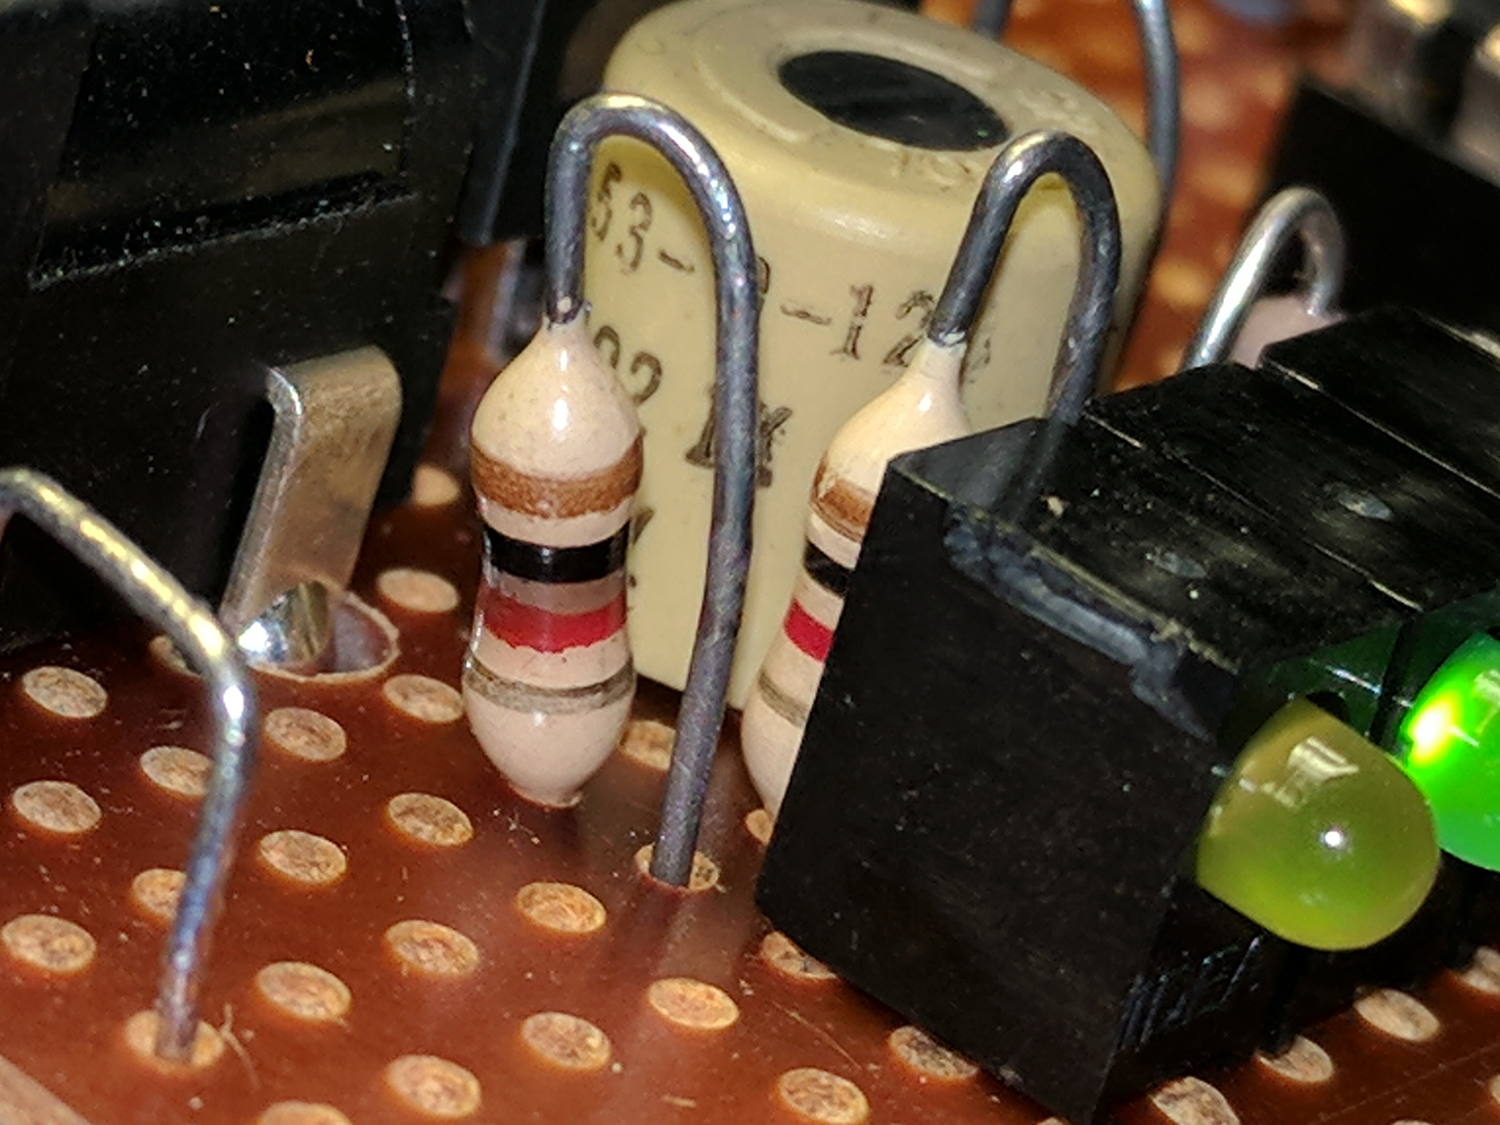
I eventually noticed the yellow LED indicating +24 V input from the power supply (previously, a noisy wall wart) was dark. Poking around revealed I’d inadvertently installed a 1 kΩ ballast resistor:
LF Preamp – burned power-on LED resistor
A 1/4 W resistor can’t dissipate half a watt for very long, as shown by the discolored circuit board around the leads and the faint smell of electrical death in the area.
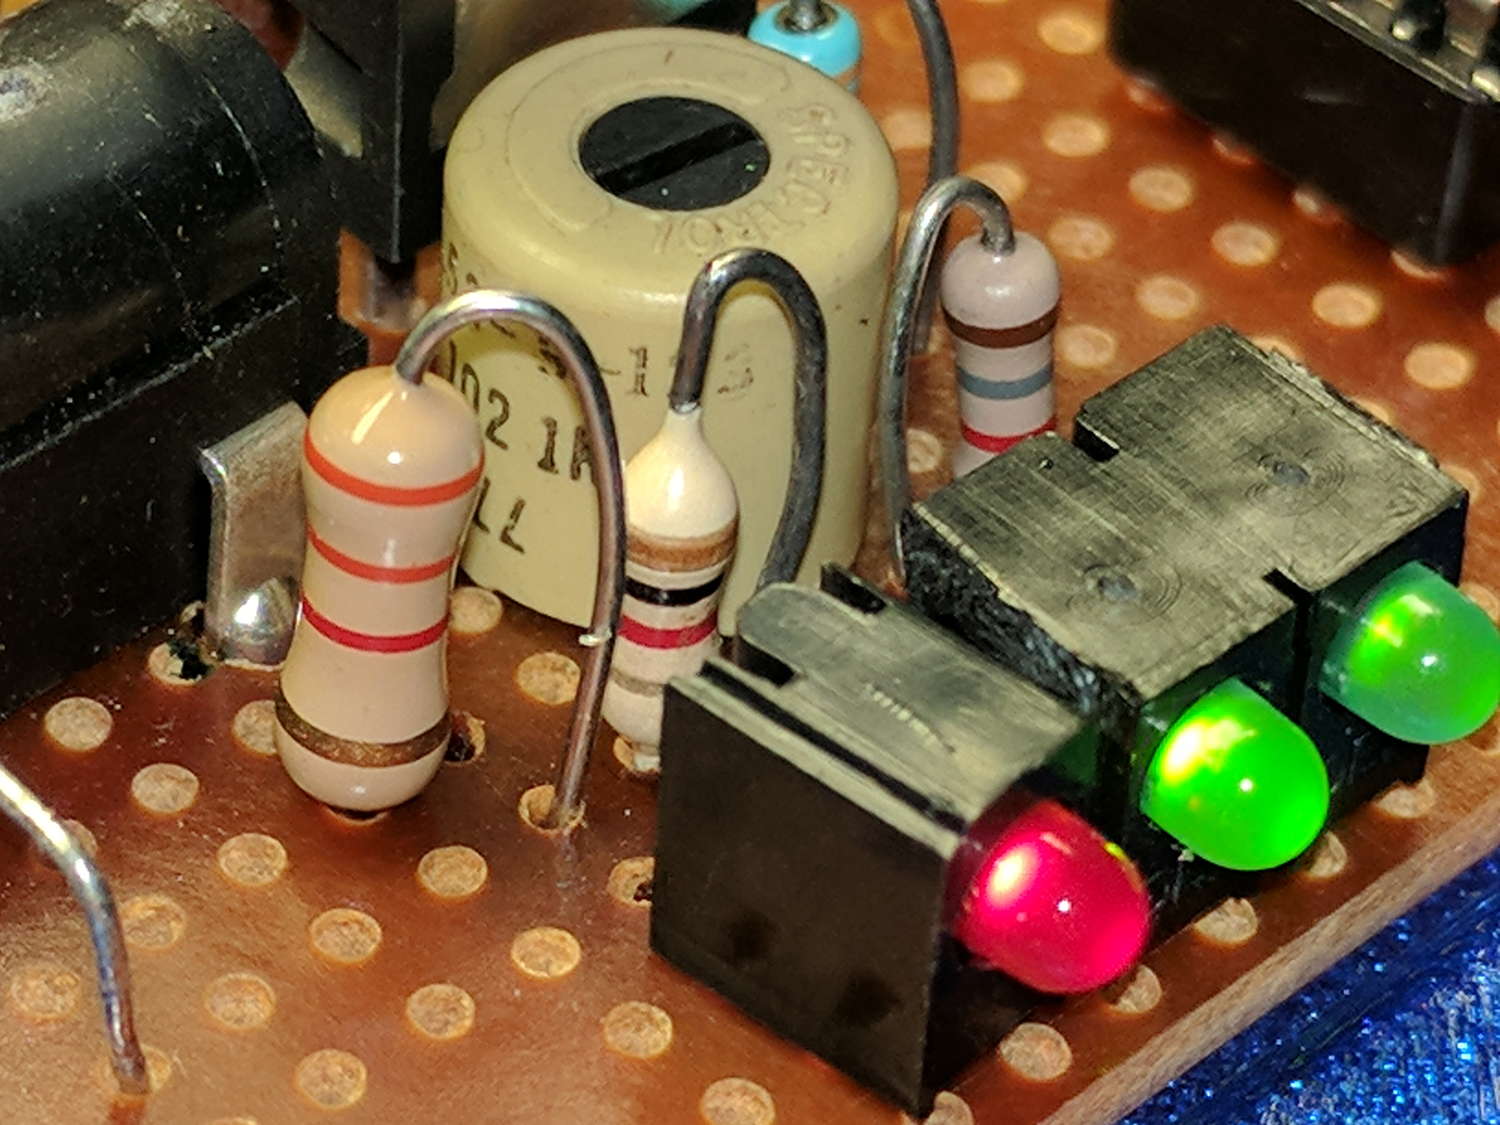
I swapped in a 3.3 kΩ resistor, the yellow LED lit up for a few seconds, then went dark again. This time, the LED was dead; apparently, it’d been overstressed for long enough to fail. I can’t be too annoyed.
Unfortunately, replacing the LED required removing the entire housing with all three LEDs, chopping off the defunct block, reinstalling the attenuated block with the two green LEDs, installing a similar red LED, and finally installing a nice 3.3 kΩ half-watt resistor: