Ed Nisley's Blog: Shop notes, electronics, firmware, machinery, 3D printing, laser cuttery, and curiosities. Contents: 100% human thinking, 0% AI slop.
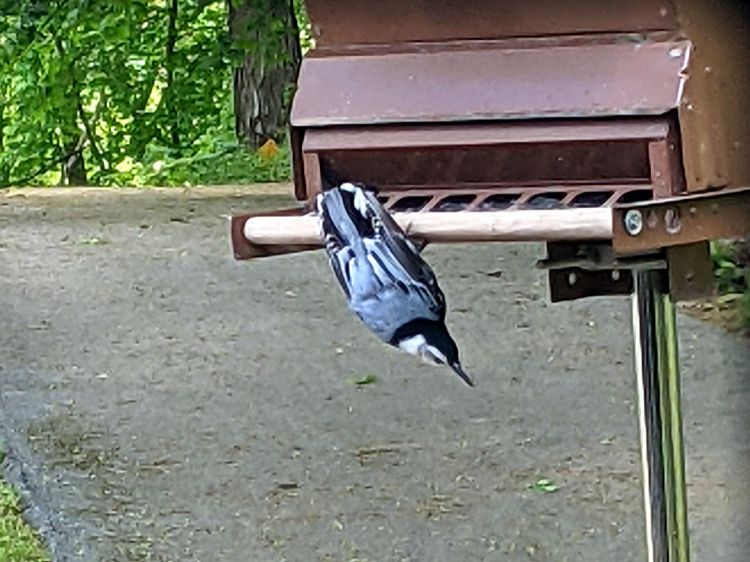
Mary spotted a White-breasted Nuthatch facing off against a red squirrel on the patio near the birdfeeder, wherein the nuthatch spread its wings to look as fearsome as possible. The squirrel seemed unfazed, perhaps because a bird the size of my thumb simply doesn’t pose much of a threat.
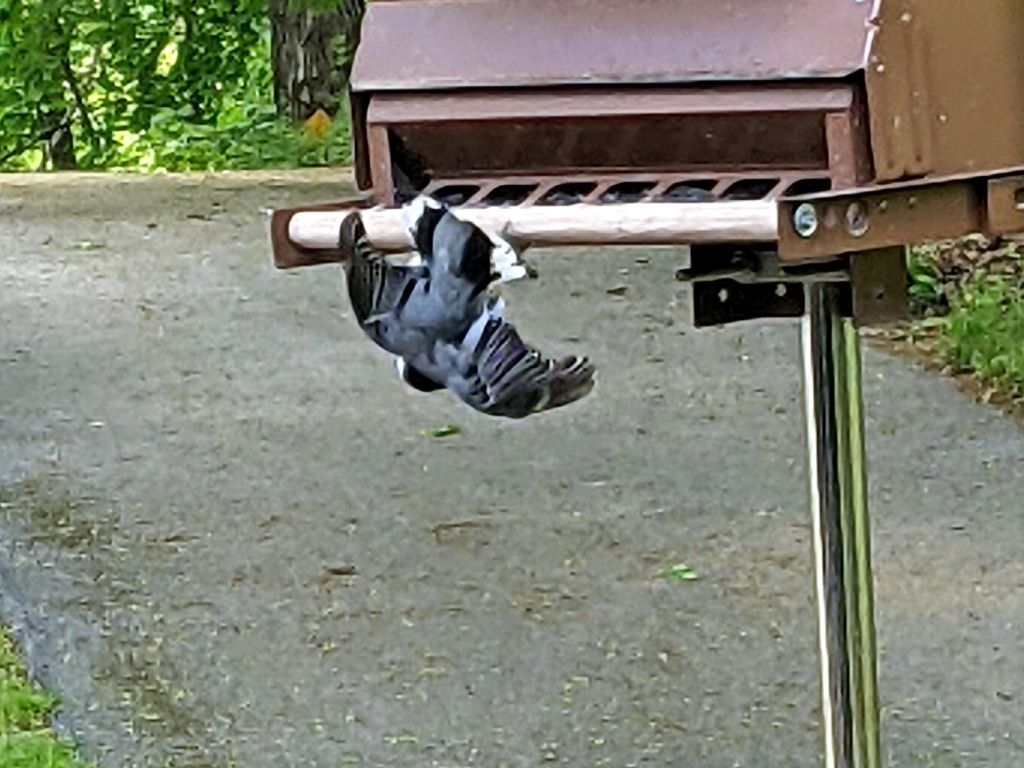
A few minutes later, the nuthatch repeated the display from the feeder, starting with a hostile side-eye:
Nuthatches are perfectly happy hanging upside-down from any convenient perch, so it’s not quite as ungainly as it may seem. However, the threat bounced off the squirrel, which continued stuffing itself from seeds scattered by none other than the nuthatch.
The nuthatch threat display seems identical to the nuthatch courtship display, so we may have been witnessing an offer for rishathra.
Ya never know!
Taken through two layers of 1955 window glass with the Pixel 3a zoomed all the way, then ruthlessly cropped.
I knew this would happen, so I made sure to not order anything that could possibly arrive at the same time:
Grease cartridge – casual packaging
I’ll apply the grease by hand, so the fact the cartridge cannot fit into a piston-fed gun doesn’t matter:
Grease cartridge – cap damage
I recently placed one order for a BFW and another for four small bottles, all of which arrived in a single box with a thoroughly flattened air pillow strip. Fortunately, the bottles were plastic and survived unscathed, but I’m sure it got ugly in there.
Given that one order for multiple items has arrived in three different boxes on two different days, it’s exceedingly difficult to work around Amazon’s corporate-level indifference for safe packaging.
This happened while switching from natural to black PETG:
M2 nozzle clog – exterior
A closer look:
M2 nozzle clog – exterior detail
Those pix happened after trying to extract whatever-it-is with tweezers, so it’s definitely something with a higher melting point than PETG.
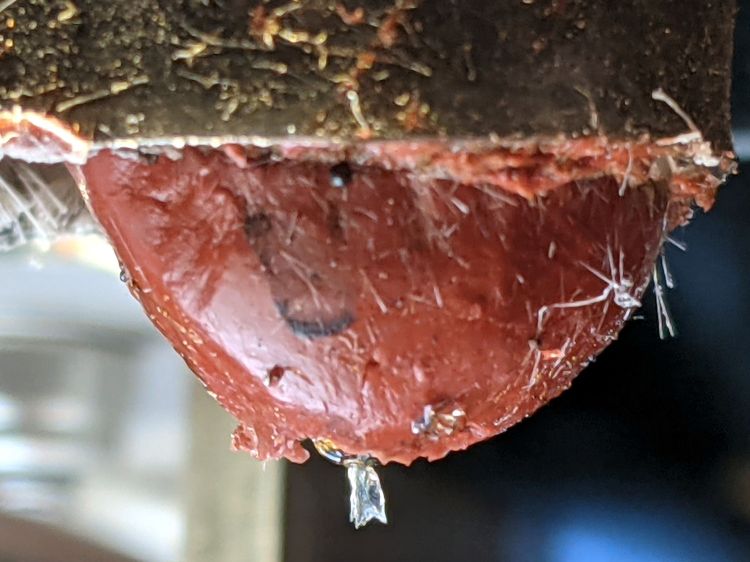
Removing the (warm) nozzle with the block held in a vise reveals a tuft of something:
M2 nozzle clog – interior
The tuft accumulated several turns while unthreading the nozzle from the hot end.
Heating the nozzle a bit more released the tuft:
M2 nozzle clog – extracted tuft
The black-to-clear transition tailing off at the bottom came from the PETG around the tuft in the cone-shaped end of the nozzle above the aperture. The 100 mil squares suggest the tuft was a distinct entity, rather than a collection of threads, and might have been over 5 mm long.
Perhaps a fragment of PTFE or another high-melting-point plastic?
Reassemble in reverse order, reset the nozzle to Z=0 on the platform, and it’s all good.
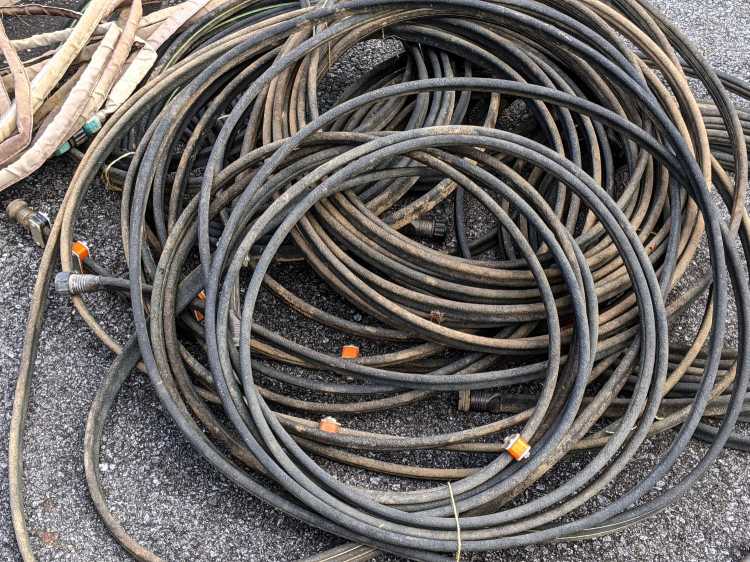
In the unlikely event I ever give another in-person presentation about 3D printing and what it’s good for, I’ll have some interesting show-n-tell samples. Might have to soak the dirt off, though.
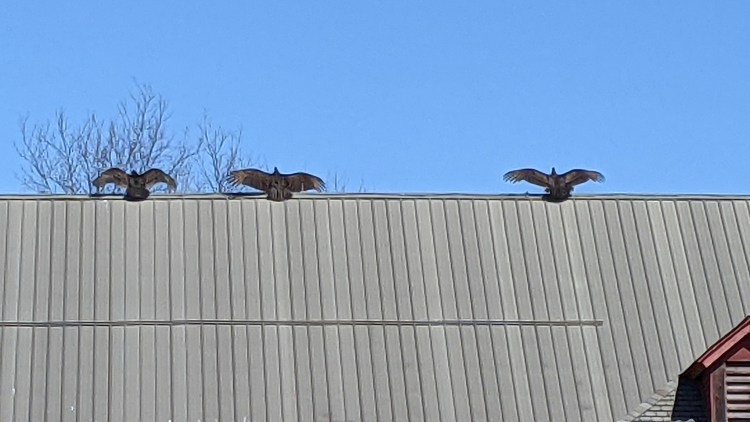
Spotted after pre-season prep at Mary’s Vassar Farms garden:
Vultures sunning
It must feel really good up there atop the old barn, even if they’re sunning themselves to kill off parasites.
Taken with the Pixel 3a zoomed all the way in at 7× from a bit over 200 feet:
Vultures sunning – photo range
Then cropped and sharpened just a smidge. Not a great picture, but good enough for practical purposes; the Good Camera + Big Glass takes better pix and is too awkward to carry in my pocket.