Ed Nisley's Blog: Shop notes, electronics, firmware, machinery, 3D printing, laser cuttery, and curiosities. Contents: 100% human thinking, 0% AI slop.
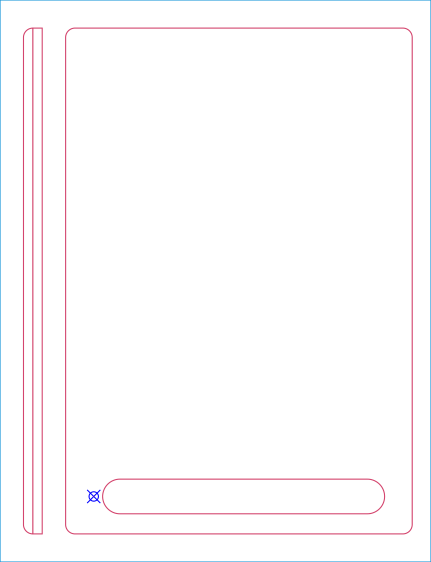
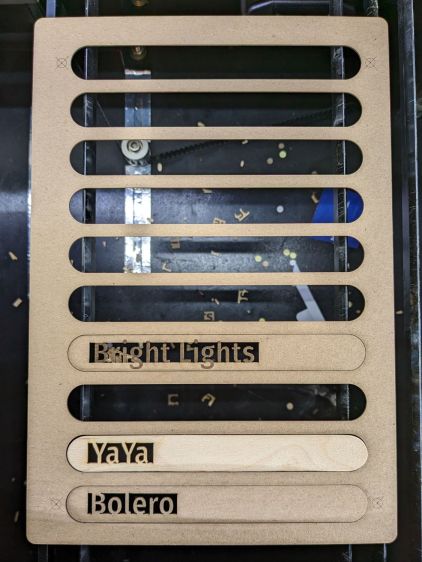
A good rule of thumb says never do any more work than absolutely necessary, so the rest of the fixture comes from linear arrays replicating the stick slots and targets:
Craft Stick Plant Markers – fixture cut layout – full
The two strips over on the left (with a common cut down the middle) get glued to the underside of the fixture:
Craft Stick Markers – fixture rail gluing
They’re exactly 5 mm apart to bracket one of the knife-edge bars supporting the fixture. The bar is upside-down to put its flat side upward:
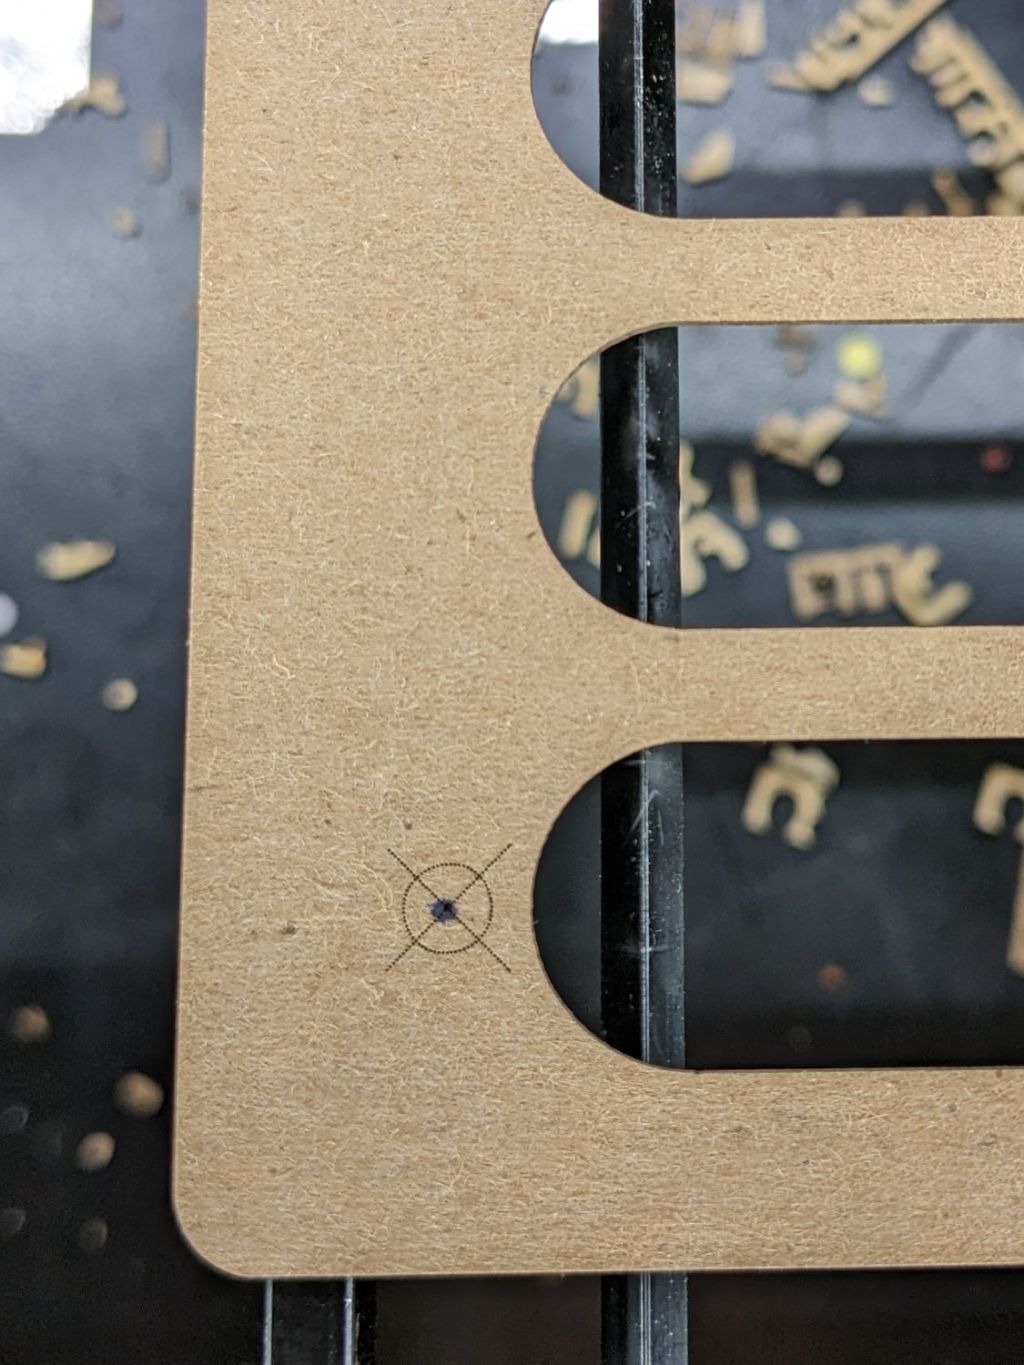
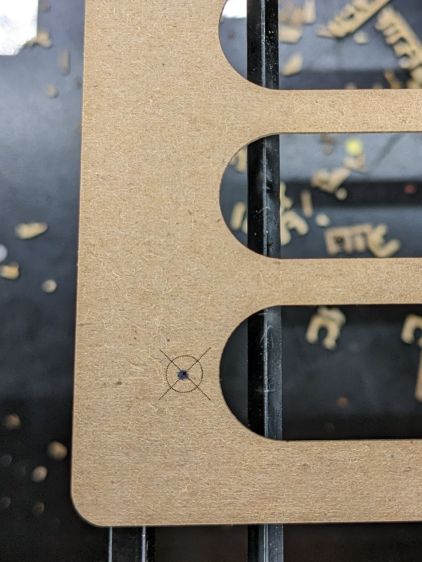
Craft Stick Markers – fixture target detail
Yes, the fixture is made of chipboard, mostly because it’s about the same thickness as a craft stick and it’s cheap & readily available. Each target gets an ink blot to make it more conspicuous; there is also a tiny hole burned through the chipboard at the center to mark the other side for the strips.
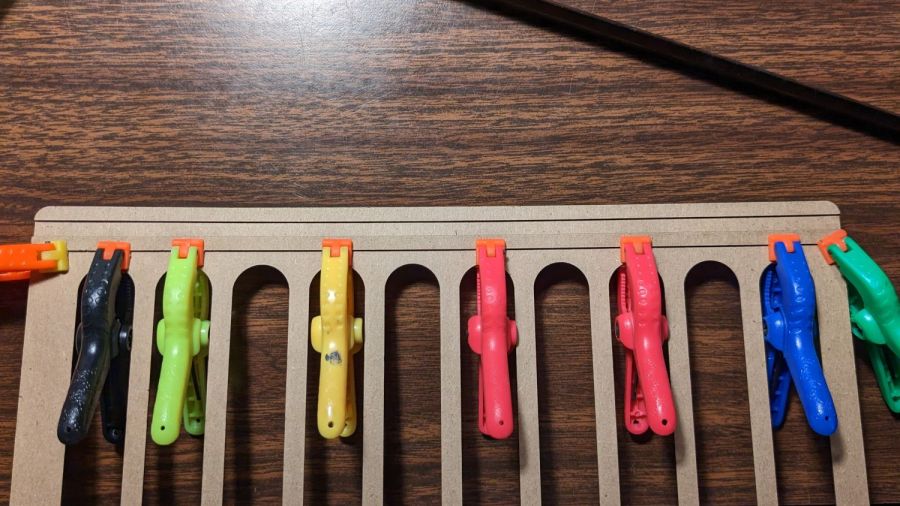
Two knife-edge bars (sharp side up) support the sticks near their ends, well out of the cutting path, to prevent scorch marks:
Craft Stick Markers – fixture overview
It’s worth noting the knife-edge bars are 5 mm wide and the platform spaces them on 3/8 inch = 9.525 mm centers. Not 10 mm, not 9.5 mm, exactly 3/8 inch. Kinda like the platform leadscrews: a 4 mm lead thread driven by a belt with 0.2 inch pitch. Only in America.
This doodle captures the key dimensions down there in the corner to work out where the strips should go:
Craft Stick Plant Markers – fixture vs laser bar spacing doodle
Now, to convert names from a garden map into plant markers …
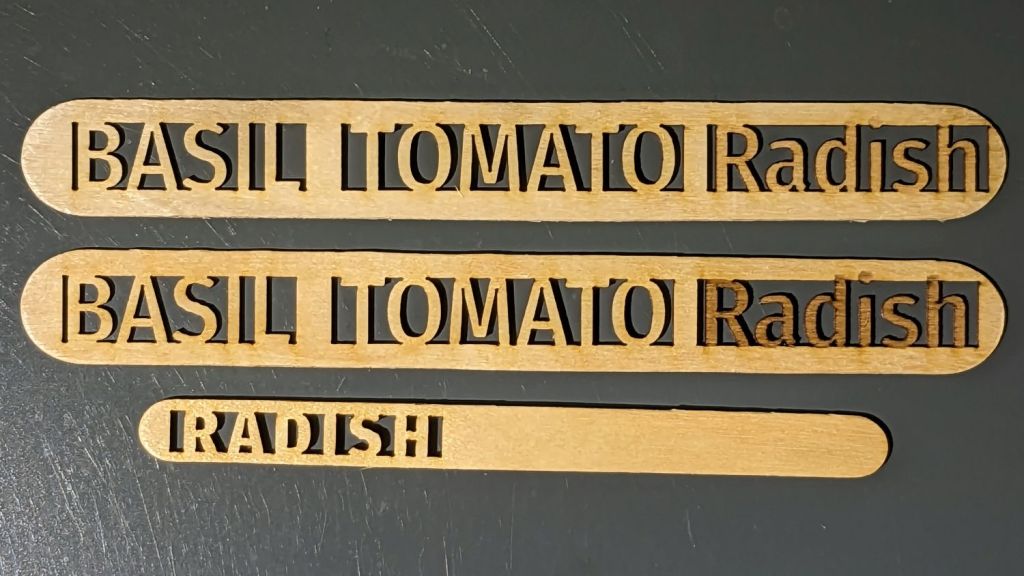
Inspired by a LightBurn forum post I can no longer findonce again tracked down, I tried my hand at popsicle craft stick plant markers:
Plant Markers – craft stick tests
You’d have only one name on the end of each stick, with the uncut section jammed into the ground: these are test pieces to demonstrate capability.
Wood is better than acrylic because it checks all the eco-friendly attribute boxes. Admittedly, craft sticks don’t exactly grow on trees, but we seem to ignore such externalities in nominally eco-friendly products.
Bonus: a recurring revenue stream from the replacement market!
The design, such as it is, involves subtracting the letters from a rectangle maybe half a millimeter short of their top & bottom extents and a few millimeters longer than their length. Using a chonky font with generous letter spacing may prevent prompt disintegration by weathering:
Plant Marker – craft sticks – LB layout
Engraving the letters marks their uncut sections outside the rectangle, although we know laser char on wood-ish materials fades in sunlight. The two big sticks have Radish engraved with varying density; the darker version looks better against a lighter background never found in an actual garden.
Mary thinks they might be a nice fundraiser for the next Master Gardener Plant Sale.
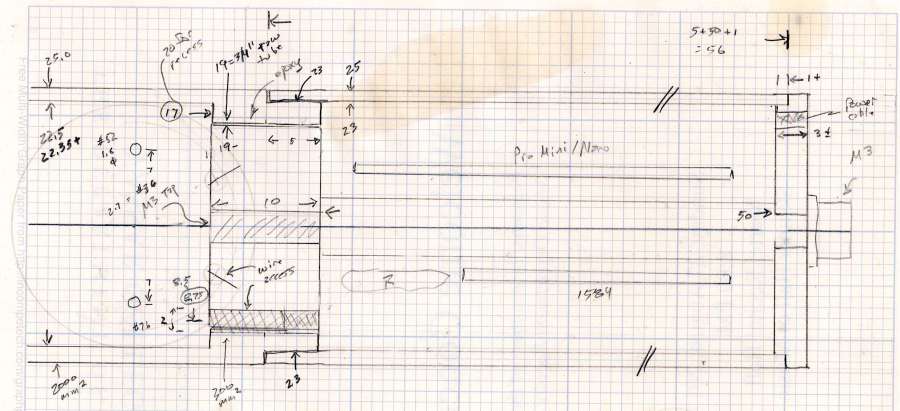
Having acquired some thick-wall (1 inch OD, ¾ inch ID) aluminum tube, making the LED heatsink and lens holder for a running light generates a lotless scrap. A new doodle gives the dimensions in a rather Picasso-ish layout:
Running Light – dimension doodles
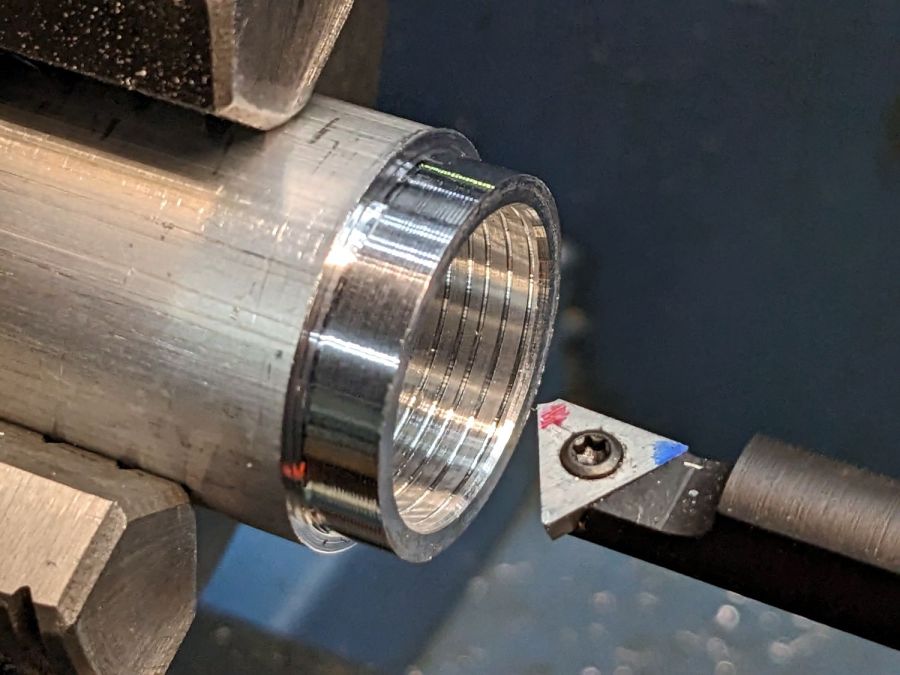
The back end of the tube gets turned down to 23 mm OD and cleaned up to 19 mm ID, then scored to give the epoxy something to grip:
Front Running Light – Heatsink shell scoring
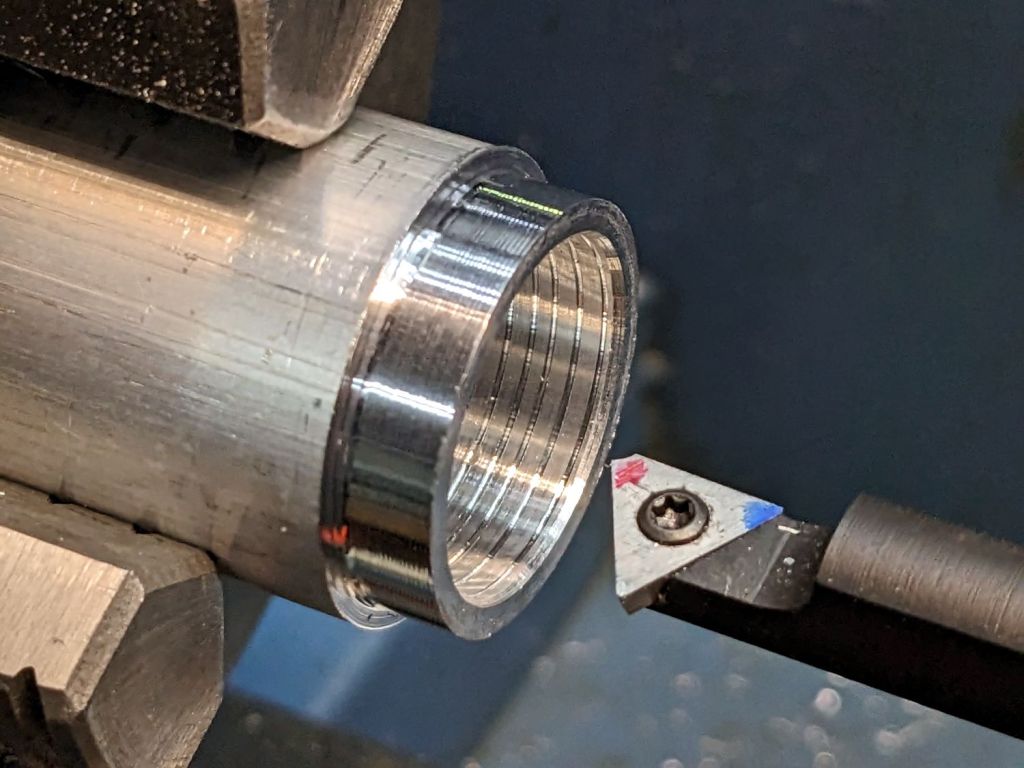
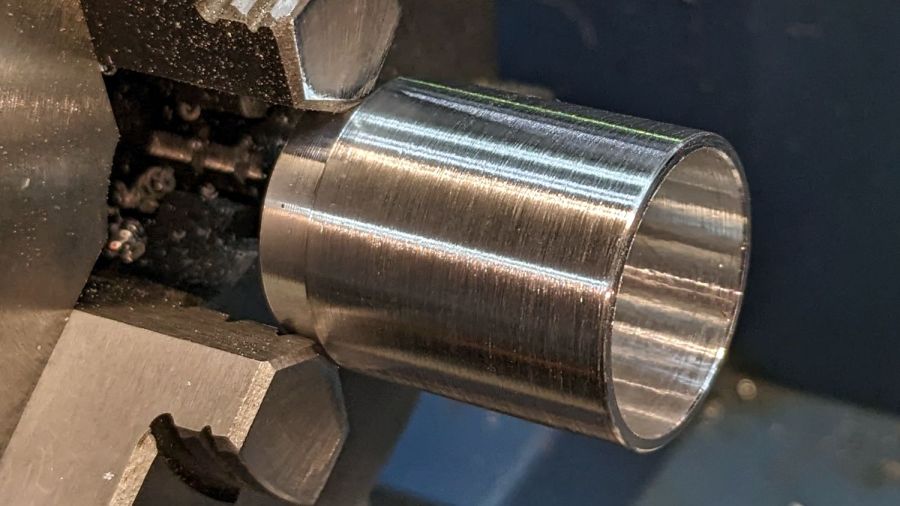
The front end gets bored to 22.5 mm for the lens holder and has its OD cleaned up to 25 mm:
Front Running Light – finished shell
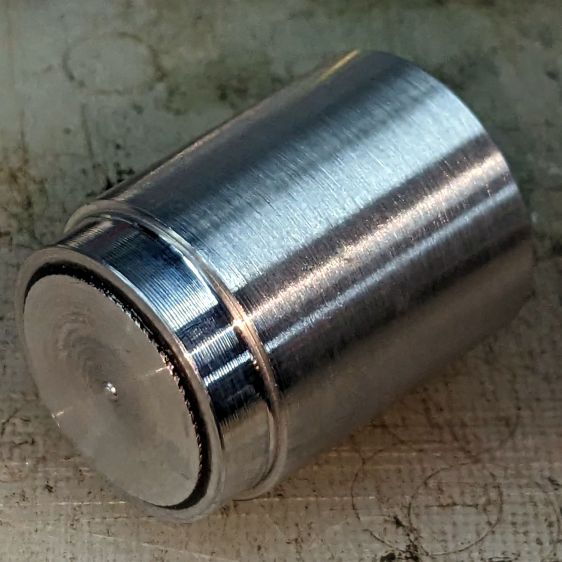
Clean up the end of a ¾ inch rod to 19 mm OD, knurl it a little to increase the OD ever so slightly and improve its griptivity, slice off a bit more than 10 mm, butter it up with JB Weld epoxy, and shove it into the shell with its front end aligned and its back end sticking out:
Front Running Light – epoxied plug in shell – rear
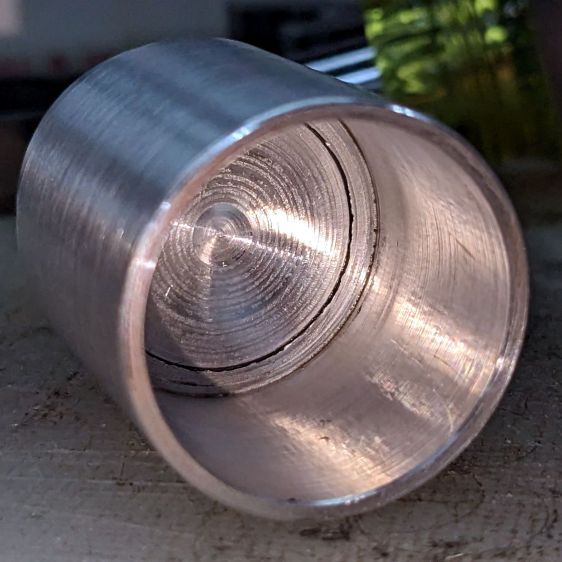
Face off the back end and the front end looks fine as assembled:
Front Running Light – epoxied plug in shell – front
Grab it in the Sherline mill’s three jaw chuck to:
Drill & tap the M3 central hole for the stud holding the circuit plate to the back end
Drill 1.6 mm blind holes for the circuit plate pins
Drill 2 mm through holes for the LED wires, 60° apart
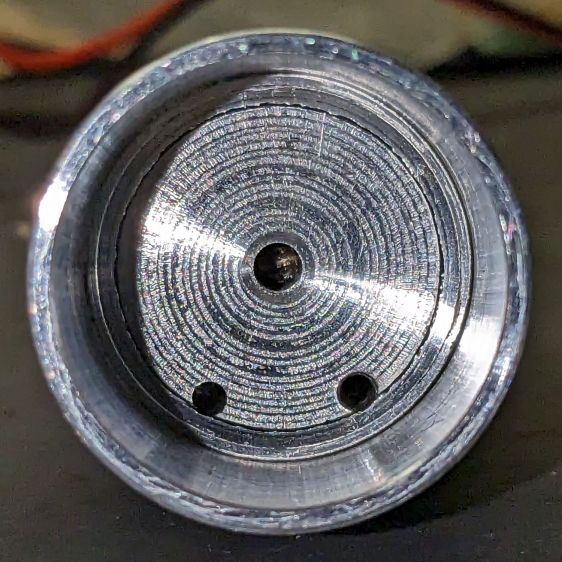
Which looks like this from the front:
Front Running Light – drilled heatsink – front
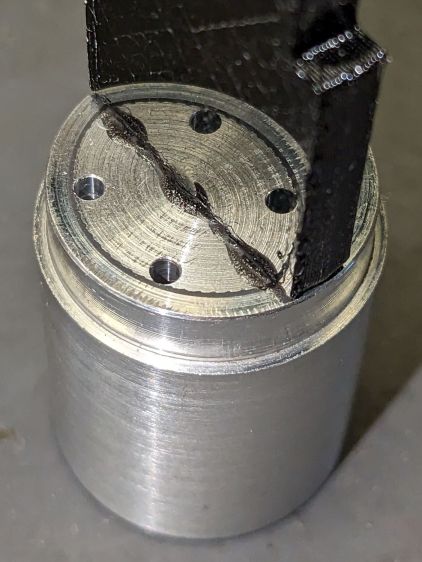
And like this with the circuit plate screwed & glued to the rear:
Front Running Light – circuit plate mounted
Clean up the OD of some ¾ inch PVC pipe to 25 mm, bore it out to 23 mm.
While the Sherline is set up, drill a pair of 2 mm holes in the lens holder for the wires, aligned so they’ll match the heatsink holes.
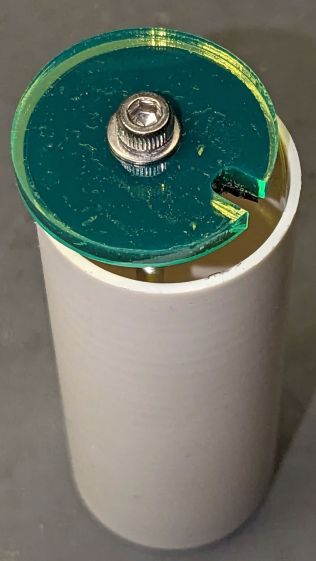
Because we live in the future, laser-cut the rear cap from some edge-lit acrylic with a black inner disk:
Front Running Light – PVC tube – end cap
Cutting that cap with the notch included is now trivially easy, compared to the previous machining.
The color is apparently a side effect of the CO₂ laser vaporizing the plastic, because it emerged during the engraving process.
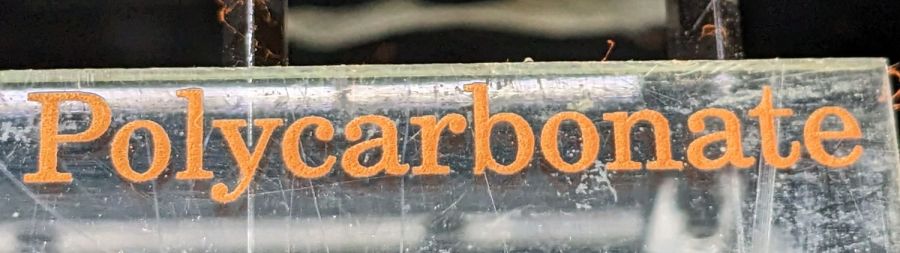
Polycarb tends to get all melty when cut, so it’s not particularly good for laser machining. Indeed, the engraving produced filaments of (presumably) melted / condensed plastic that I brushed off after taking this picture:
Polycarbonate engrave – 400mm-s 20pct 0.1mm – as cut
If you could put up with the filaments and the poor cut edges, it might be useful for front panel legends and suchlike.
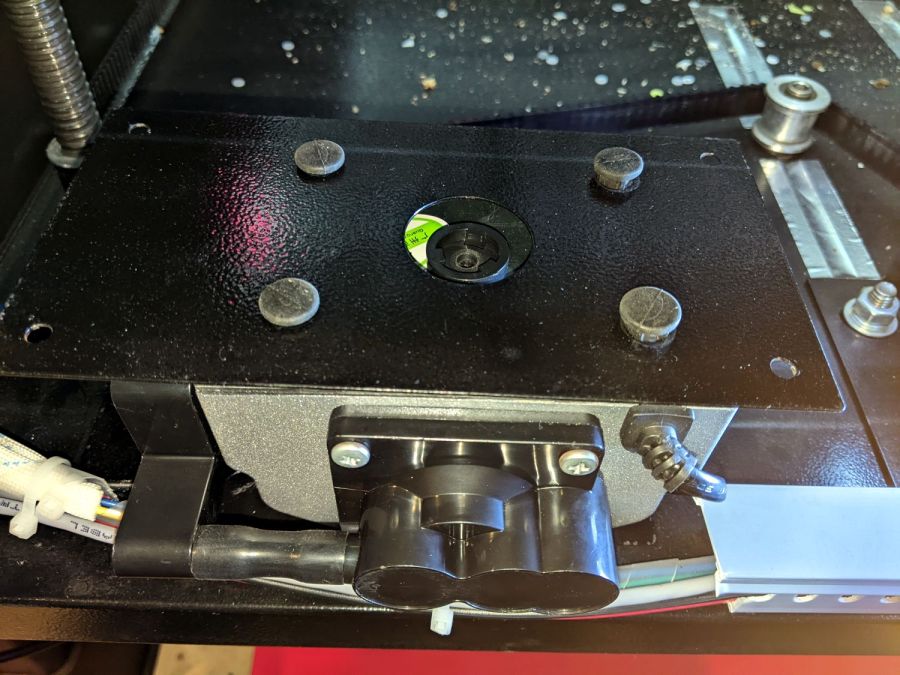
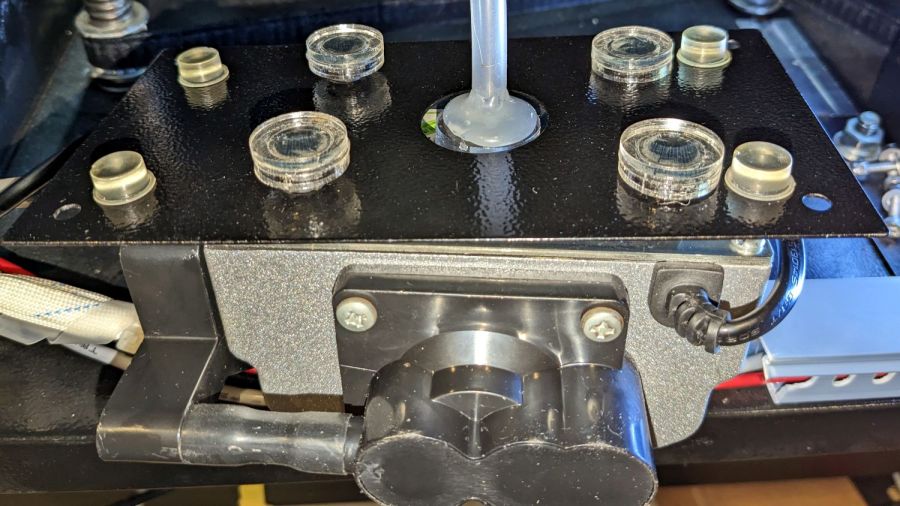
Note that it’s possible to see the inlet, but not do much with it. I think the bottom plate could be pried off those squishy rubber pillars supporting / isolating the pump, but I didn’t see any need to do so.
The doodle I made at the time gives the dimensions:
OMTech 60 W Laser Air Assist – pump inlet fitting measurements
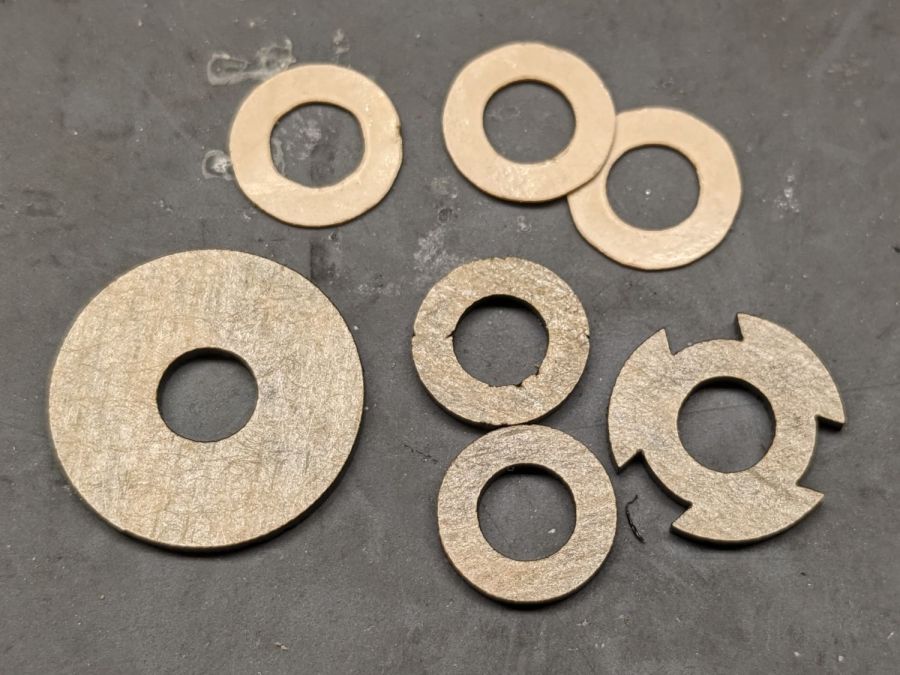
Back then, I thought of 3D printing the fitting, but the fact that the parts had to be 1.5 mm thick suggested laser cutting the parts from acrylic sheet:
Laser cutter air pump – keyed fitting A – parts
The three top disks come from a 3M LSE adhesive sheet and hold the three layers together, with one spare because I know better than to cut exactly as many as I think I’ll need:
Laser cutter air pump – keyed fitting – assembled
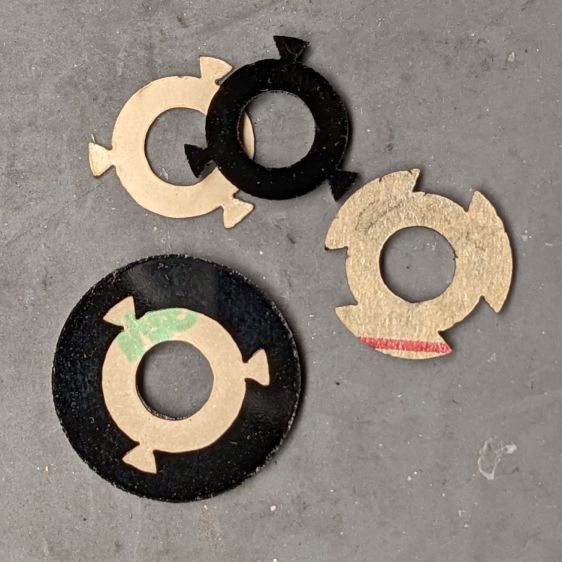
The alert reader will note the middle layer in that picture isn’t a simple round disk. After putting the first version together, I realized the keyed bottom layer could continue turning until it fell out, so I added stops to the middle disk:
Laser cutter air pump – keyed fitting B – parts
Those stops came from the bottom layer layout by welding together three copies of the key opening:
Laser Cutter Air Assist Pump Fitting – LB design layout
Space three of those shapes around the ring, subtract them from the outer disk (the same size as the keyed layer), weld them to the middle disk (the same size as the previous middle), and the stops appear as if by magic. Gotta love this geometry stuff.
The same design produced matching adhesive disks that I applied with tweezers, but if you were doing it in production you’d definitely want to apply a sheet of adhesive to a sheet of acrylic and cut them in the same operation.
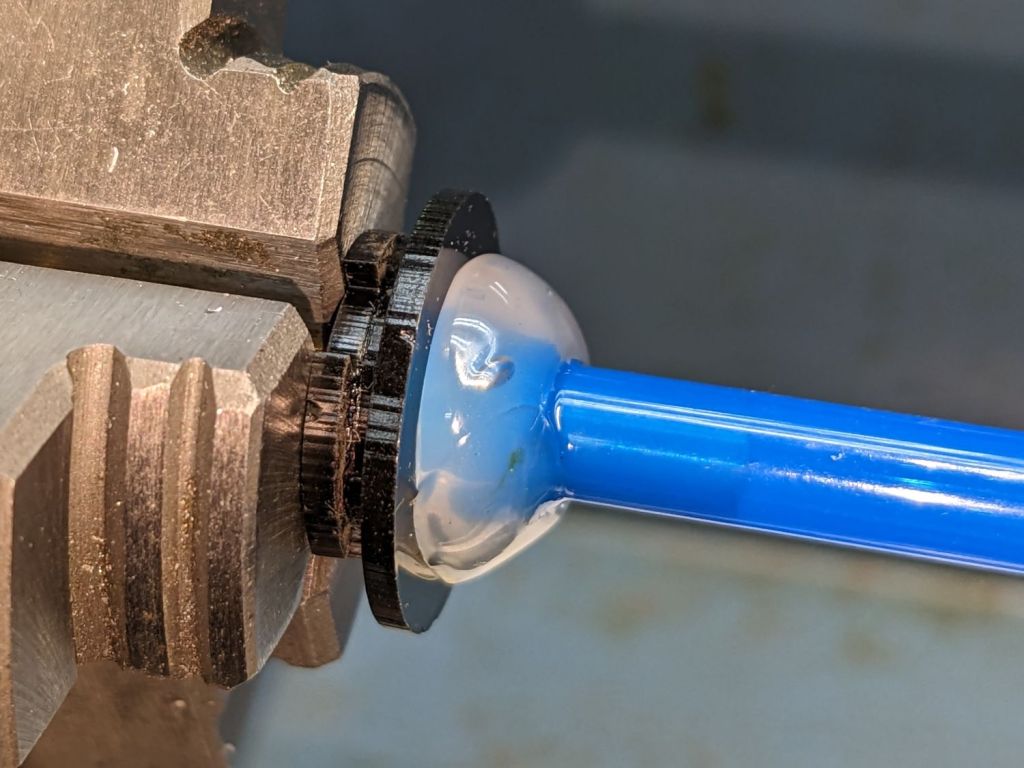
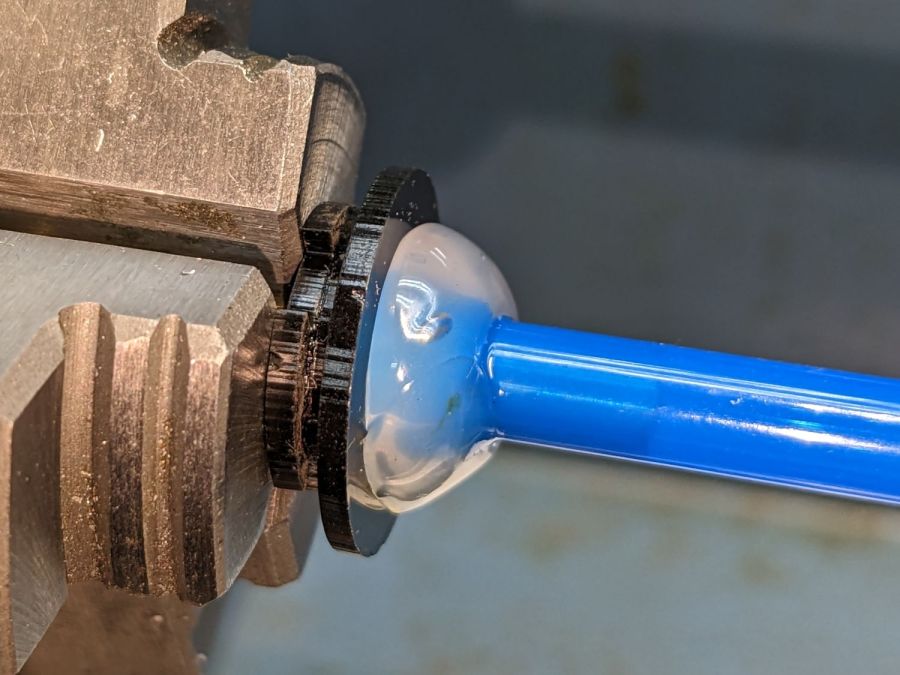
Soften the slightly curved PVC tubing with a heat gun, persuade it to become straight, jam a drill bit inside and grab it in the lathe chuck to keep the fitting perpendicular, glob hot-melt glue around the tubing to hold it in place, and let it cool:
Laser cutter air pump – fitting hose glue
Hot melt glue doesn’t adhere well to acrylic, so cut & apply a disk of LSE adhesive between them, because it sticks like … glue … to both substances.
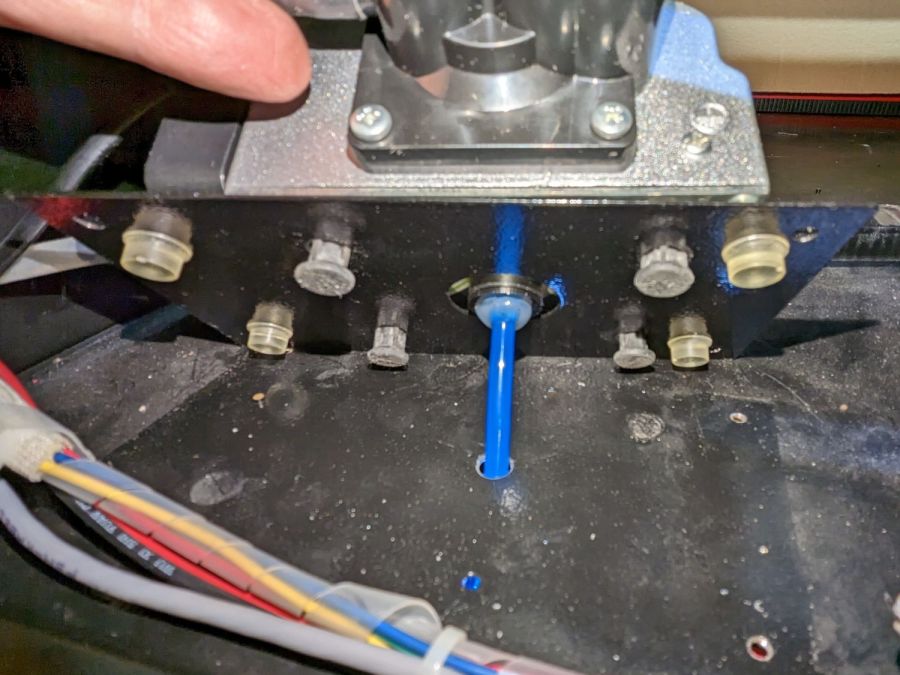
Mark and step-drill a hole in the bottom of the laser cabinet, install the fitting on the pump, line things up, and it’s ready to screw down:
Laser cutter air pump – first trial fitting
Whereupon I discovered the four silicone rubber feet I added to support the pump base plate and keep it from vibrating against the cabinet let the flexy rubber posts supporting the pump extend too far, thus causing the whole pump to rest on the glue around the fitting.
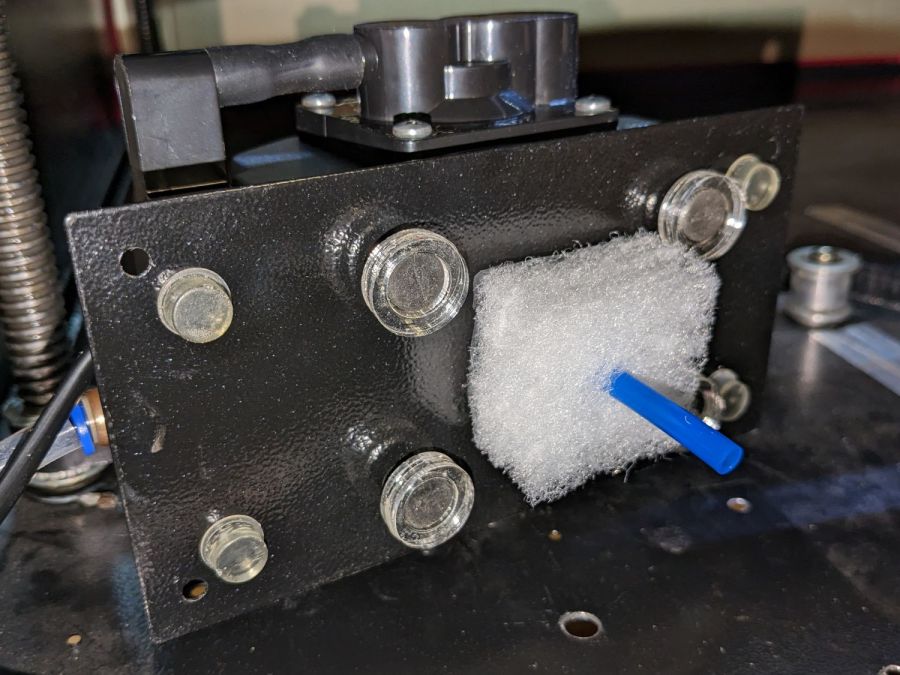
Well, I can fix that and, while I’m at it, a snippet of fibrous stuff will keep the tube from rattling around:
Laser cutter air pump – bottom view – assembled
The four clear disks are 3 mm acrylic stuck to the rubbery feet with more LSE adhesive, with rings around the top to keep everything aligned. It may be possible to line up all four of those things while lowering the pump in place, but not for me.
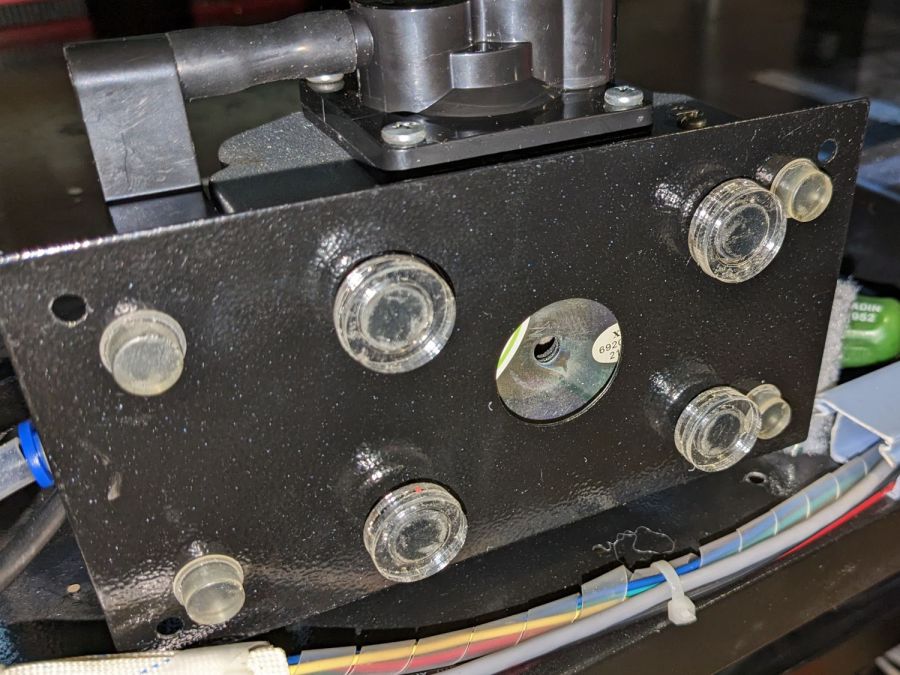
With all that once again ready to screw down, the blue tube and its fuzzy felt bumper fell right off, taking the pump’s air inlet connector along. Much to my surprise, the pump draws air through a simple 6 mm hole in its bottom plate:
Laser cutter air pump – without fitting socket
Now, the reason I went through all these gyrations was because I had examined that connector, decided it was an integral part of the pump, and there was no way for me to get it off without tearing the pump apart or applying brute force.
Apparently, all the twisting & turning I did while getting the fittings assembled worked the connector’s unthreaded stem loose in its hole, ready to come out with the slightest pull.
Verily: Hell hath no fury like that of an unjustified assumption.
So I cut out a simple disk of 4.5 mm acrylic, hot-melt blobbed a 6 mm ID silicone tube into it, stuck it onto the pump with a (punch-cut!) disk of 3M double-sided foam tape, and declared victory:
Laser cutter air pump – simple disk fitting
Fortunately, the step drill I used on the cabinet left a 9.5 mm hole easily passing the silicone tube’s 9 mm OD, so it all fit together just like I knew what I was doing.
The silicone tubing has a much larger ID than the original plastic fitting, but the assist air flow remains around 10 l/min. That’s down from the 14 l/m when I installed the flowmeter and 12 l/min with the dual-path assist air control plumbing, but didn’t change with all this fiddling, so the real restriction is in all the blue tubing and myriad fittings on the way to the nozzle.
On the upside, I now know a bit more about small-scale laser cutting and am well-satisfied with the results.
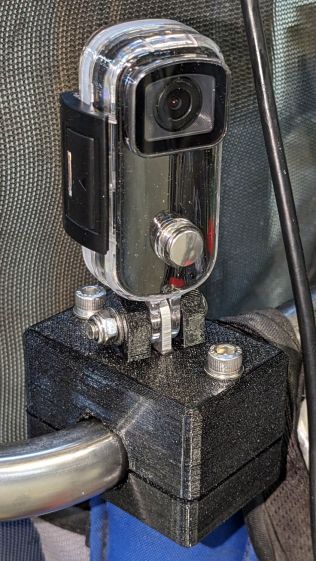
The C100+ has a non-replaceable lithium pouch battery that may not last for the hour or so we generally ride, but at least this is a starting point for seeing how the thing works.
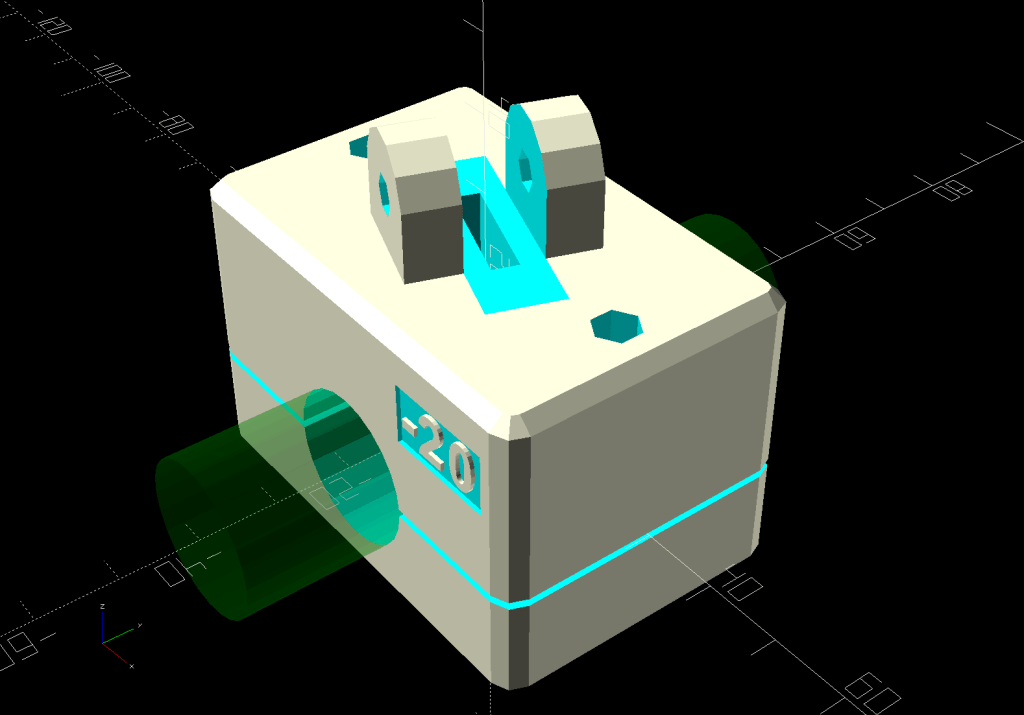
The PrusaSlicer preview shows the support structure inside the seat rail arches:
SJCAM C100 Mount – slicer
That appears under the four central facets of each arch, where I “painted” the support enforcers, because the automagic supports fill the entire arch and are basically impossible to pry off.
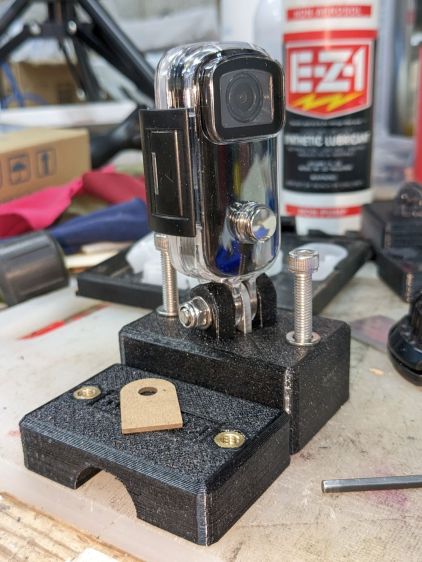
The hole between the ears on the top holds an aluminum tab intended to diffuse the wobble from that tall camera. A laser-cut chipboard template simplified drilling & cutting the tab from an aluminum sheet:
Tour Easy – SJCAM C100 mount – test fit
The tab and the brass inserts are held in place with JB Weld Plastic Bonder, my new go-to adhesive for such things.
The camera includes WiFi and the inevitable app lets you download images without opening the case. Because I’ll be charging the camera after each ride, I may as well just haul the whole thing inside, plug it into a USB port, and proceed as before.
For future reference, the manual details the operating modes:
SJCAM C100 Manual – Modes
Because the camera powers up with WiFi enabled and I have no plans to communicate with it while riding, the startup sequence will be:
This file contains hidden or bidirectional Unicode text that may be interpreted or compiled differently than what appears below. To review, open the file in an editor that reveals hidden Unicode characters.
Learn more about bidirectional Unicode characters