Having verified that putting an assist air pump inside the laser cabinet is a Bad Idea™, I set about building a fitting to attach to the air pump’s inlet connection:
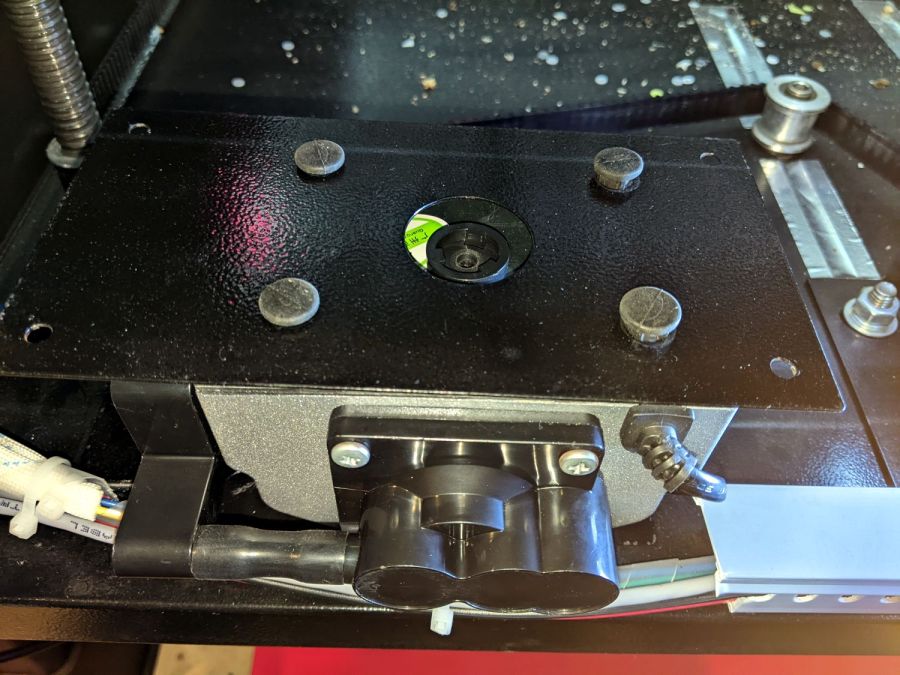
Note that it’s possible to see the inlet, but not do much with it. I think the bottom plate could be pried off those squishy rubber pillars supporting / isolating the pump, but I didn’t see any need to do so.
The doodle I made at the time gives the dimensions:

Back then, I thought of 3D printing the fitting, but the fact that the parts had to be 1.5 mm thick suggested laser cutting the parts from acrylic sheet:
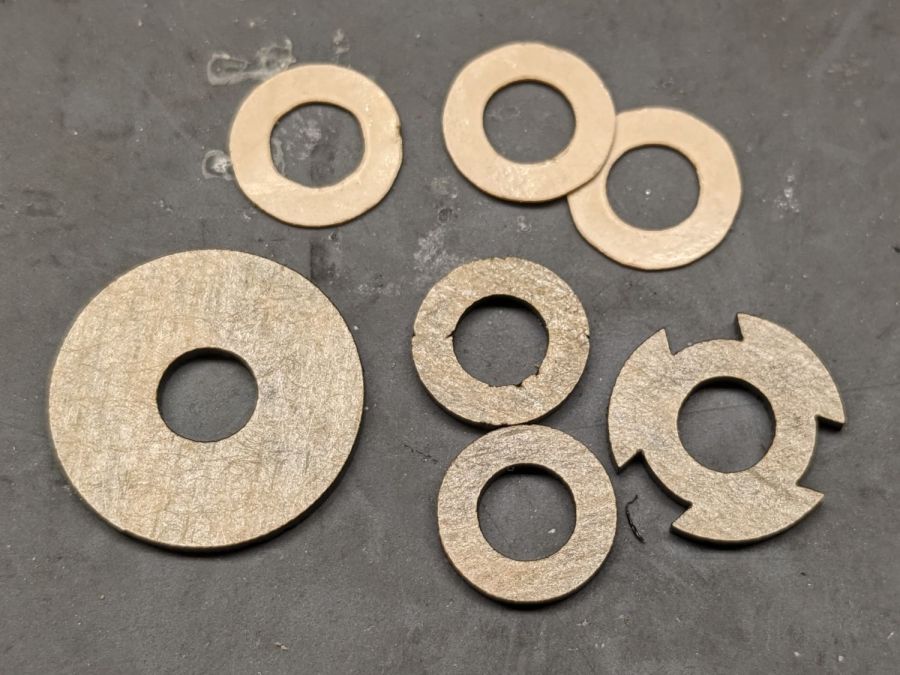
The three top disks come from a 3M LSE adhesive sheet and hold the three layers together, with one spare because I know better than to cut exactly as many as I think I’ll need:

The alert reader will note the middle layer in that picture isn’t a simple round disk. After putting the first version together, I realized the keyed bottom layer could continue turning until it fell out, so I added stops to the middle disk:
Those stops came from the bottom layer layout by welding together three copies of the key opening:

Space three of those shapes around the ring, subtract them from the outer disk (the same size as the keyed layer), weld them to the middle disk (the same size as the previous middle), and the stops appear as if by magic. Gotta love this geometry stuff.
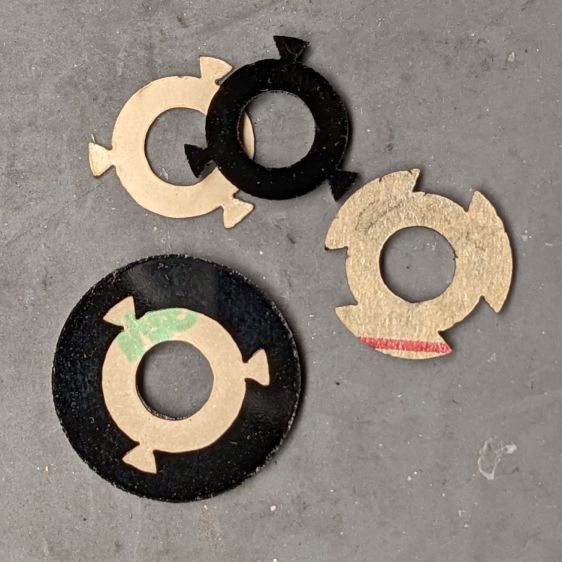
The same design produced matching adhesive disks that I applied with tweezers, but if you were doing it in production you’d definitely want to apply a sheet of adhesive to a sheet of acrylic and cut them in the same operation.
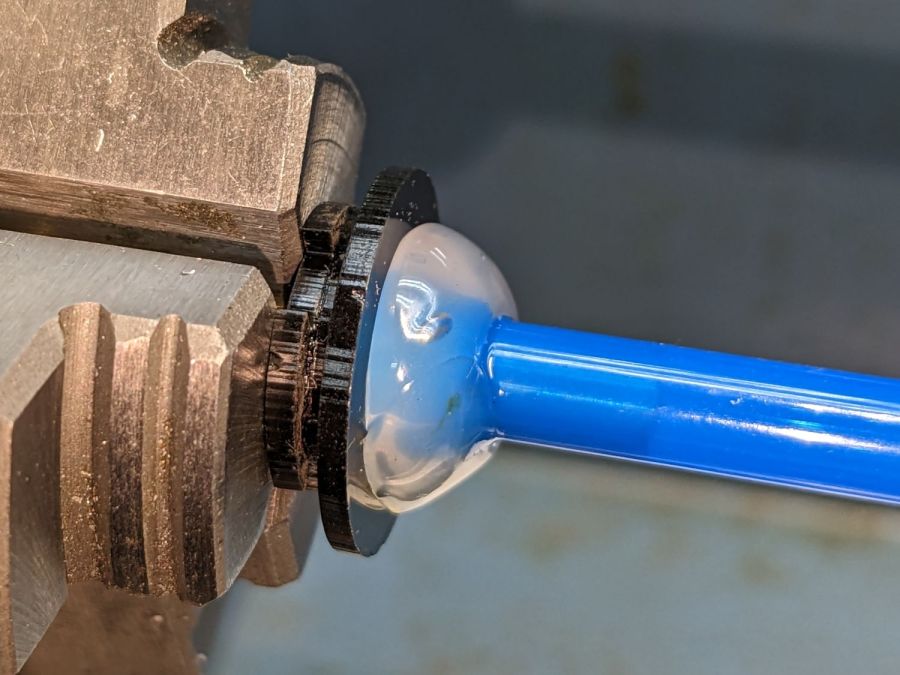
Soften the slightly curved PVC tubing with a heat gun, persuade it to become straight, jam a drill bit inside and grab it in the lathe chuck to keep the fitting perpendicular, glob hot-melt glue around the tubing to hold it in place, and let it cool:
Hot melt glue doesn’t adhere well to acrylic, so cut & apply a disk of LSE adhesive between them, because it sticks like … glue … to both substances.
Mark and step-drill a hole in the bottom of the laser cabinet, install the fitting on the pump, line things up, and it’s ready to screw down:
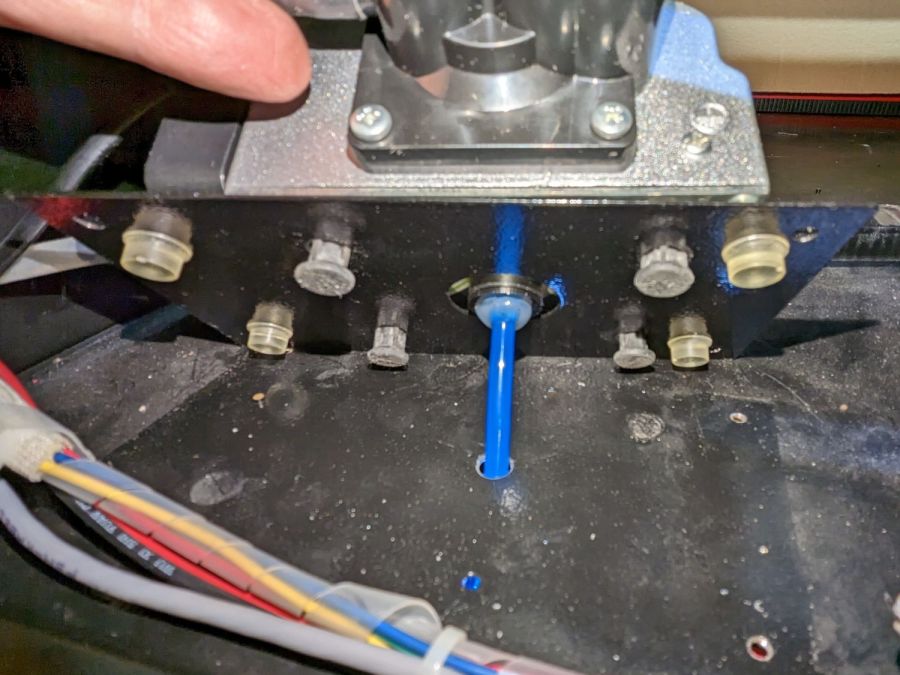
Whereupon I discovered the four silicone rubber feet I added to support the pump base plate and keep it from vibrating against the cabinet let the flexy rubber posts supporting the pump extend too far, thus causing the whole pump to rest on the glue around the fitting.
Well, I can fix that and, while I’m at it, a snippet of fibrous stuff will keep the tube from rattling around:
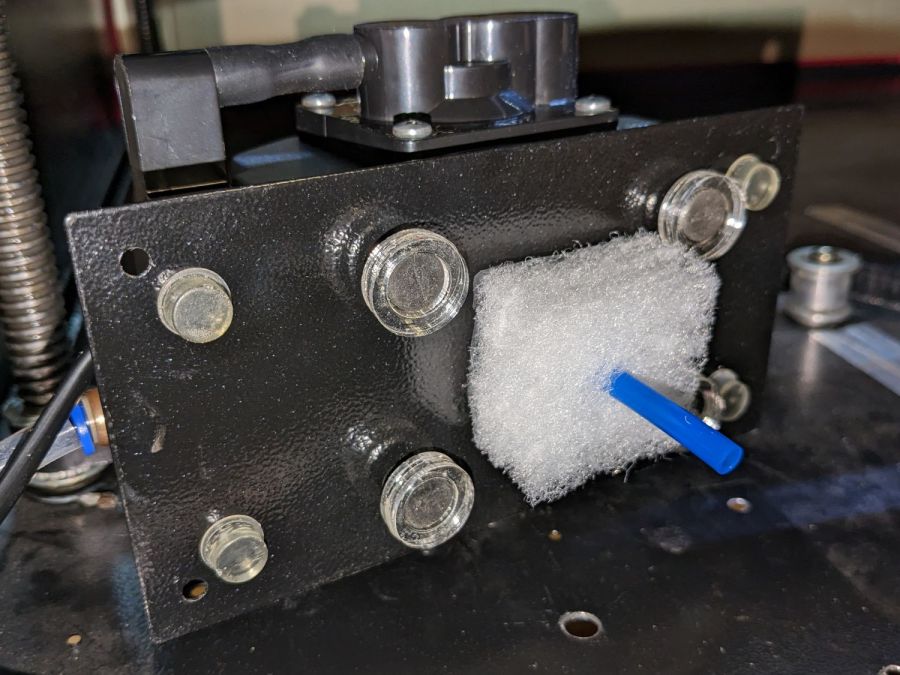
The four clear disks are 3 mm acrylic stuck to the rubbery feet with more LSE adhesive, with rings around the top to keep everything aligned. It may be possible to line up all four of those things while lowering the pump in place, but not for me.
With all that once again ready to screw down, the blue tube and its fuzzy felt bumper fell right off, taking the pump’s air inlet connector along. Much to my surprise, the pump draws air through a simple 6 mm hole in its bottom plate:
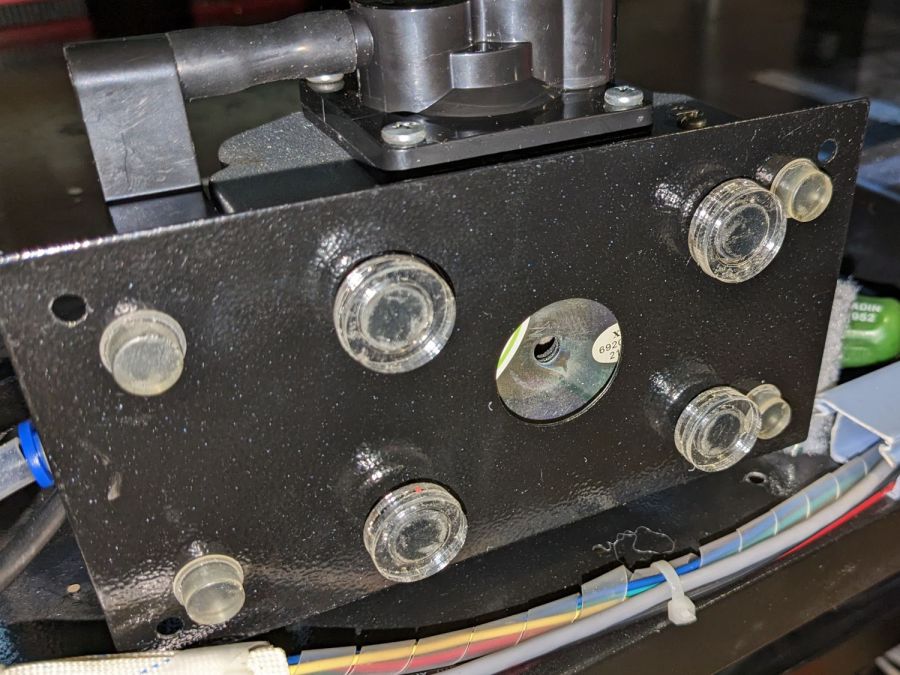
Now, the reason I went through all these gyrations was because I had examined that connector, decided it was an integral part of the pump, and there was no way for me to get it off without tearing the pump apart or applying brute force.
Apparently, all the twisting & turning I did while getting the fittings assembled worked the connector’s unthreaded stem loose in its hole, ready to come out with the slightest pull.
Verily: Hell hath no fury like that of an unjustified assumption.
So I cut out a simple disk of 4.5 mm acrylic, hot-melt blobbed a 6 mm ID silicone tube into it, stuck it onto the pump with a (punch-cut!) disk of 3M double-sided foam tape, and declared victory:
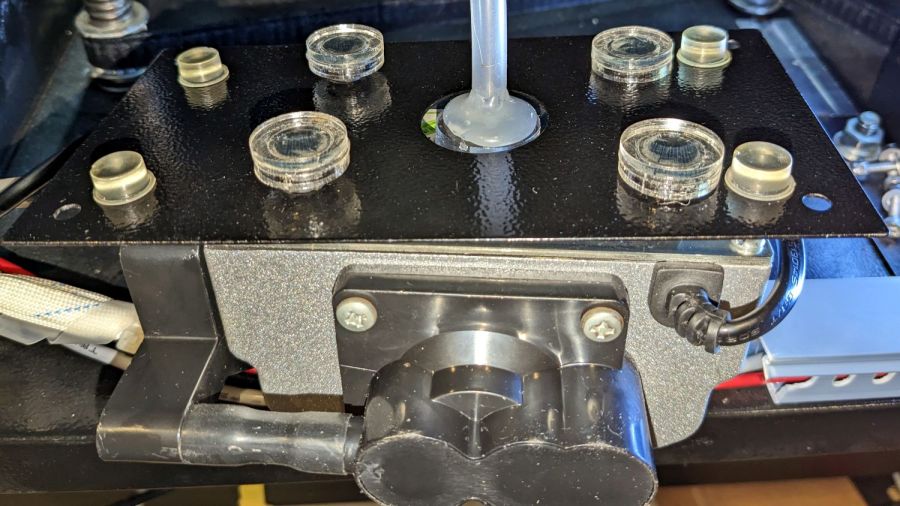
Fortunately, the step drill I used on the cabinet left a 9.5 mm hole easily passing the silicone tube’s 9 mm OD, so it all fit together just like I knew what I was doing.
The silicone tubing has a much larger ID than the original plastic fitting, but the assist air flow remains around 10 l/min. That’s down from the 14 l/m when I installed the flowmeter and 12 l/min with the dual-path assist air control plumbing, but didn’t change with all this fiddling, so the real restriction is in all the blue tubing and myriad fittings on the way to the nozzle.
On the upside, I now know a bit more about small-scale laser cutting and am well-satisfied with the results.

Comments
2 responses to “Laser Air Assist Pump Snorkel”
Now I need to recheck mine, but I think it came with an inlet snorkel already. I’m considering switching to a small air compressor to make better cuts.
Definitely add a flowmeter and compare the flow before and after.
I think the small tubing ID limits the flow despite increasing pressure, so using absurdly high pressure won’t improve the cut by very much.
That said, this thing has plenty of upside potential …