Ed Nisley's Blog: Shop notes, electronics, firmware, machinery, 3D printing, laser cuttery, and curiosities. Contents: 100% human thinking, 0% AI slop.
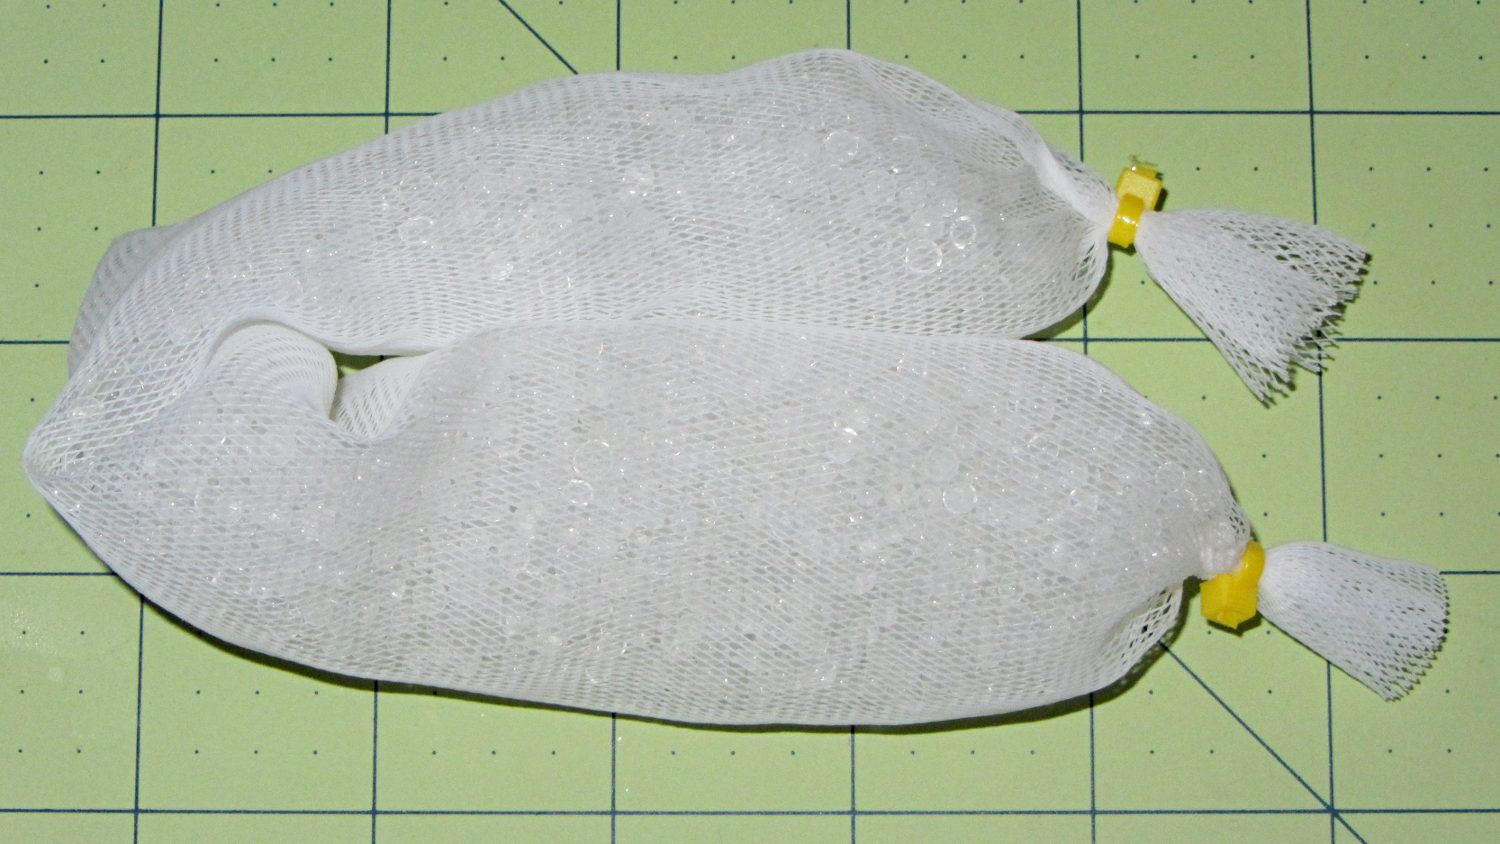
The last of the silica gel from one bulk can went into a mesh bag:
Silica gel beads in mesh bag
That kept a batch of fresh-baked crackers crisp during several humid days. It started out at 110 g net = 112 g gross (with bag and ties), rose to 115 g after a day, then to 117 g by the time we were done with the crackers. That’s about 5 g of water = 4.5% by weight, so those charts say the humidity should be under 10 %RH, which agrees with the fading blue dot on the humidity indicator card I dropped in the can.
When the bag gets up to 130 g = 30 %RH, then it’ll be time for a recharge… or, more likely, a refill from one of the remaining three cans.
The 36 V supply has the same M4 mount points as the 24 V supply, so I cut up another pair of those long 6-32 threaded standoffs to make four mounts. This time, instead of meticulously drilling-and-tapping the M4 holes, I just poked a clearance hole in the end of each stud with a #23 drill (0.154 = 3.9 mm) that came out a nice slip fit, cut the heads off another quartet of M4 screws (actually, a quintet, as there’s now one stud lost in the lathe swarf), dabbed some JB Quik epoxy in the holes, and rammed the studs in place:
Power supply brick – M4 stud standoffs
Pause for a while and it’s all good. If the epoxy loses traction with the supply hanging from the mounts, it’ll be pretty obvious…
For what it’s worth, the studs come from an M4 hex-and-Philips screws used in some PC cases (The more common M3 screw doesn’t work here, but I think I bought ’em from the same source) . Cheap and readily available, but chrome plated and murder on saw blades; I use an abrasive cutoff wheel. A quartet of equally standard 6-32 PC case screws hold the mounts to the top of the PC case…
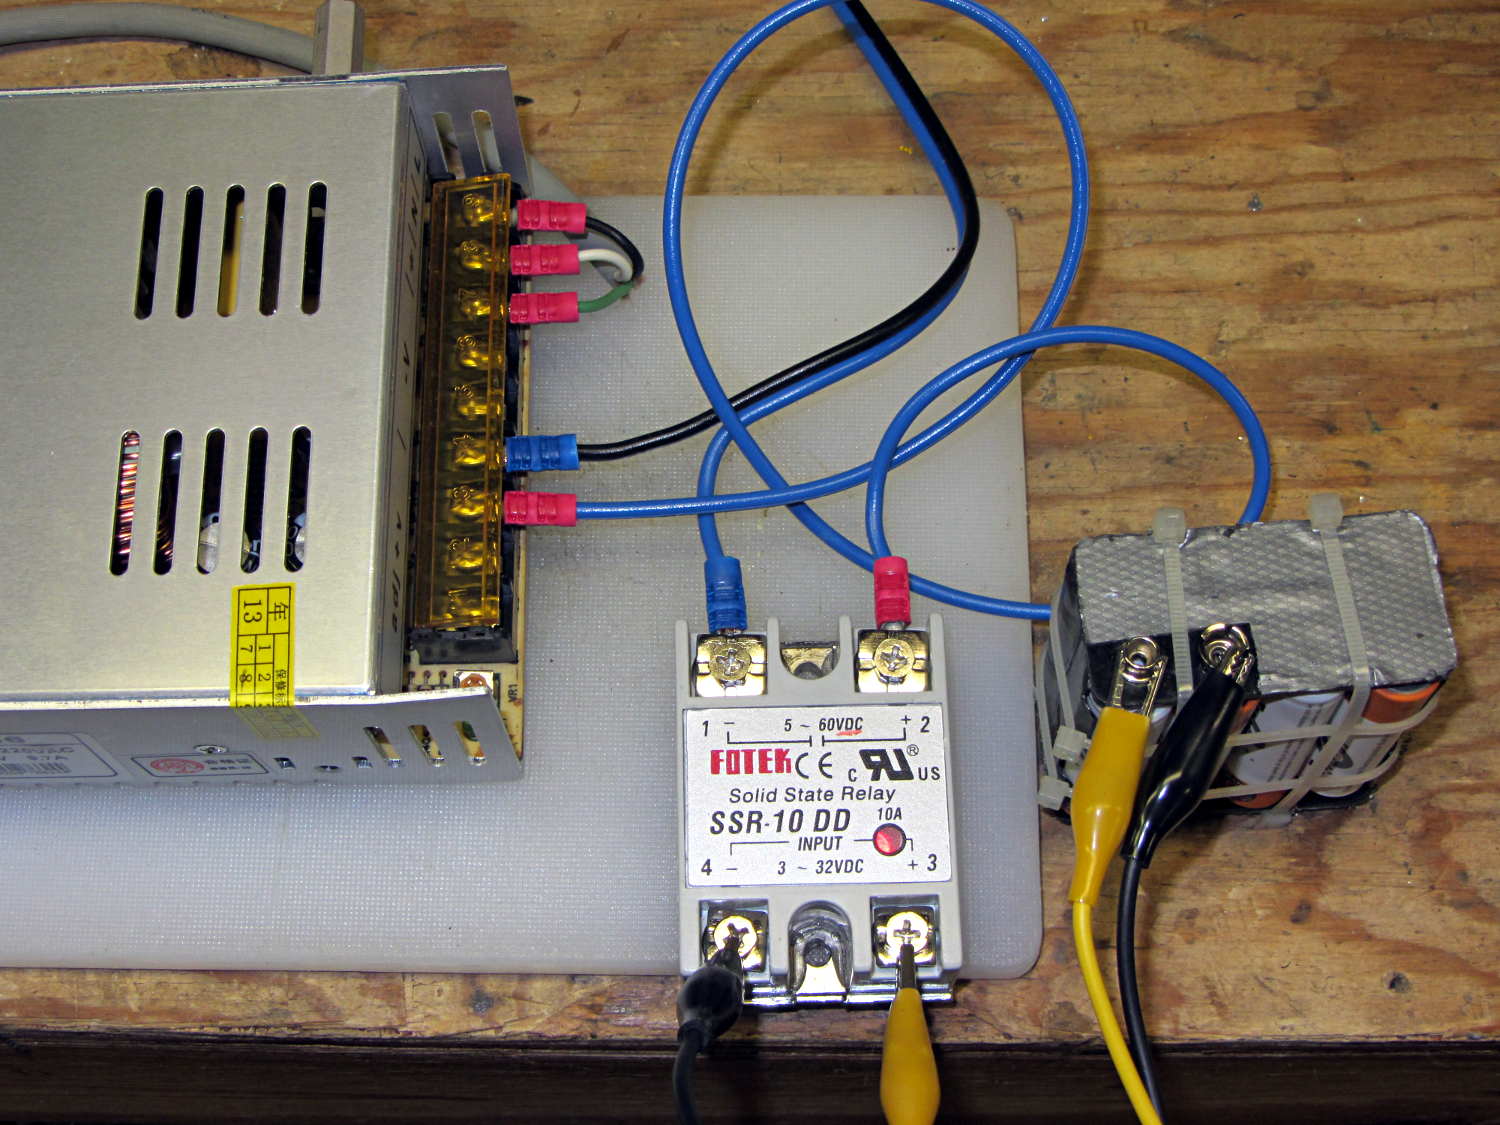
The 36 V 350 W power brick for the improved M2 HBP arrived and seems to work fine, apart from a distinct smell of hot electronics under load. Dialed back to 30.1 V at the terminals (to match the HBP spec) and with the HBP connected through the same length of 12 AWG wire as before, the supply draws 150 W from the AC line.
It draws 160 W at 31.7 V and stabilizes at about 100 °C. The heater resistance is 7.6 Ω before it has a chance to cool off, so the heater runs at 4.17 A and 132 W. The supply efficiency is 83% = 132/160, about what you’d expect. The fan runs intermittently with that load.
In order to dissipate 150 W in the panel at the same resistance, the voltage must be 33.5 V at 4.5 A. I’d want to install it in the M2 and make some measurements before jumping to any conclusions.
The SSR’s forward drop runs around 1.0 to 1.1 V at 4 A, which suggests a drain-source resistance near 0.25 Ω, rather more than you’d expect for a bare MOSFET, but probably about right for an up-armored device. Or it could just be a crap MOSFET inside there…
So I think the brick will wind up at about 35 V to make up for the SSR drop. The SSR will dissipate about 5 W and won’t need much heatsinking; just bolting it to an aluminum chassis may suffice.
I recently harvested the compressor from a defunct dehumidifier:
Harvested Dehumidifier Compressor
That ought to be useful in a DIY vacuum table that needs a good, low-volume pump. It seems refrigeration pumps can get down around 29 inches of mercury, so the net pressure difference is maybe 13 psi and I’d round it down to 10 psi. Typical small PCBs, say 1 x 2 inches, would have 20 to 30 pounds of downforce.
From what I read, the pump will blurp oil from the smaller outlet tube while settling down to pull a vacuum through the larger, rather discolored, inlet tube; adding a larger diameter vertical catch chamber with a splash plate to the outlet would be in order. I think a trash filter on the inlet, perhaps conjured from a defunct whole-house water filter with a 3 micron spun-fiber filter element, should keep dust and crud out of the compressor; the inlet already has a small filter / dryer (the lump next to the compressor body), but that probably won’t withstand an assault of glass-fiber-laden PCB drilling dust.
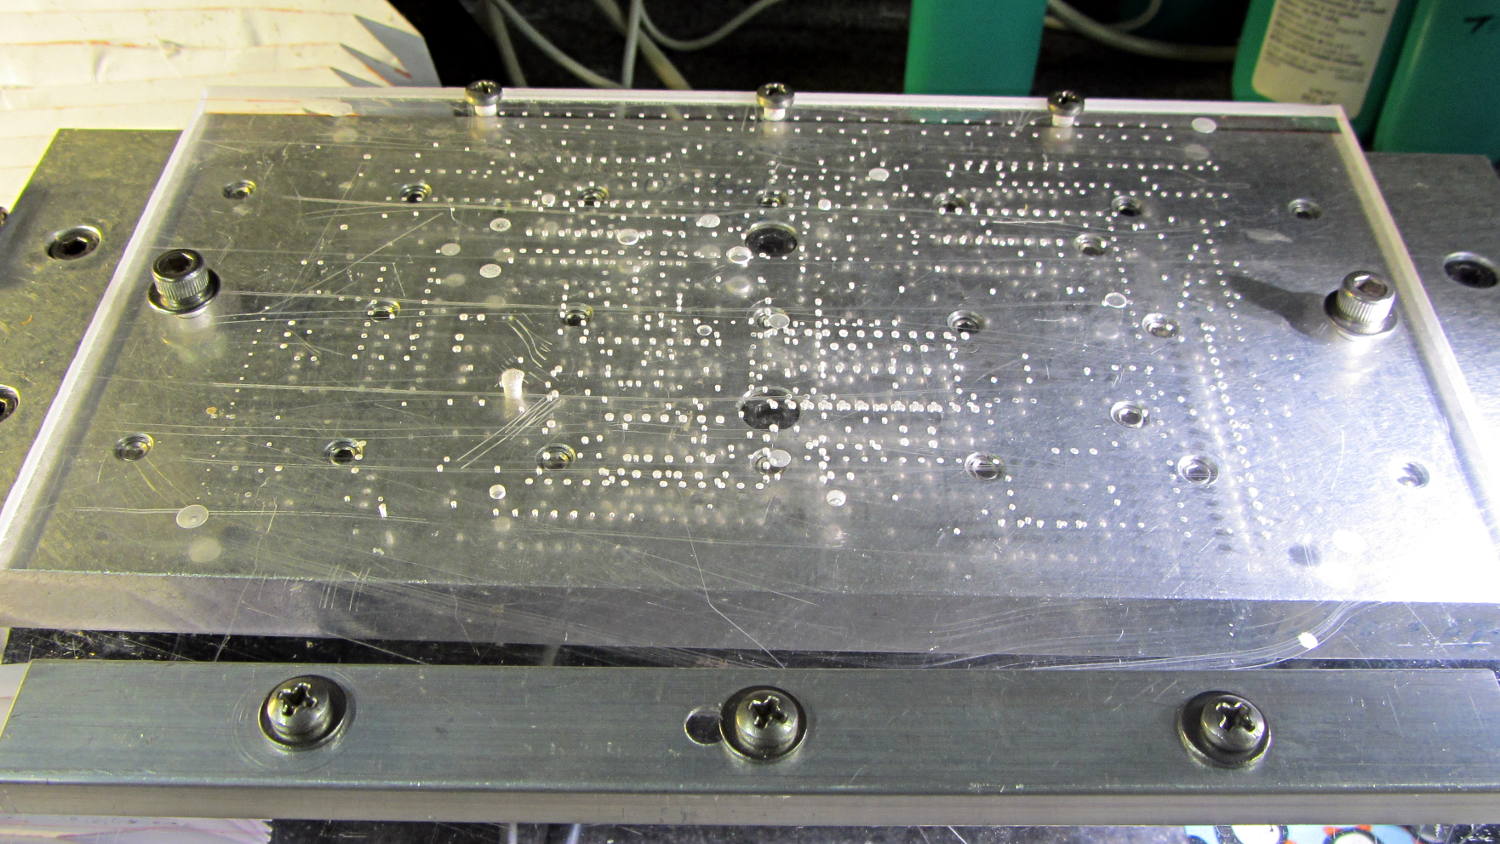
As far as the vacuum table goes, I think a 3D printed base with a machinable wax insert might be just the ticket: the base collects all the complexity, including hose fittings and a plenum under the insert, into a 3D model where it’s easy to duplicate and the cheap-and-simple wax acts as a moderately hard sacrificial platform. The base would have 10-32 holes around the outside to match the Sherline’s tooling plate. The wax insert could stand proud of the base and have holes only where they’re needed, so the base holds the insert in place mostly by vacuum.
You’d (well, I’d) like to cast the wax in place, but it melts around 240 °F = 115 °C and gets pourable around 270 °F = 132 °C, well above the point where PLA gets juicy and about where ABS gets gummy, so I think a drop-in slab makes more sense; cast it on a plate for a flat bottom surface, trim off the mold flash, and drop it in place with the flat side down. Then, with the vacuum turned on, flycut the rumpled top to get a known-flat-and-true surface, mill some vacuum channels, and drill holes to match the 3D printed holes in the plenum; all that would be a G-Code routine, of course. A simple hexagonal drilled pattern (big shallow holes for maximum clamping, little through holes into the plenum) might be a good starting point, at least for the simple, low-stress stuff I’m doing: PCBs and maybe edge-lit ersatz Nixie tubes.
You could gently heat the part to seal it to the wax, although that might risk losing the top surface alignment. Given reasonably flat PCB material, a custom channel pattern under the board might be just as good.
When the wax gets sufficiently chopped up that it can’t hold a good seal, toss it in the remelting bin, drop in a new slab, mill it to suit, and continue the mission.
If you do it right, everything’s parametric and you can generate a custom base with a custom insert by twiddling a few parameters that set the overall size of the thing; print up the base, drop in a wax plate, machine the top surface, done. You’d need two source files: OpenSCAD for the base and custom G-Code for the insert. Maybe the OpenSCAD script can generate and export a DXF-ish file that could produce the mill / drill code for the insert.
The BOB Yak trailer I tote behind the ‘bent has a flag with a two-part pole which generally stays together; I pull the entire affair out of the frame socket when I hang the trailer up after a trip. The ferrule between the two pole sections recently worked loose and I took it to the Basement Workshop for repair.
The assembled nickel-plated brass (?) ferrule came off both pole sections all too easily, which was a Bad Sign: those little punch marks originally clamped the tubes to the pole. You can’t overestimate the Bad Effects of prolonged vibration on bike parts.
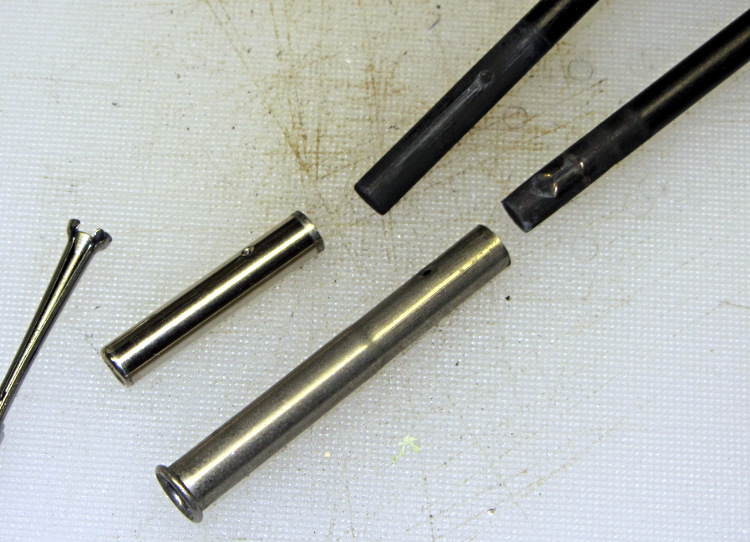
Separating the two ferrule sections required running several pin punches down the bore and tapping gently, all accompanied by considerable muttering; the joint was no longer a slip fit. Eventually I produced this tableau:
BOB Yak trailer flag ferrule
The small hole gauge to the far left showed that the inside of the larger section (on the bottom) had entirely enough clearance for the smaller section, but the rolled ring at its end had somehow shrunk to a tight interference fit.
I’d actually chucked up a piece of rod in the lathe, with the intent of making a mandrel to expand the ring, when I came to my senses. The smaller part was 0.253 inch diameter, so I deployed the letter drills:
an E drill (0.250 inch) just kissed the inside of the ring
an F drill (0.257 inch) opened the ring to a nice sliding fit and still fit easily inside the tube
A few whacks with a center punch reclamped the dimples firmly in place on the dents in the poles.
OK, somebody decided that the classic metal blade used on all plastic wrap boxes since the dawn of time cost too much, so they decreed that it be replaced with a plastic blade that costs essentially nothing:
Walmart plastic wrap – plastic cutter
Unfortunately, a thin plastic blade also bends easily and, after a few uses, cracks along the midline. After that, it simply doesn’t work; there’s no way to actually tear the plastic off the roll.
It turns out that a common hacksaw blade is exactly the right length and, oriented with the teeth pointing to the left, will rip through plastic wrap like, uh, a hacksaw through plastic:
Walmart plastic wrap – real cutter
That this hack should not be necessary goes without saying…
There’s a layer of double-stick foam tape between the box and blade. It’s probably removable, but I was in a hurry.