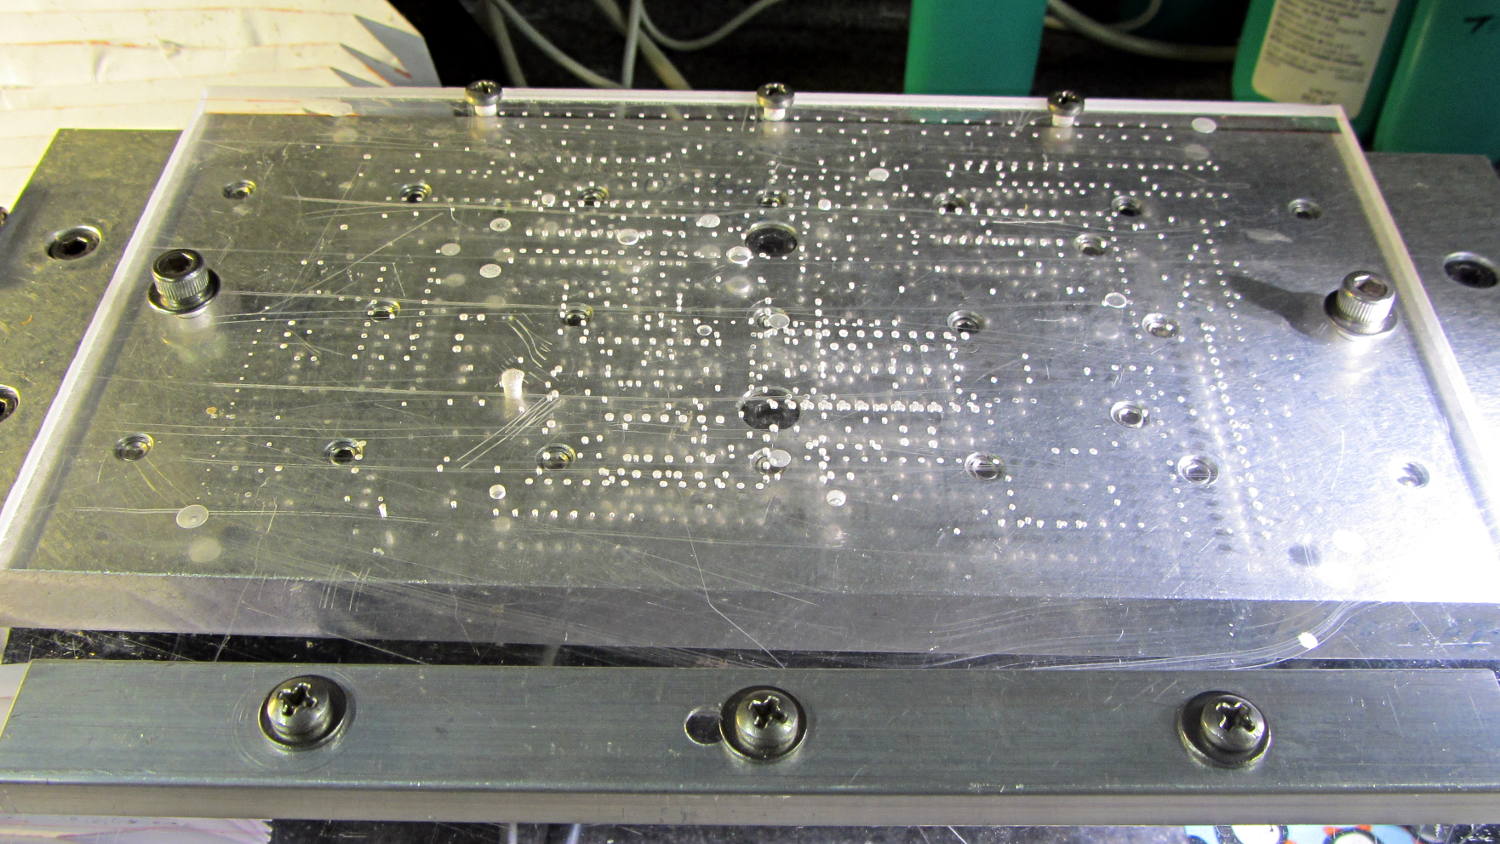
After looking at all the holes in the maximum-size PCB platen for the Sherline mill, I started thinking about a vacuum table for things like PCBs and engraved slabs.
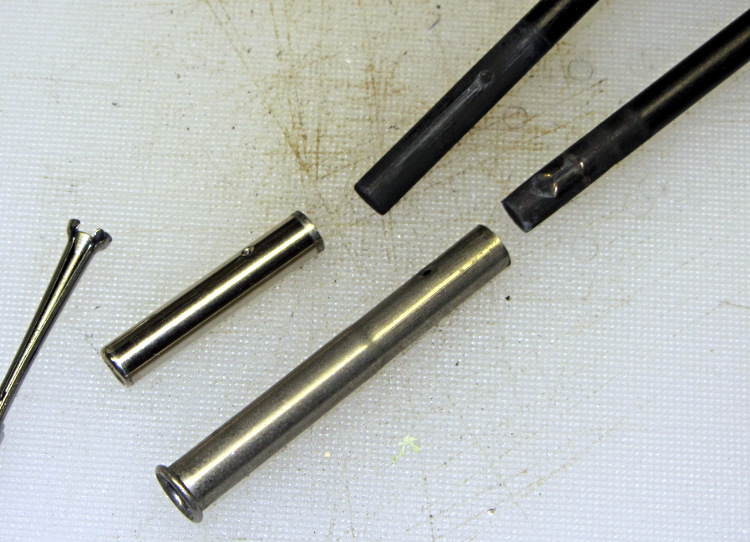
I recently harvested the compressor from a defunct dehumidifier:

That ought to be useful in a DIY vacuum table that needs a good, low-volume pump. It seems refrigeration pumps can get down around 29 inches of mercury, so the net pressure difference is maybe 13 psi and I’d round it down to 10 psi. Typical small PCBs, say 1 x 2 inches, would have 20 to 30 pounds of downforce.
From what I read, the pump will blurp oil from the smaller outlet tube while settling down to pull a vacuum through the larger, rather discolored, inlet tube; adding a larger diameter vertical catch chamber with a splash plate to the outlet would be in order. I think a trash filter on the inlet, perhaps conjured from a defunct whole-house water filter with a 3 micron spun-fiber filter element, should keep dust and crud out of the compressor; the inlet already has a small filter / dryer (the lump next to the compressor body), but that probably won’t withstand an assault of glass-fiber-laden PCB drilling dust.
As far as the vacuum table goes, I think a 3D printed base with a machinable wax insert might be just the ticket: the base collects all the complexity, including hose fittings and a plenum under the insert, into a 3D model where it’s easy to duplicate and the cheap-and-simple wax acts as a moderately hard sacrificial platform. The base would have 10-32 holes around the outside to match the Sherline’s tooling plate. The wax insert could stand proud of the base and have holes only where they’re needed, so the base holds the insert in place mostly by vacuum.
You’d (well, I’d) like to cast the wax in place, but it melts around 240 °F = 115 °C and gets pourable around 270 °F = 132 °C, well above the point where PLA gets juicy and about where ABS gets gummy, so I think a drop-in slab makes more sense; cast it on a plate for a flat bottom surface, trim off the mold flash, and drop it in place with the flat side down. Then, with the vacuum turned on, flycut the rumpled top to get a known-flat-and-true surface, mill some vacuum channels, and drill holes to match the 3D printed holes in the plenum; all that would be a G-Code routine, of course. A simple hexagonal drilled pattern (big shallow holes for maximum clamping, little through holes into the plenum) might be a good starting point, at least for the simple, low-stress stuff I’m doing: PCBs and maybe edge-lit ersatz Nixie tubes.
You could gently heat the part to seal it to the wax, although that might risk losing the top surface alignment. Given reasonably flat PCB material, a custom channel pattern under the board might be just as good.
When the wax gets sufficiently chopped up that it can’t hold a good seal, toss it in the remelting bin, drop in a new slab, mill it to suit, and continue the mission.
If you do it right, everything’s parametric and you can generate a custom base with a custom insert by twiddling a few parameters that set the overall size of the thing; print up the base, drop in a wax plate, machine the top surface, done. You’d need two source files: OpenSCAD for the base and custom G-Code for the insert. Maybe the OpenSCAD script can generate and export a DXF-ish file that could produce the mill / drill code for the insert.