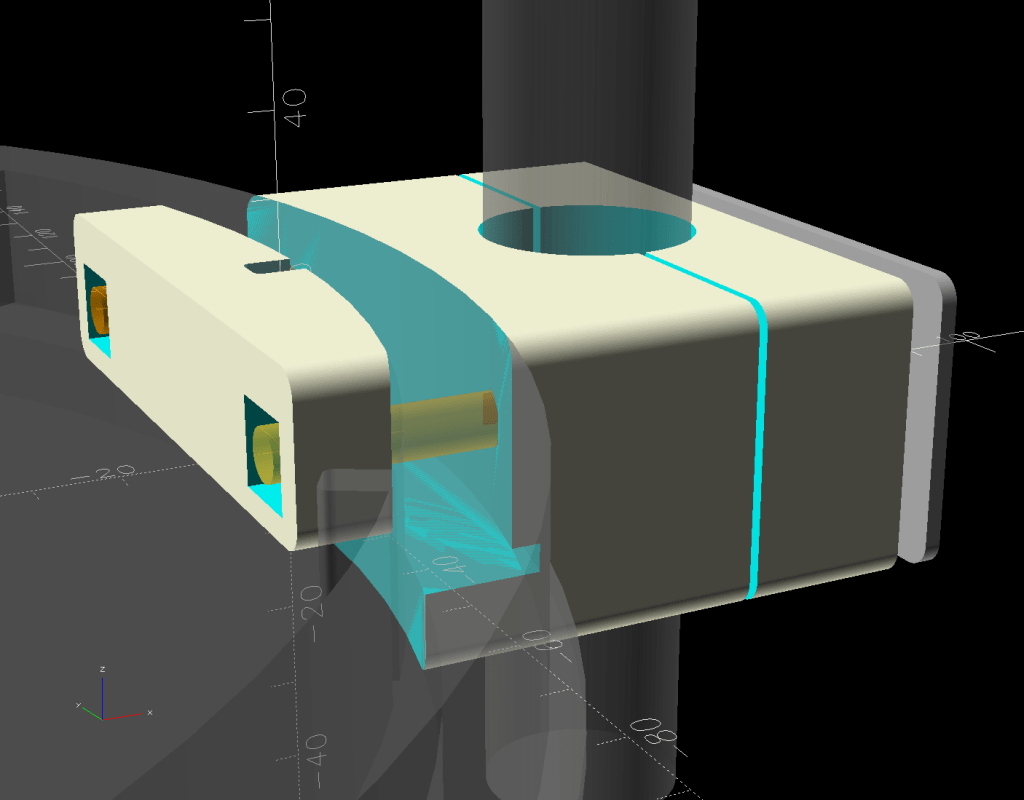
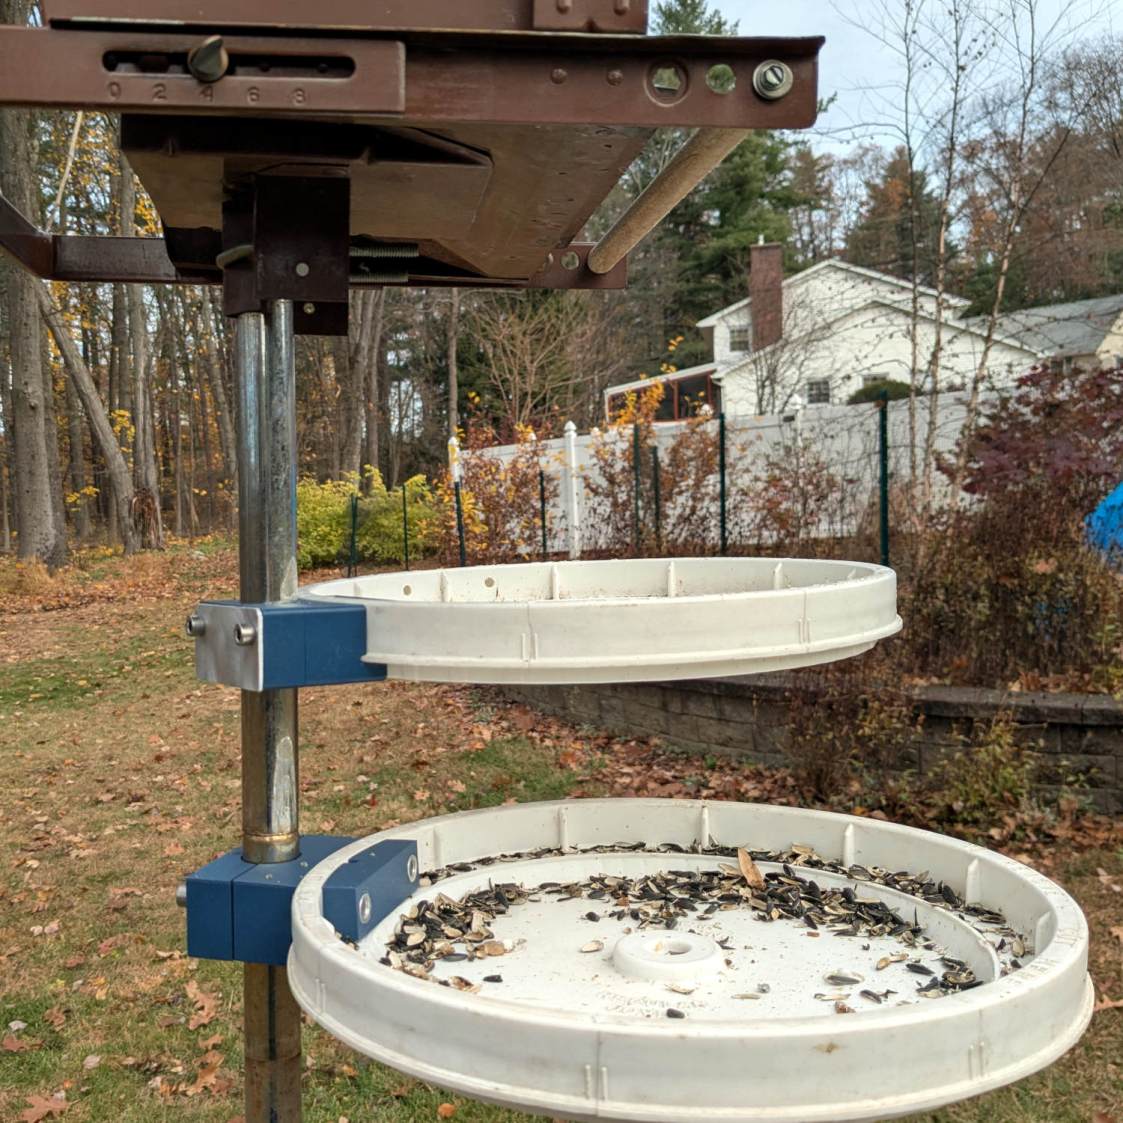
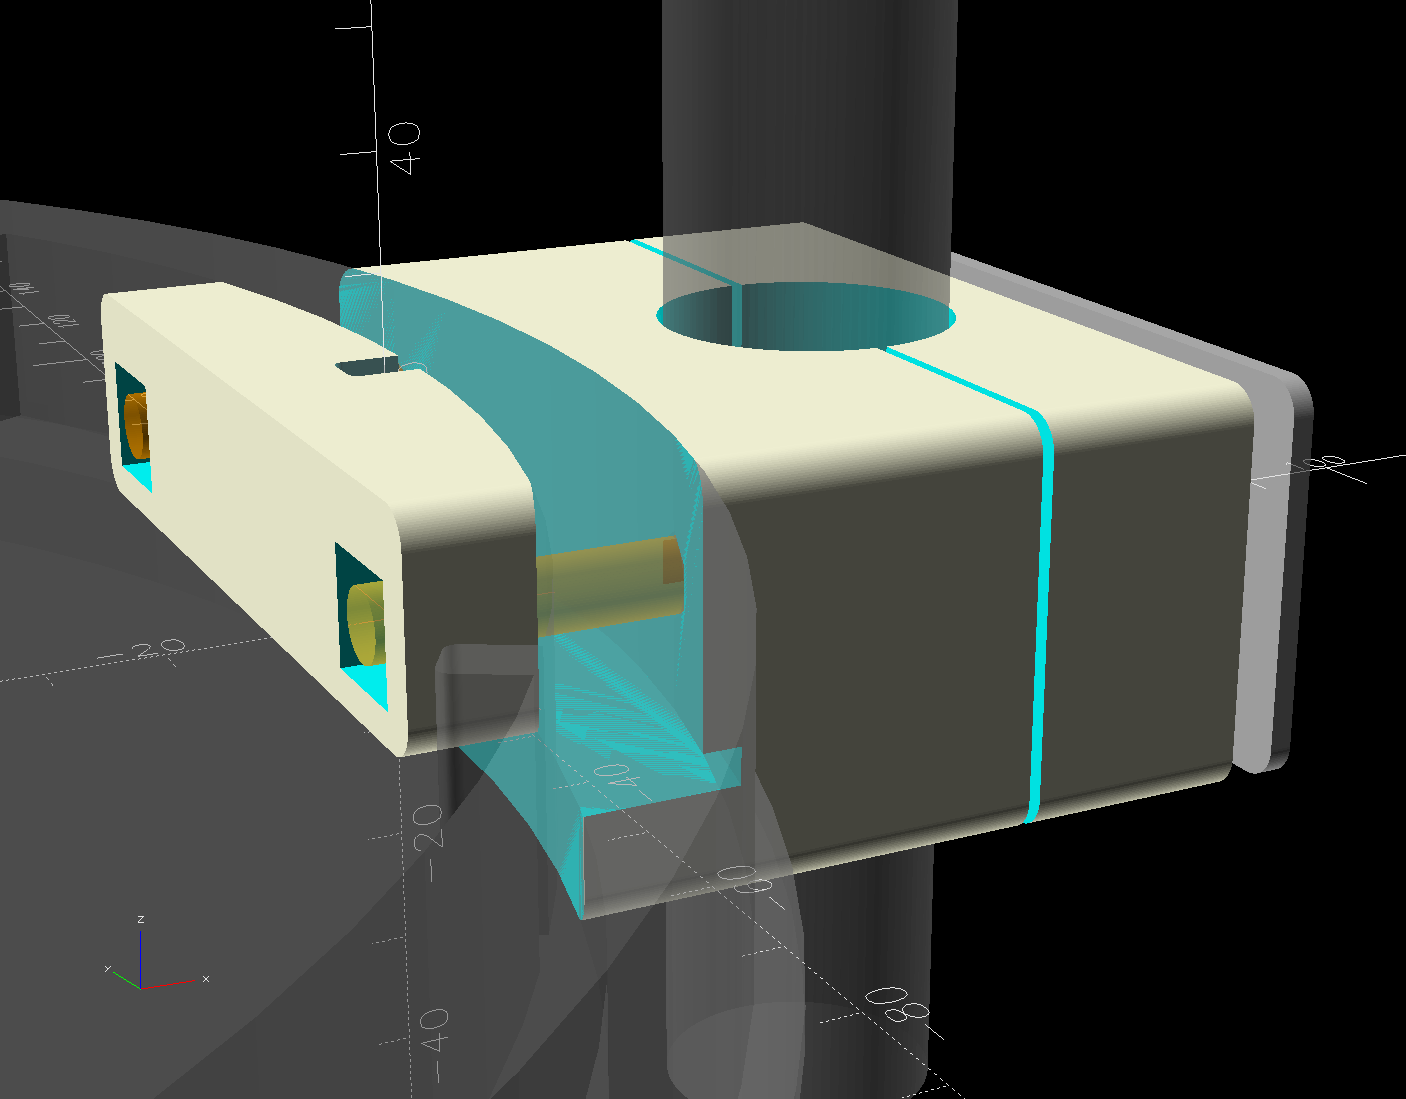
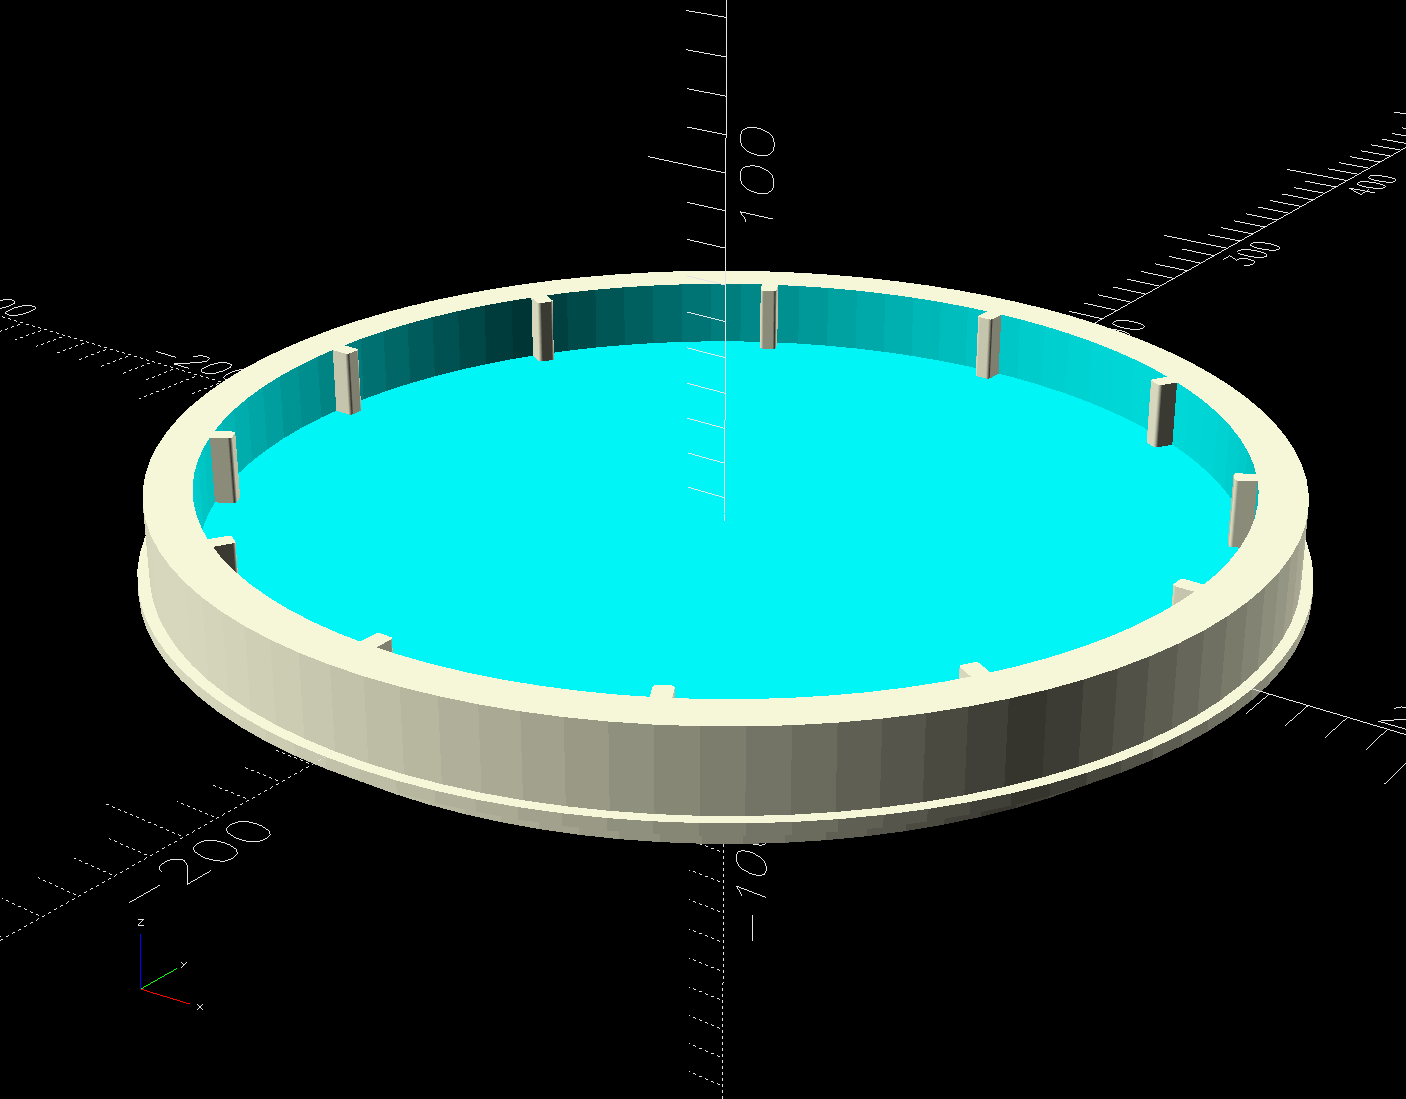
|
// Bird feeder tray mount |
|
// Ed Nisley – KE4ZNU |
|
// 2025-11-06 |
|
|
|
include <BOSL2/std.scad> |
|
|
|
Layout = "Show"; // [Build,Show,Lid,Mount,Segment,Nut] |
|
|
|
/* [Hidden] */ |
|
|
|
ID = 0; |
|
OD = 1; |
|
LENGTH = 2; |
|
|
|
HoleWindage = [0.2,0.2,0.2]; |
|
Protrusion = 0.1; |
|
|
|
NumRibs = 12; // stiffening ribs |
|
NumSides = 8*NumRibs; |
|
|
|
$fn=NumSides; |
|
|
|
Gap = 5.0; |
|
|
|
WallThick = 9.0; // robust walls |
|
Kerf = 1.0; // clamp cut |
|
TapeThick = 0.5; // wrap around pole |
|
|
|
LidOD = 12; // main diameter in inches |
|
|
|
PoleOD = 1*INCH; |
|
|
|
PlateThick = 2.0; // backing plate for clamp |
|
|
|
Screw = [6.0,12.0,6.0]; // thread OD, washerOD, head |
|
ScrewLength = 75.0; |
|
|
|
ScrewOC = 60.0; // chosen to clear stiffening ribs in lid |
|
|
|
LidLayers = [ // bottom to top, ID = 0 means solid disk, LENGTH = exterior measurement |
|
[0,(LidOD-2*(3/8))*INCH,Protrusion], // 0 – below zero to prevent Z fighting |
|
[0,(LidOD-2*(3/8))*INCH,(3/8)*INCH], // 1 – base inside bucket |
|
[0,(LidOD+2*(1/8))*INCH,(1/8)*INCH], // 2 – flange |
|
[(LidOD-2*(1/2))*INCH,LidOD*INCH,(7/8)*INCH], // 3 – sealing ring |
|
]; |
|
|
|
LidOAH = LidLayers[1][LENGTH] + LidLayers[2][LENGTH] + LidLayers[3][LENGTH]; |
|
LidTopDepth = (3/4)*INCH; // from highest part of interior |
|
|
|
MountBlockWidth = ScrewOC + 2*WallThick; |
|
|
|
BaseSagitta = LidLayers[1][OD]/2 – sqrt((LidLayers[1][OD]/2)^2 – (MountBlockWidth^2)/4); |
|
echo(BaseSagitta=BaseSagitta); |
|
|
|
PoleOffset = BaseSagitta + ((LidLayers[2][OD] – LidLayers[1][OD])/2) + WallThick + PoleOD/2; |
|
|
|
MountBlock = [PoleOffset + PoleOD/2 + WallThick – PlateThick,MountBlockWidth,LidOAH]; |
|
echo(MountBlock=MountBlock); |
|
|
|
SegBlockOffset = ScrewLength – MountBlock.x – PlateThick; // assumes recessed |
|
SegmentBlock = [2*SegBlockOffset,MountBlock.y,LidTopDepth]; |
|
|
|
Rib = [2*6.0,5.0,LidTopDepth]; // lid stiffening ribs |
|
RibAlign = 0 * 180/NumRibs; // position ribs wrt mount |
|
|
|
EdgeRadius = 3.0; |
|
|
|
//—– |
|
// Rivnut |
|
// The model collects all the magic numbers right here |
|
|
|
/* |
|
RivnutOAL = 15.0; |
|
|
|
module Rivnut() { |
|
|
|
union() { |
|
cyl(1.6,d=13.0,circum=true,anchor=BOTTOM); |
|
cyl(RivnutOAL,d=9.0,circum=true,anchor=BOTTOM); |
|
} |
|
|
|
} |
|
|
|
*/ |
|
|
|
//—– |
|
// Square nut |
|
// The model collects all the magic numbers right here |
|
|
|
NutOAL = 5.0; |
|
|
|
module SquareNut() { |
|
|
|
cuboid([10.0,10.0,5.0],anchor=BOTTOM); |
|
|
|
} |
|
//—– |
|
// Bucket lid |
|
// Centered at XY=0, Z=0 at top of exterior flange |
|
|
|
module BucketLid(Interior=true,Expand=false) { |
|
|
|
render() |
|
union() { |
|
down(LidLayers[2][LENGTH]) |
|
cyl(LidLayers[1][LENGTH],d=LidLayers[1][OD],anchor=TOP); |
|
cyl(LidLayers[2][LENGTH],d=LidLayers[2][OD],anchor=TOP); |
|
if (Interior) { |
|
if (false) |
|
down(Expand ? Protrusion : 0) |
|
tube(LidLayers[3][LENGTH] + (Expand ? 2*Protrusion : 0), |
|
id=LidLayers[3][ID],od=(Expand ? 2 : 1)*LidLayers[3][OD],anchor=BOTTOM); |
|
else |
|
difference() { |
|
cyl(LidLayers[3][LENGTH] + (Expand ? 2*Protrusion : 0), |
|
d=(Expand ? 2 : 1)*LidLayers[3][OD],anchor=BOTTOM); |
|
up(LidLayers[3][LENGTH] – LidTopDepth) |
|
cyl(LidTopDepth + (Expand ? 2*Protrusion : 0), |
|
d=LidLayers[3][ID],anchor=BOTTOM); |
|
} |
|
up(LidLayers[3][LENGTH] – LidTopDepth) |
|
for (i=[0:(NumRibs – 1)]) |
|
zrot(i*360/NumRibs + RibAlign) |
|
right(LidLayers[3][ID]/2) |
|
cuboid(Rib,anchor=BOTTOM,rounding=1,edges="Z"); |
|
} |
|
else |
|
down(Expand ? Protrusion : 0) |
|
cyl(LidLayers[3][LENGTH] + (Expand ? 2*Protrusion : 0), |
|
d=(Expand ? 2 : 1)*LidLayers[3][OD],anchor=BOTTOM); |
|
} |
|
} |
|
|
|
// Mount clamp |
|
|
|
module Mount() { |
|
render() |
|
difference() { |
|
cuboid(MountBlock,anchor=BOTTOM+LEFT,rounding=EdgeRadius,edges="X"); |
|
left(LidLayers[1][OD]/2 – BaseSagitta) |
|
up(LidLayers[1][LENGTH] + LidLayers[2][LENGTH]) |
|
BucketLid(Interior=false); |
|
right(PoleOffset) { |
|
cyl(3*MountBlock.z,d=(PoleOD + HoleWindage.x + 2*TapeThick),circum=true,anchor=CENTER); |
|
cuboid([Kerf,2*MountBlock.y,3*MountBlock.z]); |
|
} |
|
if (false) |
|
right(MountBlock.x – PlateThick) |
|
cuboid(3*[PlateThick,MountBlock.y,MountBlock.z],anchor=LEFT); |
|
up(LidOAH – LidLayers[3][LENGTH]/2) |
|
for (j=[-1,1]) |
|
fwd(j*ScrewOC/2) { |
|
cyl(ScrewLength,d=Screw[ID] + HoleWindage.x,circum=true,orient=RIGHT,anchor=BOTTOM,$fn=6,spin=180/6); |
|
if (false) |
|
right(MountBlock.x + Protrusion) |
|
cyl(Screw[LENGTH] + Protrusion,d=Screw[OD] + HoleWindage.x,circum=true, |
|
orient=LEFT,anchor=BOTTOM,$fn=12,spin=180/12); |
|
} |
|
} |
|
} |
|
|
|
// Nut block segment inside lid |
|
|
|
module NutSegment() { |
|
|
|
render() |
|
difference() { |
|
cuboid(SegmentBlock,anchor=BOTTOM,rounding=EdgeRadius,edges="X"); |
|
down(LidLayers[3][LENGTH] – LidTopDepth) |
|
left(LidLayers[1][OD]/2 – BaseSagitta) |
|
BucketLid(Interior=true,Expand=true); |
|
up(LidTopDepth – LidLayers[3][LENGTH]/2) |
|
for (j=[-1,1]) |
|
fwd(j*ScrewOC/2) { |
|
left(SegmentBlock.x/2) |
|
cyl(ScrewLength,d=Screw[ID],circum=true,anchor=BOTTOM,$fn=6,spin=180/6,orient=RIGHT); |
|
left(SegmentBlock.x/2) |
|
yrot(90) |
|
SquareNut(); |
|
} |
|
} |
|
|
|
} |
|
|
|
//—– |
|
// Build things |
|
|
|
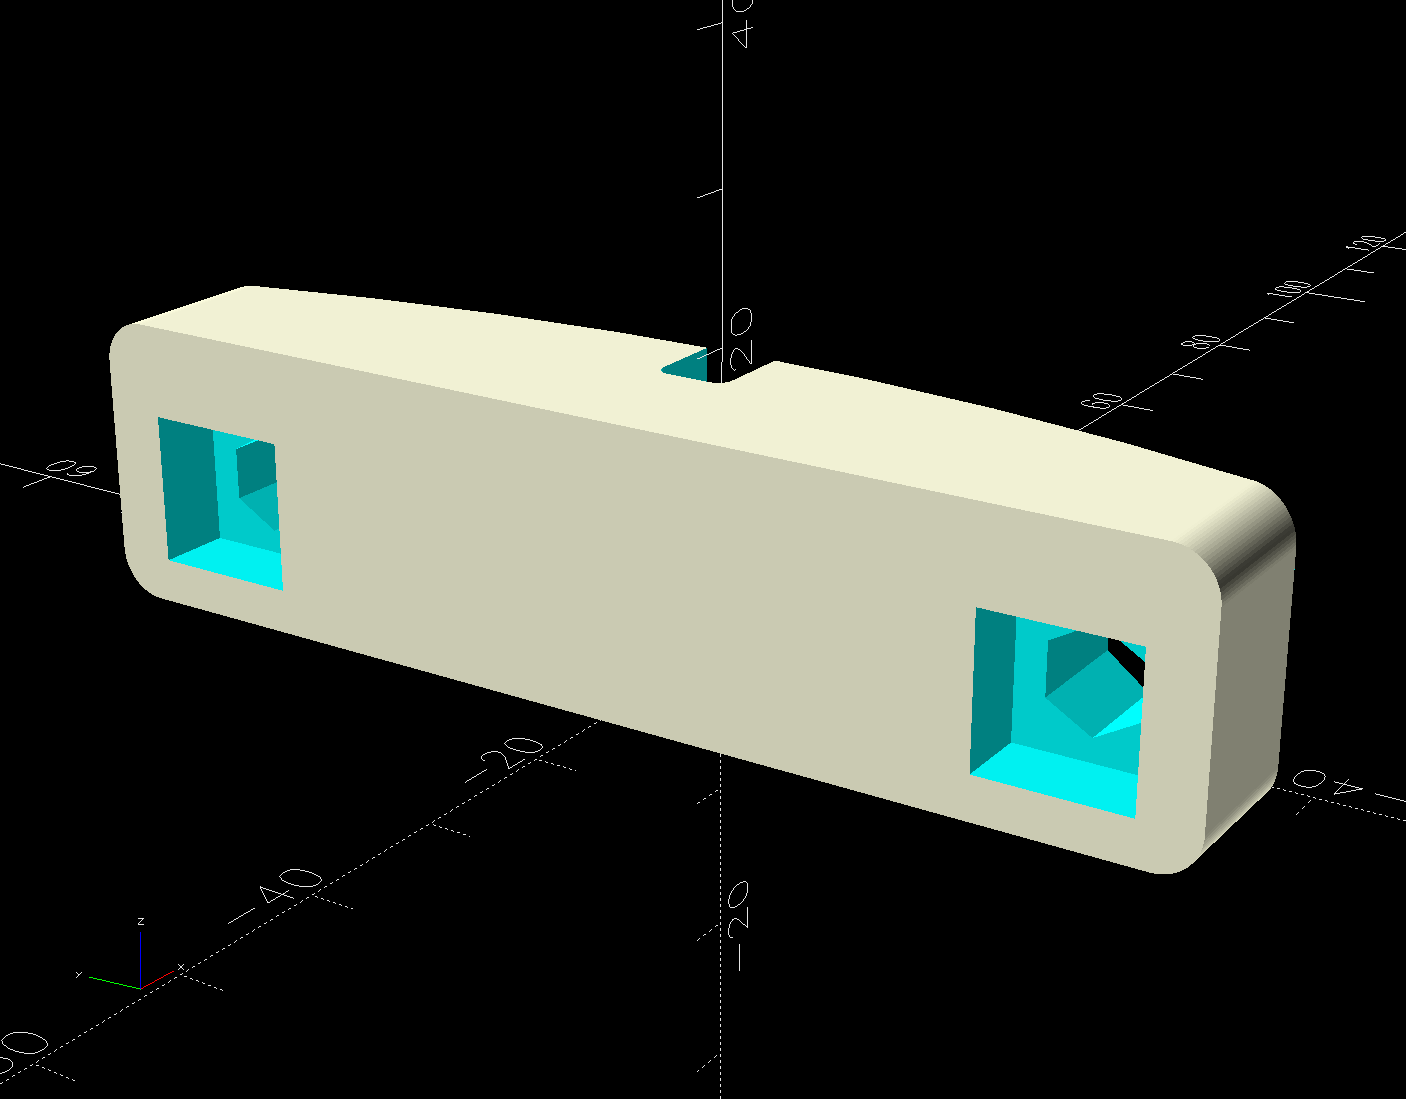
if (Layout == "Lid") |
|
BucketLid(); |
|
|
|
if (Layout == "Mount") |
|
Mount(); |
|
|
|
if (Layout == "Segment") |
|
NutSegment(); |
|
|
|
if (Layout == "Nut") |
|
Rivnut(); |
|
|
|
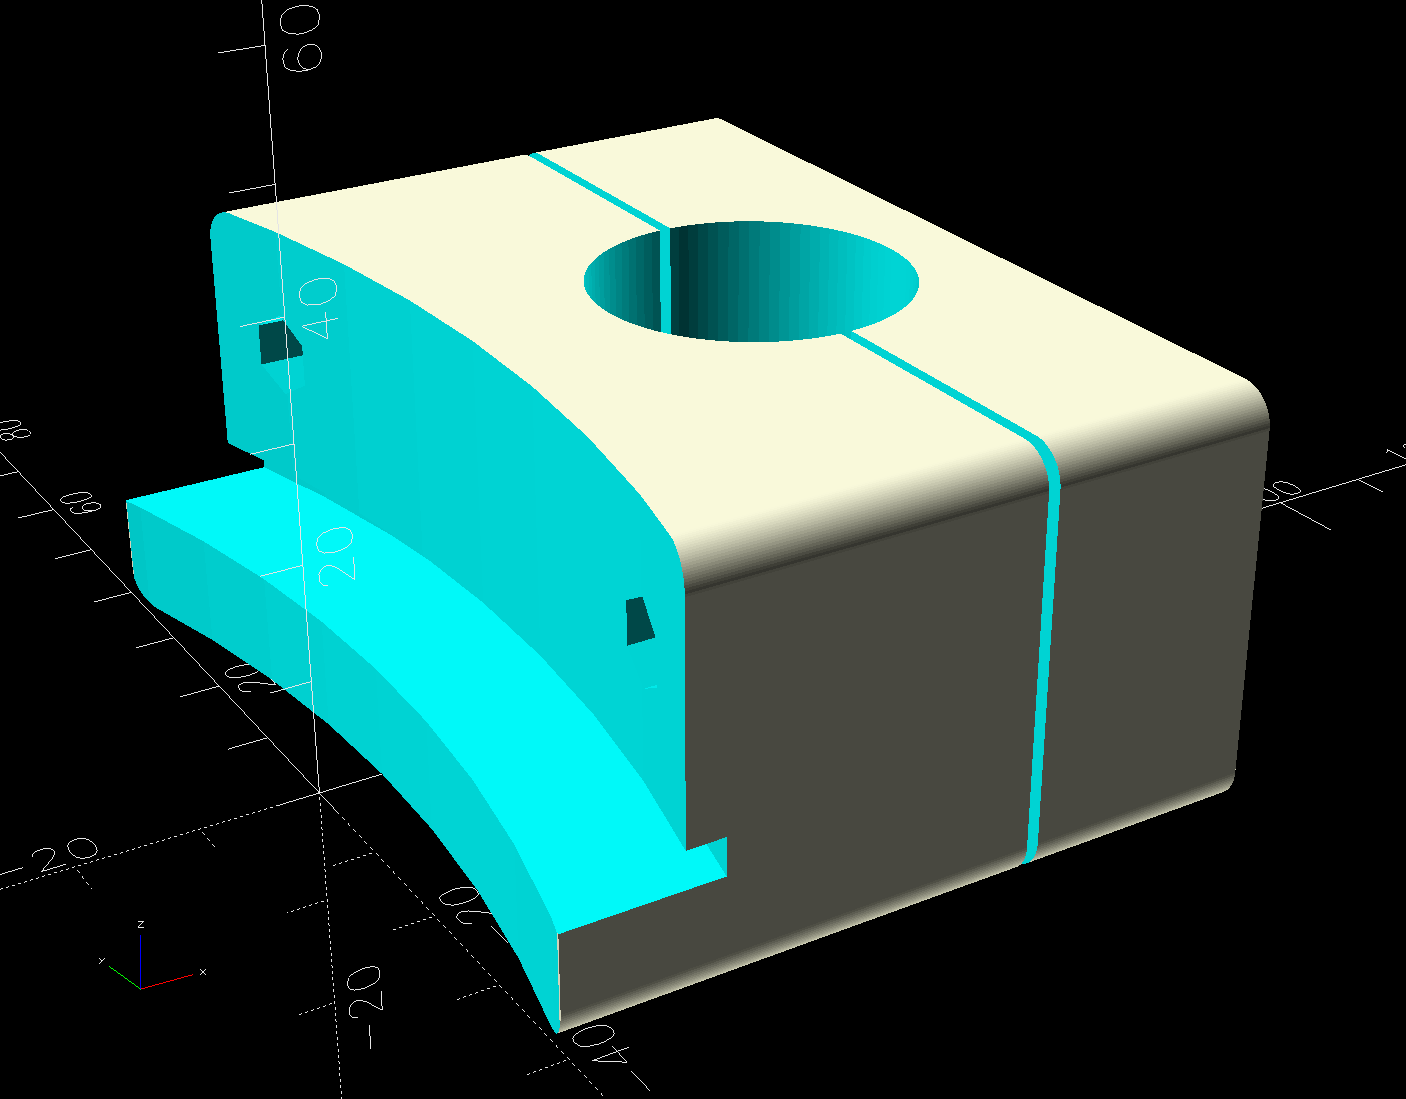
if (Layout == "Show") { |
|
down(LidLayers[1][LENGTH] + LidLayers[2][LENGTH]) { |
|
Mount(); |
|
color("Orange",0.5) |
|
up(LidOAH – LidLayers[3][LENGTH]/2) |
|
right(MountBlock.x + PlateThick) |
|
for (j=[-1,1]) |
|
fwd(j*ScrewOC/2) |
|
cyl(ScrewLength,d=Screw[ID],circum=true,orient=LEFT,anchor=BOTTOM); |
|
} |
|
up(LidLayers[3][LENGTH] – LidTopDepth) |
|
NutSegment(); |
|
|
|
color("Gray",0.4) |
|
right(PoleOffset) |
|
cylinder(3*MountBlock.z,d=(PoleOD),anchor=CENTER); |
|
color("Gray",0.4) |
|
left(LidLayers[1][OD]/2 – BaseSagitta) |
|
BucketLid(); |
|
color("White",0.7) |
|
down(LidLayers[1][LENGTH] + LidLayers[2][LENGTH]) |
|
right(MountBlock.x + 2*PlateThick) |
|
difference() { |
|
cuboid([PlateThick,MountBlock.y,MountBlock.z],anchor=BOTTOM+LEFT,rounding=EdgeRadius,edges="X"); |
|
up(LidOAH – LidLayers[3][LENGTH]/2) |
|
for (j=[-1,1]) |
|
fwd(j*ScrewOC/2) |
|
cyl(ScrewLength,d=Screw[ID],circum=true,orient=RIGHT,anchor=CENTER); |
|
} |
|
} |
|
|
|
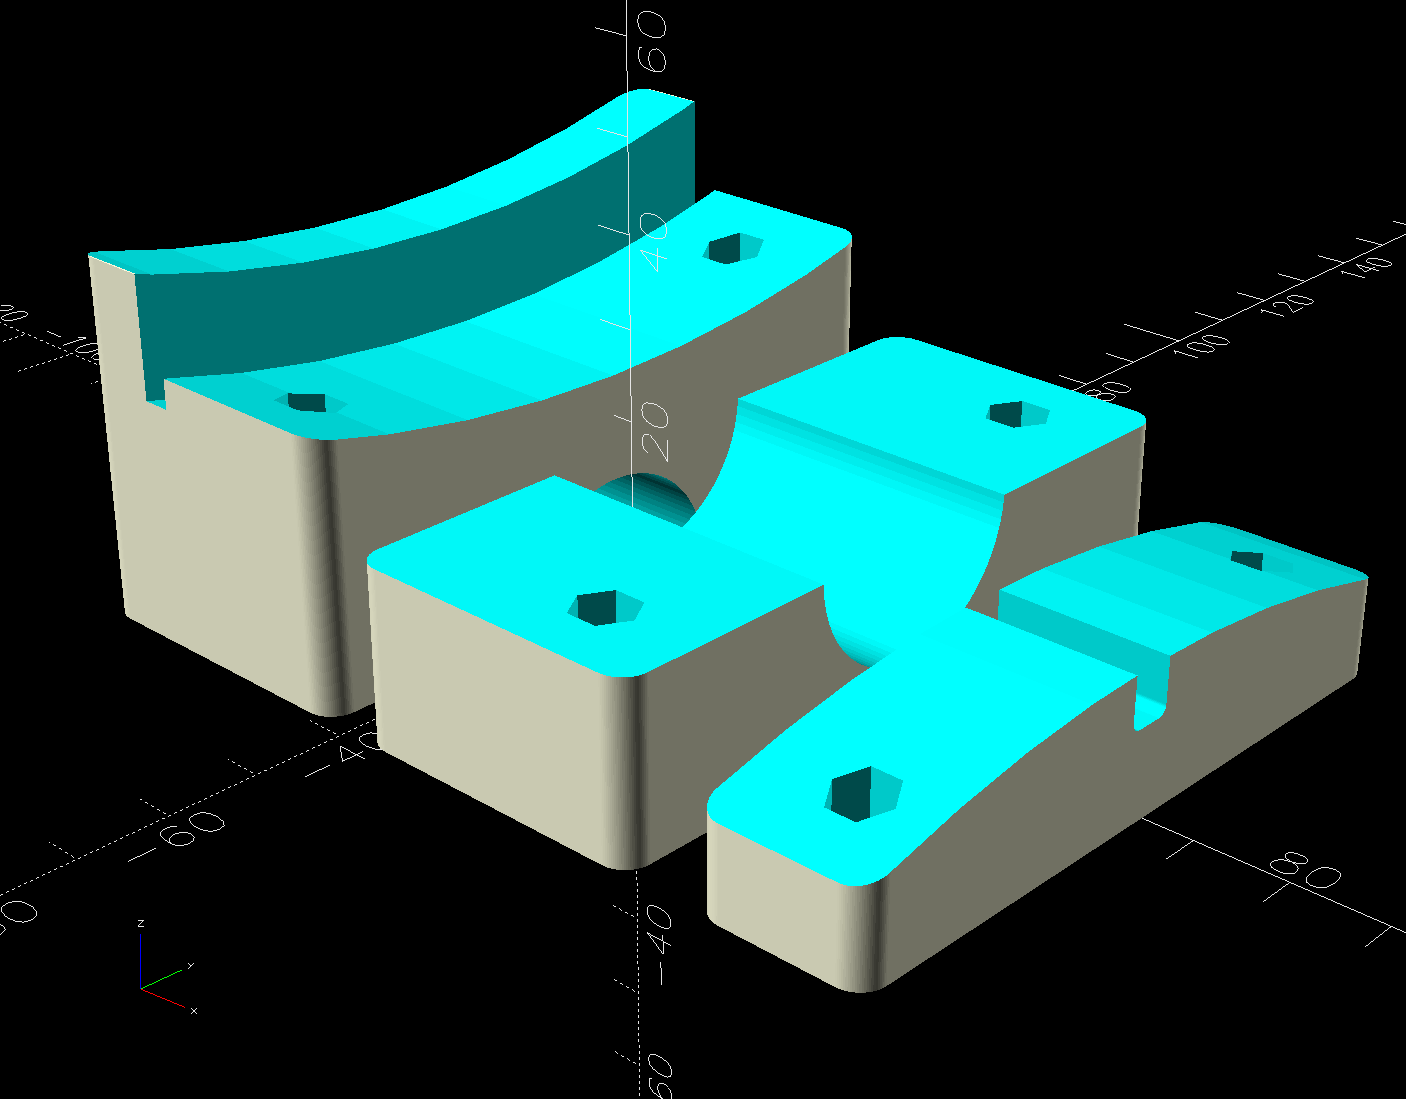
if (Layout == "Build") { |
|
render() |
|
union() { |
|
difference() { |
|
left(MountBlock.z + Gap/2) |
|
up(PoleOffset – Kerf/2) |
|
yrot(90) |
|
Mount(); |
|
cuboid([3*MountBlock.z,2*MountBlock.y,3*MountBlock.x],anchor=TOP); |
|
} |
|
render() |
|
right(Gap/2) |
|
intersection() { |
|
up(MountBlock.x) |
|
yrot(90) |
|
Mount(); |
|
up(MountBlock.x – PoleOffset) |
|
right(MountBlock.z/2) |
|
cuboid([2*MountBlock.z,2*MountBlock.y,MountBlock.x],anchor=TOP); |
|
} |
|
right(2*MountBlock.z – BaseSagitta) |
|
up(SegmentBlock.x/2) |
|
yrot(-90) |
|
NutSegment(); |
|
} |
|
} |