Ed Nisley's Blog: Shop notes, electronics, firmware, machinery, 3D printing, laser cuttery, and curiosities. Contents: 100% human thinking, 0% AI slop.
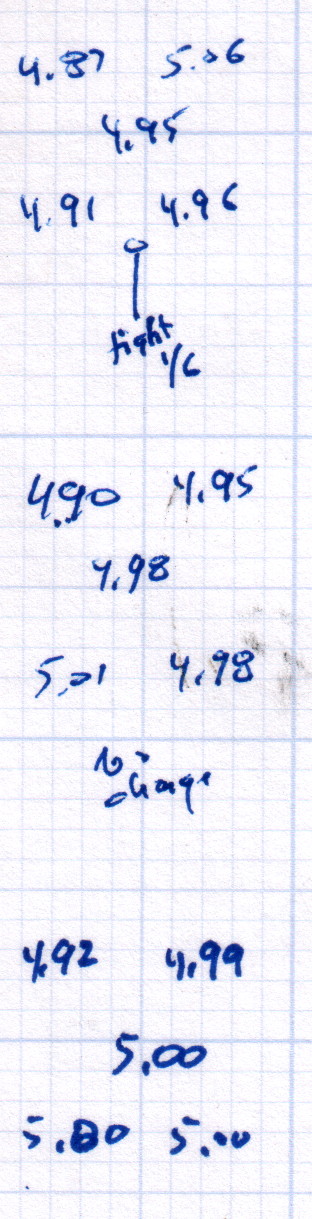
After replacing that washer, the last step in the platform alignment required 1/6 turn on the front screw between the top two sets of measurements:
M2 Alignment measurements – 2015-08-09 – 2
The last two sets show the sample-to-sample variation with no adjustments, which didn’t amount to much.
Without changing anything else, I then switched from magenta PETG filament to cyan and ran off two more sets of thinwall hollow boxes (in addition to other doodads) over the next two days:
M2 Alignment measurements – 2015-08-10
A bit less than a month later, after producing several iterations of unrelateddoodads:
M2 Alignment measurements – 2015-09-07
The variation in the center box height from 4.94 mm to 5.00 mm shows that sensing the platform Z-axis position directly on the glass surface actually works the way it should: ±0.03 mm is as good as it gets. Given that my measurement error / eyeballometric averaging on any given box runs around ±0.02 mm, the far corners also seem rock-stable and certainly don’t justify automatic alignment probing and adjustment.
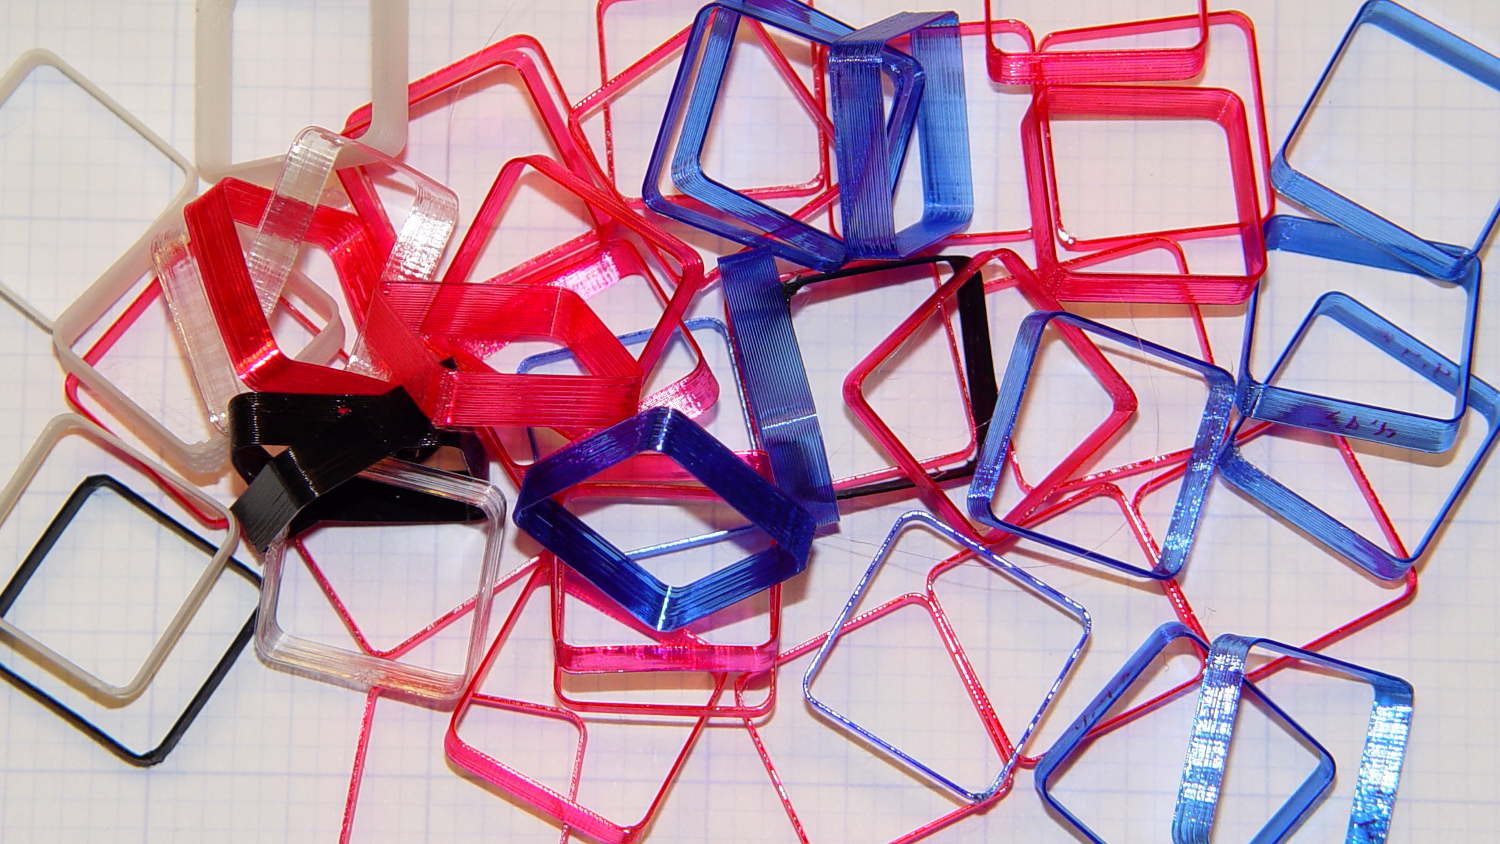
Thinwall hollow boxes make good handouts at 3D printing presentations…
The 12 in. ratchet bar clamp/spreader is a light duty tool that’s perfect for delicate woodwork or scale modeling.
Yeah, right. (*)
It’s an awkward, clunky, heavy steel bar with chunky plastic fittings, not at all suitable for “delicate woodwork”. In my case, I attempted to clamp a 4×4 block against a bonded pair of of 2×4 studs before drilling a pair of bolt holes, whereupon one of the clamps failed. I deployed a spare clamp (always have a backup) and completed the mission.
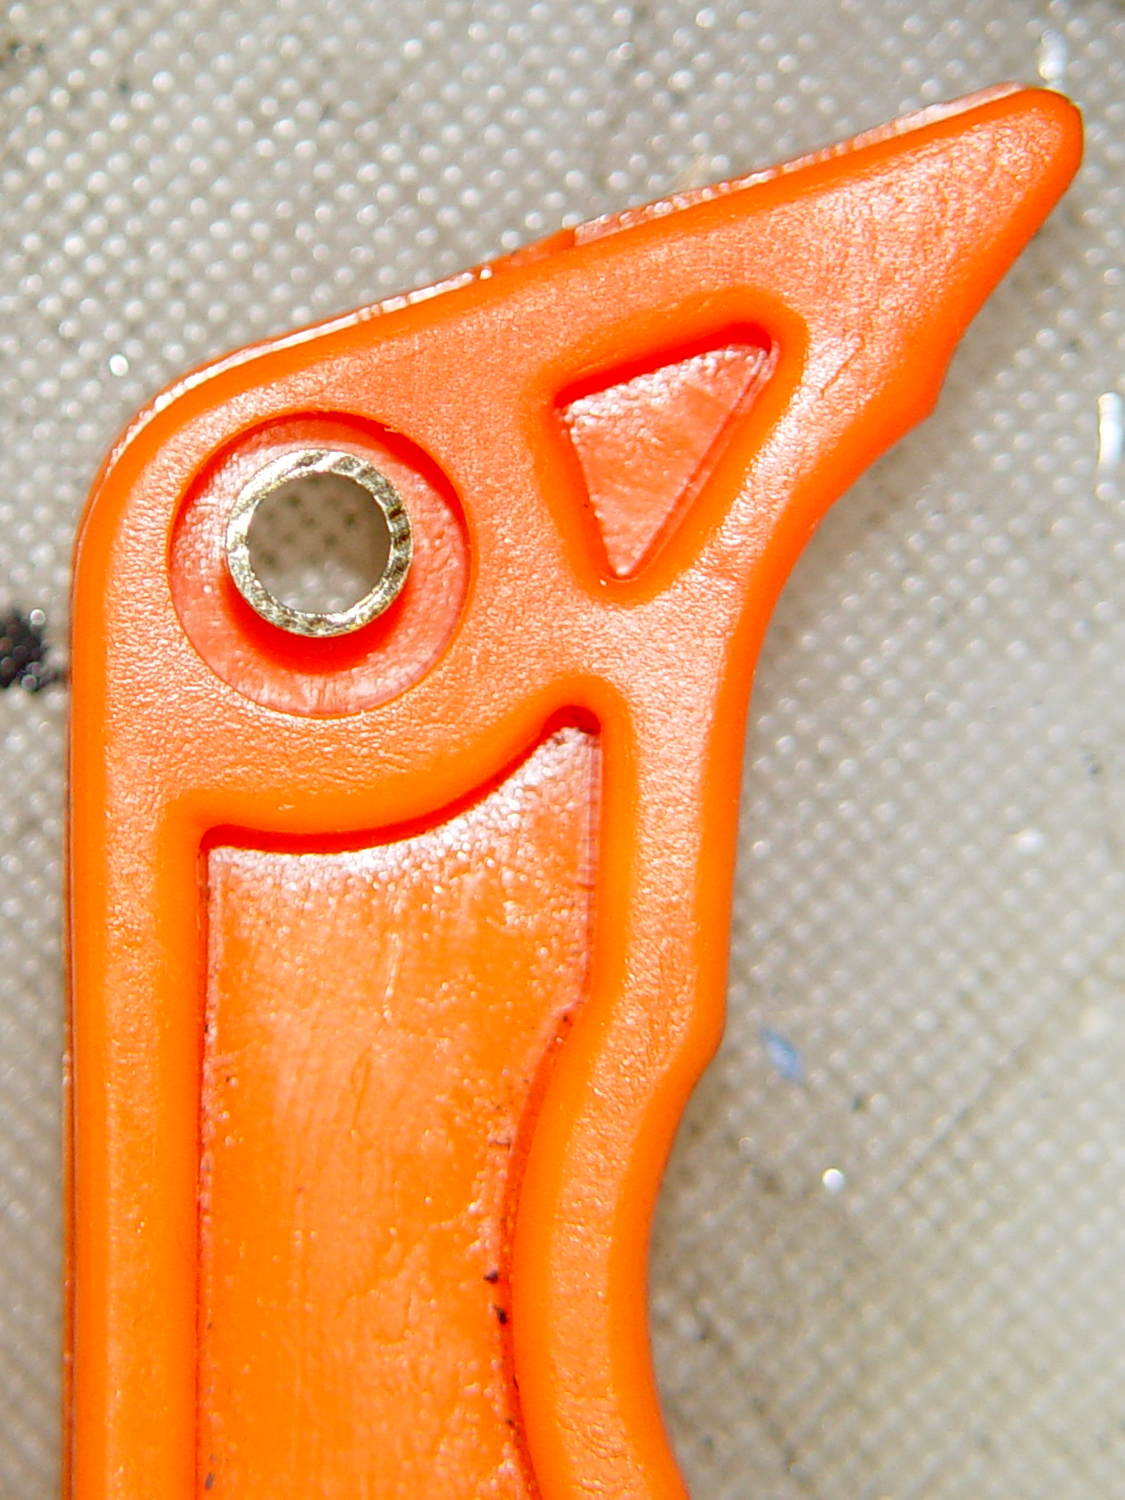
An autopsy showed the problem:
Harbor Freight Bar Clamp – failed handle pivot
The orange handle magnifies the applied force by the (more or less) 4:1 lever arm and applies it against two hollow plastic bosses on the side plates. The one just below the handle broke free, which is exactly what you’d expect to happen.
The through hole looks like it should pass a pivot, but that’s not the case:
Harbor Freight Bar Clamp – handle detail 1
I drilled out the hole just slightly to fit a snippet of brass tubing:
Harbor Freight Bar Clamp – brass bushing
If the tubing looks slightly off-center, that’s because it is. The two halves of the injection mold weren’t aligned, as you can see along the top edge of the picture, putting the hole off-center. The broken boss took most of the reaction force from the handle: a poor bad design compounded by crappy production QC.
I filled the empty spaces with epoxy, topped it off with a pair of washers, match-drilled holes in the side plates, and ran a stainless 8-32 screw through the brass tubing:
Harbor Freight Bar Clamp – reinforced pivot
The end-on view shows the misaligned handle halves:
Harbor Freight Bar Clamp – repaired – edge view
It’s not nearly as stylish, but the handle pivot won’t fail again. I should preemptively repair the other clamps, but …
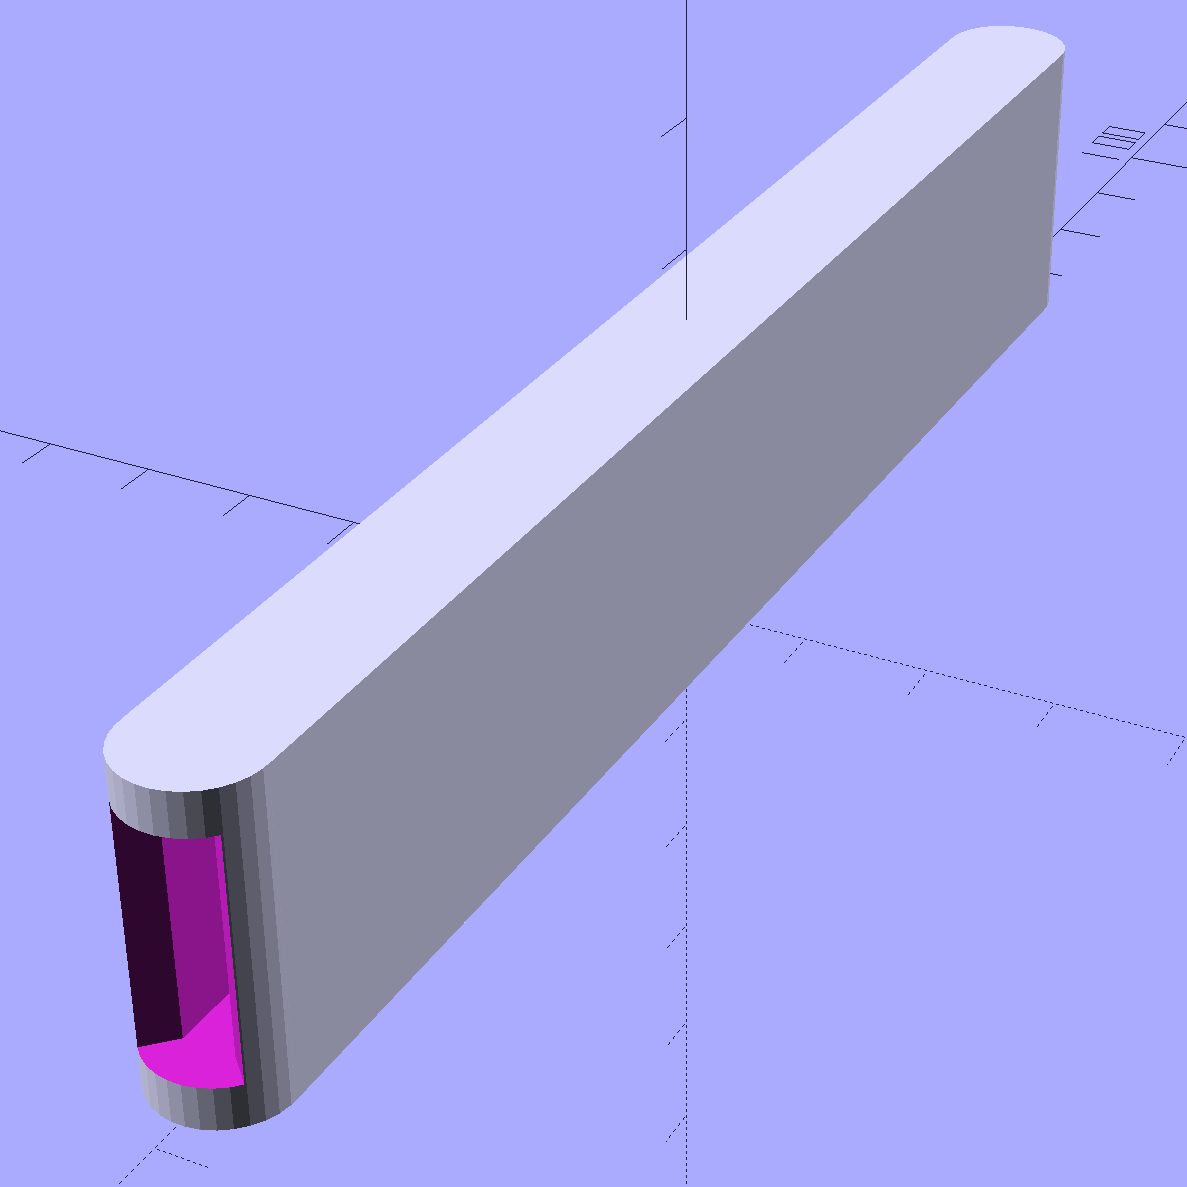
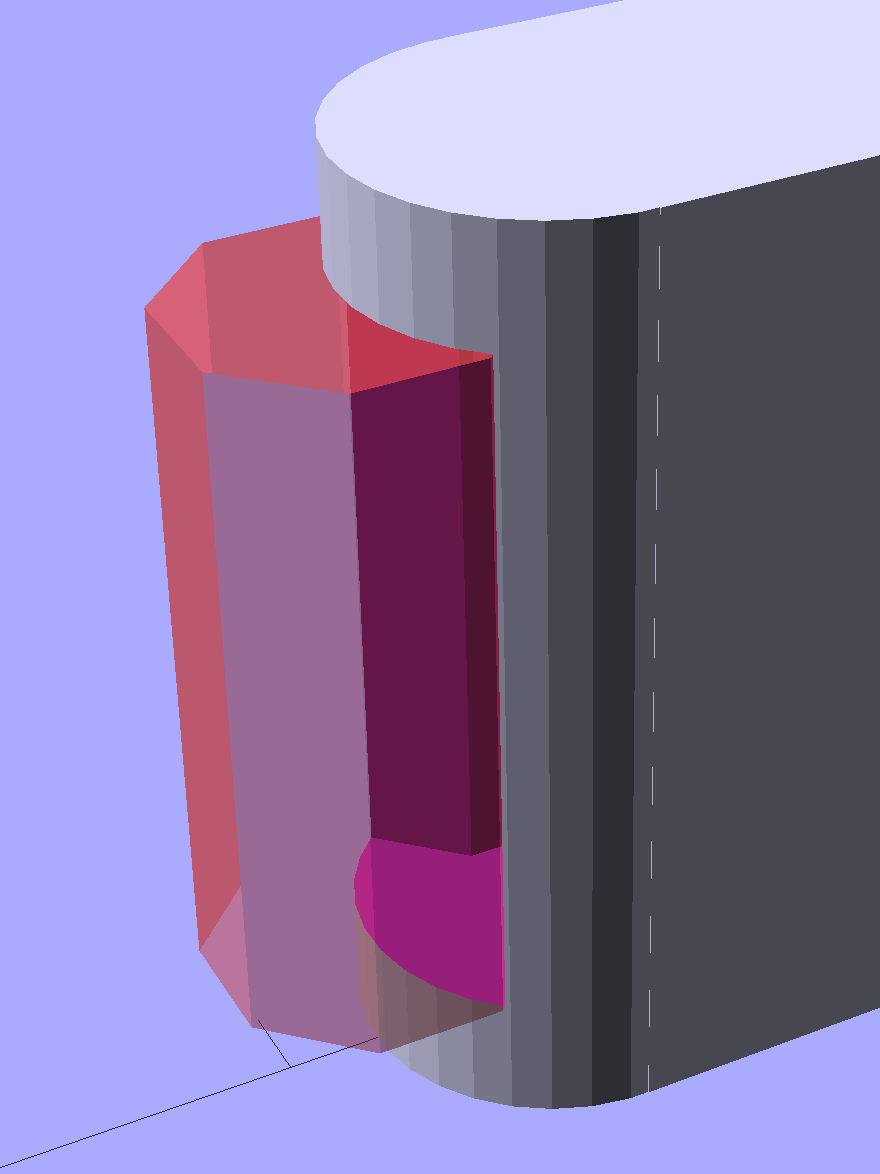
The ends have nice chamfered entrances made from octagons:
Garden Knife Sheath – entrances – solid model
The thing went away so fast I didn’t get a chance to photograph it, but magenta PETG filament should make it much harder to mislay, out there among the greenery…
The OpenSCAD source code:
// Garden Knife Scabbard
// Ed Nisley KE4ZNU - August 2015

//- Extrusion parameters - must match reality!

ThreadThick = 0.25;
ThreadWidth = 0.40;

function IntegerMultiple(Size,Unit) = Unit * ceil(Size / Unit);

Protrusion = 0.1;

HoleWindage = 0.2;

//------
// Dimensions

WallThick = IntegerMultiple(3.0,ThreadWidth);

Blade = [115,1.8,16.0];

Clearance = [10.0,2.0,2.0];

Slot = Blade + Clearance;

Sheath = Slot + [0,2*WallThick,2*WallThick];

//- Build it


translate([0,0,Sheath[2]/2])
    difference() {
        union() {
            for (i=[-1,1])
                translate([i*Sheath[0]/2,0,-Sheath[2]/2])
                    rotate(180/32)
                        cylinder(d=Sheath[1],h=Sheath[2],$fn=32);
            cube(Sheath,center=true);
        }
        cube(Slot + [Slot[0],0,0],center=true);
        for (i=[-1,1])
            translate([i*(Sheath[0]/2 + Sheath[1]/2),0,-Slot[2]/2])
                rotate(180/8)
                    cylinder(d=Sheath[1] - 4*ThreadWidth,h=Slot[2],$fn=8);
    }
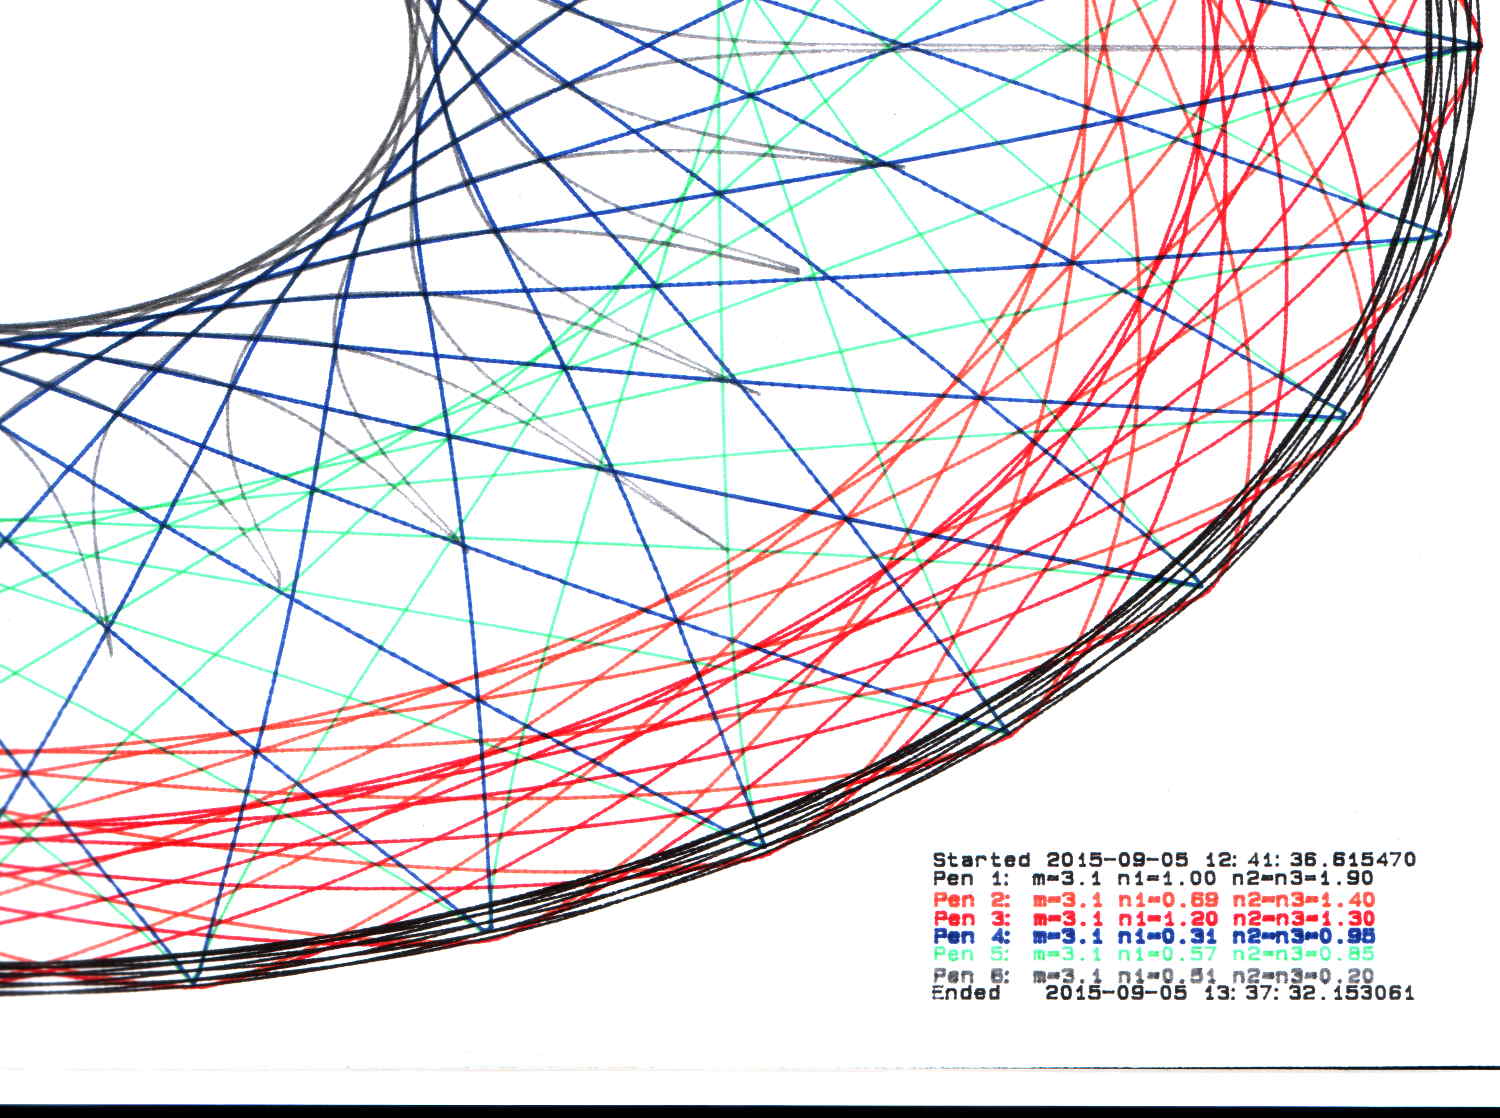
By now, I have half a dozen baggies each containing half a dozen plotter pens, plus a demo program that can produce good-looking Superformula plots, so I can do this without any hassle:
HP 7475A 2541A 68465 – Random pens
And this:
HP 7475A 2641V 26599 – Random pens
I must confess to not being good at withstanding temptation; the second plot comes from another HP 7475A plotter that I won on eBay:
Stacked HP 7475A Plotters
Apparently, nobody else wanted a plotter advertised as “non-working”, leaving me as the sole bidder. The photos showed that it powered up properly, sported a serial (not HPIB) interface, had an (empty) carousel with rubber pen boots (that were, oddly enough, not fossilized), and came with a complete set of manuals. Turns out any one of those items sells for more than the entire package, so I can part it out, flip the pieces, and Profit! if I were so inclined.
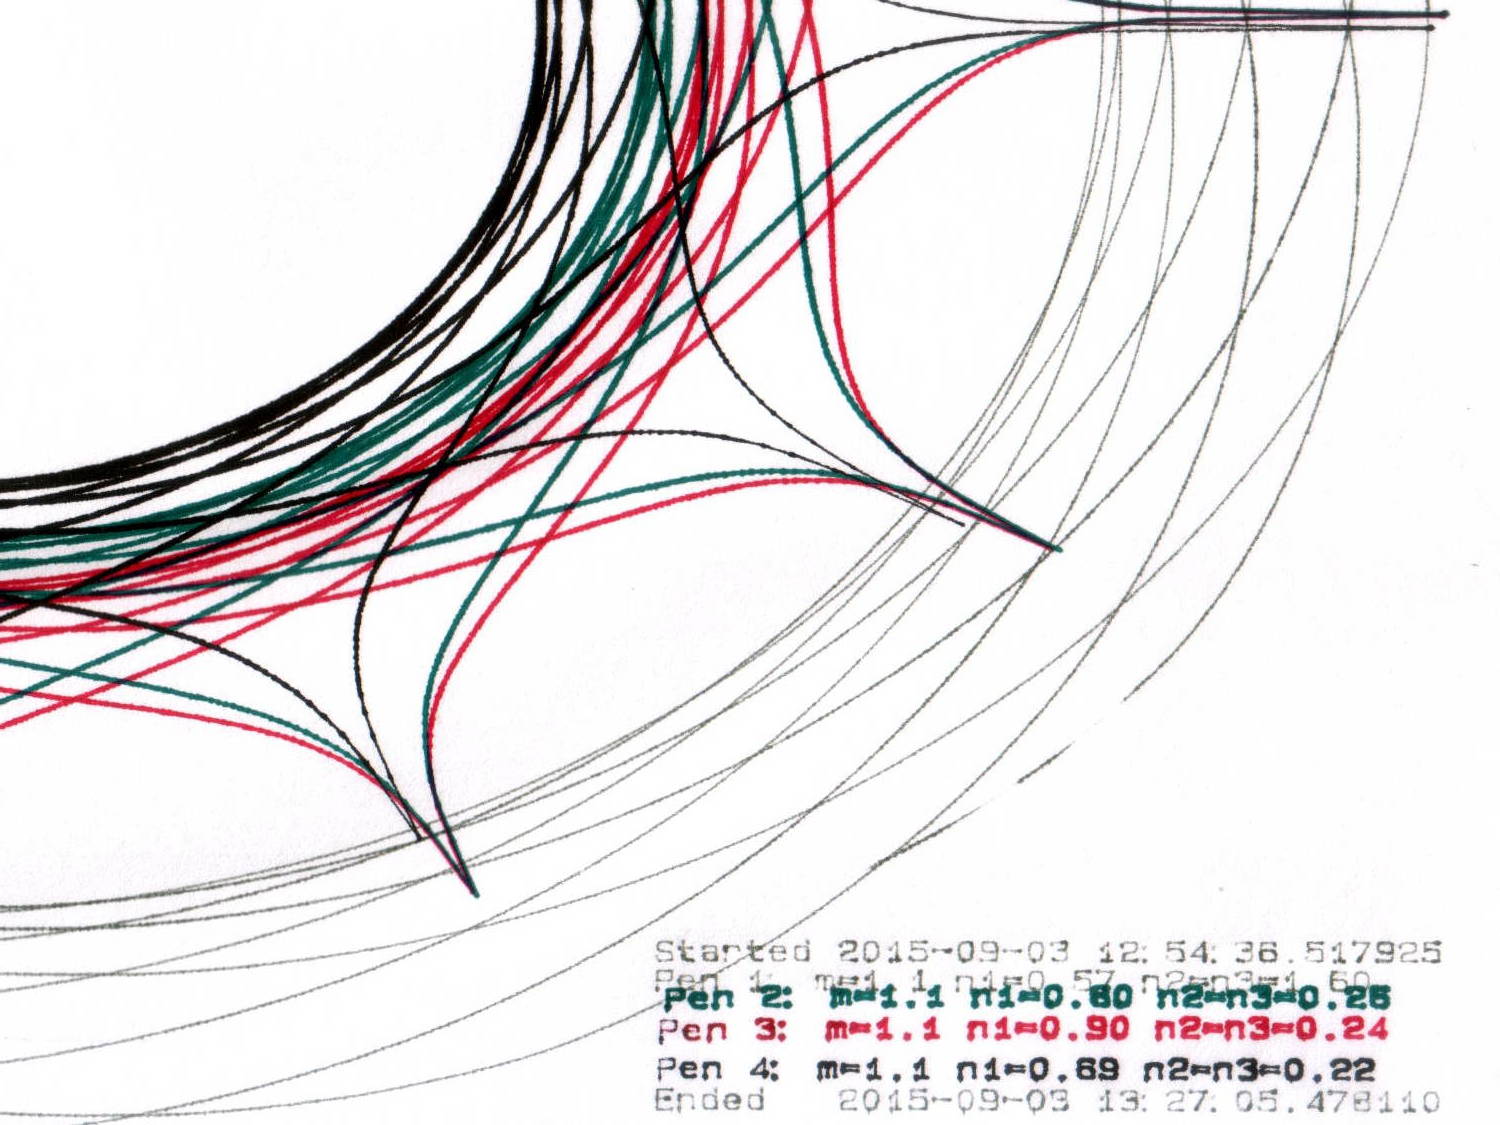
Load the carousel with a handful of restored pens, insert a sheet of paper, hold down the P1 + P2 buttons, flip the power switch, and out comes a perfectly drawn demo plot:
During this plot, an Inmac purple pen (in the Pen 5 slot) pretty much ran out of ink:
HP 7475A – Pen 5 before refill
It printed the legend perfectly and started the trace solidly enough, proceeding upward from the far right, but after ten circuits around the center it returned dragging a very faint line behind it.
Just for a change, I punched a new-old-stock Inmac pen from its sealed blister pack, only to find that it left a spotty trail. These being easy to refill, I popped the top, flipped the fiber reservoir, added ten drops of HP2000C black (i.e., not the crappiest ink I’ve ever used), and scribbled a few feet to get it started again. It left a good-enough trace, so I ran an A-size plot with the ball pen, two liquid ink pens, and a refilled ceramic pen:
HP 7475A – Inmac ball – liquid – ceramic – pens
It’s a bit pallid compared with the black ceramic pen. The line is continuous and, in comparison with all the other plotter pens in the collection, very very very fine.
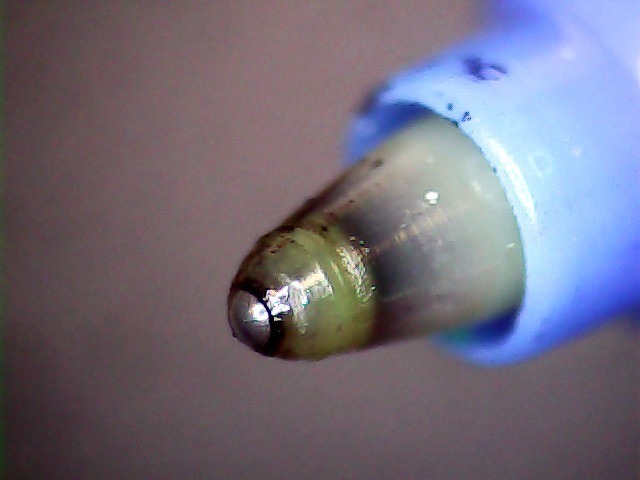
Turns out that it’s a miniature ball-point pen:
Inmac ball pen tip
I’m certain that water-based inkjet juice isn’t the right stuff for a ball-point pen, which may account for the lack of color. It’d be most appropriate for a document with fine text details, not that I must plot any of those at the moment.
There’s a bag with a dozen more of ’em in various cheerful colors, so, if I could just think of something that needed stubby ballpoint pens, I’d be all set.
It might be intended for a different HP plotter that applies more downforce to give the ball more encouragement. We’ll never know…
Being that type of guy, I measure the single-layer skirt threads to keep track of the platform alignment. Most of the time, nothing happens, because the M2 has a remarkably stable platform, but some of the objects I’d done in early August showed more than the usual variation and, worryingly, no discernible trend.
Adjusting the platform alignment between each of those sets produced no consistent effect, which is most unusual. The X in the bottom set shows where that thinwall box came unstuck from the platform, indicating that the clearance was considerably more than the nominal 0.25 mm layer height.
Peering under platform revealed something else that was quite unusual:
M3 washer – bad seating
That washer should be flat against the spider mounting plate. My first thought was a burr on the plate, but that didn’t make any sense, as the plate was clean & smooth when I installed the platform; I’d enlarged those holes with a fine file and would have checked for burrs as part of that operation.
Removing the screw nut and extracting the washer revealed the true problem:
M3 washer with burrs
It’s a bad washer!
Tossing that one in the trash and installing a good washer put everything in order:
M3 washer – proper seating
Well, that’s after re-doing the alignment to un-do the previous flailing around, of course.
As nearly as I can tell, that washer sat there without causing any trouble since I installed the hotrod platform. or, more likely, when I repaired a failed screw. In late July I poked the platform to measure how much it moved under pressure, which apparently dislodged the washer and put the burr in play.
That’s how sensitive a 3D printer is to mechanical problems…