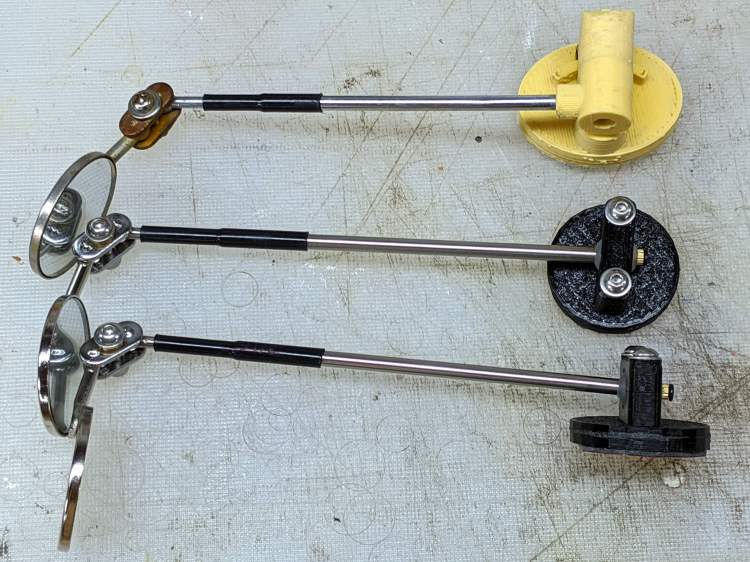
A magnetic base of unknown provenance and surprising expense when bought new emerged from the back of the workbench:

It’s been hiding back there since the first (attempted) use showed it wasn’t a quadruped:

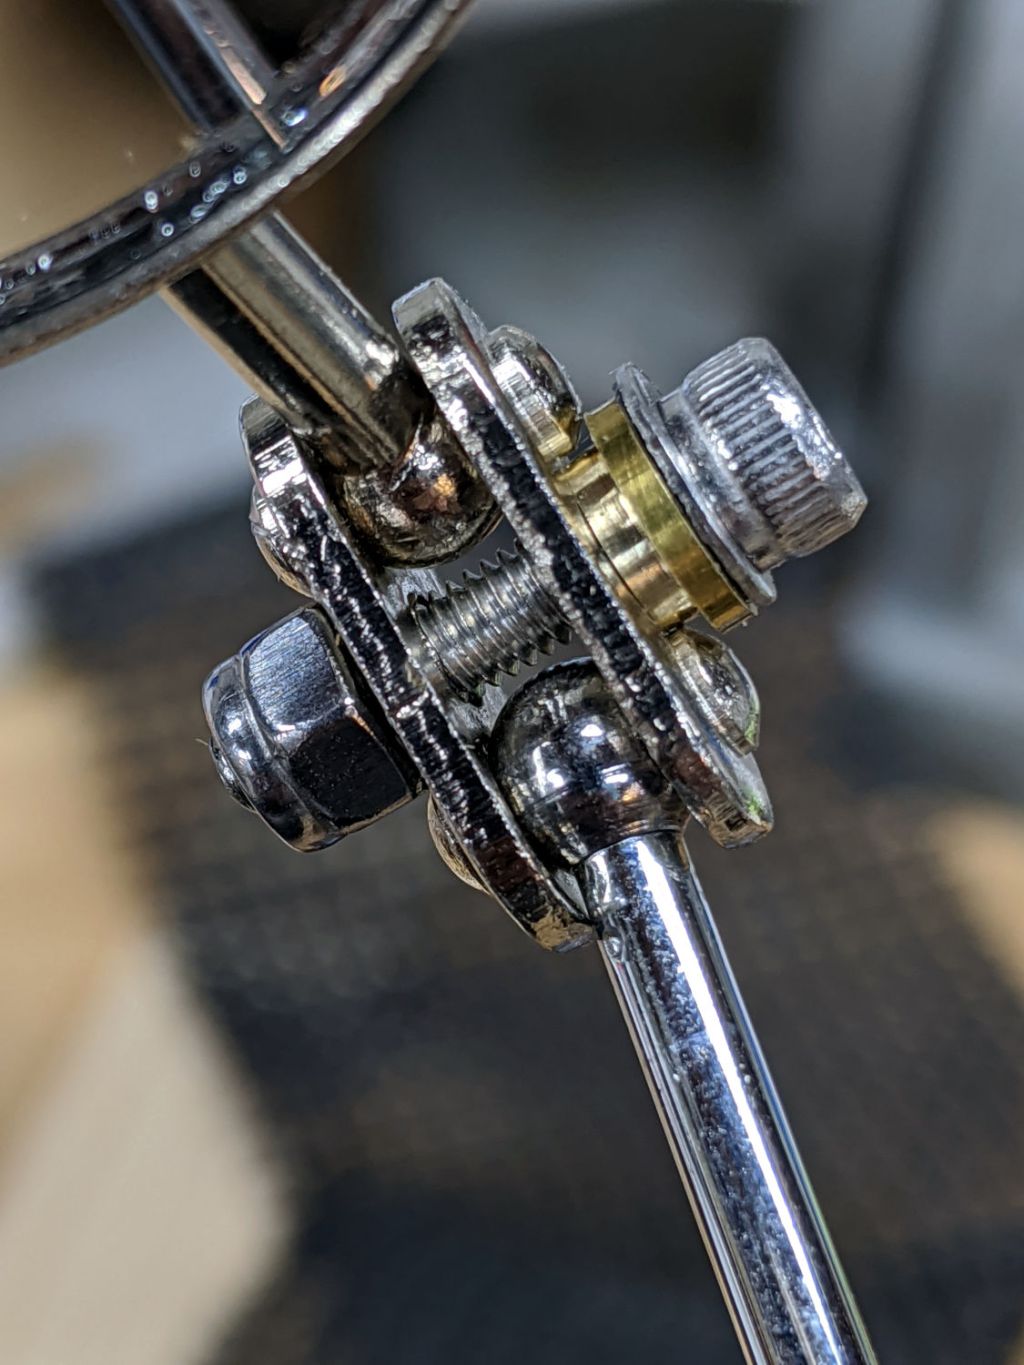
Grabbing the other end in the bench vise and whacking the top of the offending leg with a brass persuader pretty much lined it up. Closer inspection showed a problem with the push-to-detach lever:

The rivet head and thin washers extend a bit beyond the circular arc, with the rivet holding the leg above whatever it’s supposed to stick to. I think the scarring on the rivet was an attempt to improve the situation, perhaps during a QC adjustment session, that didn’t quite work.
The hole through the leg is a touch under 4 mm and the Big Box o’ Random Small Screws disgorged a 6-32 screw with what might have been a 5/32 inch = 4 mm nominal = 3.8 mm actual shoulder of exactly the right length:

The screw head flange cleared the floor, but wasn’t much of an improvement over the rivet. I eventually chucked it in the lathe and removed the flange & hex-head corners, an improvement you won’t see here.
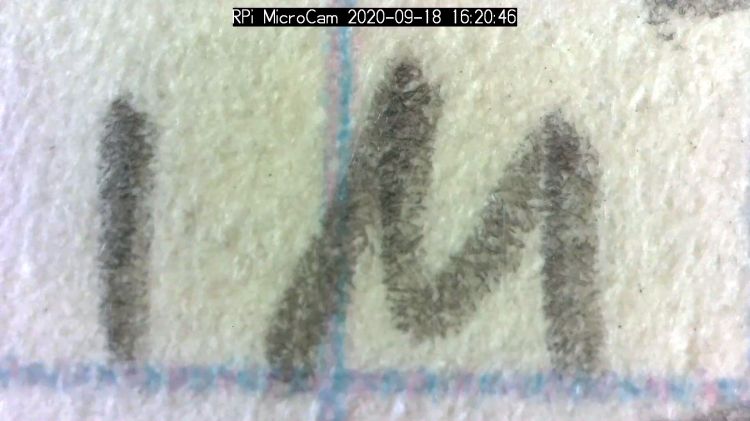
Even with the frame whacked into alignment, all four feet didn’t contact the surface plate along their entire lengths. Absent a surface grinder, I deployed a big blue Sharpie and the largest file on hand:

Iterating Sharpie and file eventually knocked off enough of the high spots to make it Good Enough™ for the intended purpose, which is definitely not precision metrology:

Those chunky cross-pieces are Old School alnico magnets, which is the only reason a simple lever can pry it off a steel plate.
Now, at least, it can stand on its own four feet.
As Johnny Mnemonic put it: “These days … you have to be pretty technical before you can even aspire to crudeness“.