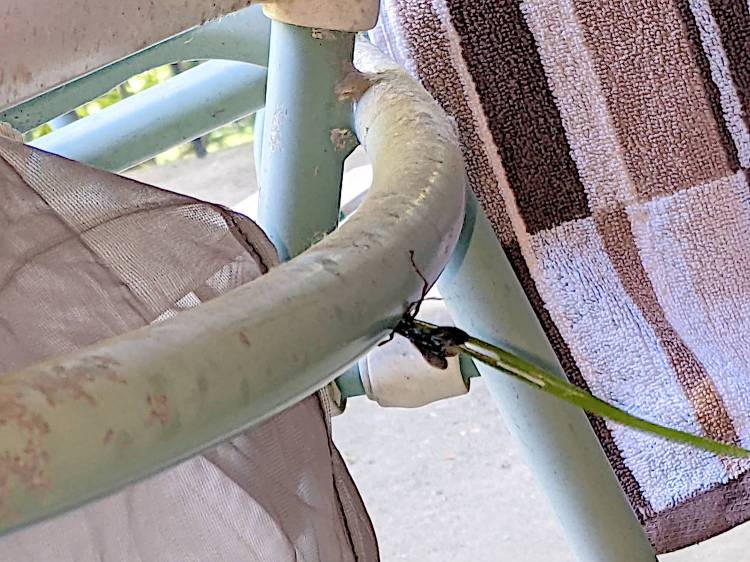
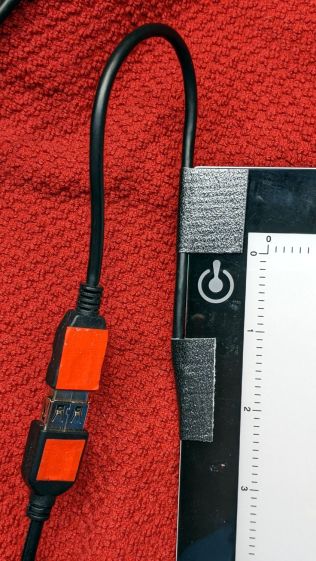
Now that vape “pen” refill cartridges are (mostly) dead, roadside debris has gotten chunkier:
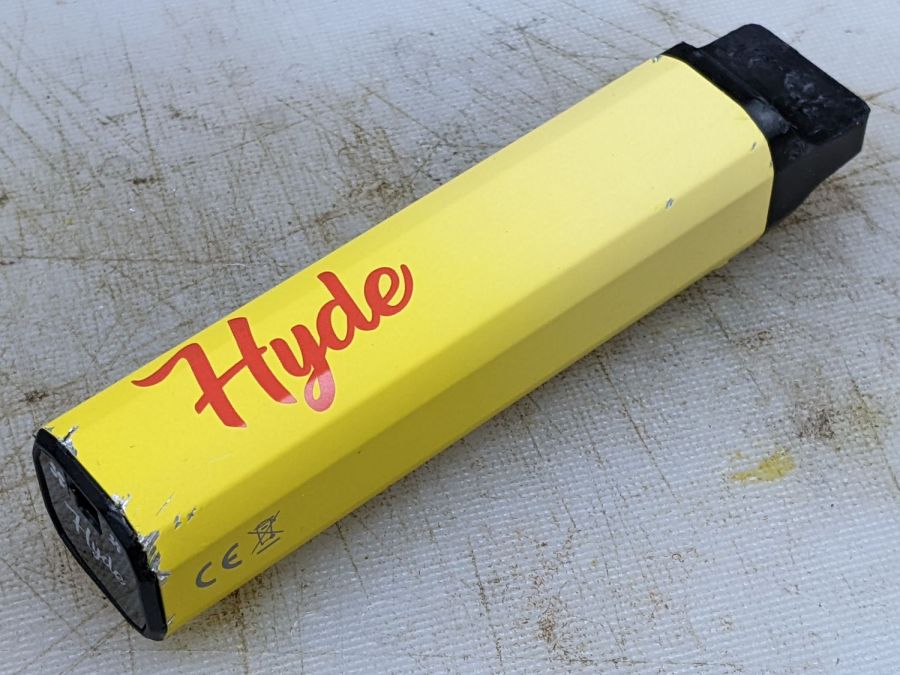
It’s a Hyde Edge Recharge vape pen or it could be a counterfeit. You (definitely not me) get “up to” 3300 puffs from the 10 ml container, with 50 mg of nicotine ensuring you can’t get enough and will come back for more. Although I don’t follow the market, “disposable” vape pens can still contain the fruity flavors prohibited in refillable pens, with the added decadence of throwing the whole thing away when the tank runs dry:

My admittedly inexperienced eye says the “tank”, which is really just a fiber cylinder soaked in fruity juice + nicotine, still has plenty of hits remaining.
The Basement Shop may never smell the same again.
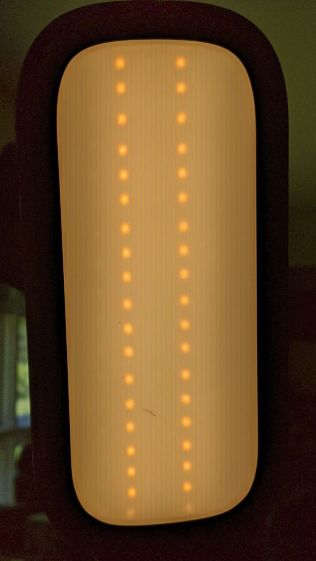
Of more interest, the silvery lump wrapped in a white felt strip is a 600 mA·hr lithium cell that slurped 406 mA·hr through its USB Micro-B jack when I recharged it. Perhaps the user victim sucker tossed it when the battery “died”, being unable / unwilling / ignorant-of-how to recharge it? The yellow aluminum case seems faded on the mouthpiece end, but that might be a stylin’ thing.
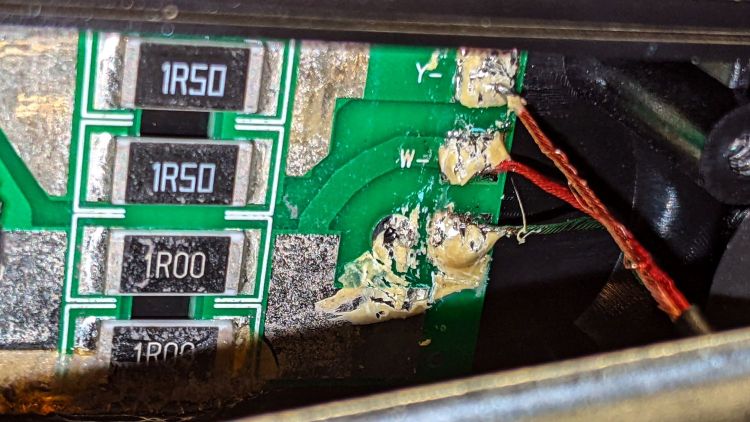
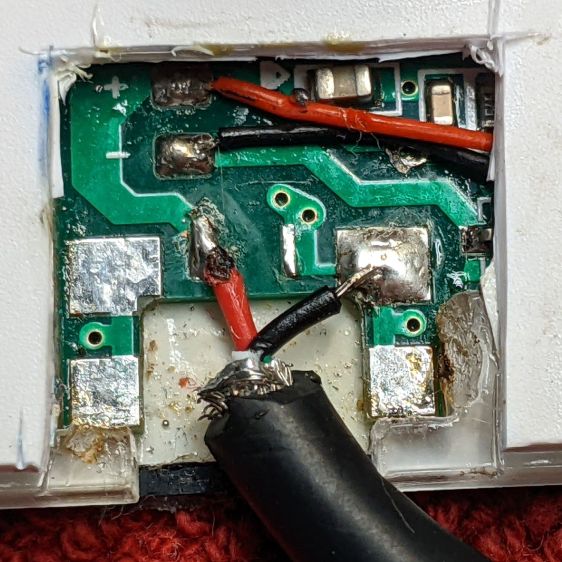
A closer look at the electronics payload:
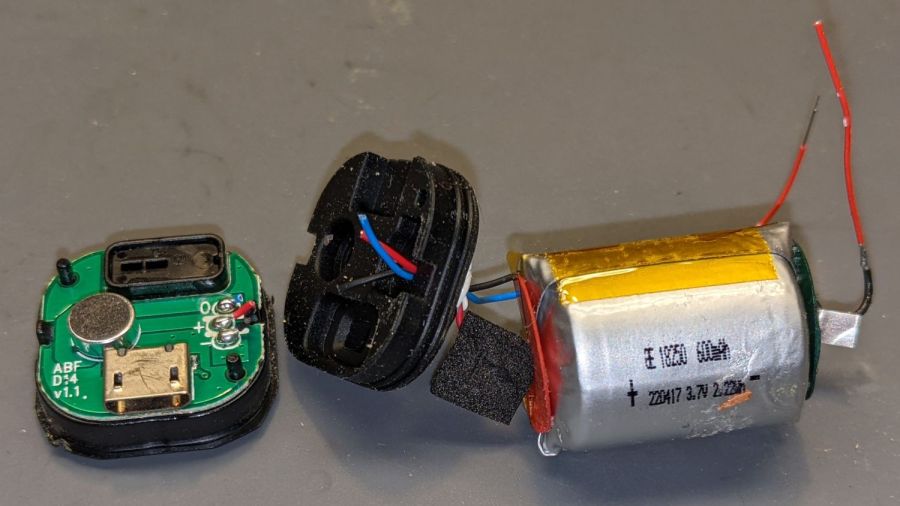
The two red wires over on the right went to the coil in the draw tube to the right of the “tank”. Not being interested enough to care, I wrecked the coil while extracting the rest of the contents. Comfortingly, the red and black wires from the PCB go to the positive and negative battery tabs.
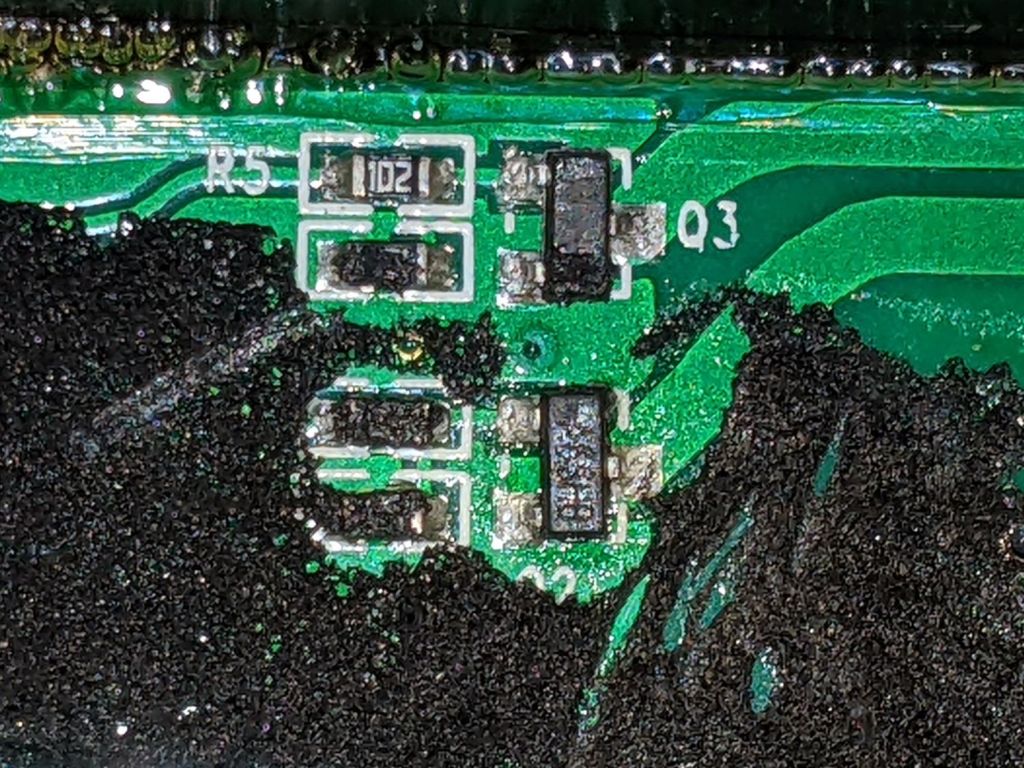
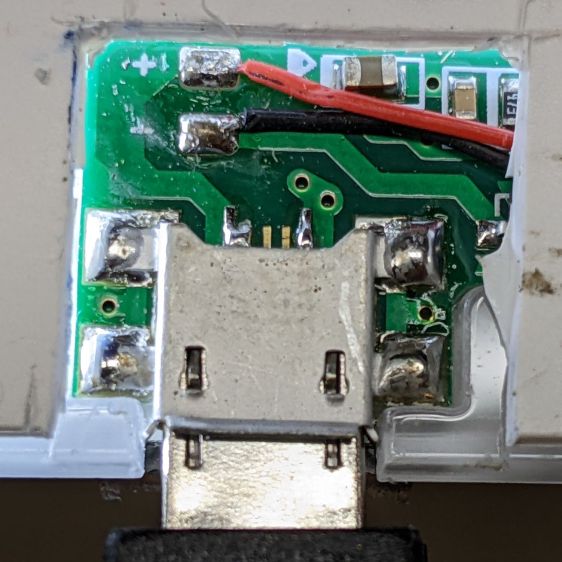
A closer look at both sides of the PCB:

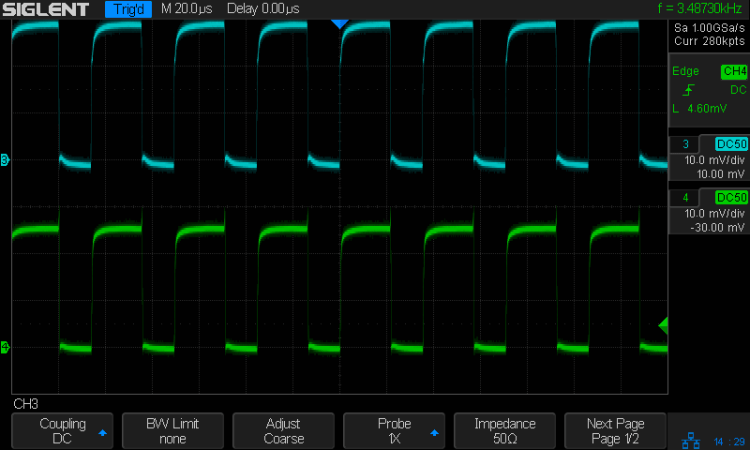
The SOT23 IC sports an LTH7 topmark corresponding to an LTC4054-4.2 Standalone Charge Controller (Analog Devices absorbed Linear in 2017). The two LEDs to its right glow red during charge and white during each puff.
The black felt disk covers an anonymous pressure sensor activating the coil during each puff. With four pins, the sensor must be far more complex than just a switch, but nowadays puff sensing could require an entire ARM microcontroller.
Speaking of microcontrollers, there’s always this fate:

I fought down an almost uncontrollable urge to amputate my arms at the elbows and cauterize the stumps …