A new floor lamp similar to the one I adjusted to suit my chair appeared next to Mary’s chair. It was, as I expected, much too tall, but shortening it required just removing one of the vertical tube sections (exactly one foot long!), as Mary was content with the flexy arm’s reach. Perhaps as a nod to the current chip shortage, this version of the lamp has a control consisting of a mechanical knob in a lump just under the flexy arm: push to turn on, rotate for intensity, tap for color, push-and-hold for off. This is much more usable than the finicky proximity pads on my lamp (and the slightly more expensive version of this one), which is why I picked it.
Because the coaxial power connector doesn’t fit through the bushing in the base of the vertical tubes and didn’t have a connector at the control lump, I had to dismantle the lump to disconnect the power cable to remove the pipe section, an operation deep in warranty violation territory.
So, we begin.
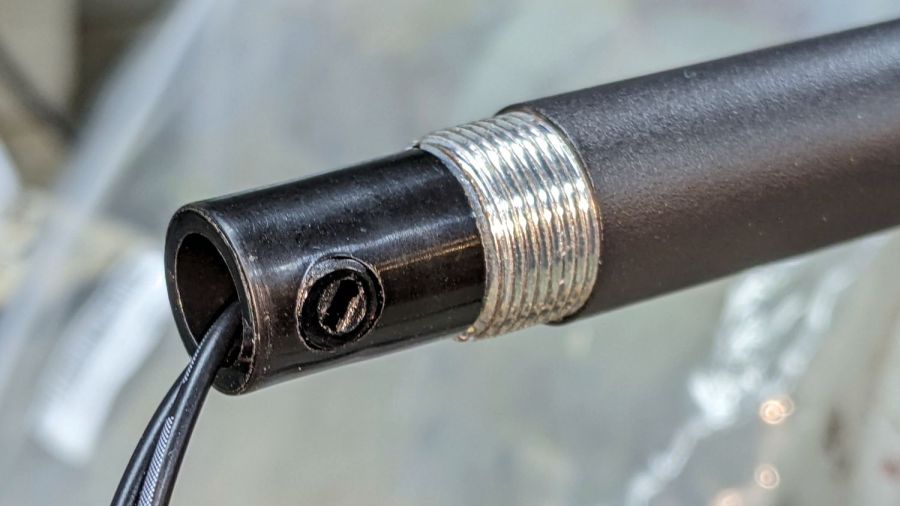
Loosen the screw clamping the power cord to the tube just below the control lump:
Remove the two screws holding the control lump together:

Pull the front of the lump off the tube and peel off a protective foam sheet to expose the circuitry:
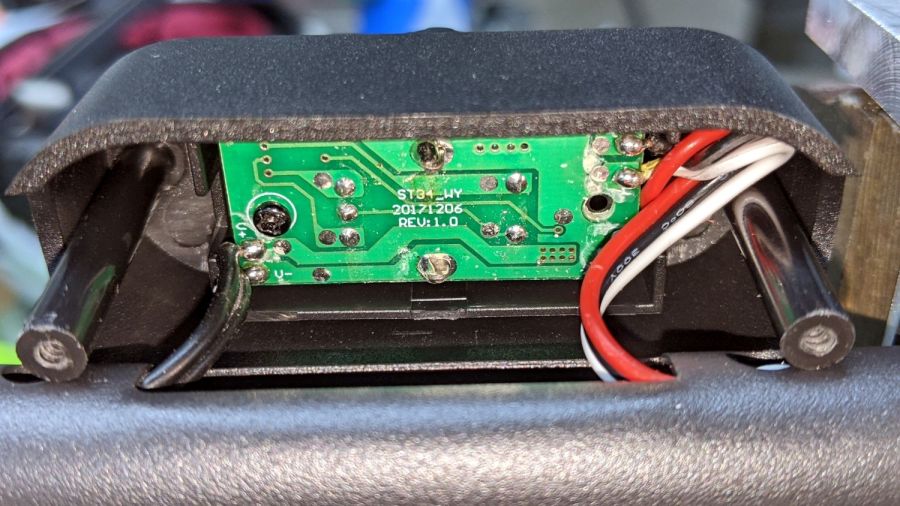
Power comes from a 12 VDC 400 mA wall wart, so note the wire markings:
In this case, the marked wire (with the dashed lines) is the positive conductor:

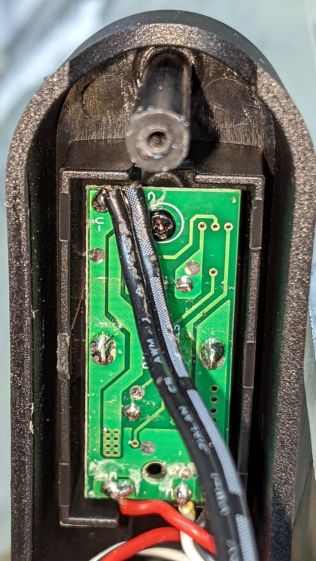
Unsolder the cable and pull it out of the entire collection of tubing. The topmost section has two inner threads, so remove one of the other sections (with inner and outer threads) and reassemble the rest. Poke the cable through the tubes, solder to PCB, tighten clamp screw, reassemble lump in reverse order, then declare victory:

The business end now hovers 39 inches (a neat 1 m) over the floor, just below her eye level, where it belongs.
