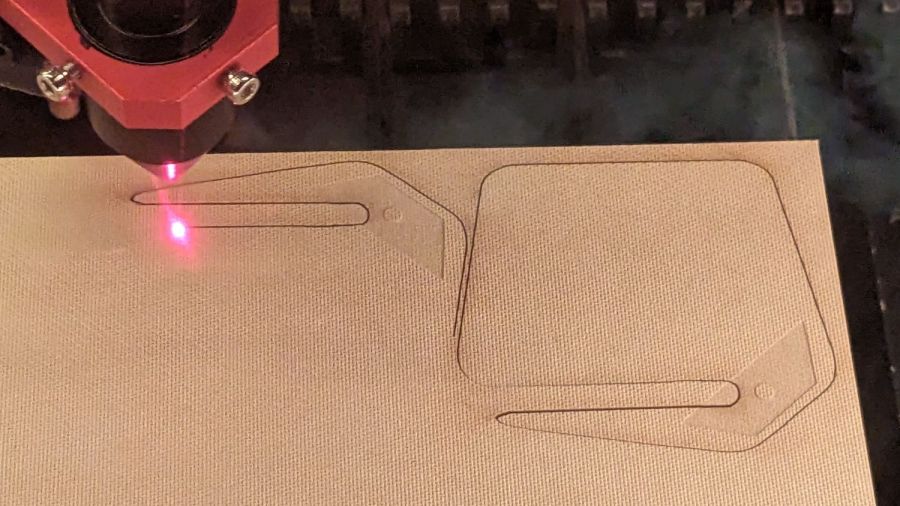
As practice in using the laser to engrave a figure to a known depth, this seemed appropriate:

The black envelope opener on the right came in a long-ago surplus deal and worked really well, which I cannot say for the retail replacements I got a few years back.
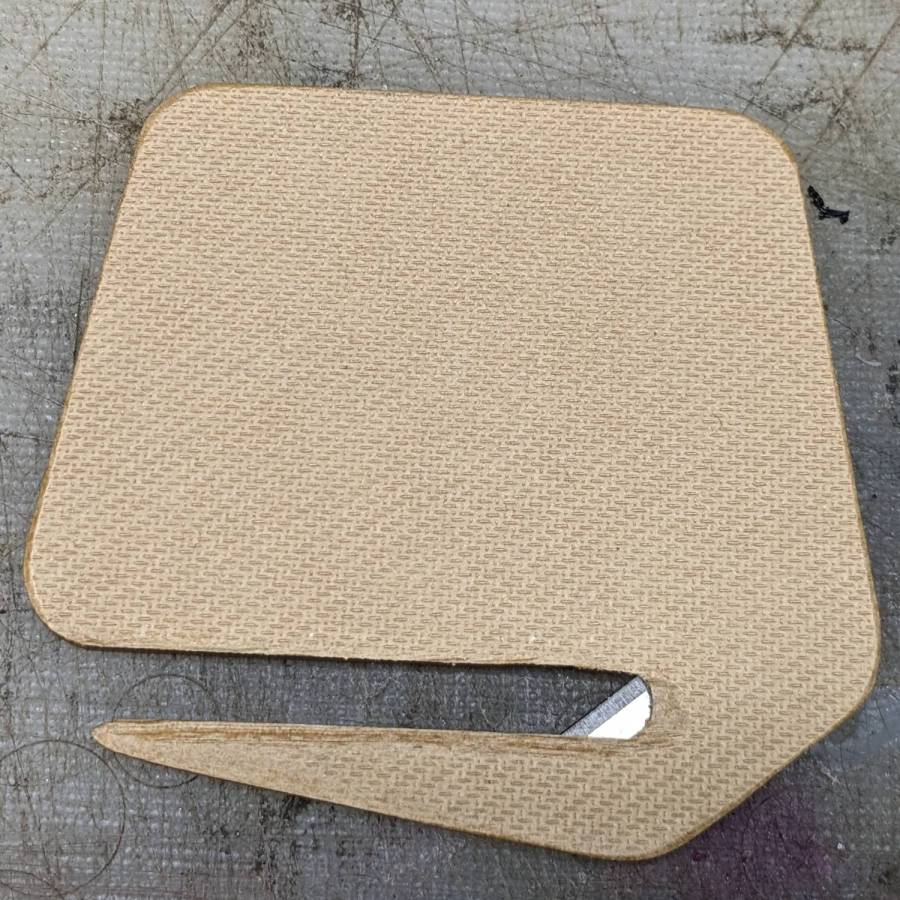
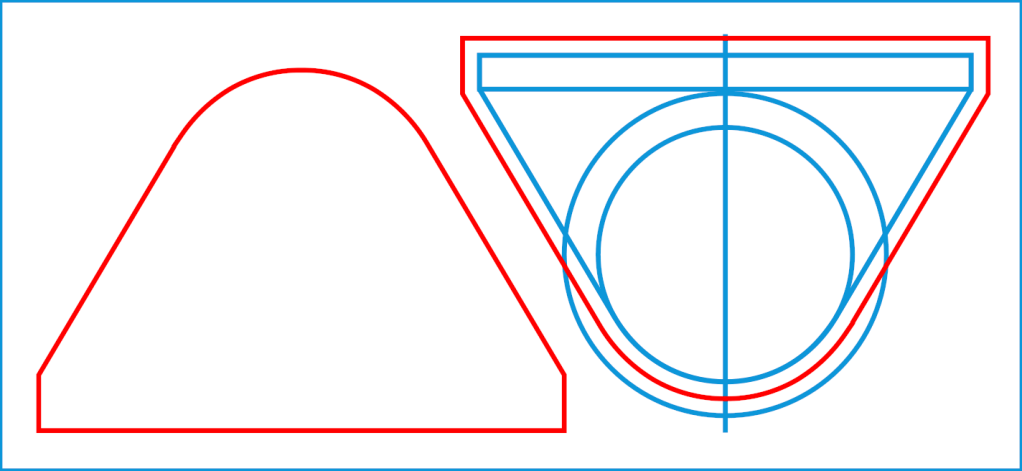
The tan envelope opener on the left is an obvious case of IP theft, copying the size and shape using a scanned image:
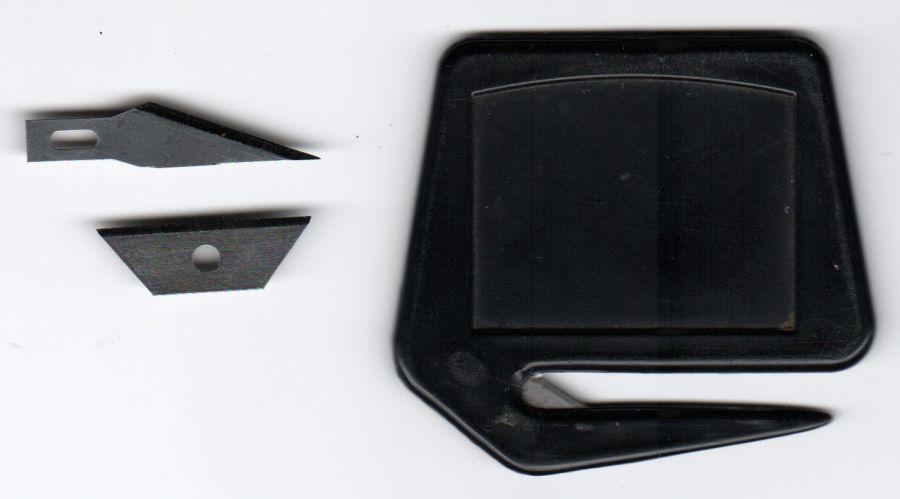
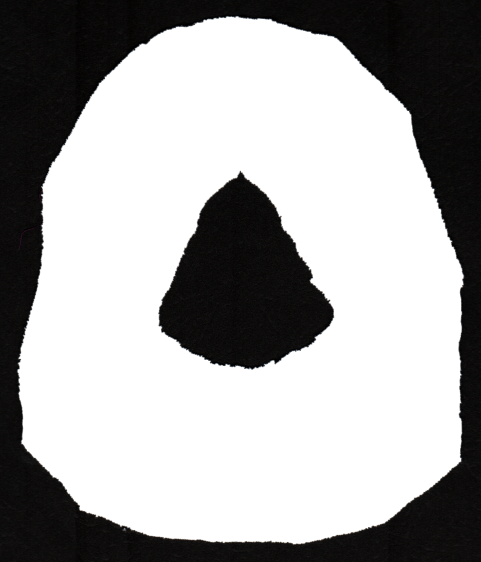
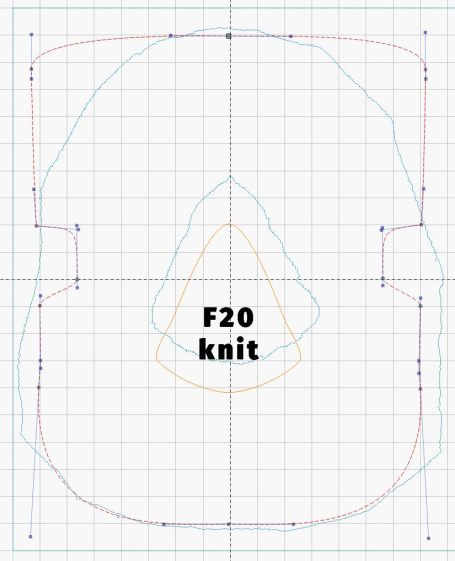
The two blades seemed like good candidates, with the lower one winning the contest:

Although the pack of “mini utility knife blades” sports a Lowe’s Kobalt part number, they no longer carry that item. You can find plenty of identical blades elsewhere, so they’re not a rare collectible and I have plenty of backup.
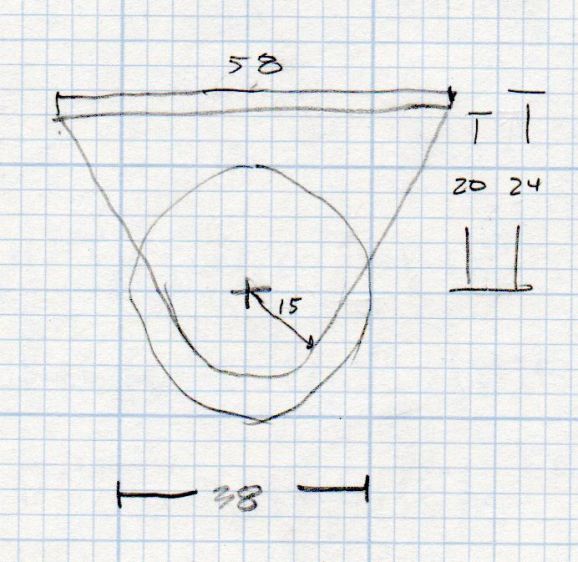
Put the outline of the opener on a cut layer, put the blade on an engraving layer, orient appropriately, and make a mirror-image duplicate:
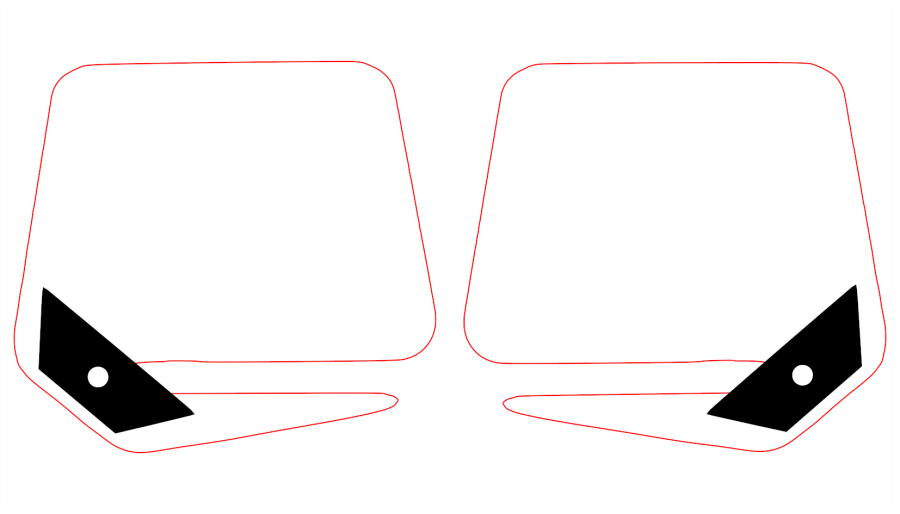
The original opener is a touch over 3 mm thick, so the settings engrave 0.25 mm into the surface to make a blade pocket, then cut the shapes from 1.5 mm TroCraft Eco:
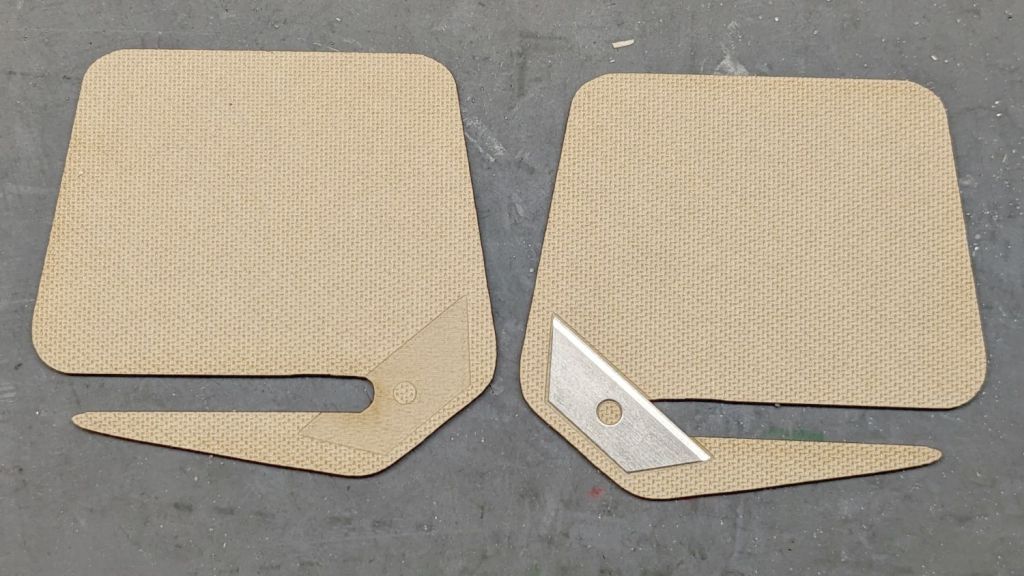
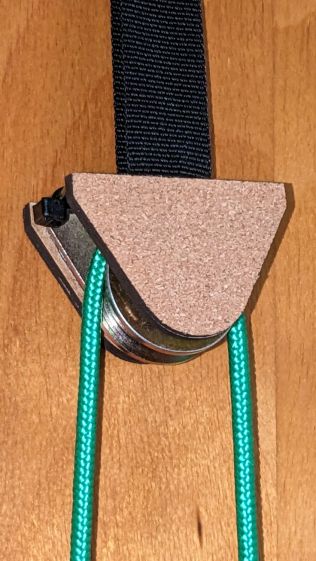
After all the cutting was done, it looks about as you’d expect:

Slather with yellow PVA wood glue and apply too many clamps:
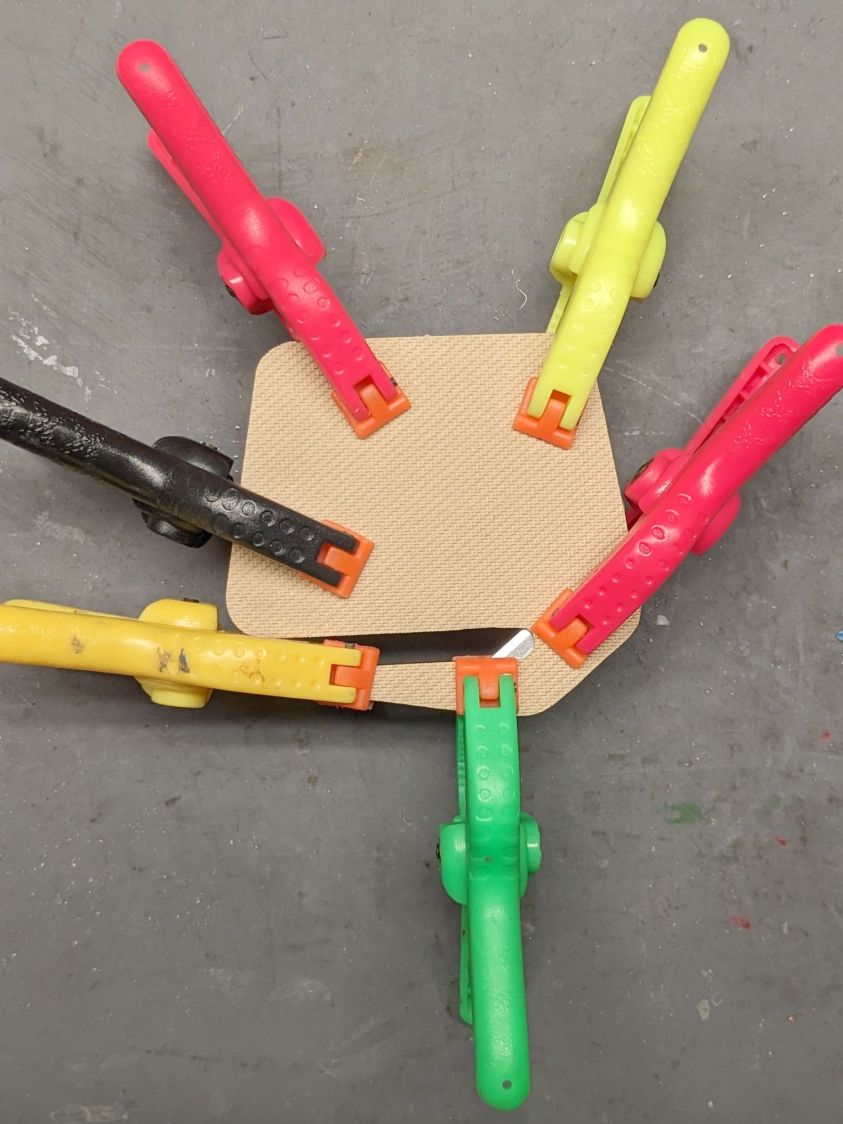
Next time around, I’ll round off the edges before assembly, but that’s in the nature of fine tuning:
The TroCraft sheet engraves so cleanly that, were I to go into mass production, I’d set up a fixture for grayscale engraving shaping the perimeters.
Obviously, this makes no economic sense, but it does produce a considerable amount of satisfaction, which is pretty much all that matters for such things.


