Ed Nisley's Blog: Shop notes, electronics, firmware, machinery, 3D printing, laser cuttery, and curiosities. Contents: 100% human thinking, 0% AI slop.
So the oven igniter I installed in January failed to ignite the oven when its current draw fell far enough below the valve’s 3.3 A minimum:
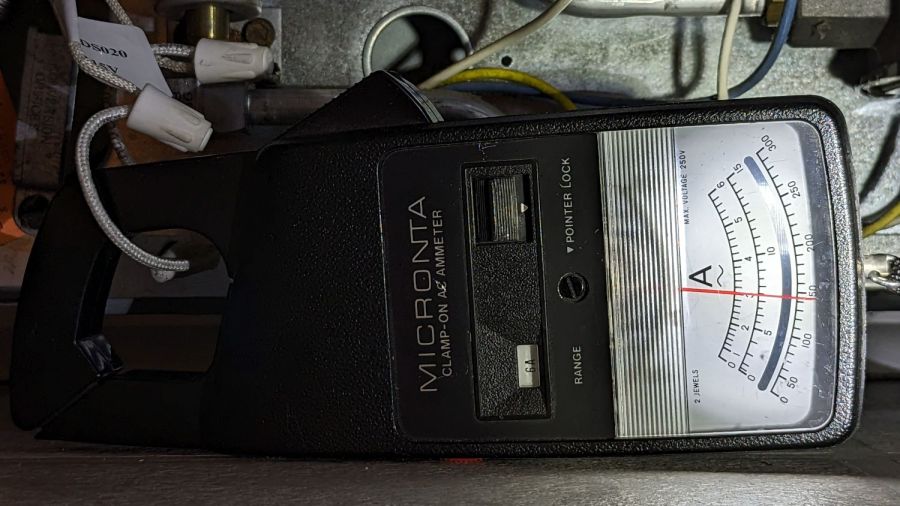
Oven Igniter – 2.3 A current
Of course, the seller no longer offers that particular igniter.
I described the problem:
The igniter just failed. The oven gas valve requires 3.3 to 3.6 amps to open, but this igniter now draws only 2.3 amps, as shown by the clamp-on current meter.
Because of the low current, the valve does not open and the oven does not heat.
The igniter should last more than five months! How do I go about getting a replacement or a refund? Thanks …
Which generated pretty much the reply you’d expect:
We are very sorry, because your product is 5 months from the date of purchase, we cannot offer you a refund. Please purchase another replacement.
Which made me a bit salty:
” the best quality for greater power connection, higher load and longer service life “
” We stand by our products, and our customers are our focus as a business. If you have any quality problem, please contact Funmit customer service team in time, and we will try our best to solve your problems “
So five months is “longer service life” with “the best quality”.
Bonus: now I understand what “try our best” means, too.
But to no avail:
Have a nice day! We are glad to serve you. We are very sorry that you are not satisfied with our products. Amazon.com Return Policy:Amazon.com Voluntary 30-Day Return Guarantee: You can return many items you have purchased within 30 days following delivery of the item to you. Our Voluntary 30-Day Return Guarantee does not affect your legal right of withdrawal in any way. However, the product has passed the return and exchange period, so it cannot provide you with a warranty. If you have other questions, please contact us in time, we will serve you wholeheartedly. Thank you. Sincere wishes, –By Funmit
So I bought a slightly more expensive igniter from a different randomly named seller that draws a slightly under-spec but entirely typical 3 A:
Oven Igniter – 3.0 A initial current
This one, however, allegedly comes with a one year warranty:
Quality you can Trust – All Snap Products are made with premium materials and are tested so they last Buy with Confidence – Snap Supply Parts always come with a 1 Year Warranty
Which surely requires the seller remaining in business until then.
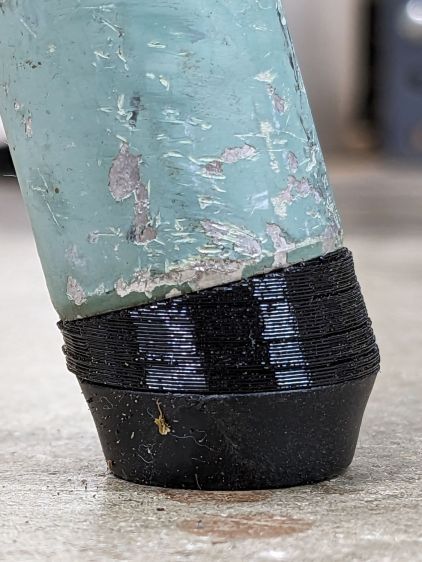
Some years ago we acquired a free quartet of aluminum-frame patio chairs in need of new straps and feet. Eventually enough straps broke to force me to re-strap the things and I finally got around to replacing the badly worn OEM feet:
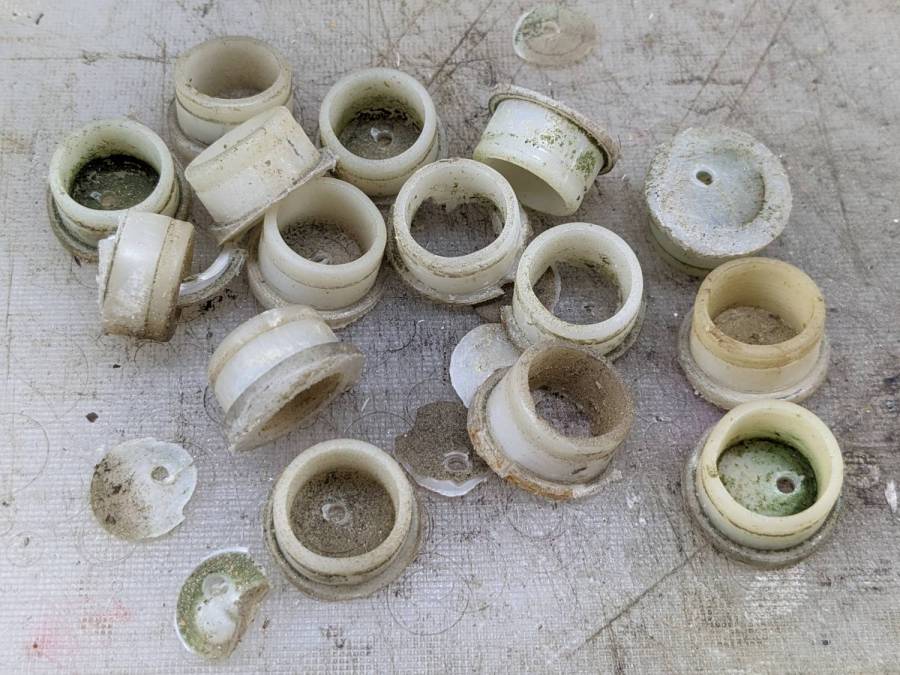
Patio Chair Foot Adapter – OEM feet
The small drilled holes let me yoink most them out with sheet-metal screw attached to a slide hammer, then apply the Designated Prydriver to the most recalcitrant / broken ones.
Some feet had worn enough to expose the aluminum tubes, but most had at least a thin layer of plastic:
Patio Chair Foot Adapter – OEM foot erosion
Obviously, I should have stripped and repainted the frames (if that’s possible, as they’re probably powder-coated), but a man’s gotta know his limitations and this job needed to get done.
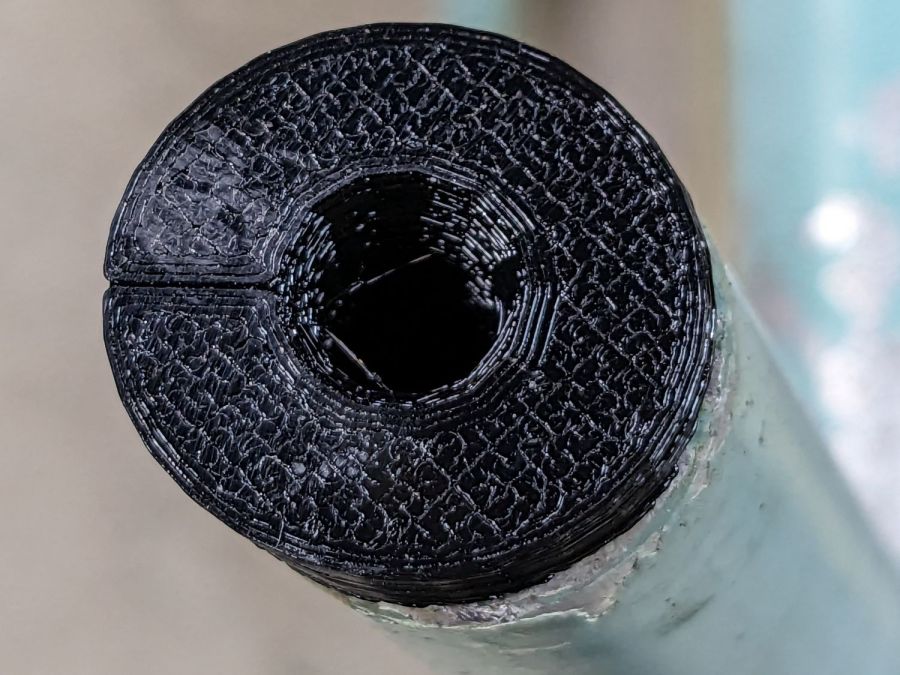
One might think patio furniture replacement feet are cheap & readily available, but no amount of keyword engineering produced search results with any degree of assured fit, so I conjured adapters for screw-in feet from the vasty digital deep:
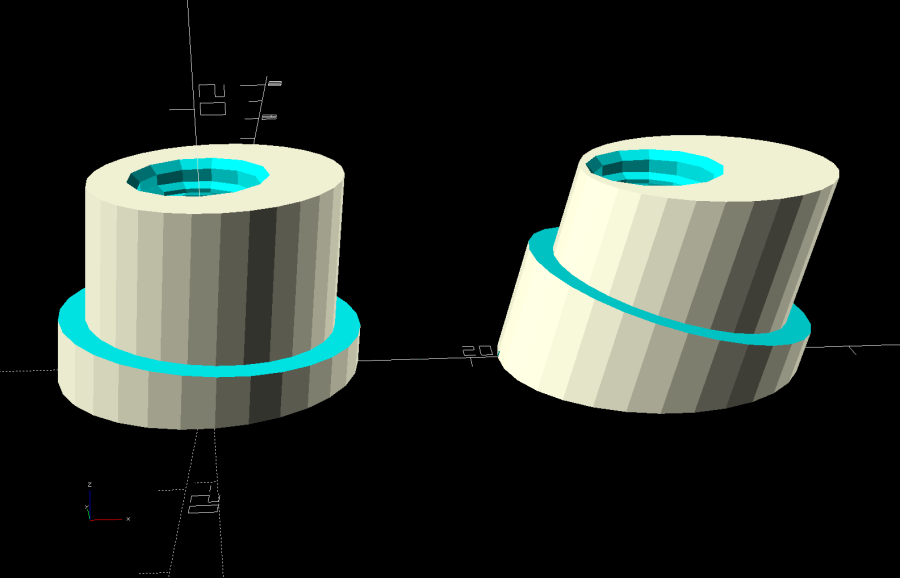
Patio Chair Foot Adapters – solid models
This was a long-awaited opportunity to explore the BOSL2 library and it worked wonderfully well. Each adapter is whittled from a huge hex nut with threads that perfectly fit the M8×1.25 stud, which stands vertically through the middle of the (slightly oval) bottom surface parallel to the floor.
The front tubes have a 5° angle with respect to the vertical:
Patio Chair Foot Adapter – front
And the rear tubes are 15° off:
Patio Chair Foot Adapter – rear
Each adapter has an orientation notch pointing toward the front of the front leg and the rear of the rear leg:
Patio Chair Foot Adapter – orientation notch
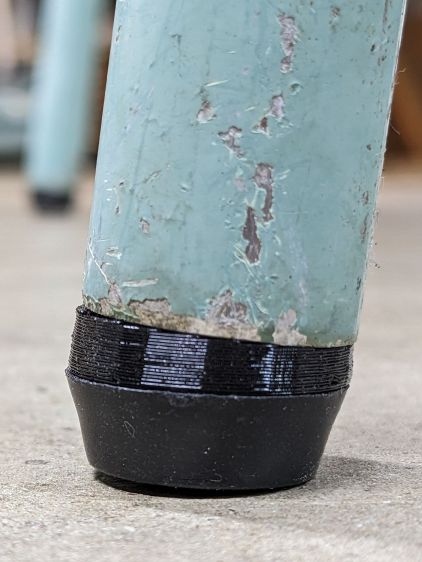
I expected to apply adhesive on the inside and outside of the adapters, but they tapped firmly into place inside the legs and the studs screwed firmly into them, so we’ll see how they survive in actual use. I expect the studs to rust after a while, but that might not be the most awful thing ever to happen.
This file contains hidden or bidirectional Unicode text that may be interpreted or compiled differently than what appears below. To review, open the file in an editor that reveals hidden Unicode characters.
Learn more about bidirectional Unicode characters
Chipmunks zip into drain pipes when they detect even a slight threat:
Chipmunk peering from drainpipe
When I installed the drain pipes for the gutters & retaining wall along the driveway, I added a grate plug to keep critters from setting up housekeeping in what must look like an extensive cave network, although later experience showed I must clean debris out of the plug more frequently than I expected:
Driveway drain – fountain
I didn’t glue the PVC pipes together, because I knew they’d need adjusting, so it was no surprise when the last section of pipe shifted enough to open a small gap, probably because my lawnmowing passes always proceed from right to left over the pipe:
Chipmunk Refuge – shifted drain pipe
The front yard chipmunk immediately claimed the pipe and zipped into the opening whenever we met on my way to the mailbox.
When I reconnected the pipe, the chipmunk knew something had gone wrong and started some exploratory excavation in about the right spot to find the missing tunnel entrance:
Chipmunk Refuge – missing gap
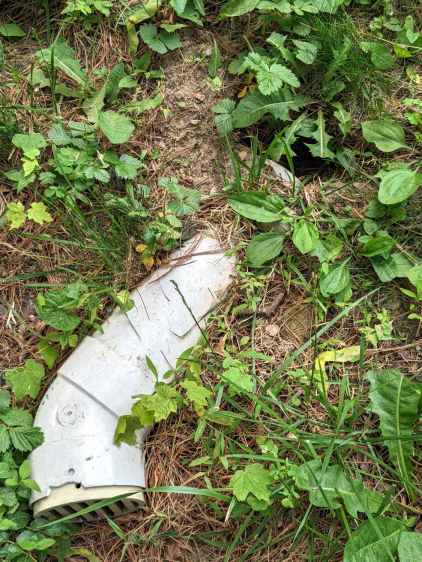
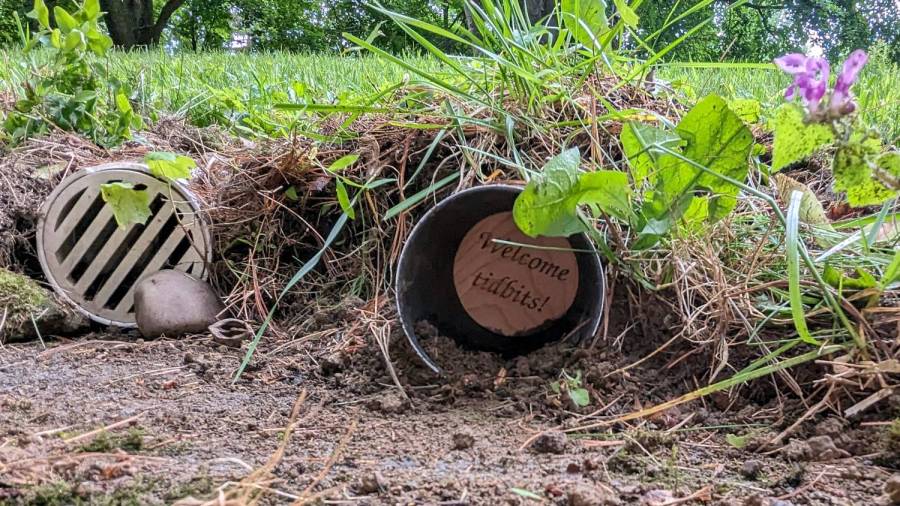
Not being one to rebuff the humble, I decided to make the world better:
Chipmunk Refuge – site overview
It’s a short section of PVC pipe with a wood plug in the far end to keep what I grandly call “our lawn” from filling it up. I bandsawed a disk from a scrap of inch-thick lumber that used to be a door and introduced it to Ms Belt Sander often enough to make it a snug push fit in the pipe.
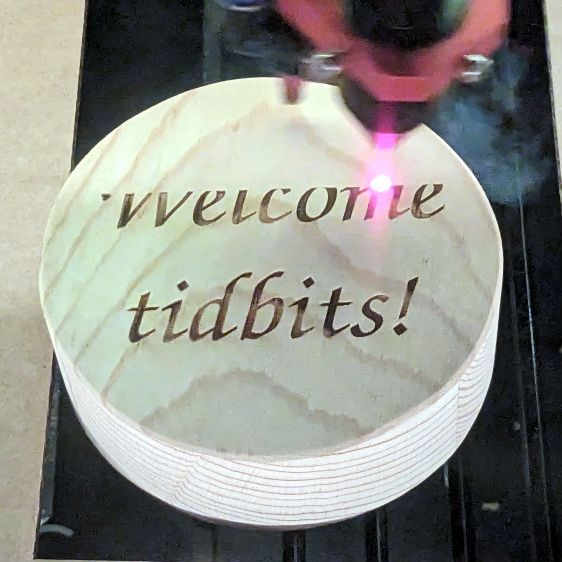
Some decoration seemed in order:
Chipmunk Refuge – decorated end plug
Which gives the place a nice, homey look:
Chipmunk Refuge – installed
Now, we’ll see whether the critters enjoy it as much as I did.
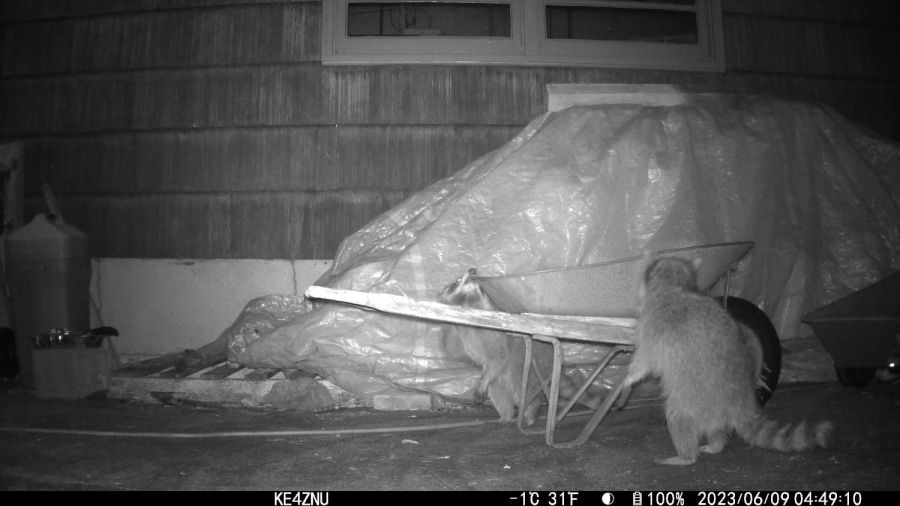
The only reason we haven’t seen a standing raccoon is because we’re not awake when it happens:
Raccoons vs wheelbarrow – 2023-06-09
The glowing dot over on the far right is a third raccoon!
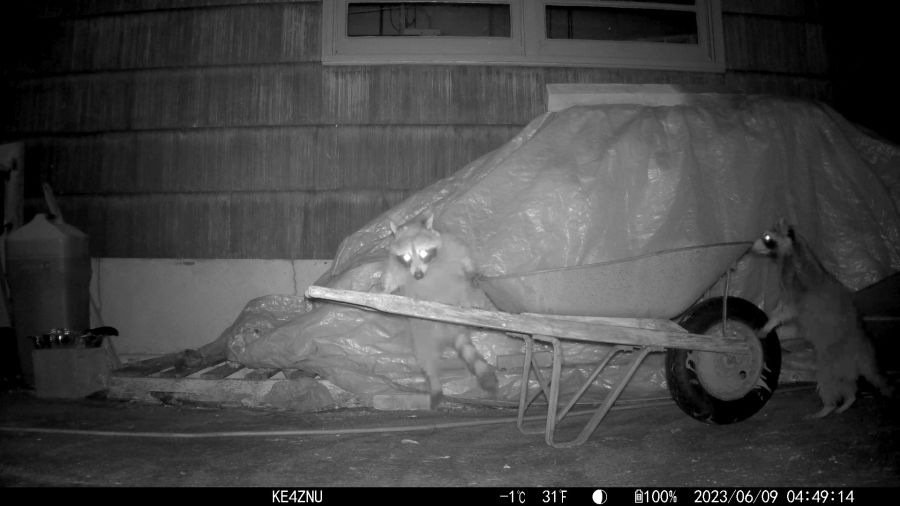
They are athletic critters:
Raccoons in wheelbarrow – 2023-06-09
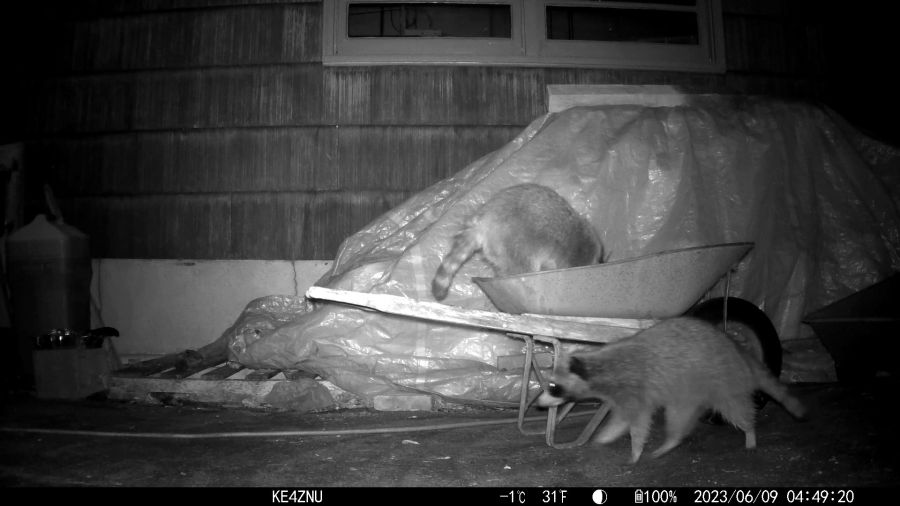
Mary puts garden clippings in the wheelbarrow before hauling them over the hill to our organic dumping ground. Something must smell pretty good in there:
Raccoons around wheelbarrow – 2023-06-09
The wire mesh over the new plantings in the garden seems to be holding them at bay, but it must come off before it snares the growing plants. We hope whatever is in the fertilizer will have worn off by then!
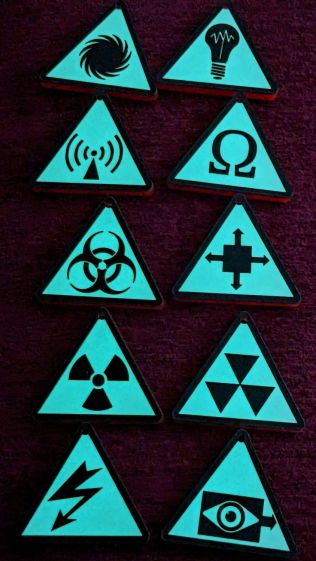
The black-on-white look come from vinyl PS atop GITD tape atop some transparent red acrylic, which looks a whole lot better in its natural environment:
SCP Earrings – GITD in action
Making those ten samples requires 15 minutes of laser time (mostly kiss-cutting the patterns at maybe 5 mm/s) and another 25 minutes of weeding and primping. I’m not convinced this is an economically feasible activity, but I really like the results.
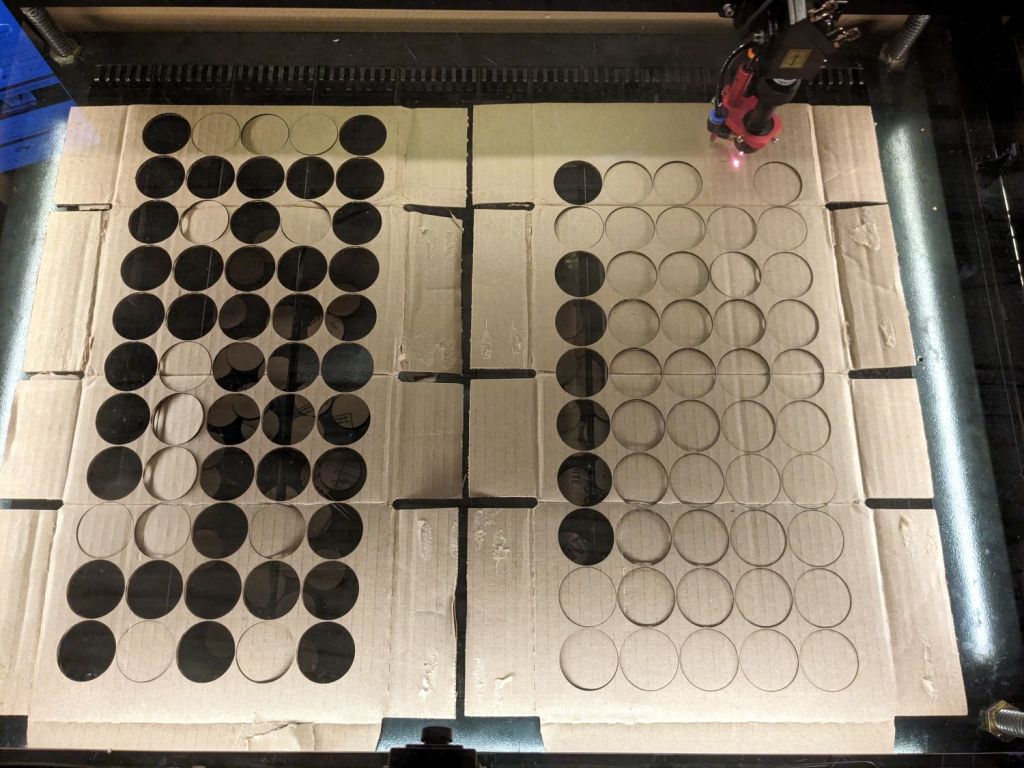
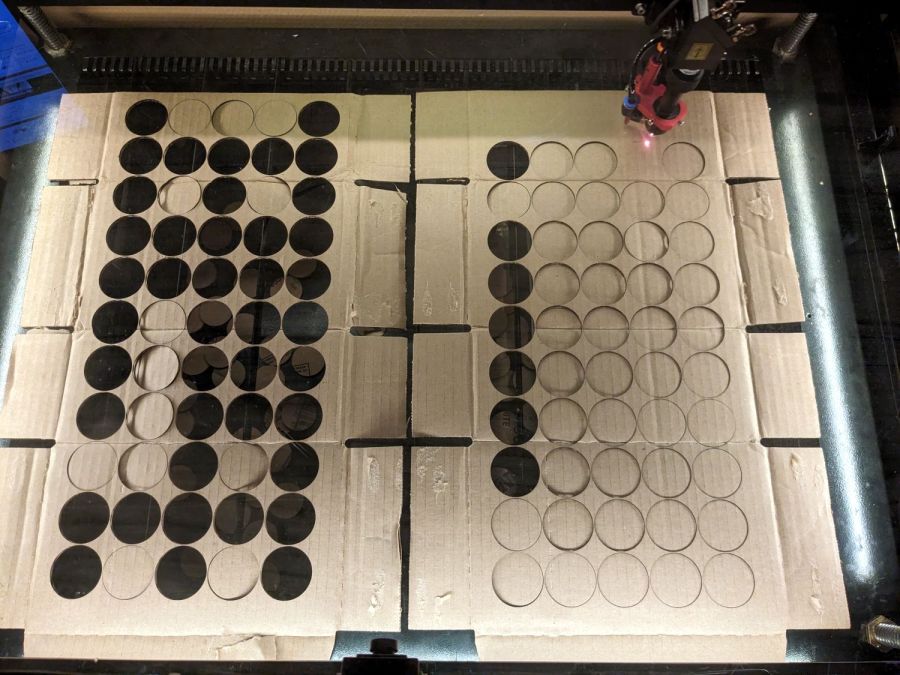
Draw a 42 mm circle, set the layer to cut corrugated cardboard, turn the circle into suitable arrays, flatten some boxes from the heap, and Fire the Laser:
Seedling starter pot bottoms
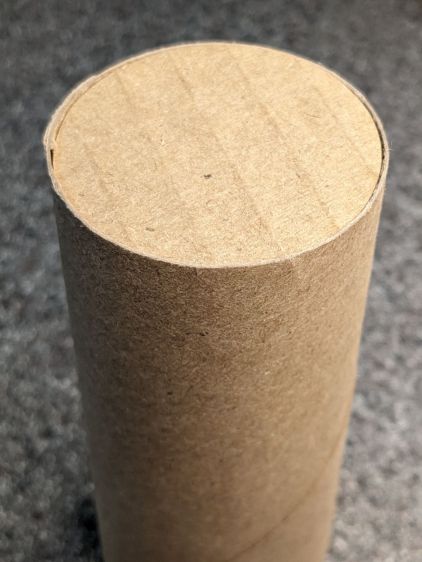
Collect the fallen disks from the chip tray and jam one in place as a serving suggestion, where it fits like it was custom-made:
TP roll seedling starter pot bottom
You’d still want to fold some flaps over the disk to keep it in place, but now your pot has a real bottom.
I have no idea if 42 mm is a Galactic Constant, but it worked for the pile of tubes we had on hand.