The Smell of Molten Projects in the Morning

Ed Nisley's Blog: Shop notes, electronics, firmware, machinery, 3D printing, laser cuttery, and curiosities. Contents: 100% human thinking, 0% AI slop.

Category: Home Ec

Things around the home & hearth

  • Samsung Quiet Jet Vacuum: Improved Floor Brush Strips

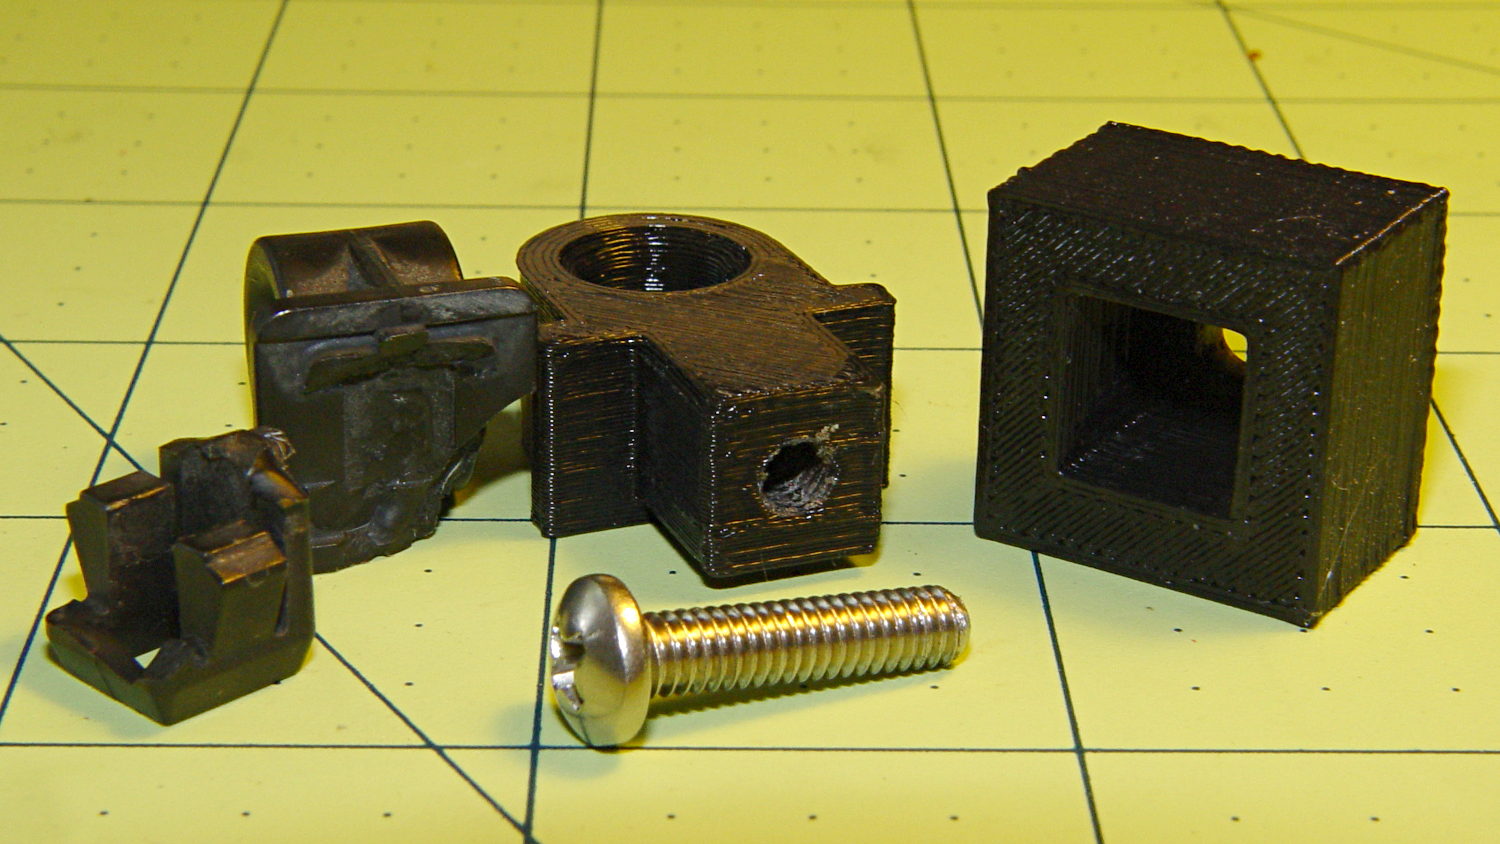
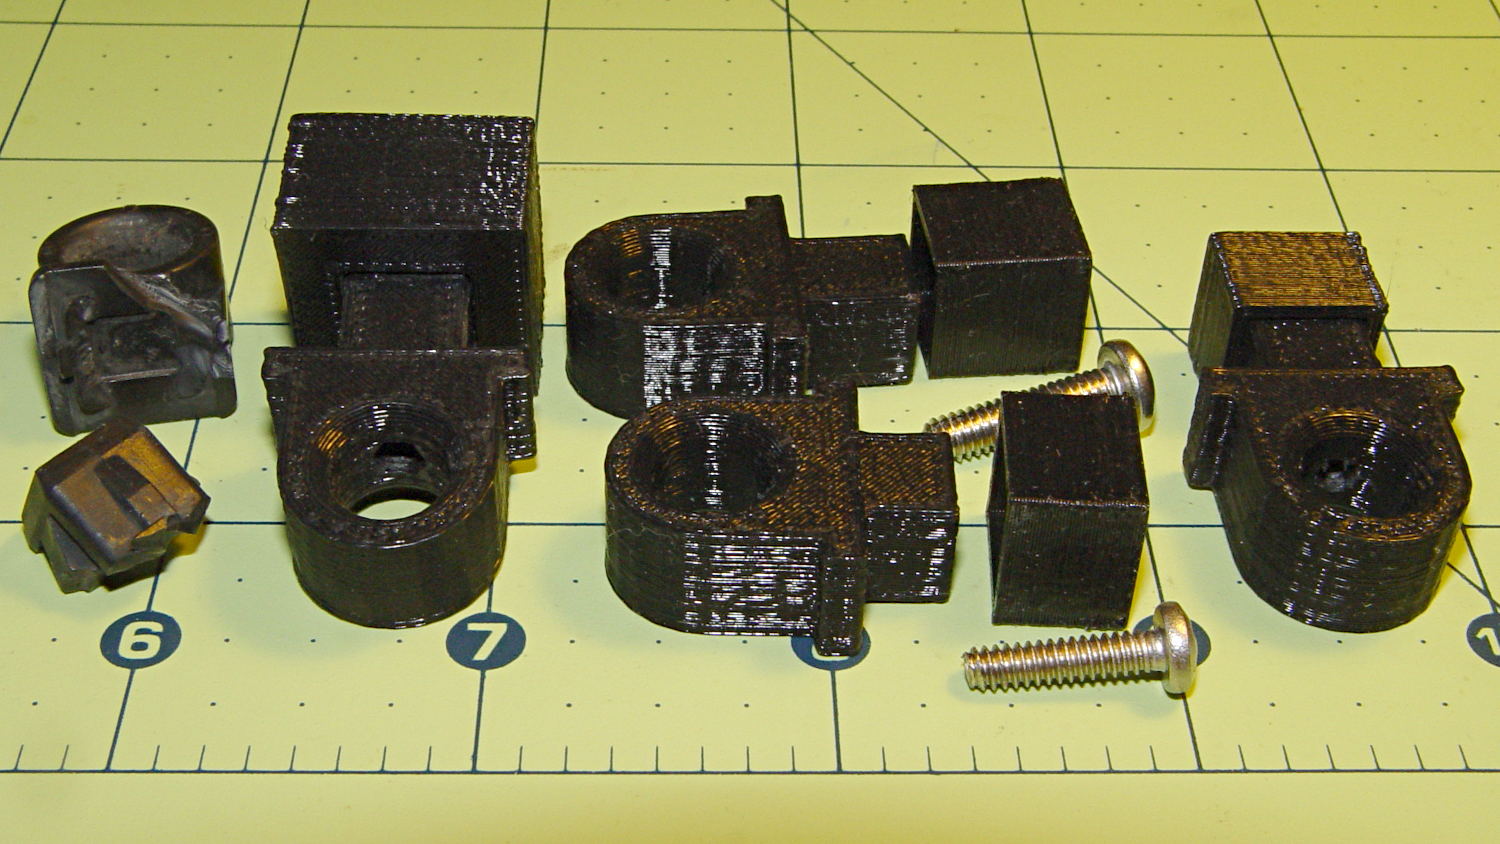
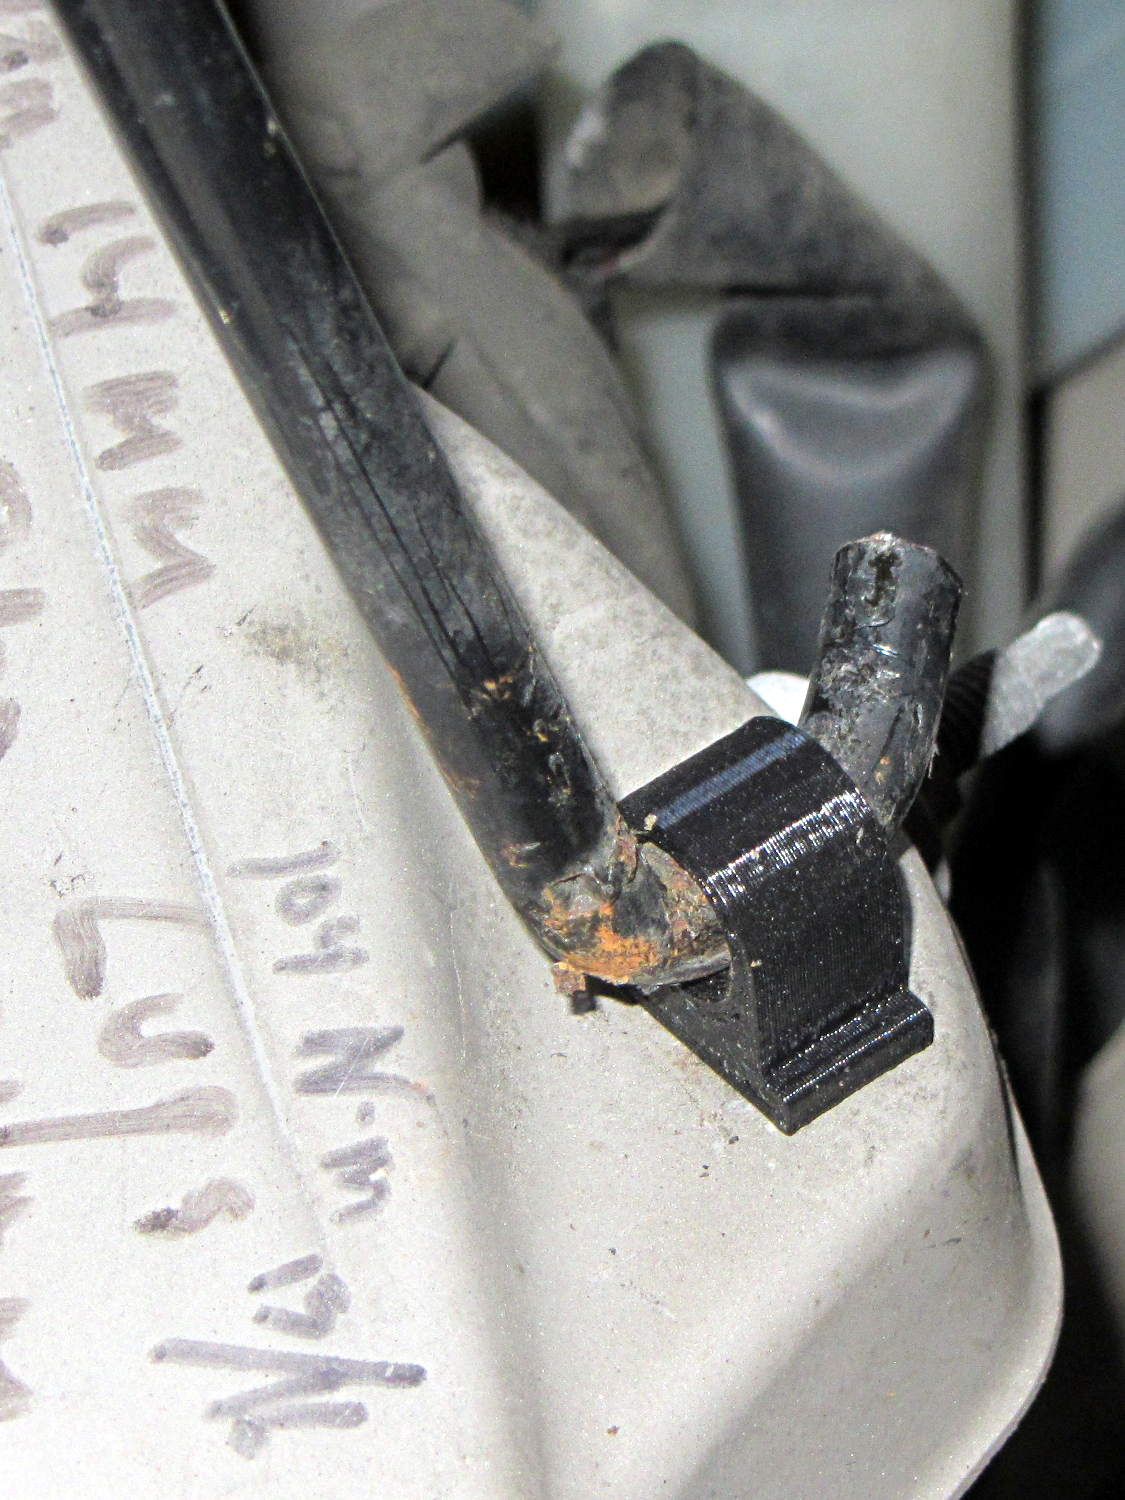
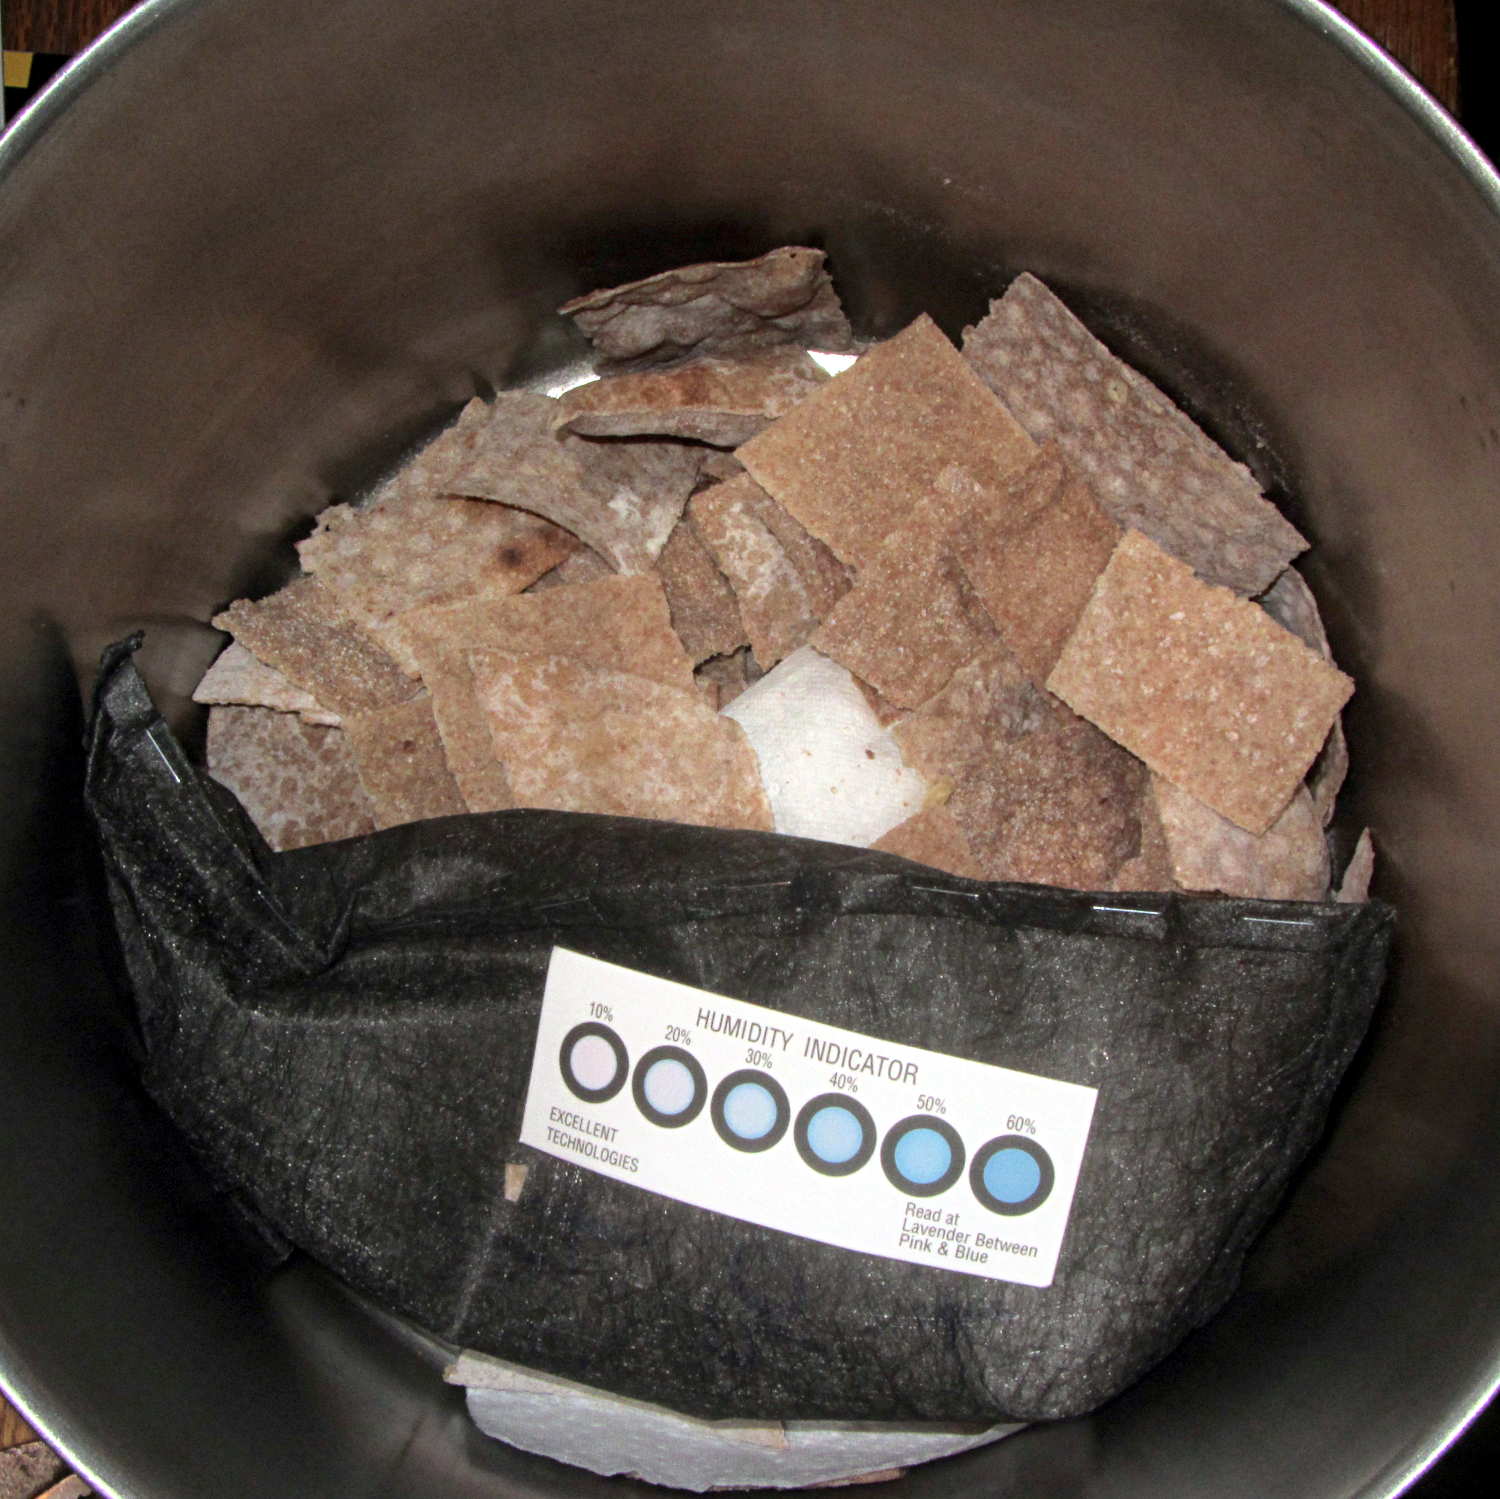
    Those simple floor brush strips for the Samsung vacuum cleaner worked moderately well, but the urethane adhesive didn’t have enough grip on the plastic strips. Having just run out of that batch, I made up another set with slightly undercut holes:

    Bushing Solid Model - better holes - bottom
    Bushing Solid Model – better holes – bottom

    That’s half a thread width on each side, just enough to give the adhesive something to grab. Such is the plan, anyway.

    I taped the strips to a pair of credit cards (actually, flat cards without embossed characters), slathered a thin layer of urethane atop them, and laid on squares of the same wool fabric I used the last time:

    Samsung vacuum floor strips - gluing
    Samsung vacuum floor strips – gluing

    Then I piled a steel block atop an aluminum slab on both arrays, fast forwarded a day, peeled and flexed and cut the strips apart:

    Samsung floor brushes - glued
    Samsung floor brushes – glued

    The urethane foamed through the holes as I hoped and (seems to have) locked the fabric in place, at least well enough to withstand some experimental bending on the workbench.

    Now, to see how they stand up to actual use…

    The OpenSCAD source code:

    // Samsung Vacuum cleaner nozzle floor strips
    // Ed Nisley KE4ZNU January 2013
    //  November 2013 - adapt to M2, enlarge holes
    
    Layout = "Build";			// Show, Build
    
    //- Extrusion parameters must match reality!
    //  Print with +0 shells and 3 solid layers
    
    ThreadThick = 0.25;
    ThreadWidth = 0.4;
    
    HoleWindage = 0.75;
    
    function IntegerMultiple(Size,Unit) = Unit * ceil(Size / Unit);
    
    Protrusion = 0.1;           // make holes end cleanly
    
    //----------------------
    // Dimensions
    
    Body = [6.0,59.0,3*ThreadThick];	// width, length, thick
    
    Tab1 = [4.5,5.0,0.0];				// width, length, offset from centerline
    Tab2 = [3.5,5.0,0.5];
    
    HoleOC = 8.0;						// adhesive anchoring holes
    HoleDia = 2.0;
    HoleSides = 4;
    HoleMax = floor(Body[1]/(2*HoleOC));
    
    echo("HoleMax: ",HoleMax);
    
    //----------------------
    // Useful routines
    
    module PolyCyl(Dia,Height,ForceSides=0) {           // based on nophead's polyholes
    
    Sides = (ForceSides != 0) ? ForceSides : (ceil(Dia) + 2);
    
    FixDia = Dia / cos(180/Sides);
    
    cylinder(r=(FixDia + HoleWindage)/2,
             h=Height,
             $fn=Sides);
    }
    
    module ShowPegGrid(Space = 10.0,Size = 1.0) {
    
        Range = floor(50 / Space);
    
        for (x=[-Range:Range])
            for (y=[-Range:Range])
                translate([x*Space,y*Space,Size/2])
                %cube(Size,center=true);
    
    }
    
    module BackingStrip() {
    
    	difference() {
    		union() {
    			translate([0,0,Body[2]/2])
    			cube(Body,center=true);
    			translate([Tab1[2],-1*Body[1]/2,Body[2]/2])
    			cube([Tab1[0],2*Tab1[1],Body[2]],center=true);
    			translate([Tab2[2],+1*Body[1]/2,Body[2]/2])
    			cube([Tab2[0],2*Tab2[1],Body[2]],center=true);
    		}
    		for (i = [-HoleMax:HoleMax])
    			translate([0,i*HoleOC,-Protrusion])
    			rotate(45) {
    				PolyCyl(HoleDia,(Body[2] + 2*Protrusion),HoleSides);
    				PolyCyl((HoleDia + ThreadWidth),(ThreadThick + Protrusion),HoleSides);
    			}
    	}
    }
    
    //----------------------
    // Build it!
    
    ShowPegGrid();
    
    if (Layout == "Show")
    	BackingStrip();
    
    if (Layout == "Build")
    	rotate(90) BackingStrip();
    
    
  • Toyota Sienna Hood Rod Pivot

    We don’t drive the van nearly often enough (*) to keep the battery charged in cold weather, so I use a trickle charger to keep it alive between jaunts. While opening the hood one evening, I managed to twist the plastic fitting that anchors the hood prop rod beyond its limits and snapped the poor thing off, which left me holding the hood in one hand and the rod in the other.

    After extricating most of the fragments from under the van, I found that the OEM part had a hollow post that snapped into a square hole in the front bulkhead under the hood. The post had two keys and a pair of snap latches that held it in place, a design that seemed optimized for rapid assembly with no fiddly parts, but which depended on a few millimeters of plastic to restrain a meter of steel rod.

    I made up a simple replacement with a solid square post and a square cap to clamp it against the bulkhead:

    Toyota Sienna hood rod pivot - first version
    Toyota Sienna hood rod pivot – first version

    The general idea is that the screw puts the entire post under compression, giving it less temptation to shear at the deck line when I twist the rod a bit too far out of line. That 8-32 screw seemed entirely adequate to the task; a 10-32 screw would take up too much of the post for my liking.

    Alas, it turns out that underneath the bulkhead’s top flange lies a metal plate surrounding the headlight that’s so close to the hole that the big blocky cap wouldn’t fit. So I slimmed the cap down to three thread widths and tried again, only to discover that the plate came that close to the edge of square hole.

    However, there was a gap between the bottom of the bulkhead and the top of the plate, so I introduced pivot and cap to Mr Belt Sander, removed enough plastic to let the cap slide into the gap, then discovered the 8-32 screw head was just slightly too large to let the screw align with the post.

    Another tweak to the model, based on actual measurements on the abused parts, produced the final version:

    Toyota Sienna Hood Rod Pivot - solid model
    Toyota Sienna Hood Rod Pivot – solid model

    The rod hole has a nice bevel, there’s no fragile neck between the rod hole and the base flange, the solid post lies flat on the platform for EZ building, and there’s a slight offset between the post and the flange that eliminates the need for support material. Printing it lying down orients the filament paths around the hole and base, making the part stronger in the direction it needs the most strength.

    I think the cap walls could be slightly thicker, but we’ll see how long the thing lasts…

    A group photo of all the versions, lined up from left to right, shows the broken OEM part, the first blocky attempt, the slimmed-down and too-long version to the rear, the shorter version that actually fit, and a backup part for when that one breaks:

    Toyota Sienna hood rod pivot versions
    Toyota Sienna hood rod pivot versions

    The sanded-down part held the hood open while I took that group picture. Here’s what it looks like under load:

    Toyota Sienna hood rod pivot - in place
    Toyota Sienna hood rod pivot – in place

    The scrawls on the bulkhead just in front of the pivot remind me of fluid levels, torques, and suchlike. The stud sticking out to the rear is a headlight aiming screw mounted in the plate that caused so much hassle; you’d think I’d have noticed it before starting this adventure, but noooo

    For what it’s worth, that’s rapid prototyping in action: three (and a half) iterations in quick succession, each getting closer to a goal that you (well, I) can’t quite define, but will recognize when it appears. Took about three hours over the course of two days.

    I loves me my M2 3D printer…

    (*) Indeed, the tires often take three miles to warm up their flat spots due to sitting in the garage for a week…

  • Monthly Science: Apple Storage

    We hauled 70 pounds of apples back across the river last month:

    Apple Ride - 2013-10-20
    Apple Ride – 2013-10-20

    If only there were a Spackenkill Road bridge across the Hudson…

    We laid the bags out on the garage floor, seeing as how they can’t go into the cold cellar with the root crops (apples give off ethylene gas, which doesn’t mix well with long-storage crops). I dropped a Hobo datalogger into one bag to record the temperatures:

    Apples and air temperature
    Apples and air temperature

    The purple trace comes from a data logger in the attic, which is as close as we have to an outside air temperature record.

    Those low air temperatures suggest it’s time to move the remaining apples into the basement, as far from the root cellar as possible, as we have more nights in the teens ahead.

  • Dehumidified Processor Crackers

    The cracker recipe I’m using produces eight sets of crackers, so this time I added a variety of toppings to see what would work out best:

    • Plain
    • Salt
    • Sugar
    • Cinnamon
    • Garlic
    • Chopped chocolate
    • Chopped cashews
    • Chopped walnuts

    Garlic wins over everything else, hands-down, no contest, but the mixture of all the toppings in the bottom of the cooling bowl was wonderful.

    The crackers went into a large pot with a bag of desiccant:

    Whole wheat crackers with desiccant
    Whole wheat crackers with desiccant

    It pulled out 30 grams of water while reducing the humidity to 20% overnight; the crackers started out crisp and became really snappy. Definitely the right way to get the job done.

    These vaguely resemble the Processor Crackers recipe in Flatbreads & Flavors (Alford & Duguid):

    • 3 C hard whole wheat flour
    • 1 tsp salt
    • 1 C warm water, more as needed
    • Toppings
    • Water sprayer

    I’m using coarse-ground red wheat that doesn’t soak up the water like fine-ground flour. The original recipe called for 1-½ C water, which produced a sticky ball.

    • Blend wheat & salt in food processor
    • Add water in a slow stream until dough firms up
    • Blend another minute
    • Knead half a minute on cutting board
    • Cover
    • Let rest 30 minutes while you prepare toppings

    Finely chopped toppings work best; the nuts were too coarse.

    • Preheat oven to 500 °F
    • Divide dough in eight pieces, cover

    For each piece of dough:

    • Roll to about 2 mm
    • Put dough on vented pizza pan
    • Cut cracker shapes with pizza cutter
    • Sprinkle topping
    • Spritz with water
    • Put in oven on top rack
    • Punch timer for 3 minutes
    • Prepare next piece
    • Swap pans
    • Iterate

    Toss the crackers into a big bowl to cool, sampling as needed.

    When crackers cool:

    • Dump into large pot
    • Add desiccant bag & humidity card
    • Cover
    • Snarf combined toppings from bowl
    • Leave crackers to dry overnight

    Wonderful!

    Memo to Self: Shredded Parmesan cheese would be pretty good…

  • Shagbark Hickory Nut Season

    Mary managed to outcompete the local squirrels to the tune of 10 pounds of Shagbark Hickory nuts, which we’ve been enjoying after supper. The thickly armored nuts shrug off ordinary nutcrackers, so we deploy heavy weaponry: good old 10WR Vise-Grip pliers:

    Cracking nickory nuts with a Vise-Grip
    Cracking nickory nuts with a Vise-Grip

    She describes the process better than I; for what it’s worth, I work on one nut at a time. We both celebrate when a shell releases its nut with minimal damage; most often, we extract fragments into a pile like the one shown. I can process half a dozen nuts before deciding I’ve had enough.

    I’d be in favor of a genetic modification producing a fluorescent green shell, because overlooking a minute piece of shell in that pile of nutmeat is a Very Bad Thing…

    Some Vise-Grip history may be of interest.

  • Monthly Image: Bees in Squash Flower

    Back in August, the squash vines were in full flower:

    Bees in Squash Flower - overview
    Bees in Squash Flower – overview

    Here’s a closer look:

    Bees in Squash Flower - detail
    Bees in Squash Flower – detail

    Pop quiz: how many bees do you count?

    With the benefit of watching them move, I counted nine bees in that blossom!

    Winter squash vines bear large flowers (that blossom is the size of my outstretched hand) that attract large bees: bumblebees and their cousins, carpenter bees. Quite often, bumblebees spend the night huddled inside the blossom and emerge early the next day when they reach flying temperature. Honeybees, being more social, return to their hives overnight; we’re pleased to see that there’s at least one feral hive in the neighborhood.

  • Kitchen Spatula Handle Anchoring

    Shortly after we bought this kitchen scraper spatula (or whatever it’s called), the handle pulled out of the blade and left it sitting in a bowl of batter. That turned out to be unsurprising, given that neither side of the interface has any mechanical locking features. I rinsed the batter off, stuck some urethane glue inside, rammed the handle in place, and hoped for the best. Lacking any mechanical interlock and not bonding to either surface, the adhesive didn’t improve the situation.

    So I recently added a pair of stainless 4-40 setscrews standing just proud of the handle’s surface that should dig into the blade and hold it in place:

    Spatula handle enhancement
    Spatula handle enhancement

    Another item for the shopping list…