Ed Nisley's Blog: Shop notes, electronics, firmware, machinery, 3D printing, laser cuttery, and curiosities. Contents: 100% human thinking, 0% AI slop.
As before, I put the larger spool on the floor under the lathe and let the thread spill straight off the top toward the smaller spool. This time, I didn’t have a twist accumulating in the loose thread between the two spools:
Grab longer lengths of the loose thread
Absolutely no slippage between the fingers!
Put more tension on the thread at the takeup spool
As nearly as I can tell, the thread still has a slight twist coming off the larger spool, but grabbing longer lengths captures the twist and more tension lays it on the smaller spool. After cutting the thread, what was left had maybe three turns of twist, which was no big deal and obviously hadn’t accumulated.
As a rule of thumb, there’s no point in fussing with smaller shapes when a big one will suffice…
This LED strip fits under the cabinet over the butcher block countertop next to the stove, which turns out to be Just Barely longer than the strip itself:
Under-cabinet light – cramped power plug
The OEM straight-on coaxial plug (near the bottom of the picture) attached to the wall wart cable obviously wouldn’t fit in the available space, so I gimmicked up a right-angle adapter by the simple expedient of shortening the solder lugs of a plug from the heap (which, admittedly, doesn’t quite fully seat in the socket), bending them sideways, soldering a pair of wires, heatshrinking appropriately, then coating wires + plug with JB Kwik epoxy. The other end of the wires gets a coaxial jack that miraculously fits the OEM plug, styled up with more heatshrink tubing. Not pretty, but nobody will ever see it.
Unlike the LED strip under the other cabinet, this IR proximity sensor doesn’t mind having a wood edge next to it and, thus, didn’t need a strip of tape to keep it happy.
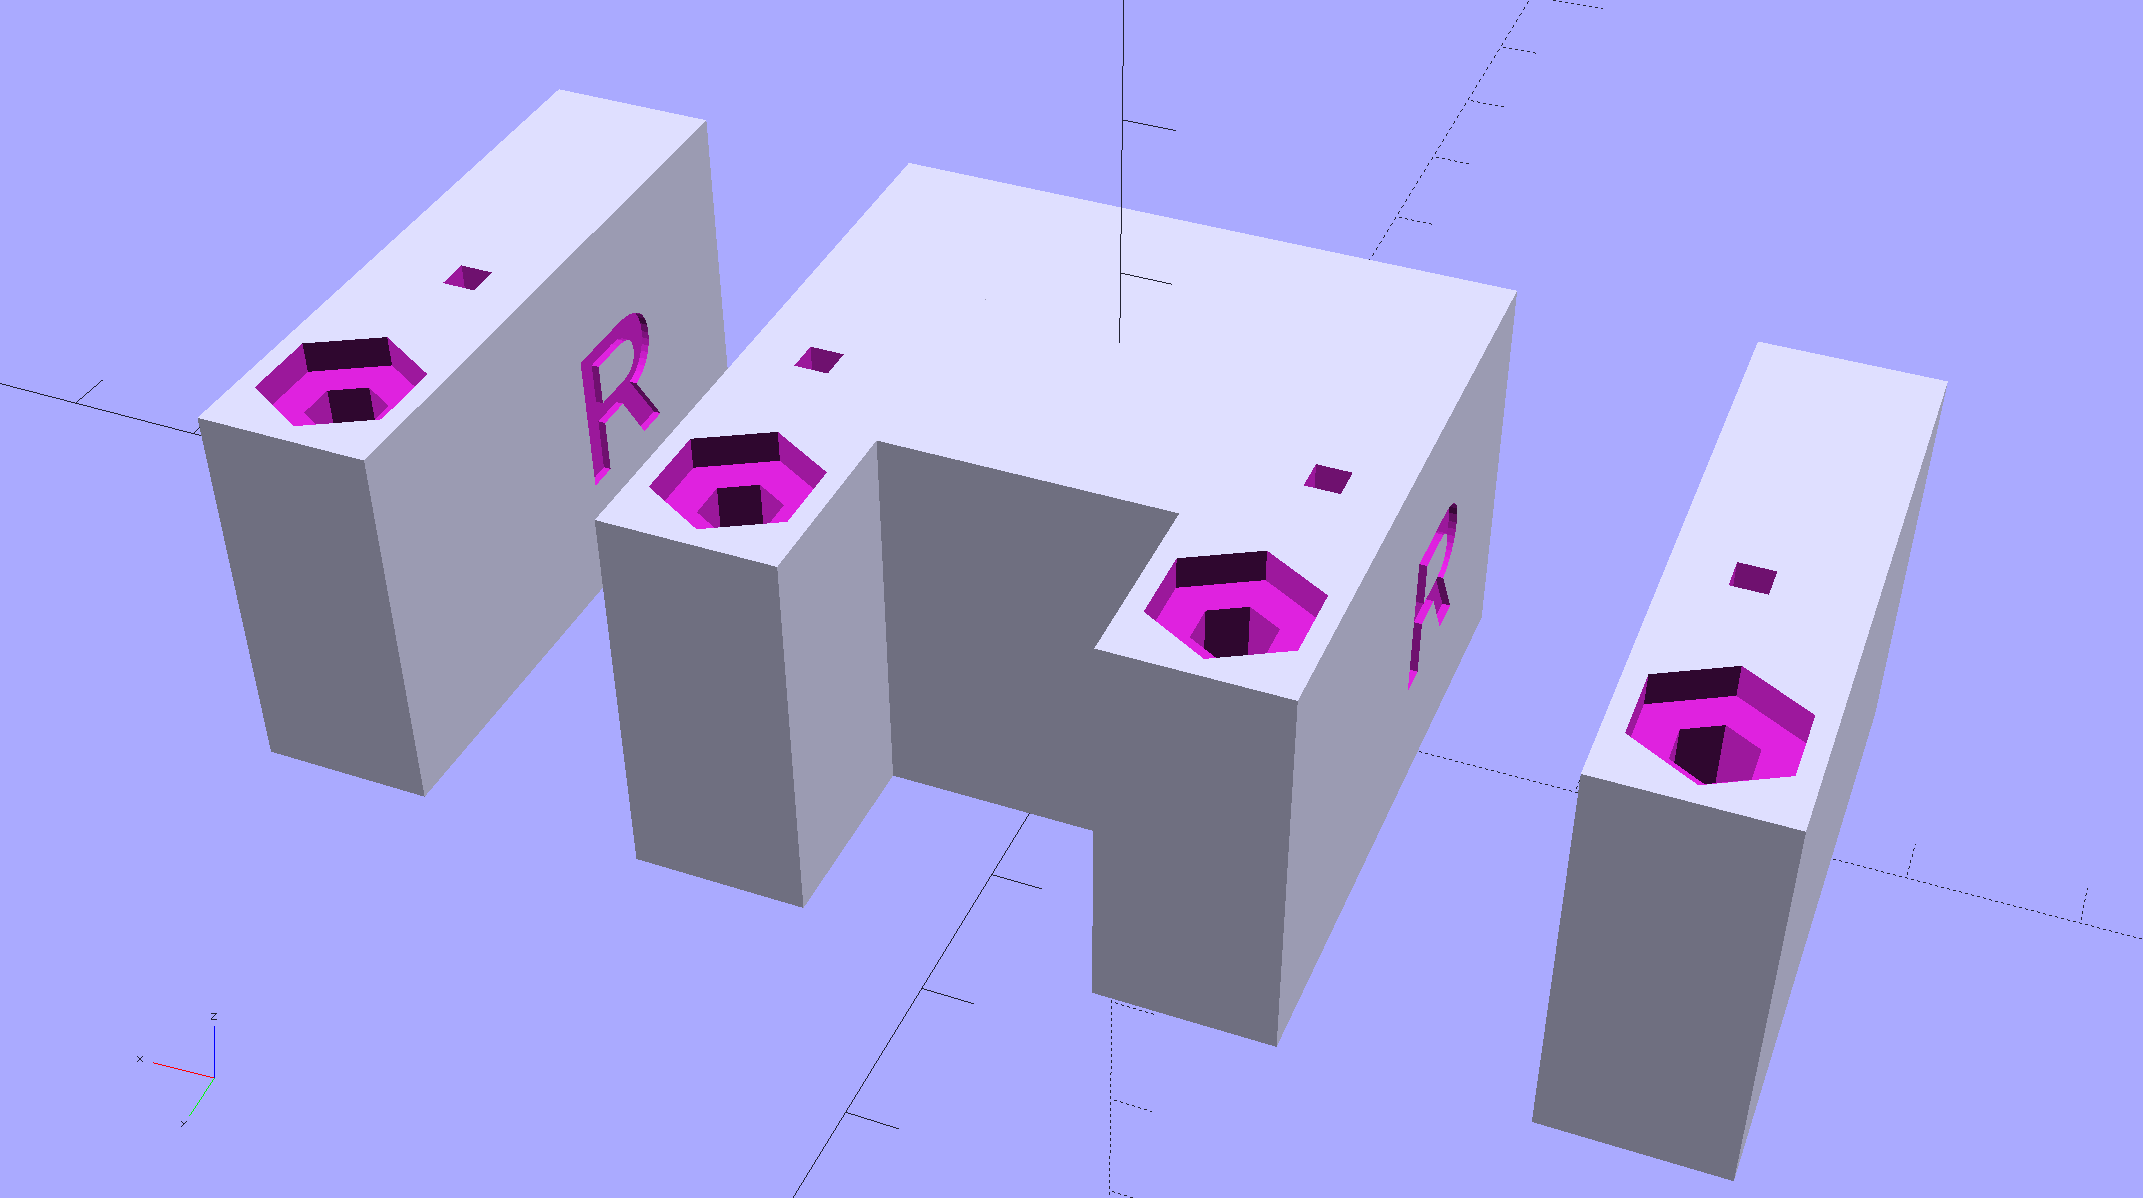
The LED strip lights have a reasonably diffuse pattern with an on-axis bright area that puts more light on the rear of the counter than seems strictly necessary. Revising the original brackets to tilt the strips moves the bright patch half a foot forward:
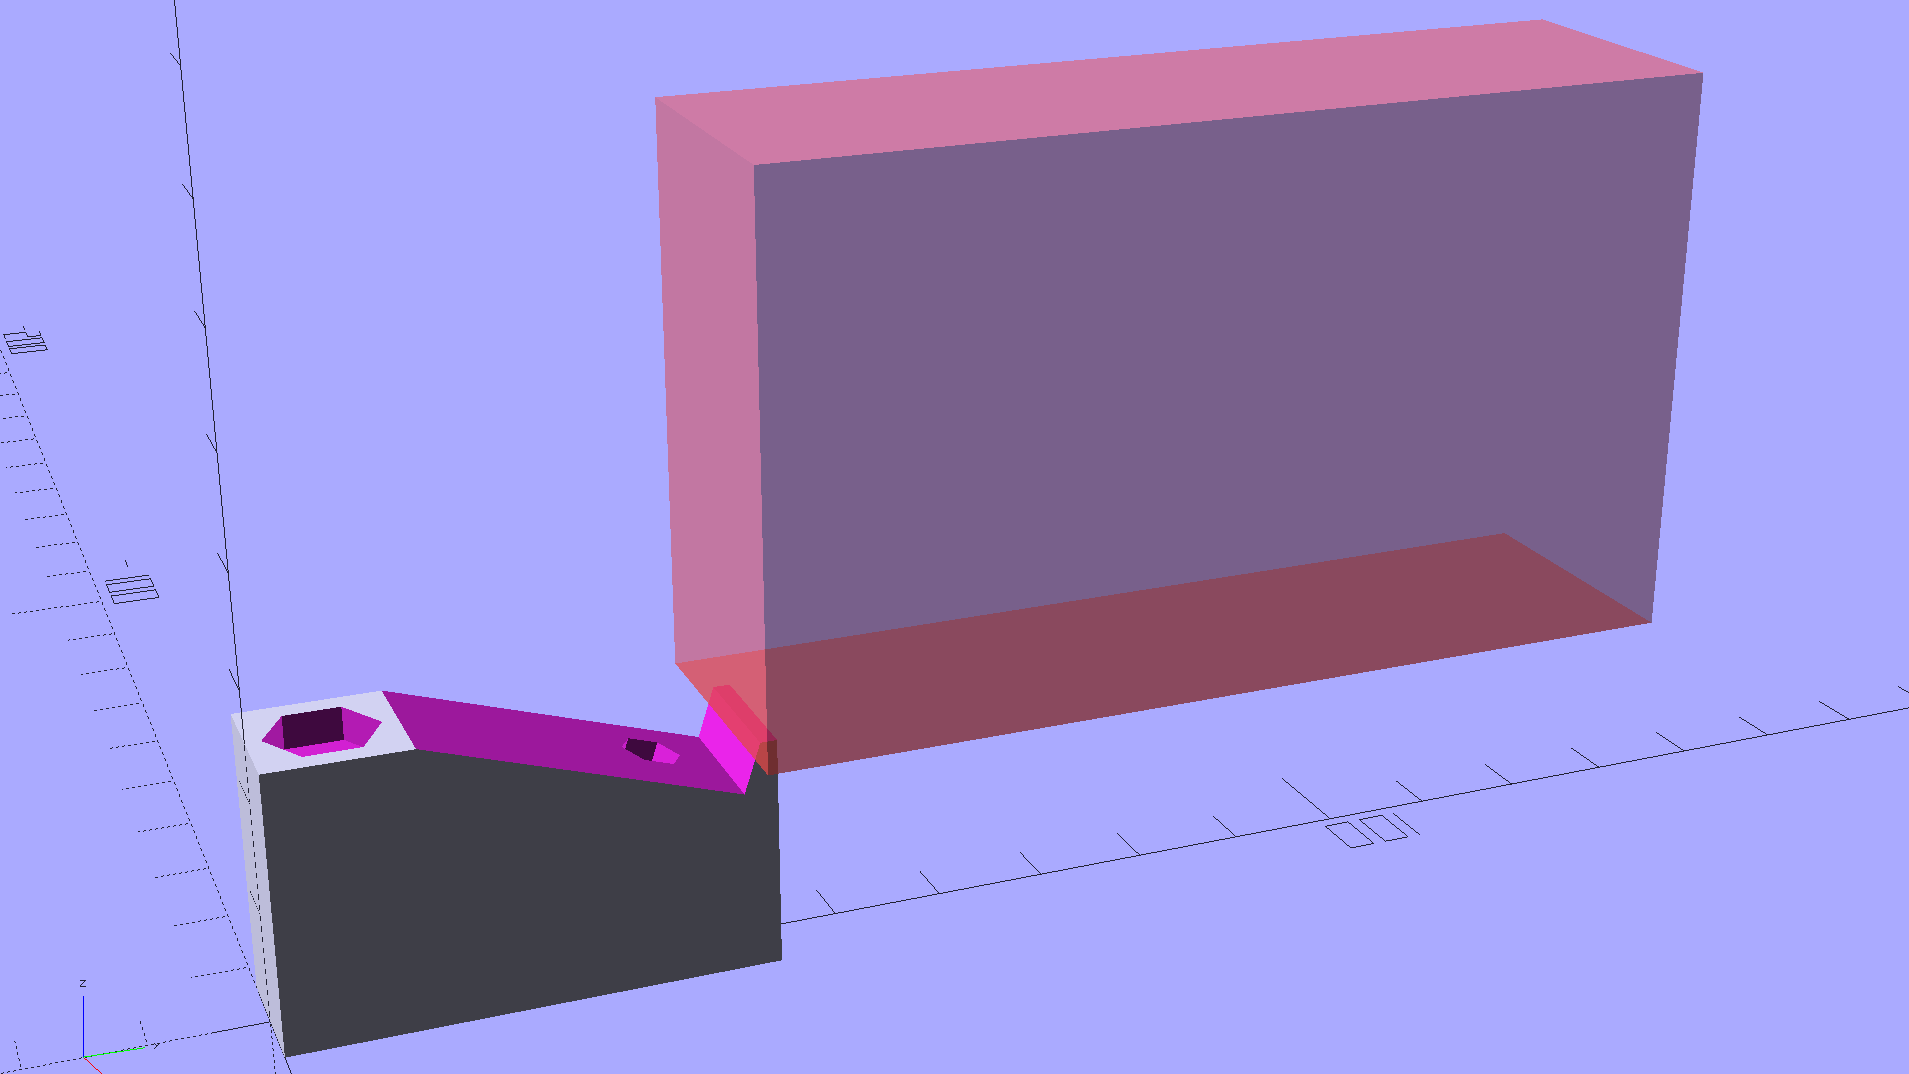
Kitchen Light Bracket – angled – solid model
For lack of anything smarter, the angle puts the diagonal of the LED strip on the level:
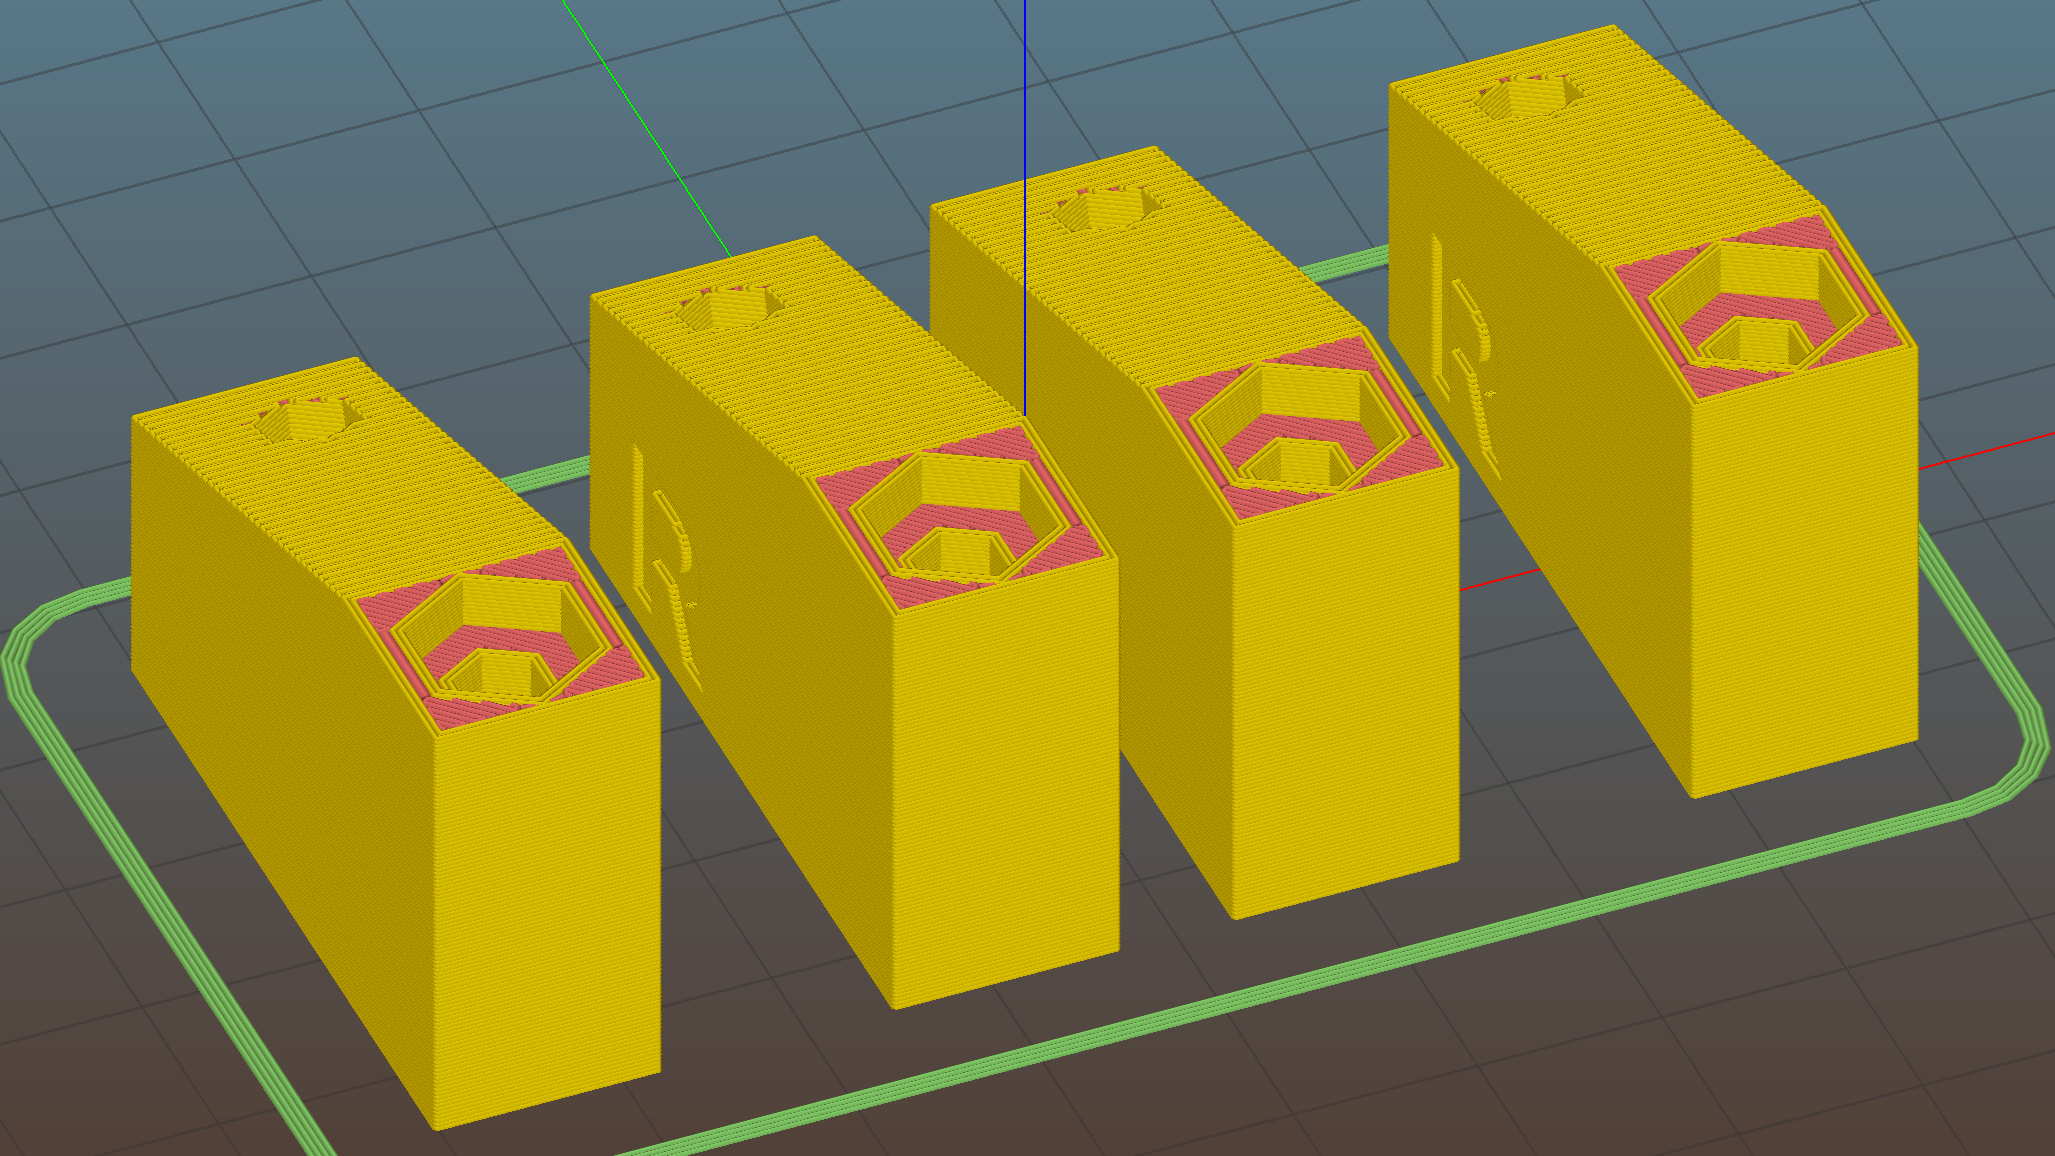
Kitchen Light Bracket – angled – Slic3r preview
The translucent block represents the strip (double-thick and double-wide), with a peg punching a hole for the threaded brass insert.
Although the source code has an option to splice the middle blocks together, it can also build them separately:
Kitchen Light Bracket – angled – LED block
Turns out they’re easier to assemble that way; screw ’em to the strips, then screw the strips to the cabinet.
I moved the deck screw holes to the other end of the block, thus putting the strips against the inside of the cabinet face. It turns out the IR sensor responds to the DC level of the reflected light, not short-term changes, which meant the reflection from the adjacent wood blinded it to anything waved below. Adding a strip of black electrical tape killed enough of the reflected light to solve that problem:
Under-cabinet light – IR sensor shield
The tape isn’t quite as far off-center as it looks, but I’m glad nobody will ever see it …
The before-and-after light patterns, as viewed on B-size metric graph paper centered on the left-hand strip and aligned with the belly side of the countertop:
Under-cabinet light – straight vs angled patterns
Those look pretty much the same, don’t they? So much for photography as evidence for anything.
This file contains hidden or bidirectional Unicode text that may be interpreted or compiled differently than what appears below. To review, open the file in an editor that reveals hidden Unicode characters. Learn more about bidirectional Unicode characters
Mary has been working on the Splendid Sampler project, with 56 completed blocks (*) stacked on her sewing table. We agreed that those blocks would make a nice background for our Christmas Letter, but the labor involved to photograph all the fabric squares and turn them into a page seemed daunting.
Turned out it wasn’t all that hard, at least after we eliminated all the photography and hand-editing.
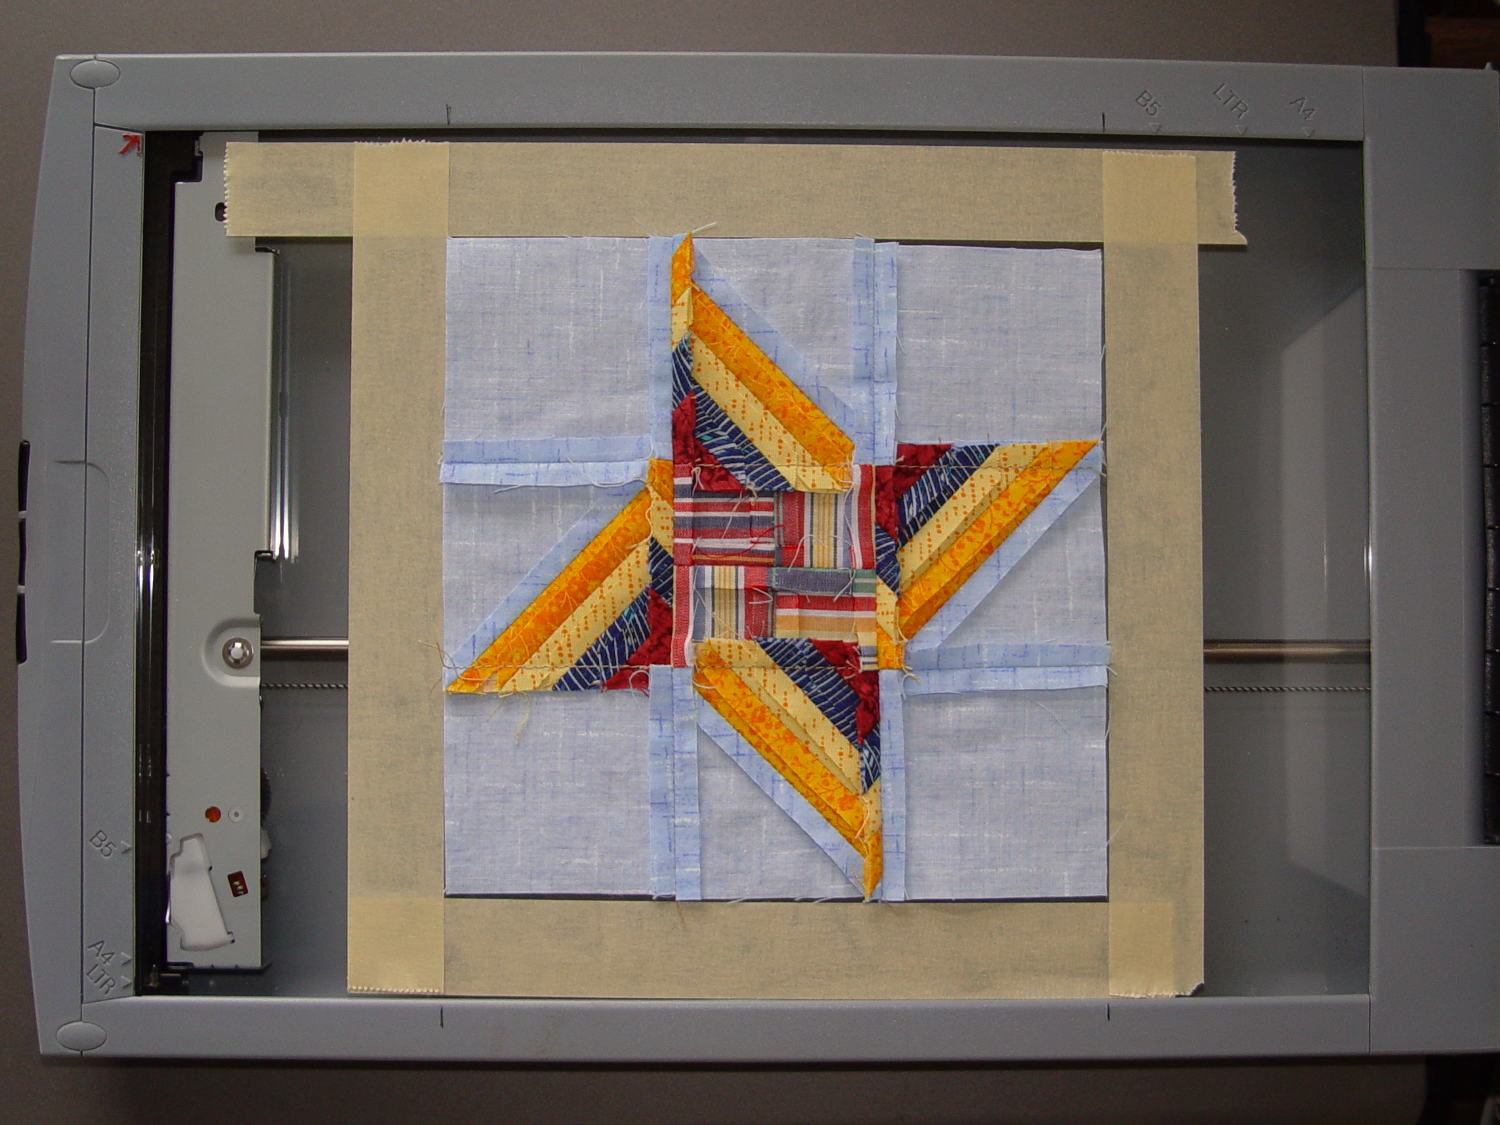
The 6½x6½ inch blocks include a ¼ inch seam allowance on all sides and, Mary being fussy about such things, they’re all just about perfect. I taped a template around one block on the scanner glass:
Quilt block in scanner template
Then set XSane to scan at 150 dpi and save sequentially numbered files, position a square scan area over the middle of the template, and turn off all the image enhancements to preserve a flat color balance.
With “picture taking” reduced to laying each square face-down on the glass, closing the lid, and clicking Scan, the scanner’s throughput became the limiting factor. She scanned the blocks in the order of their release, while tinkering the auto-incremented file number across the (few) gaps in her collection, to produce 56 files with unimaginative auto-generated names along the lines of Block 19.jpg, thusly:
Block 19
The “square” images were 923×933 pixels, just slightly larger than the ideal finished size of 6 inch × 150 dpi = 900 pixel you’d expect, because we allowed a wee bit (call it 1/16 inch) on all sides to avoid cutting away the sharp points and, hey, I didn’t get the scan area exactly square.
With the files in hand, turning them into a single page background image requires a single Imagemagick incantation:
I figured the -geometry value to fill the 8 inch page width at 150 dpi, which is good enough for a subdued background image: 8 inch × 150 dpi / 7 images = 171 pixels. Imagemagick preserves the aspect ratio of the incoming images during the resize, so, because these images are slightly higher than they are wide, the height must be slightly larger to avoid thin white borders in the unused space. With all that figured, you get a 1197×1384 output image.
Bumping the contrast makes the colors pop, even if they’re not quite photo-realistic:
Quilt block montage – contrast
I’ll lighten that image to make the Christmas Letter text (in the foreground, atop the “quilt”) readable, which is all in the nature of fine tuning.
She has 40-odd blocks to go before she can piece them together and begin quilting, with a few other projects remaining to be finished:
Mary quilting
(*) She’s a bit behind the block schedule, having had a year of gardening, bicycling, and other quilting projects, plus whatever else happens around here. Not a problem, as we see it.
These blocky brackets hold a pair of LED light strips in the recess under our 1955-era kitchen cabinets, to let the light cover the entire counter:
Kitchen Light Bracket
The large holes are for drywall screws into the cabinet, the smaller ones for 2.5 mm SHCS holding the strips to the brackets. I drilled those little holes out and installed 4-40 brass inserts; this being a one-off installation, the source code doesn’t include that change.
There’s not much to see after they’re installed:
Under-cabinet light bracket – center joiner
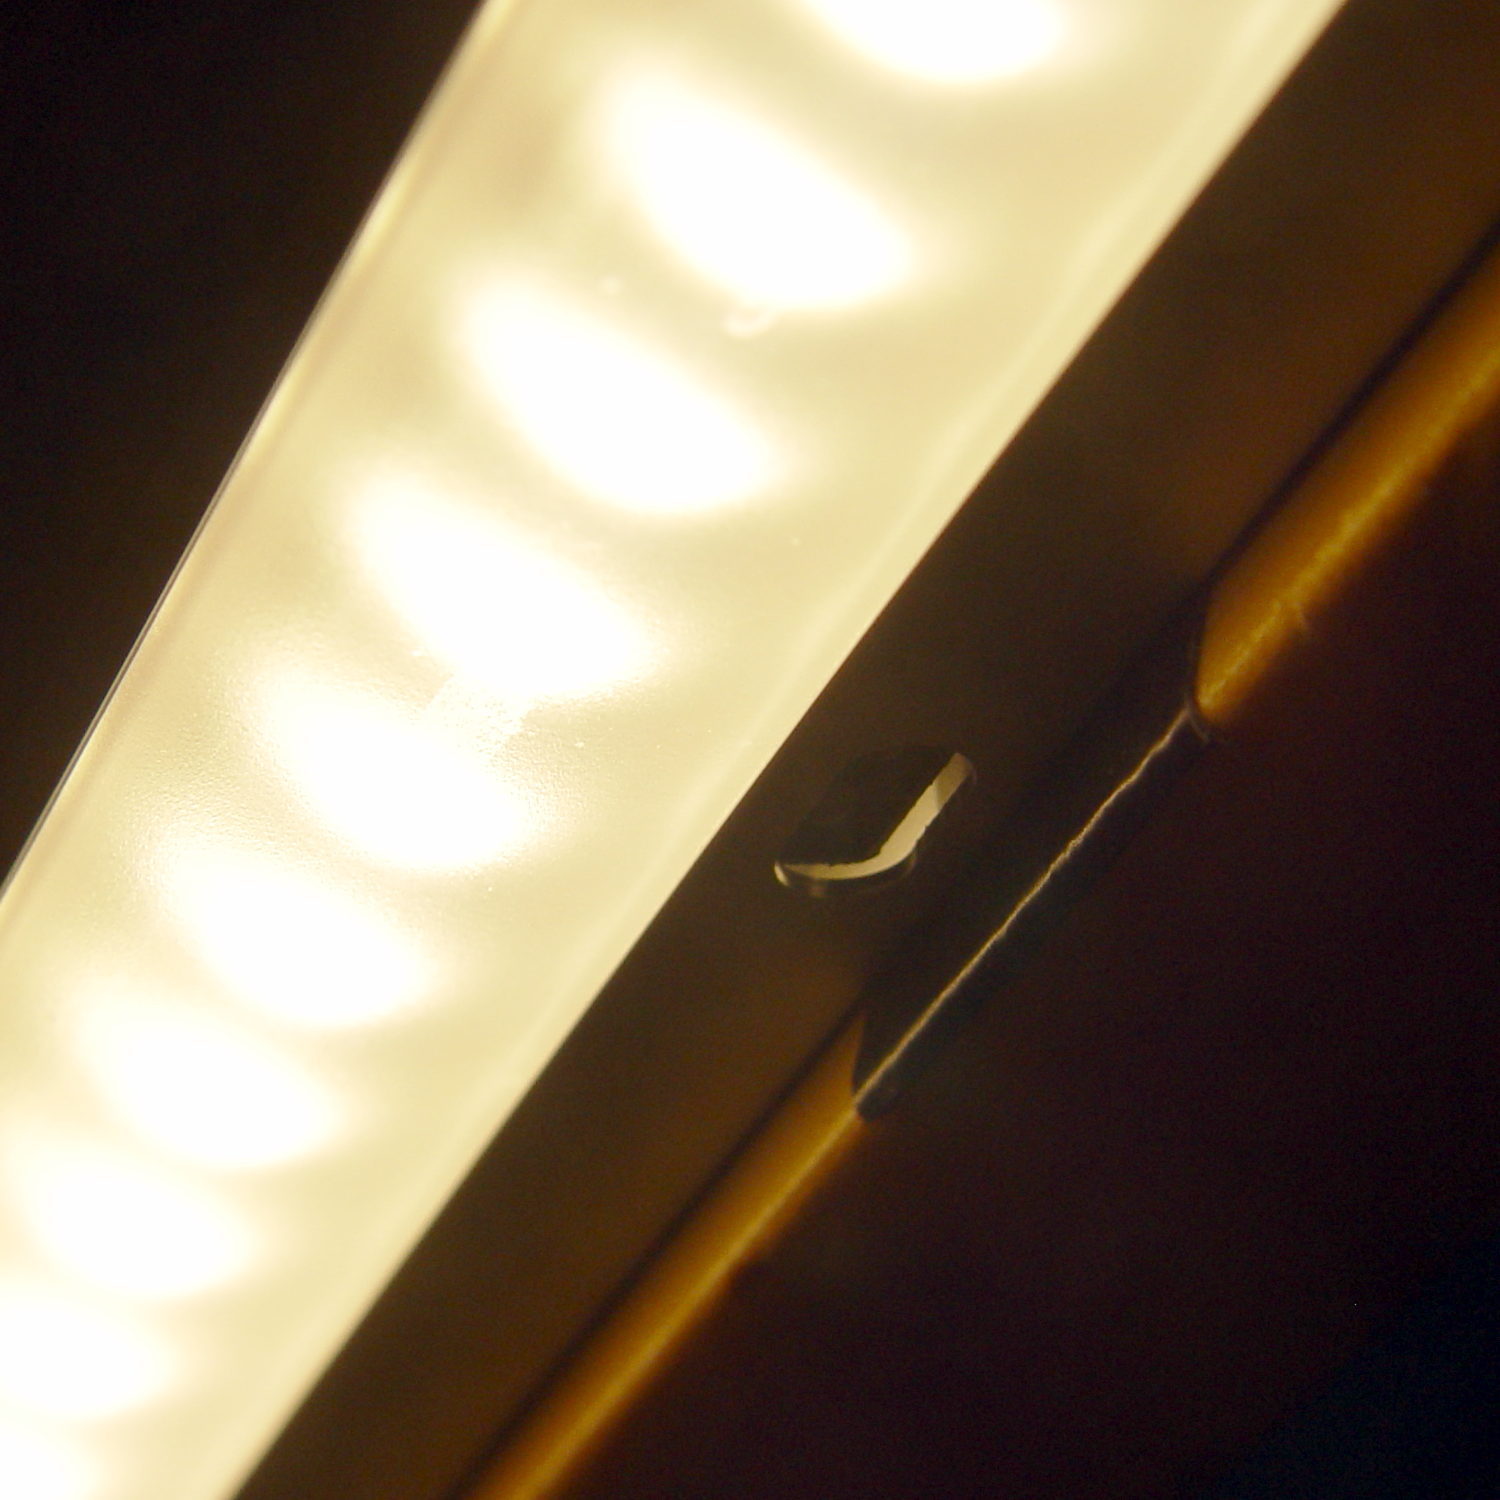
I’d hoped to swap the ends of the strip to power it from the right end, but the guts aren’t symmetric and you can’t just flip it end-for-end:
eShine LED Under-cabinet light – disassembled
That’s an add-on unit without the IR proximity sensor circuitry and power switch, but with the same overall layout. You take it apart by pressing the obvious latch on one of the endcaps, then gently prying the plastic away from the aluminum extrusion, taking care not to wreck the coaxial socket. Reassemble in reverse order.
This file contains hidden or bidirectional Unicode text that may be interpreted or compiled differently than what appears below. To review, open the file in an editor that reveals hidden Unicode characters. Learn more about bidirectional Unicode characters
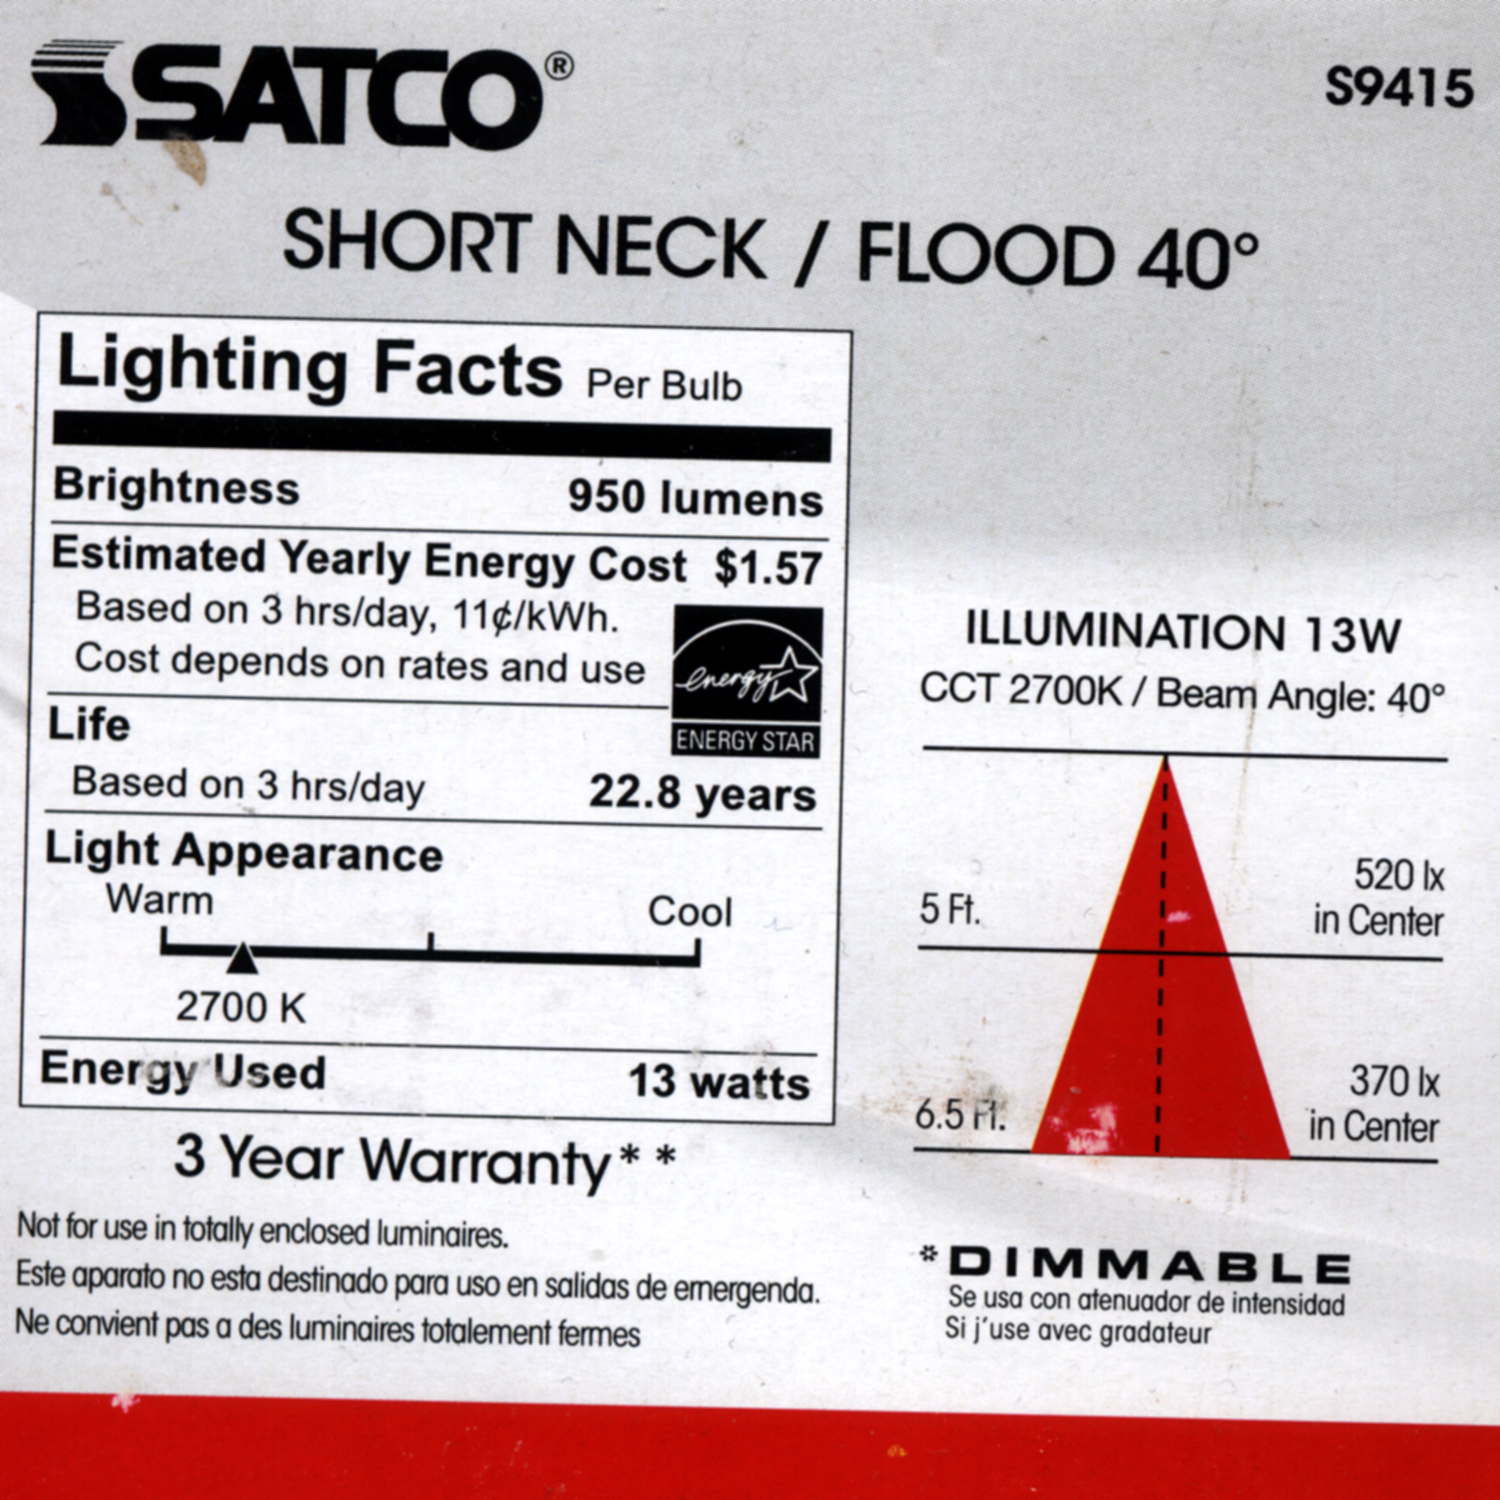
I replaced a dead 75 W halogen PAR30 bulb over the kitchen sink with a Satco S9415 LED bulb that was, at the time, advertised as “75 W equivalent”:
Satco S9415 PAR30 LED Bulb – specs
It’s noticeably less bright than the surviving halogen bulb, which is what you’d expect when 950 lm goes head-to-head with 1100+ lm (based on casual searching), but with a similar color temperature and beam pattern, so it’s Good Enough. I should have bought two and converted the halogens into glass sculptures.
The difference between the 22.8 year Life and the 3 Year Warranty always seems amusing. The warranty requires returning the bulb, so that’s about useless …
This relentlessly organized doodle happened while reading some tech docs on the Comfy Couch:
Sakura Pen Width Examples
The first two lines obviously belong in their own group, but, hey, it’s a doodle.
The two Uni-Ball Kuru Toga pencils, in 0.5 and 0.7 mm, have diamond-impregnated lead that’s supposed to be much more break-resistant than usual. I fear that they’ll land point-downward and wreck the rotating sleeve surrounding the lead, so I’ve managed zero drops so far. Even I hesitated at the 0.3 mm version.