The Smell of Molten Projects in the Morning

Ed Nisley's Blog: Shop notes, electronics, firmware, machinery, 3D printing, laser cuttery, and curiosities. Contents: 100% human thinking, 0% AI slop.

Category: Electronics Workbench

Electrical & Electronic gadgets

  • Strobe Photography: Control Program

    A solderless breadboard sufficed for the simple circuitry behind the strobe controller:

    Strobe Photography - control breadboard
    Strobe Photography – control breadboard

    I used a separate 7.5 V supply for the Arduino Pro Mini to keep the relay noise out of the VCC circuit, but that’s probably not really necessary; you could back-drive the Pro Mini’s regulator with +5 V and it’d be perfectly happy. There’s a +5 V wall wart for the relay, LEDs, and so forth.

    Protip: you do not want to drive all the other circuitry through the Pro Mini’s tiny little regulator. Work out the power dissipation in the regulator caused by a 130 Ω relay, about 10 mA for the laser, 100 mA for the white LED, and whatever the Pro Mini draws. Yeah, some of those are intermittent loads, but work it out anyway.

    A 1.5 V bench supply powers the Xenon strobe in place of the AA alkaline cell I used at first. The boost circuit pins the supply at 3 A for a few seconds, then settles at about 350 mA (!) while idling; no wonder the poor little AA cells don’t last very long!

    The control program is also dead simple; it’s mostly a state machine that notices when the photocurrent drops to zero, then steps through a series of fixed delays while turning the laser, LED, and strobe outputs on and off.

    The default values highlight a falling object about 200 mm below the laser beam-break sensor, assuming you release the object just above the beam:

    Ball at 200 mm - detail
    Ball at 200 mm – detail

    The laser beam is at the 200 mm mark, so that ball passing 400 mm has dropped 200 mm.

    The quadrature encoder knob recycles the same interrupt handler I used earlier, with the shaft button selecting either the LED delay (pushed) or the Xenon strobe delay (released). There’s precious little error checking, as befits a quick hack job, so use at your own risk…

    The Arduino source code:

    // Optical flash triggering
    // Ed Nisley - KE4ANU - March 2014
    
    //----------
    // Pin assignments
    
    const byte PIN_KNOB_A = 2;			// knob A switch - must be on ext interrupt 2
    const byte PIN_KNOB_B = 4;			//  .. B switch
    const byte PIN_KNOB_SWITCH = A3;	//  .. shaft push switch
    
    const byte PIN_PHOTOCURRENT = A0;	// photodiode current input
    
    const byte PIN_LASER = 8;   		// laser drive -active
    const byte PIN_LED = 7;		   		// LED drive -active
    const byte PIN_FLASH = 12;			// Xenon flash relay -active
    
    const byte PIN_SYNC = 13;			// scope sync - and Arduino LED
    
    //----------
    // Constants
    
    enum FALLING_STATES {F_IDLE,F_WAIT,F_DETECT,F_PREFALL,F_LED,F_MD,F_FLASH,F_CLEAR};
    
    enum KNOB_STATES {KNOB_CLICK_0,KNOB_CLICK_1};
    
    //----------
    // Globals
    
    const unsigned long UPDATEMS = 250;	// update displays only this many ms apart
    
    volatile char KnobCounter = 0;
    volatile byte KnobState;
    
    byte Button, PrevButton;
    
    byte Falling = F_IDLE;				// cold start the detection state machine
    
    unsigned long FallStart;			// when we we detected the falling object
    
    unsigned int DetectLevel = 200;		// ADC reading for object detection
    
    unsigned int DelayLED = 1;			// ms from trigger detect to LED preflash
    
    unsigned int DelayFlash = 180;		//  ... to Xenon flash
    
    unsigned int DelayClear = 6000;		//  ... after impact to allow camera restart
    
    const byte PulseLED = 50;			// ms LED on to pass motion detection threshold
    const byte PulseFlash = 20;			// ms Xenon flash relay on
    
    const unsigned int RelayAdvance = 3;	// ms relay activation to Xenon flash
    
    unsigned long MillisNow;
    unsigned long MillisThen;
    
    //-- Helper routine for printf()
    
    int s_putc(char c, FILE *t) {
      Serial.write(c);
    }
    
    //-- Knob interrupt handler
    
    void KnobHandler(void)
    {
    	byte Inputs;
    	Inputs = digitalRead(PIN_KNOB_B) << 1 | digitalRead(PIN_KNOB_A);  // align raw inputs
    //	Inputs ^= 0x02;                             // fix direction
    
    	switch (KnobState << 2 | Inputs) {
    	case 0x00 : 				// 0 00 - glitch
            break;
    	case 0x01 : 				 // 0 01 - UP to 1
            KnobCounter++;
    		KnobState = KNOB_CLICK_1;
    		break;
    	case 0x03 : 				 // 0 11 - DOWN to 1
            KnobCounter--;
    		KnobState = KNOB_CLICK_1;
    		break;
    	case 0x02 : 				 // 0 10 - glitch
            break;
    	case 0x04 : 				 // 1 00 - DOWN to 0
            KnobCounter--;
    		KnobState = KNOB_CLICK_0;
    		break;
    	case 0x05 : 				 // 1 01 - glitch
            break;
    	case 0x07 : 				 // 1 11 - glitch
            break;
    	case 0x06 : 				 // 1 10 - UP to 0
            KnobCounter++;
    		KnobState = KNOB_CLICK_0;
    		break;
    	default :  					// something is broken!
            KnobCounter = 0;
    		KnobState = KNOB_CLICK_0;
    	}
    }
    
    //------------------
    // Set things up
    
    void setup() {
    
    	pinMode(PIN_SYNC,OUTPUT);
    	digitalWrite(PIN_SYNC,LOW);			// show we arrived
    
    	pinMode(PIN_KNOB_B,INPUT_PULLUP);
    	pinMode(PIN_KNOB_A,INPUT_PULLUP);
    	pinMode(PIN_KNOB_SWITCH,INPUT_PULLUP);
    
        pinMode(PIN_LASER,OUTPUT);
        digitalWrite(PIN_LASER,HIGH);
    
        pinMode(PIN_LED,OUTPUT);
        digitalWrite(PIN_LED,HIGH);
    
        pinMode(PIN_FLASH,OUTPUT);
        digitalWrite(PIN_FLASH,HIGH);
    
    	KnobState = digitalRead(PIN_KNOB_A);
    	Button = PrevButton = !digitalRead(PIN_KNOB_SWITCH);
    
    	attachInterrupt((PIN_KNOB_A - 2),KnobHandler,CHANGE);
    
    	Falling = F_IDLE;
    
    	Serial.begin(9600);
    	fdevopen(&s_putc,0);				// set up serial output for printf()
    
    	printf("Xenon Flash Trigger\r\nEd Nisley - KE4ZNU - March 2014\r\n");
    
    	MillisThen = millis();
    
    }
    
    //------------------
    // Go flash!
    
    void loop() {
    
    	MillisNow = millis();
    
    	if (KnobCounter) {
    		Button = !digitalRead(PIN_KNOB_SWITCH);
    		if (Button)
    			DelayLED += KnobCounter;
    		else
    			DelayFlash += KnobCounter;
    
    		DelayLED = min(DelayLED,DelayFlash - PulseLED);
    		printf("Knob: %d, LED: %d, Flash: %d\n",KnobCounter,DelayLED,DelayFlash);
    		KnobCounter = 0;
    	}
    
    	digitalWrite(PIN_SYNC,HIGH);
    
    	switch (Falling) {
    	case F_IDLE :								// turn on laser for object detection
    		digitalWrite(PIN_LASER,LOW);
    		printf("Laser on, stabilizing... ");
    		while (analogRead(PIN_PHOTOCURRENT) <= DetectLevel) {
    			printf("*");
    		}
    		printf("\nReady!\n");
    		Falling = F_WAIT;
    		break;
    	case F_WAIT :								// record starting time of beam break
    		if (analogRead(PIN_PHOTOCURRENT) < DetectLevel) {
    			FallStart = millis();
    			Falling = F_DETECT;
    		}
    		break;
    	case F_DETECT :								// turn off laser to signal detection
    		digitalWrite(PIN_LASER,HIGH);
    		Falling = F_PREFALL;
    		break;
    	case F_PREFALL :							// turn on LED to trigger camera motion detection
    		if ((millis() - FallStart) >= DelayLED) {
    			digitalWrite(PIN_LED,LOW);
    			Falling = F_LED;
    		}
    		break;
    	case F_LED : 								// turn off LED
    		if ((millis() - FallStart) >= (DelayLED + PulseLED)) {
    			digitalWrite(PIN_LED,HIGH);
    			Falling = F_MD;
    		}
    		break;
    	case F_MD :									// fire the strobe to take picture
    		if ((millis() - FallStart) >= (DelayFlash - RelayAdvance)) {
    			digitalWrite(PIN_FLASH,LOW);
    			Falling = F_FLASH;
    		}
    		break;
    	case F_FLASH :								// turn off strobe relay
    		if ((millis() - FallStart) >= (DelayFlash - RelayAdvance + PulseFlash)) {
    			digitalWrite(PIN_FLASH,HIGH);
        		printf("Flash with LED delay: %d, Xenon delay: %d ...",DelayLED,DelayFlash);
    			Falling = F_CLEAR;
    		}
    		break;
    	case F_CLEAR :								// wait for camera to recycle
    		if ((millis() - FallStart) >= DelayClear) {
    			printf("done\n");
    			Falling = F_IDLE;
    		}
    		break;
    	default :
    		printf("** Bad Falling state: %02X",Falling);
    		Falling = F_IDLE;
    	}
    
    	digitalWrite(PIN_SYNC,LOW);
    
    	if ((MillisNow - MillisThen) > UPDATEMS) {
    //		printf("State: %02X\n",Falling);
    		MillisThen = MillisNow;
    	}
    
    }
    
    
  • Rebalanced Desk Lamp Boom

    Moving the pivot point of the rebuilt desk lamp arm back about 75 mm put it at the proper spot:

    Rebalanced desk lamp boom
    Rebalanced desk lamp boom

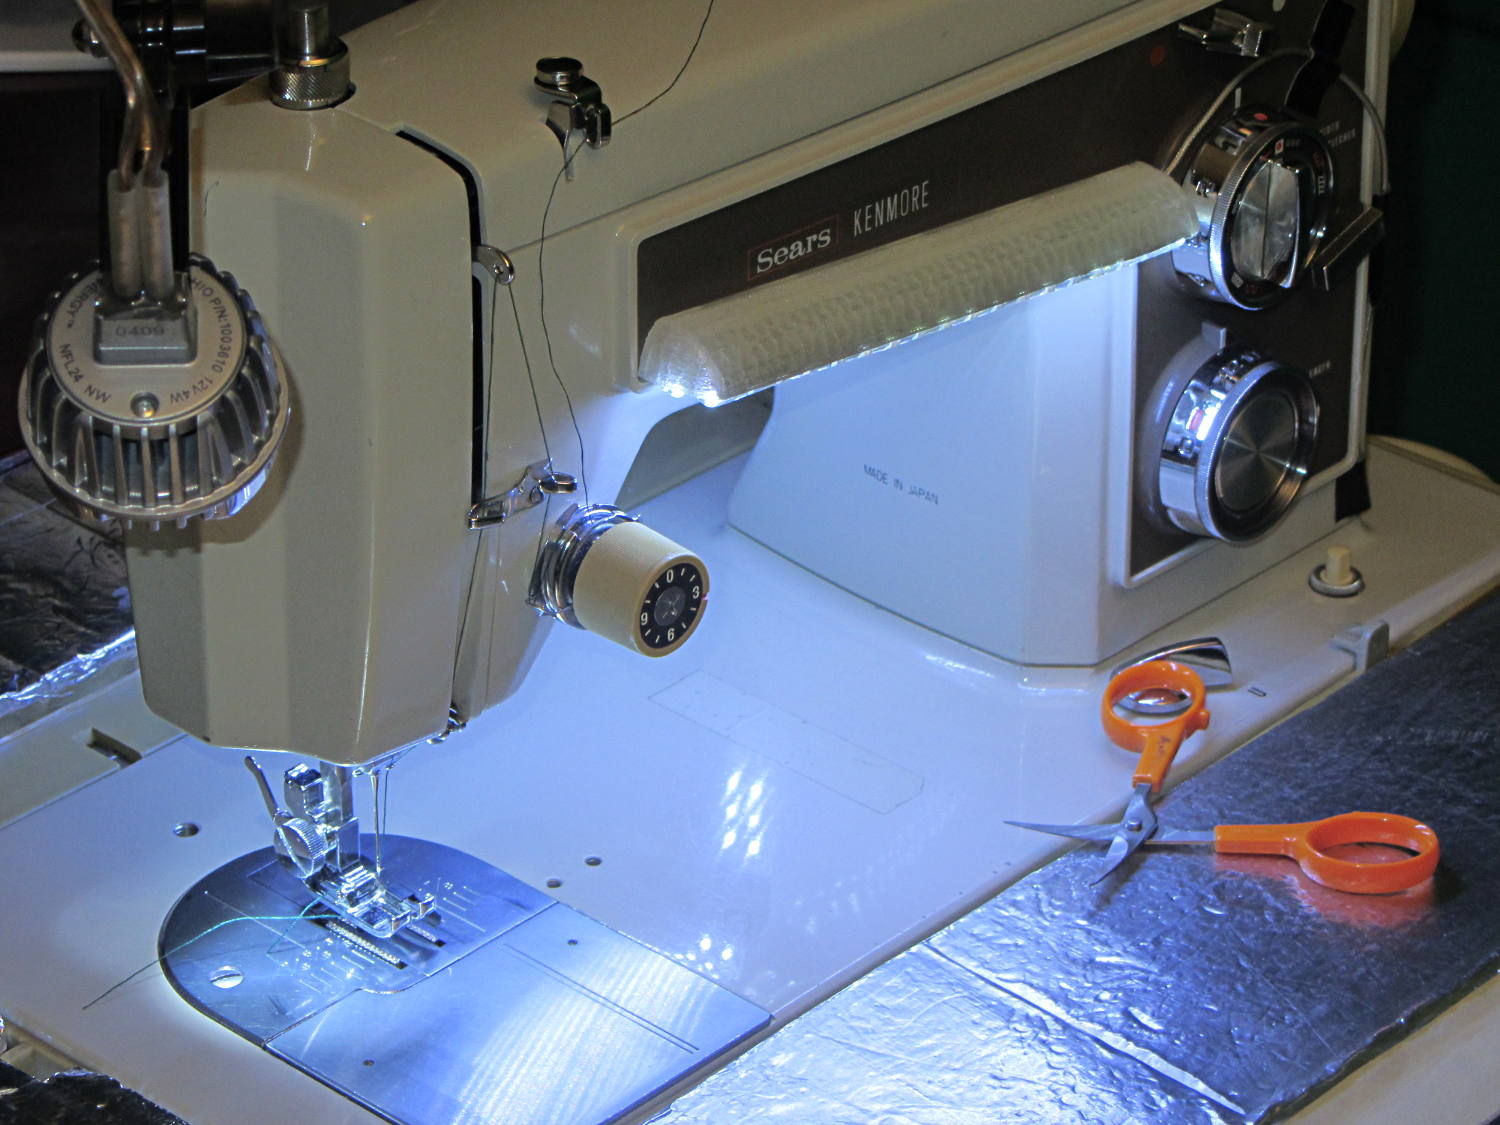
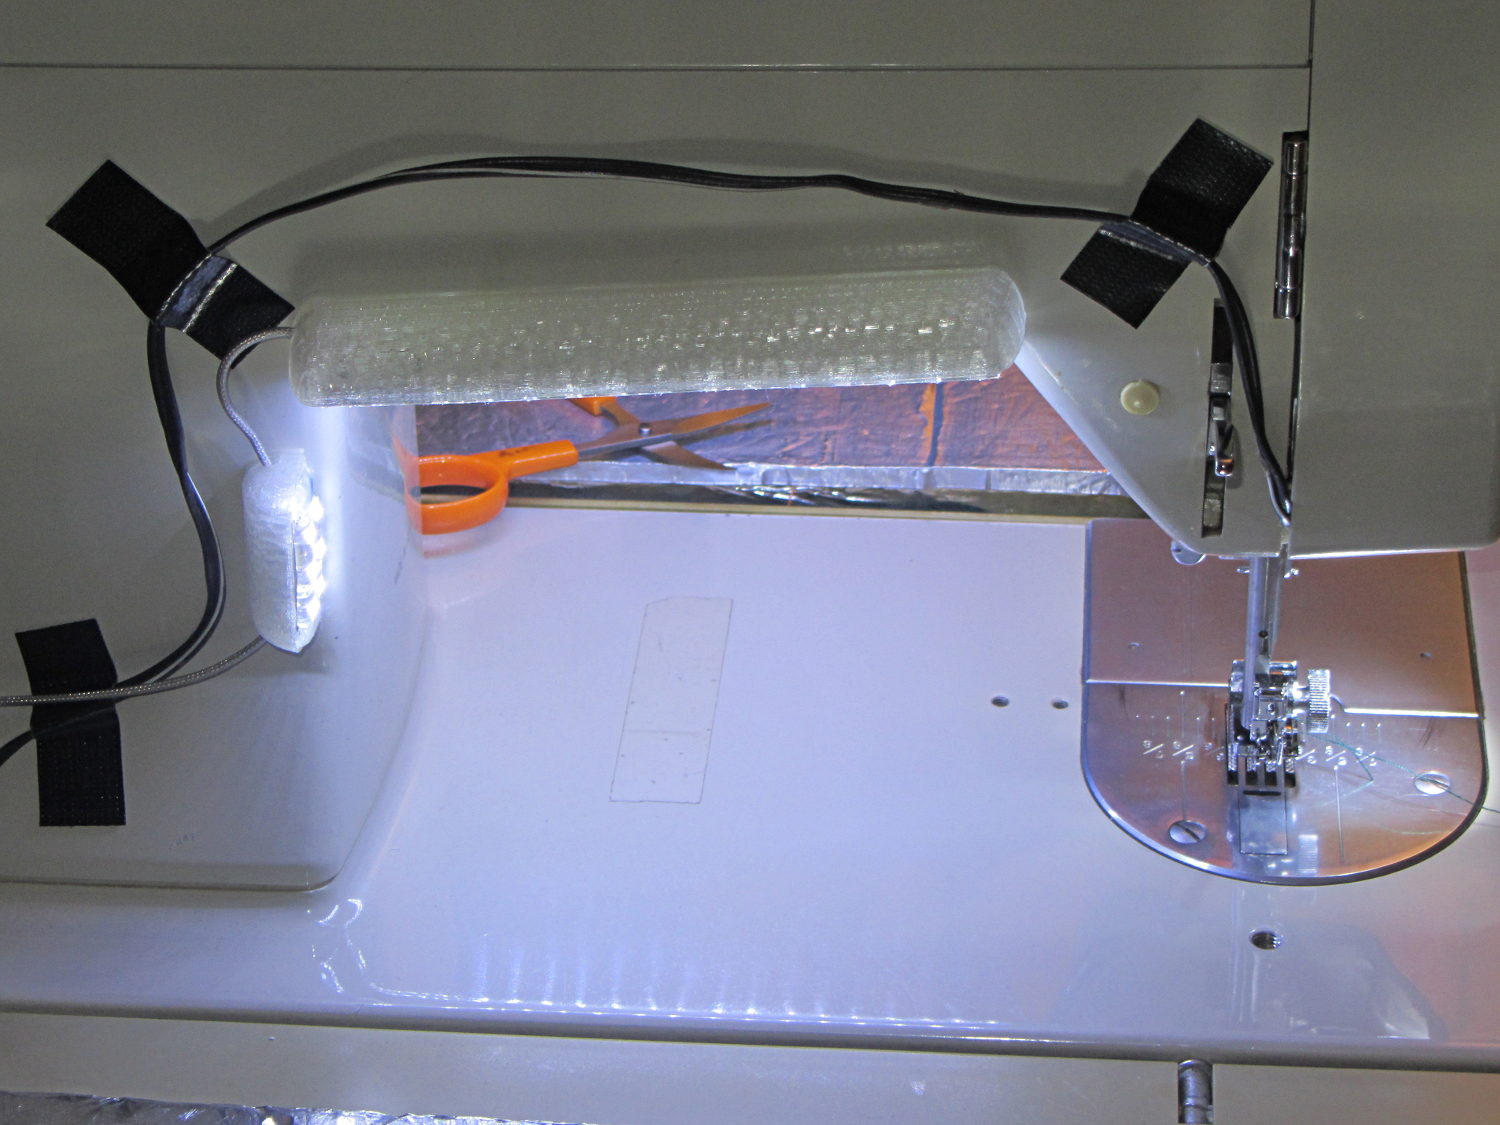
    That required snaking new wiring from the transformer in the base through the upright and out through the boom to the LED floodlamp. I used a random length of speaker cable from the Big Box o’ Heavy Wires, although it doesn’t take much to carry 300 mA at 12 V.

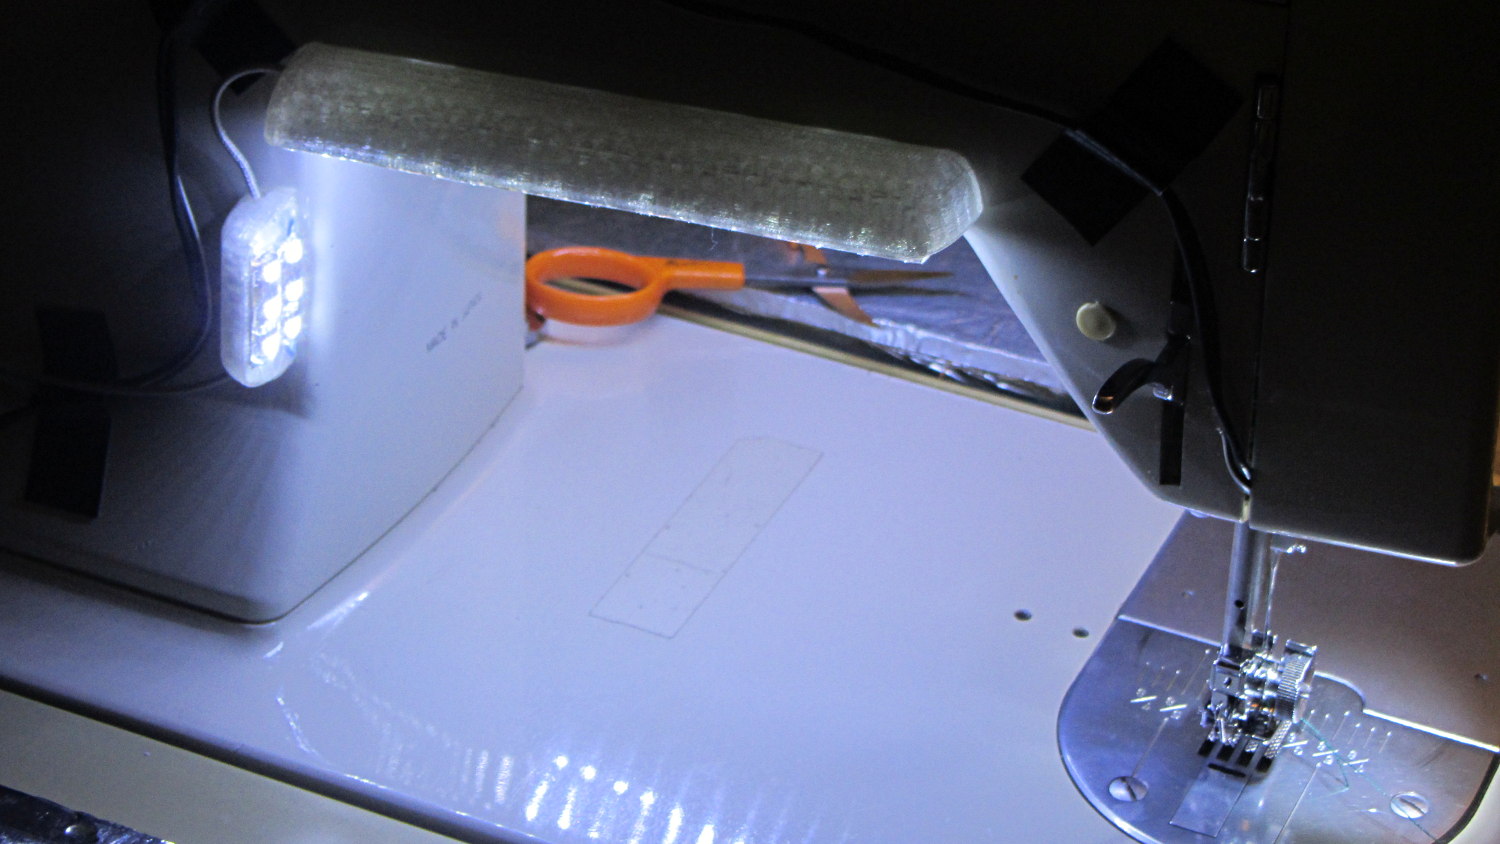
    The lamp head now reaches the work area and the base stays out of the way:

    Rebuild desk lamp over sewing machine
    Rebuild desk lamp over sewing machine

    It is, we both agree, hideously ugly, but it puts plenty of light at the right spot.

  • Strobe Photography: Falling Objects!

    A black background does wonders to improve the presentation:

    Clay slab - 180 ms
    Clay slab – 180 ms

    That’s ISO 800, 1/10 s, f/8, 30 cm manual focus, with the flash about 20 cm away in the right foreground. The Xenon flash has a 1 µF capacitor giving a pulse width of about 100 µs. The LED visible on the lower right flashed 1 ms after the lump broke the laser beam.

    Rather than do science, I shoveled small objects through the aperture…

    Falling LED striplight
    Falling LED striplight
    Falling Sierpinski gasket
    Falling Sierpinski gasket
    Falling clay block
    Falling clay block
    Falling cotton swab
    Falling cotton swab
    Falling AA cell
    Falling AA cell
    Falling SDHC Card
    Falling SDHC Card
    Falling lock washer
    Falling lock washer

    That was fun…

  • Strobe Photography: Drop Tests vs. Xenon Flash Energy

    Tweaking the Arduino program to fire the LED 10 ms after the beam breaks, then fire the Xenon strobe 180 ms later produces this result:

    Drop test - ISO 800 - 100 ms f8 - overexposure
    Drop test – ISO 800 – 100 ms f8 – overexposure

    Obviously, that’s far too much light: ISO 800, 1/10 sec, f/8, with the flash a few inches from the action. There aren’t many free variables:

    • Shutter must be open long enough to span the timing jitter
    • Aperture is already as small as it gets for good depth of focus
    • ISO speed may be too high
    • Flash intensity is fixed for a given capacitor

    Throwing a shop rag over the flash helps a bit, capturing the ruler suspended in mid-air:

    Drop test - ISO 800 - 100 ms f8 - cloth
    Drop test – ISO 800 – 100 ms f8 – cloth

    However, replacing the 250 µF electrolytic flash capacitor with a 1 µF film cap reduces the stored energy by roughly an order of magnitude and reduces the flash pulse duration to about 100 µs.

    The bottom two inches of the ruler now have lighting from the flash, while the rest of the image looks pretty good in natural light:

    Drop test - ISO 800 - 100 ms f8 - 1 uF
    Drop test – ISO 800 – 100 ms f8 – 1 uF

    It turns out that having the laser and photodiode beam-break sensor within the view (the white ring at the top) doesn’t work, as the CHDK motion detector will notice the red spot on the ruler and trigger the shutter before the LED (clipped to the right of the vertical steel scale) flashes.

    Several more trials showed that the flash fires consistently, but (as expected) the shutter triggering has some jitter. In this case, the shutter remained open after the flash and captured a blurred image as the ruler continued to fall:

    Drop test - ISO 800 - 100 ms f8 - tail
    Drop test – ISO 800 – 100 ms f8 – tail

    Here, the shutter closed immediately after the flash, eliminating the blurred tail:

    Drop test - ISO 800 - 100 ms f8 - no tail
    Drop test – ISO 800 – 100 ms f8 – no tail

    Having the shutter close before the object reaches the bottom of the image is a Bad Thing, as it means the shutter triggered too early.

    In both cases, the sharp image of the ruler overlays the blurred image captured in natural light. That’s more visible toward the top of the picture where the flash doesn’t reach very well.

    I aligned the laser beam-break detector at 200 mm on the scale and the flash fired when the tip of the ruler was at 390 mm = 190 mm below the beam. The LED blinked 10 ms after the beam break and the Xenon flash fired at 180 ms; given all the vagaries involved, 190 mm is just about spot on the (revised) estimates.

    But that background has got to go…

  • Strobe Photography: Time Estimates and First Light

    The object being to light up a falling object at a known position, I ran off the usual Physics 1 spreadsheet relating position, time, and speed for the ideal case:

    Initial Timing Estimates
    Initial Timing Estimates

    I wanted the flash to occur when the object was about 200 mm below the trigger point (the laser-photodiode beam-break sensor), which turns out to be, conveniently enough, 200 ms after the drop. A 1/25 = 40 ms shutter time allowed for the ±10 ms or so of jitter that I assumed would be due to the CHDK motion-detection script, but I did not have a good estimate of the delay from motion detection to shutter opening; I assumed it would be nearly zero. That meant the LED flash must occur about 50 ms earlier, at about 150 ms from the drop and 60 ms from the beam break; assuming I dropped the object about 30 mm above the beam break sensor.

    Soooo, I baked those numbers into an Arduino program (more on that later), lashed the hardware together, and fired it up.

    The beam-break sensor worked, the Arduino code worked, the LED and Xenon strobe fired, but all the pictures were black: the LED triggered the motion detection script, but the flash occurred either before or after the shutter opened.

    After considerable adjustment of times, twisting of knobs, and general flailing around, this happened:

    Strobe flash - falling ruler - top
    Strobe flash – falling ruler – top

    If you look very, very closely, you can see a thin rectangular object at the top edge of the picture, just to the left of the machinist’s scale supporting the beam-break sensor, which, in turn, is barely visible to the left of the mysterious rectangle.

    The round eye-like object peering at you from 1/3 up the scale is the 10 mm white LED that triggered the motion-detection script. It’s dark, because that flash ended long before the shutter opened.

    More flailing around stopped the object in the middle of the image:

    Strobe flash - falling ruler - middle
    Strobe flash – falling ruler – middle

    The motivation for dropping a ruler: it’s long enough that you’re bound to catch at least part of it and the graduations let you estimate distances and times fairly accurately. That’s after you manage to catch at least part of it, of course.

    Increasing the flash delay caught it just before it hit the white towel causing the retina-burn glare at the bottom:

    Strobe flash - falling ruler - bottom
    Strobe flash – falling ruler – bottom

    A bit of detail from another picture with the ruler near the middle shows that the 1 ms Xenon strobe flash really does stop the action:

    Strobe flash - falling ruler - detail
    Strobe flash – falling ruler – detail

    Even though the initial timing estimates were completely wrong, there’s some hope this will actually work…

  • Laser-photodiode Beam-Break Sensor Fixture

    The game plan: drop a small object through a laser beam that shines on a photodiode, thus causing an electrical signal that triggers various flashes and cameras and so forth and so on. This fixture holds the laser and photodiode in the proper orientation, with enough stability that you (well, I) can worry about other things:

    Laser-photodiode fixture - on blade
    Laser-photodiode fixture – on blade

    It’s mounted on the blade of a dirt-cheap 2 foot machinist’s square clamped to the bench which will probably get a few holes drilled in its baseplate for more permanent mounting.

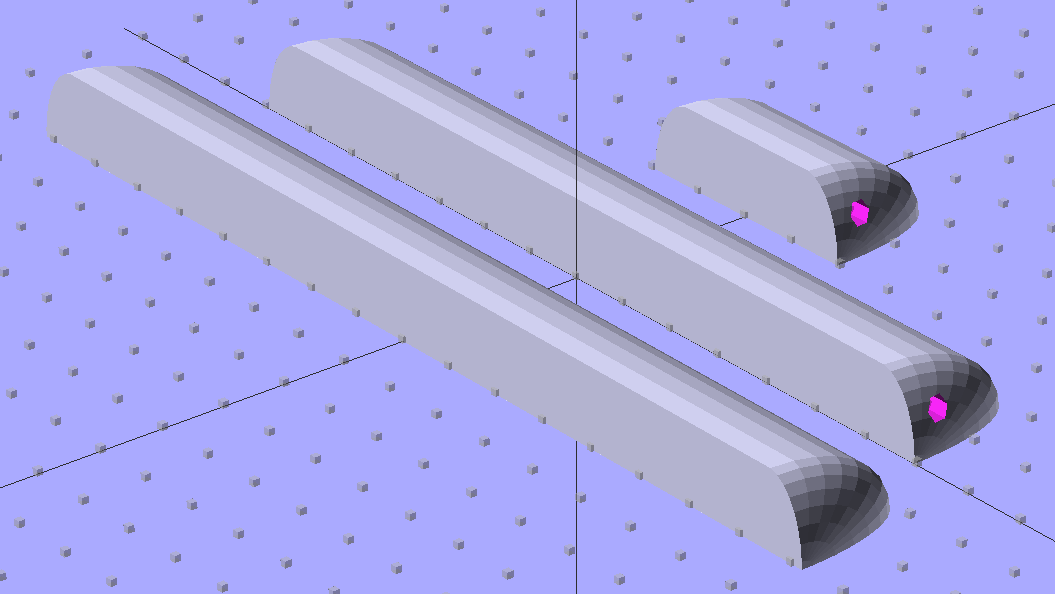
    The solid model looks about like you’d expect:

    Laser-photodiode fixture - solid model
    Laser-photodiode fixture – solid model

    There’s a small hole in the back for an 8-32 setscrew that locks it to the blade; the fit turned out snug enough to render the screw superfluous. I added those two square blocks with the holes after I taped the wires to the one in the picture.

    The two semicircular (well, half-octagonal) trenches have slightly different diameters to suit the heatshrink tubing around the photodiode (a.k.a., IR LED) and brass laser housing. A dab of fabric adhesive holds the tubes in place, in addition to the Gorilla Tape on the ends.

    The laser came focused at infinity, of course. Unscrewing the lens almost all the way put the focus about 3/4 of the way across the ring; call it 40 mm. The beam is rectangular, about 1×2 mm, at the center of the ring, and I rotated the body to make the short axis vertical; that’s good enough for my purposes.

    The cable came from a pair of cheap earbuds with separate Left/Right pairs all the way from the plug.

    The model builds in one piece, of course, and pops off the platform ready to use:

    Laser-photodiode fixture - on platform
    Laser-photodiode fixture – on platform

    If you were doing this for an analytic project, you’d want a marker for the beam centerline on the vertical scale, but that’s in the nature of fine tuning. As it stands, the beam sits 8 mm above the base and flush with the top surface of the ring; if that were 10 mm, it’d be easier to remember.

    The OpenSCAD source code has a few tweaks and improvements:

    // Laser and LED-photodiode break-beam sensor
    // Ed Nisley - KE4ZNU - March 2014
    
    Layout = "Show";			// Build Show Ring Mount Guide
    
    //- Extrusion parameters must match reality!
    //  Print with 2 shells and 3 solid layers
    
    ThreadThick = 0.20;
    ThreadWidth = 0.40;
    
    HoleWindage = 0.2;			// extra clearance
    
    Protrusion = 0.1;			// make holes end cleanly
    
    AlignPinOD = 1.70;			// assembly alignment pins: filament dia
    
    inch = 25.4;
    
    function IntegerMultiple(Size,Unit) = Unit * ceil(Size / Unit);
    
    //----------------------
    // Dimensions
    
    LaserOD = 6.0;				// brass focus tube
    LaserLength = 20.0;			//  ... wire clearance
    
    SensorOD = 6.5;				// including light shield
    SensorLength = 20.0;		//  ... wire clearance
    
    RingSize = [50.0,70.0,8.0,8*4];	// support ring dimensions
    RING_ID = 0;
    RING_OD = 1;
    RING_THICK = 2;
    RING_SIDES = 3;
    
    StrutWidth = 2.5;					// strut supporting this thing
    StrutLength = 26.5;
    
    StrutBlock = [10.0,35.0,20.0];		// block around the clearance slot
    BLOCK_WIDTH = 0;
    BLOCK_LENGTH = 1;
    BLOCK_HEIGHT = 2;
    
    StrutScrewTap = 2.7;				// 6-32 SHCS
    
    GuideID = 4.0;						// guide for cables
    GuideOD = 3*GuideID;
    
    BuildSpace = 3.0;					// spacing between objects on platform
    
    //----------------------
    // Useful routines
    
    module PolyCyl(Dia,Height,ForceSides=0) {			// based on nophead's polyholes
    
      Sides = (ForceSides != 0) ? ForceSides : (ceil(Dia) + 2);
    
      FixDia = Dia / cos(180/Sides);
    
      cylinder(r=(FixDia + HoleWindage)/2,
               h=Height,
               $fn=Sides);
    }
    
    module ShowPegGrid(Space = 10.0,Size = 1.0) {
    
      RangeX = floor(100 / Space);
      RangeY = floor(125 / Space);
    
    	for (x=[-RangeX:RangeX])
    	  for (y=[-RangeY:RangeY])
    		translate([x*Space,y*Space,Size/2])
    		  %cube(Size,center=true);
    
    }
    
    module Ring() {
    
    	difference() {
    		union() {
    			rotate(180/RingSize[RING_SIDES])
    				cylinder(d=RingSize[RING_OD],h=RingSize[RING_THICK],
    						$fn=RingSize[RING_SIDES]);
    			translate([-LaserOD,(-LaserLength - RingSize[RING_ID]/2),0])
    				cube([2*LaserOD,LaserLength,RingSize[RING_THICK]],center=false);
    			translate([-SensorOD,(-0*SensorLength + RingSize[RING_ID]/2),0])
    				cube([2*SensorOD,SensorLength,RingSize[RING_THICK]],center=false);
    		}
    		rotate(180/RingSize[RING_SIDES])
    			translate([0,0,-Protrusion])
    				cylinder(d=RingSize[RING_ID],h=(RingSize[RING_THICK] + 2*Protrusion),
    						$fn=RingSize[RING_SIDES]);
    		translate([0,0,RingSize[RING_THICK]])
    			rotate([90,0,0]) rotate(180/8)
    				PolyCyl(LaserOD,3*LaserLength,8);
    		translate([0,0,RingSize[RING_THICK]])
    			rotate([-90,0,0]) rotate(180/8)
    				PolyCyl(SensorOD,3*SensorLength,8);
    	}
    }
    
    module Mount() {
    	translate([0,0,StrutBlock[2]/2])
    		difference() {
    			cube(StrutBlock,center=true);
    			cube([StrutWidth,StrutLength,2*StrutBlock[2]],center=true);
    			translate([0,-StrutLength/3,0])
    				rotate([90,0,0])
    					PolyCyl(StrutScrewTap,StrutLength/2,6);
    		}
    }
    
    module Guide() {
    
    	difference() {
    		translate([0,0,RingSize[RING_THICK]/2])
    			cube([GuideOD,GuideOD,RingSize[RING_THICK]],center=true);
    		translate([0,0,-Protrusion]) rotate(180/8)
    			PolyCyl(GuideID,(RingSize[RING_THICK] + 2*Protrusion),8);
    	}
    }
    
    module Assembly() {
    	Ring();
    	translate([(RingSize[RING_OD]/2 + StrutBlock[BLOCK_LENGTH]/2
    				- (StrutBlock[BLOCK_LENGTH] - StrutLength)/2) + Protrusion,0,0])
    		rotate(90)
    			Mount();
    	for (i=[-1,1])
    		translate([(RingSize[RING_OD]/2 + GuideID/2),
    				  i*(StrutBlock[BLOCK_WIDTH]/2 + GuideID),
    				  0])
    			Guide();
    }
    
    //- Build it
    
    ShowPegGrid();
    
    if (Layout == "Ring") {
    	Ring();
    }
    
    if (Layout == "Mount") {
    	Mount();
    }
    
    if (Layout == "Guide") {
    	Guide();
    }
    
    if (Layout == "Show") {
    	Assembly();
    }
    
    if (Layout == "Build") {
    
    	translate([-5/2,-5/2,0])
    		cube(5);
    }
    
  • Strobe Photography: Circuit Doodles

    The general idea:

    There’s nothing too complicated about any of that.  I used 2N2907A PNP transistors because I’m running out of those cute little ZVNL110A logic-level MOSFETs; remember that you can’t hitch the emitter to anything higher than +5 V, unless you want to toast the Arduino. Using a PNP switch means that the initial state of the Arduino pins won’t inadvertently turn the LED / laser / flash on.

    The laser-photodiode detector:

    Laser-photodiode detector - schematic
    Laser-photodiode detector – schematic

    The 20 MΩ resistor sets the gain at 20 mV/nA, which is both absurdly high and seems to work. The IR LED serving as the photodiode doesn’t pass much photocurrent, particularly with the laser running just above threshold, but the fact that it’s totally unresponsive to room light helps a lot; there’s something to be said for a narrow spectral response, which a real photodiode doesn’t have. I do have some IR photodiodes in tinted packages and might be forced to do some rummaging.

    I expected to need a comparator after the transconductance amplifier, but with that much gain the LM324 has a nice, steep edge when the object goes past. The laser beam is small enough that there’s not much error due to convolving the object’s edge with the beam; it’s basically binary.

    With the LM324 quad op amp running from +5 V, its output can’t get above +4 V. That’s good enough for a logic-level trigger, although a real circuit should use something like the MAX4330 I hacked into a DIP footprint.

    The white LED driver uses a 10 mm package with five white LED chips in parallel that runs at 100 mA:

    White LED driver - schematic
    White LED driver – schematic

    I found an LED lashup that I’d built to light up a bird box, so the resistor (which is 12 Ω, not the 100 Ω due to a finger fumble) actually lives at the LED on the other end of the cable, inside a heatshrink strain relief.

    The Xenon photoflash driver uses a small relay hacked into the trigger circuit, with a Schottky diode to recirculate the winding current when the transistor turns off:

    Xenon flash relay driver - schematic
    Xenon flash relay driver – schematic

    The diode increases the relay release time, which doesn’t matter here.

    The delays from the laser beam break to the flashes should be variable, so there should be a knob with a pushbutton: turn to set the Xenon flash delay, push-and-turn to set the LED flash delay. I doubt that this calls for a digital display, as you can see whether the flash happens at the right time…