The Smell of Molten Projects in the Morning

Ed Nisley's Blog: Shop notes, electronics, firmware, machinery, 3D printing, laser cuttery, and curiosities. Contents: 100% human thinking, 0% AI slop.

Author: Ed

  • Candidate Caravan

    For obscure reasons, the Silly Season brought Sanders, Trump, and Clinton fille to the City of Poughkeepsie within the span of eight days. We know enough to stay far away from such events, but one of the contestants came to us!

    A siren heralded flashing lights off to the left, coming up the hill from the bridge over the Mighty Wappingers Creek:

    Candidate Motorcade - 0463
    Candidate Motorcade – 0463

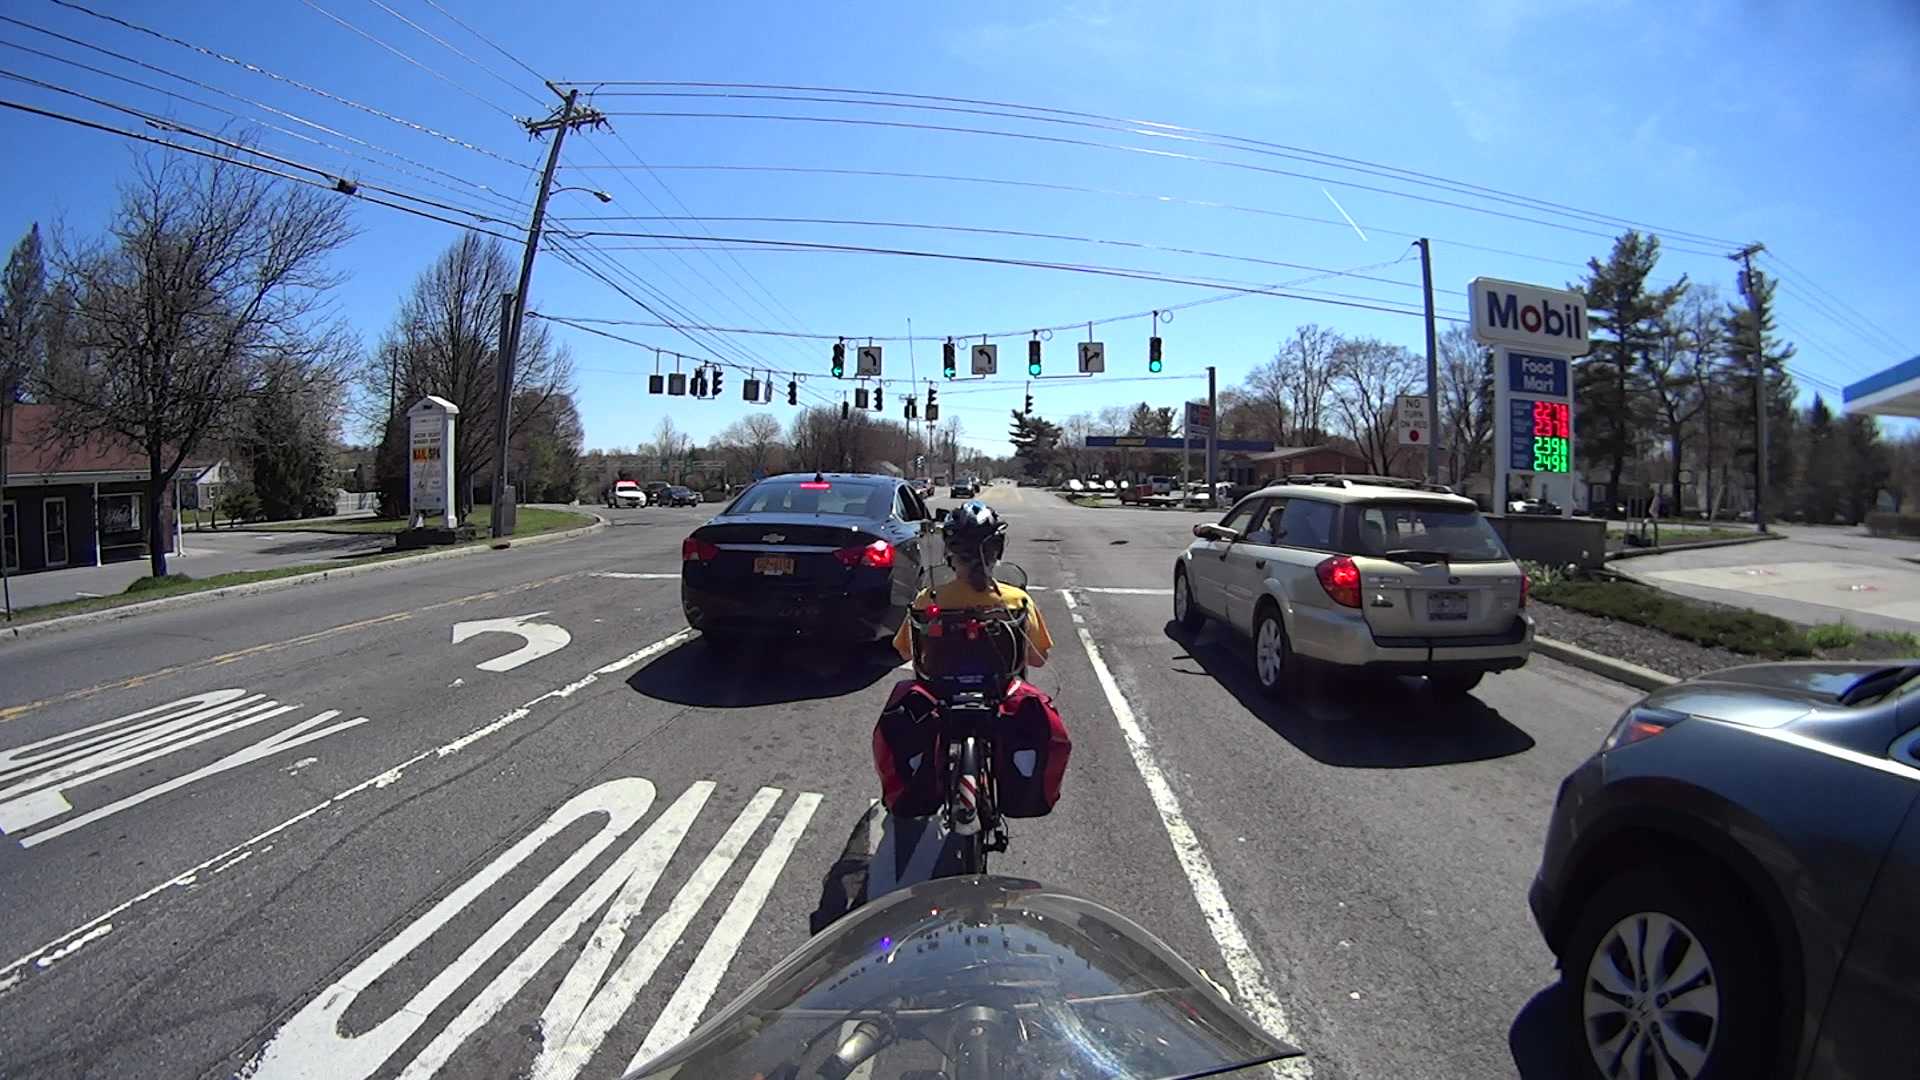
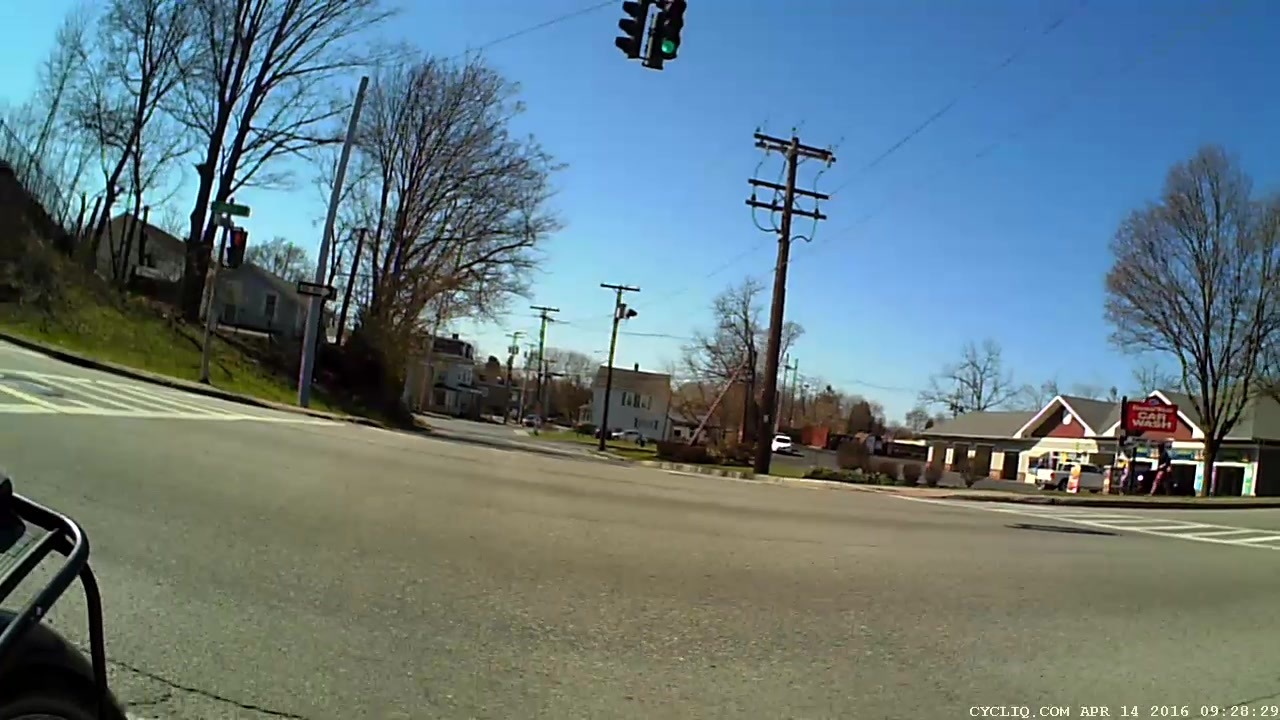
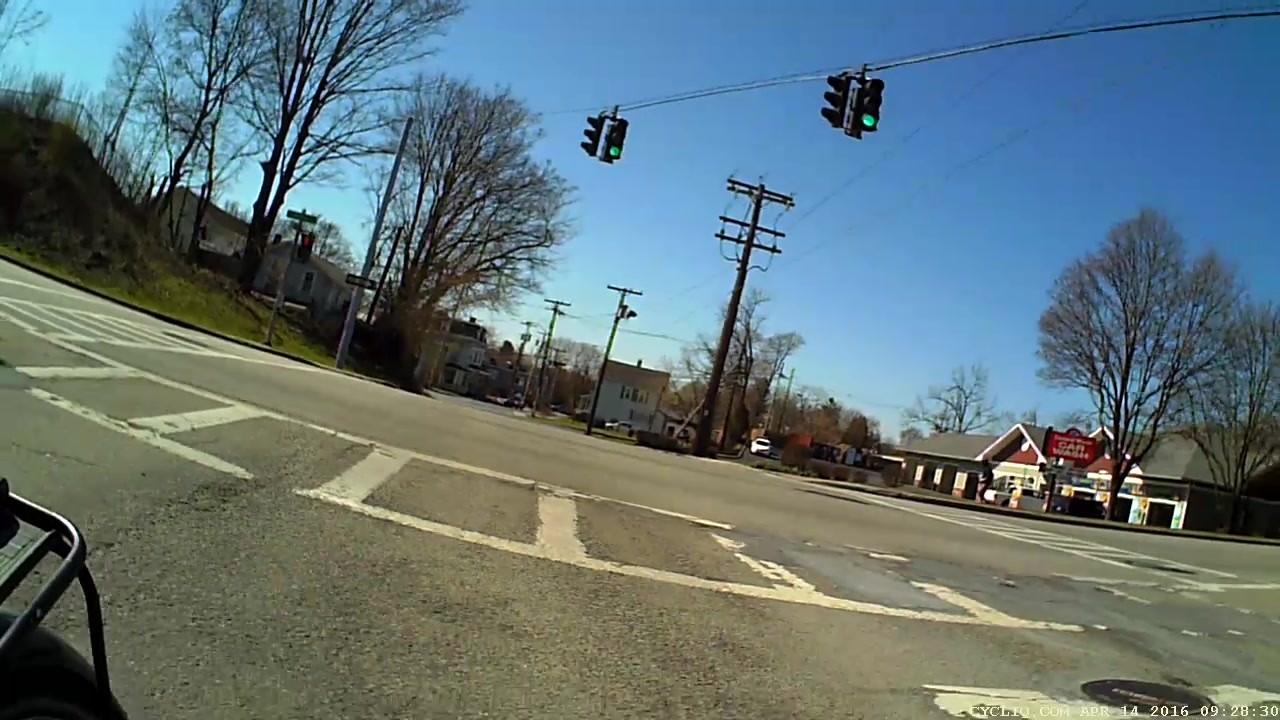
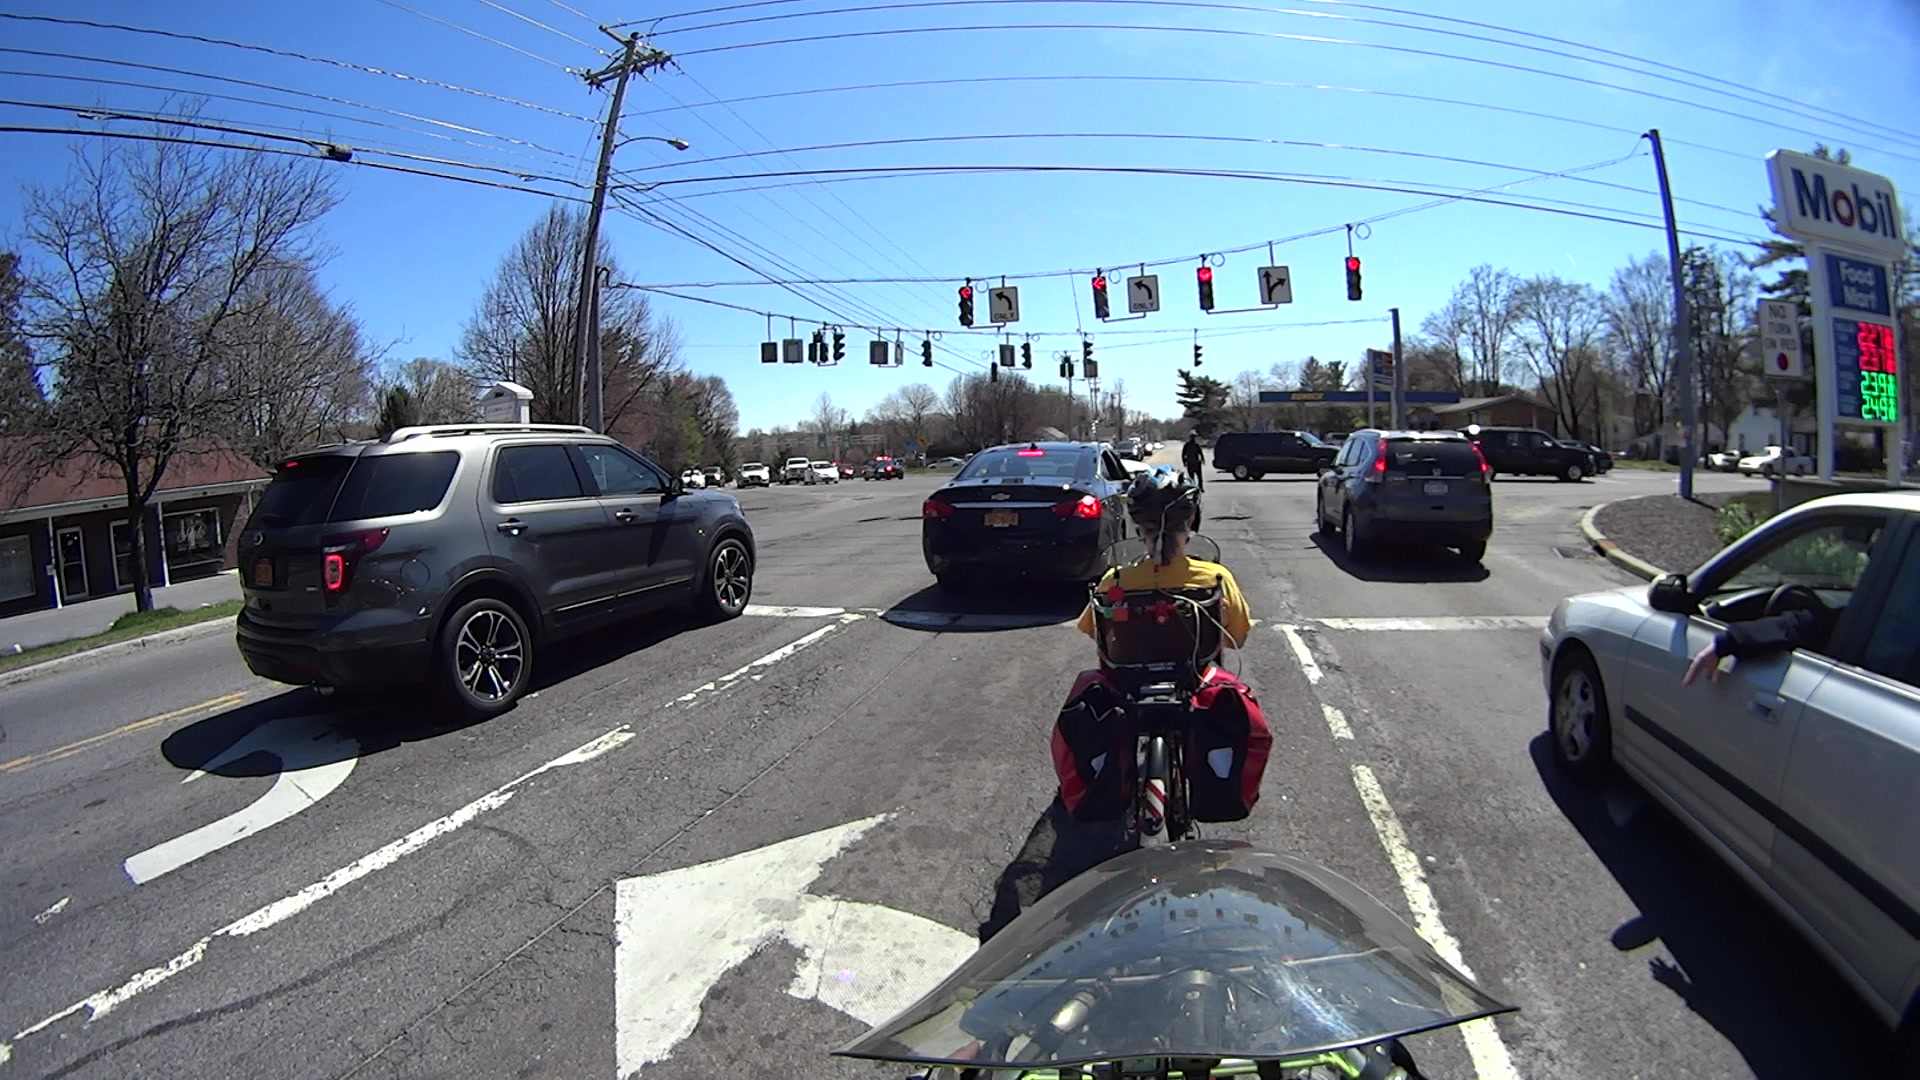
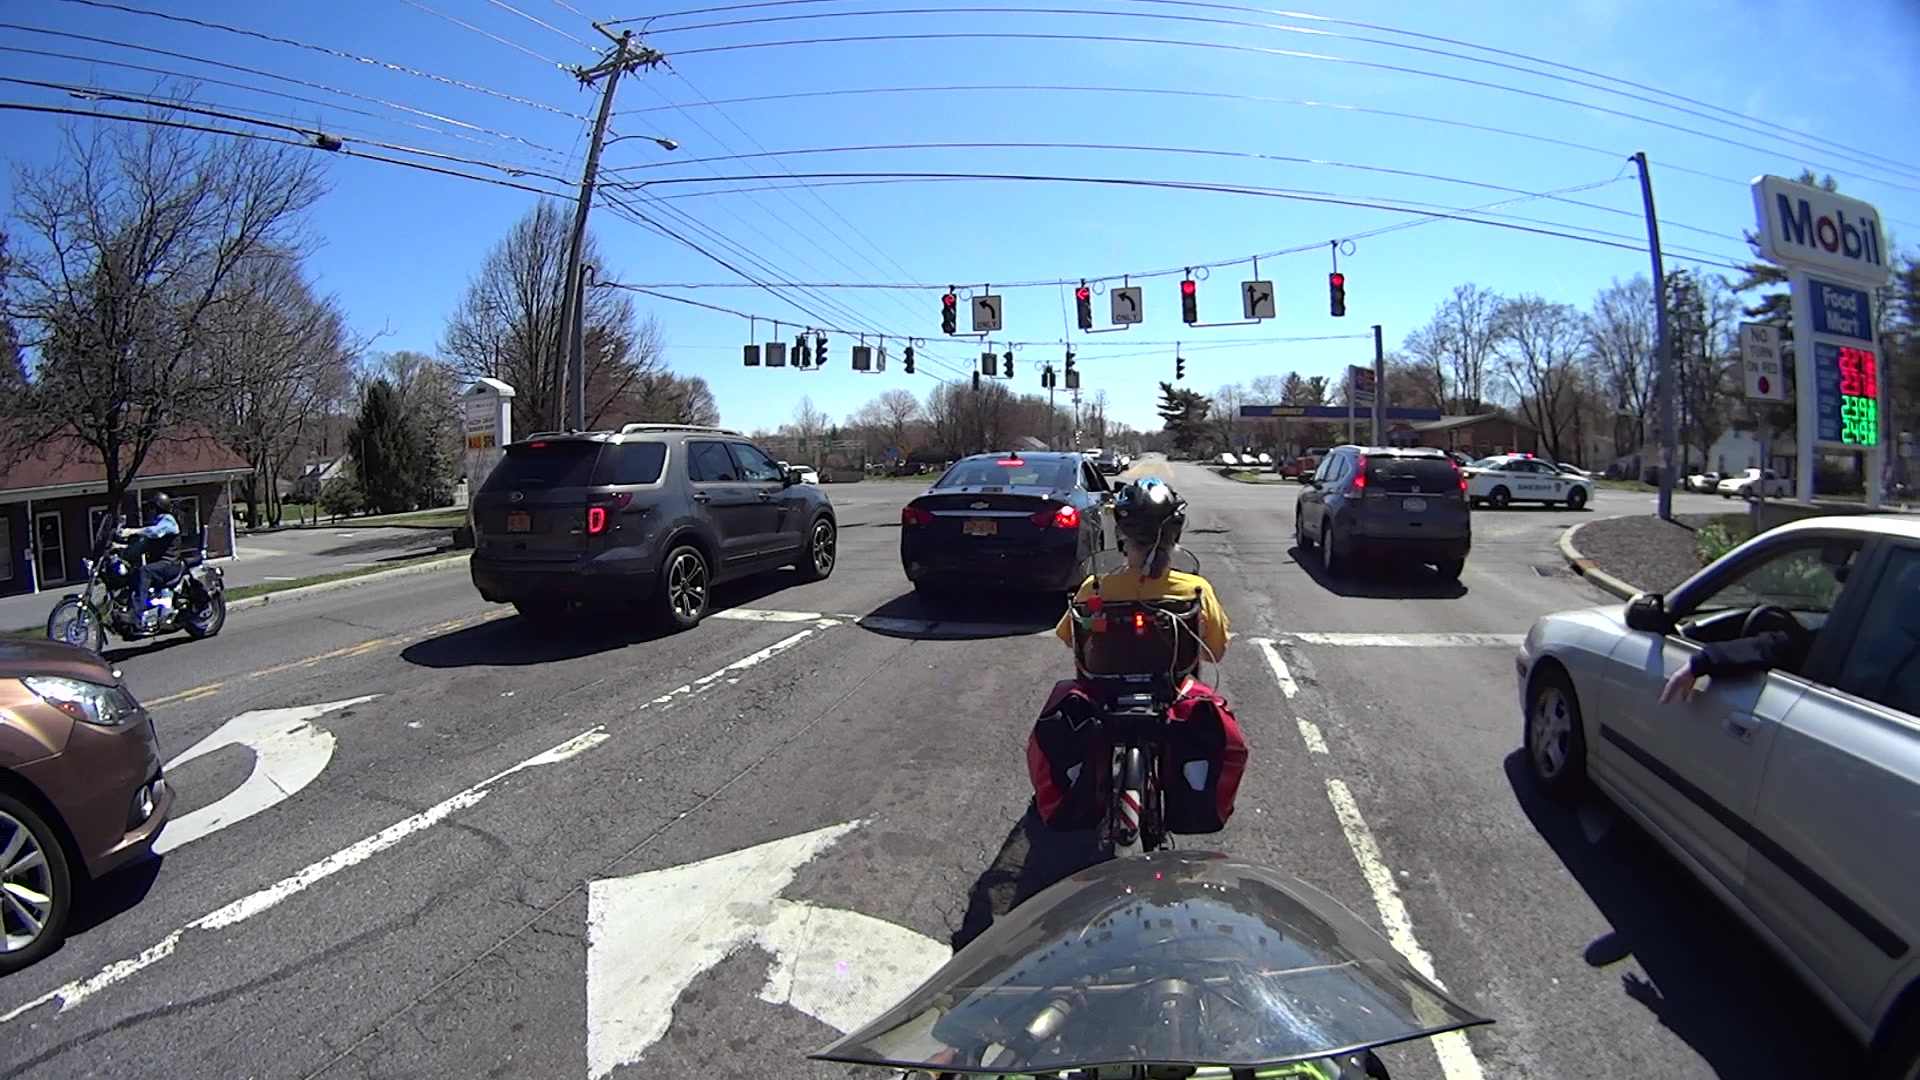
    The police car jammed to a stop in the middle of the Red Oaks Mill intersection, directly in front of the cars (and bikes) that had just begun moving after the light turned green:

    Candidate Motorcade - 0700
    Candidate Motorcade – 0700

    During the next minute, the officer managed to clear most of the traffic from the left-turn storage lanes perpendicular to us, after which two motorcycle officers led the procession:

    Candidate Motorcade - 5015
    Candidate Motorcade – 5015

    Two ordinary SUVs with flashing light bars followed:

    Candidate Motorcade - 5211
    Candidate Motorcade – 5211

    Two stretched SUVs with side window and marker flashers:

    Candidate Motorcade - 5403
    Candidate Motorcade – 5403

    One blatantly inconspicuous black sedan running dark:

    Candidate Motorcade - 5467
    Candidate Motorcade – 5467

    Two black patrol cars and a white patrol car, all with flashing lights:

    Candidate Motorcade - 5792
    Candidate Motorcade – 5792

    The officer jumped into his car and rejoined the procession at the end:

    Candidate Motorcade - 5992
    Candidate Motorcade – 5992

    According to my back-of-the-envelope, the motorcade moved through the intersection at a steady 20 mph.

    Given where all the folks who merit such an escort were supposed to be at the time, I don’t know why they brought The Personage through the Red Oaks Mill intersection in that direction; the City of Poughkeepsie is to our rear, due north of Red Oaks Mill. Perhaps they’re following a randomly chosen route to confuse the unprepared, even though it’s longer and requires more traffic control?

    Rumors from a Reliable Source indicate that not all trains travel on steel rails.

    I suppose you eventually get used to having a couple of quiet people standing in every room with you.

    One benefit of the inevitable news coverage: a few more people now know how to pronounce “Poughkeepsie”.

  • Road Conditions: Grand Avenue at Westbound Arterial

    Just because I hadn’t done so for quite a while, I rode Grand Avenue from Beechwood north to the rail trail. The rotted asphalt at the Westbound Arterial (a.k.a. Maple St, at that point) intersection makes it easy to spot the quadrupole sensor loop:

    Grand at Arterial WB - front camera - 0193
    Grand at Arterial WB – front camera – 0193

    After half a minute, with no traffic pulling up behind me, I eased the bike over the central wire:

    Grand at Arterial WB - front camera - 1693
    Grand at Arterial WB – front camera – 1693

    Which is exactly as awkward as it seems:

    Grand at Arterial WB - front camera - 1945
    Grand at Arterial WB – front camera – 1945

    Much to my surprise, the sensor tripped:

    Grand at Arterial WB - front camera - 3044
    Grand at Arterial WB – front camera – 3044

    That’s about 50 s from the time I rolled over the first of the two sensor loops, which is fast enough for me. It’s unusual to find a sensor loop that detects a bike, though.

    A bit over 6 s seconds later, I’ve cleared the intersection:

    Grand at Arterial WB - front camera - 3445
    Grand at Arterial WB – front camera – 3445

    The rear camera shows that the light remains green:

    Grand at Arterial WB - rear camera - 1085
    Grand at Arterial WB – rear camera – 1085

    And it stays green:

    Grand at Arterial WB - rear camera - 1121
    Grand at Arterial WB – rear camera – 1121

    About 11 s after turning green, a car approaches the sensor loop:

    Grand at Arterial WB - rear camera - 1228
    Grand at Arterial WB – rear camera – 1228

    I think that reset the signal timing, so that light remained green for nearly 23 s:

    Grand at Arterial WB - rear camera - 1581
    Grand at Arterial WB – rear camera – 1581

    It turned red after 26 s:

    Grand at Arterial WB - rear camera - 1671
    Grand at Arterial WB – rear camera – 1671

    As nearly as I can tell, the minimum green time for this intersection is 12 s.

    So life is good: the sensor loop detects a bicycle and the signal remains green for long enough to a bike to clear the intersection. If only all intersections worked that way!

    Compare that with the minimum 7 s for the Burnett Blvd intersection and you (well, I) wonder why crossing six lanes requires 5 s less than crossing three lanes. Perhaps different standards apply to this single-direction cross-traffic flow that make it much more difficult than Burnett’s bidirectional cross traffic?


  • Clover Seam Ripper Cap

    Mary wanted a rigid cap for a Clover seam ripper that came with a small plastic sheath, so I called one from the vasty digital deep:

    Clover Seam Ripper - new cap
    Clover Seam Ripper – new cap

    The solid model looks about like you’d expect, with a brim around the bottom to paste it on the platform:

    Clover Seam Ripper Cap - Slic3r preview
    Clover Seam Ripper Cap – Slic3r preview

    I added a slightly tapered entry to work around the usual tolerance problems:

    Clover Seam Ripper Cap - bottom view
    Clover Seam Ripper Cap – bottom view

    The taper comes from a hull wrapped around eight small spheres:

    Clover Seam Ripper Cap - Entry Pyramid
    Clover Seam Ripper Cap – Entry Pyramid

    That’s surprisingly easy to accomplish, at least after you get used to this sort of thing:

    hull() {																		// entry taper
    	for (i=[-1,1] , j=[-1,1])
    		translate([i*(HandleEntry[0]/2 - StemRadius),j*(HandleEntry[1]/2 - StemRadius),0])
    			sphere(r=StemRadius,$fn=4*4);
    	for (i=[-1,1] , j=[-1,1])
    		translate([i*(HandleStem[0]/2 - StemRadius),j*(HandleStem[1]/2 - StemRadius),HandleEntry[2] - StemRadius])
    			sphere(r=StemRadius,$fn=4*4);	
    }
    

    The side walls are two threads thick and, at least in PETG, entirely too rigid to slide on easily. I think a single-thread wall with a narrow ridge would provide more spring; if this one gets too annoying, I’ll try that.

    The OpenSCAD source code as a GitHub gist:

    // Clover seam ripper cap
    // Ed Nisley KE4ZNU – April 2016
    //- Extrusion parameters – must match reality!
    // Build with a 5 mm brim to keep it glued to the platform
    ThreadThick = 0.25;
    ThreadWidth = 0.40;
    Protrusion = 0.1;
    //——
    // Dimensions
    StemRadius = 0.50; // corner radius
    HandleStem = [6.1, 7.1, 9.0];
    HandleEntry = HandleStem + [1.0,1.0,-4.0]; // Z is -(straight part of stem)
    Cap = [8.5,11.0,45.0]; // XY exterior, Z interior
    //———————-
    //- Build it
    difference() {
    union() {
    translate([0,0,Cap[2]/2]) // main body column
    cube(Cap,center=true);
    translate([-Cap[0]/2,0,Cap[2]]) // rounded cap
    rotate([0,90,0])
    cylinder(d=Cap[1],h=Cap[0],$fn=8*4);
    translate([Cap[0]/2 – Protrusion,0,(Cap[2] + Cap[1]/2)/2]) // text
    rotate([0,90,0])
    linear_extrude(height=ThreadWidth,convexity=10)
    text("Mary Nisley",halign="center",valign="center",size=0.5*Cap[1],font="Arial");
    }
    hull() // stem + blade clearance
    for (i=[-1,1] , j=[-1,1])
    translate([i*(HandleStem[0]/2 – StemRadius),j*(HandleStem[1]/2 – StemRadius),-Protrusion])
    cylinder(r=StemRadius,h=Cap[2] + Protrusion,$fn=4*4);
    hull() { // entry taper
    for (i=[-1,1] , j=[-1,1])
    translate([i*(HandleEntry[0]/2 – StemRadius),j*(HandleEntry[1]/2 – StemRadius),0])
    sphere(r=StemRadius,$fn=4*4);
    for (i=[-1,1] , j=[-1,1])
    translate([i*(HandleStem[0]/2 – StemRadius),j*(HandleStem[1]/2 – StemRadius),HandleEntry[2] – StemRadius])
    sphere(r=StemRadius,$fn=4*4);
    }
    }
  • Belt Pack Zipper Pull Re-Repair

    In our last episode, the zipper tab on my belt pack had worn through:

    Eroded YKK Zipper Tab
    Eroded YKK Zipper Tab

    I “fixed” that by the simple expedient of running a key ring through the latch that used to hold the tab. That held for half a year, which isn’t to be sniffed at for a zero-cost repair.

    A few days ago, the abused latch popped off the slider, leaving the NSA tag and ring in my hand:

    Belt Pack Zipper - missing tab and latch
    Belt Pack Zipper – missing tab and latch

    I scuffed up the surface with a file to provide a bit more grip for the inevitable epoxy, then clamped a brass tube athwart the slider:

    Belt Pack Zipper - wired brass tube
    Belt Pack Zipper – wired brass tube

    The tube ID passes the ring with enough clearance to make it work out. The general idea is that the tube provides rigidity for the ring, the wires hold the tube against the pull, and the epoxy holds the wires in place. I fully expect the sharp edges around the tube’s ID will gradually wear away.

    Threading 14 mil stainless steel wire through the slider’s pivot hole:

    Belt Pack Zipper - wire opened end
    Belt Pack Zipper – wire opened end

    … and under the latch guide:

    Belt Pack Zipper - wire closed end
    Belt Pack Zipper – wire closed end

    … required a few tries and produced some nasty puncture wounds, but eventually it all hung together long enough to let me tuck some JB Kwik epoxy into all the nooks and crannies:

    Belt Pack Zipper - epoxy curing
    Belt Pack Zipper – epoxy curing

    That’s wide masking tape covering the work area. As it turned out, good preparation like that meant I didn’t slobber epoxy anywhere it shouldn’t go; had I omitted the tape, there’d be a smear down the side of the pack.

    Fast-forward to the next morning and it’s all good:

    Belt Pack Zipper - repaired
    Belt Pack Zipper – repaired

    The missing latch locked the slider in place, but I think I can eke out a miserable existence with a loose slider…

  • American Optical Microscope Illuminator: New Bulb!

    A classic American Optical microscope illuminator emerged from a box, minus its bulb. Some rummaging turned up a reference for AO bulbs, so I knew I needed a GE 1460 prefocused bulb. Those seem to be a bit rare these days, with 1460X bulbs sharing the same base with a slightly different glass envelope shape. As nearly as I can tell, as long as the filament sits in the same location relative to the base, it’s all good. Five bucks and a few days brought a new 1460X bulb to the bench, a few drops of Caig DeoxIT slicked the holder’s rather gritty contact patches, and the new bulb fit perfectly:

    Microscope Illuminator - 1460X bulb - detail
    Microscope Illuminator – 1460X bulb – detail

    And it lit up just fine, too:

    Microscope Illuminator - 1460X bulb - turned on
    Microscope Illuminator – 1460X bulb – turned on

    That’s running at the lowest of three selectable voltages: 5, 6, and 7.5 VAC, respectively. Given that the bulb spec says 6.5 V (at 2.75 A!), you best have a spare bulb on hand if you need the highest setting. At the nominal 6.5 V, it’s good for 100 hours; 6 V should eke out many more hours.

    A generously articulated arm holds the illuminator for desk work:

    American Optical Model 651 Microscope Illuminator - on base
    American Optical Model 651 Microscope Illuminator – on base

    That long snout fits into the pair of holes in the arm of my stereo zoom microscope to cast a bright light directly on the subject. The LED ring light makes that less necessary than before, although sometimes distinct shadows help pick out the details:

    Microscope Illuminator Test
    Microscope Illuminator Test

    That’s the failed WS2812B LED from the Noval tube, which again shows I need a USB camera with better resolution …

    The data plate on the bottom of the illuminator, should someone need it:

    American Optical Model 651 Microscope Illuminator - data plate
    American Optical Model 651 Microscope Illuminator – data plate

    The optics cast an image of that white-hot filament out into space, so I think the diffuse active area of a white LED wouldn’t produce the same amount of light on the target. I have some Pirhana LEDs, though, so (when this bulb fails) I’ll see about that.

  • Discrete LED Aging

    We all know that LED brightness decreases with age. An exit sign in Vassar’s Skinner Hall shows what that looks like in real life:

    Exit Sign - LED aging
    Exit Sign – LED aging

    The LEDs on the other side of the sign look about the same: a few very bright spots, a few very dim ones, and a whole bunch in the middle.

    It’s hard to judge by eye, but the brightest LEDs look much more than a factor of two brighter than the dimmest ones.

    An LED with a 50,000 hour lifetime will have 50% of its initial brightness at EOL and a year has 8,766 hours, so the LEDs will reach half-brightness in a bit under six years. I think discrete LEDs went out of style around the turn of the millennium, so it’s three half-lives old: the dimmer LEDs must be around 1/8 brightness.

    In case of an actual emergency, just follow me out the door, OK?

  • Demolition Card GTA 5-10-9

    So I found two copies of the US Army’s Demolition Card GTA 5-10-9 tucked under a row of completely unrelated books in the Basement Laboratory (clicky for more dots):

    Demolition Card GTA 5-10-9 - 1
    Demolition Card GTA 5-10-9 – 1
    Demolition Card GTA 5-10-9 - 2
    Demolition Card GTA 5-10-9 – 2
    Demolition Card GTA 5-10-9 - 3
    Demolition Card GTA 5-10-9 – 3
    Demolition Card GTA 5-10-9 - 4
    Demolition Card GTA 5-10-9 – 4

    All four images wrapped up in a convenient PDF for your printing amusement:
    Demolition Card GTA 5-10-9

    One can only hope it’s slightly more useful than the Calculator Set, Nuclear, M28 — FSN 6665-897-8697 on another shelf. It dates back to the era when you could get ammonium nitrate that went blam when prompted; rumor has it that retail fertilizer now comes with built-in detonation inhibitors.

    Essentially all adult human males have a story including the phrase “but for an (inch | second), I wouldn’t be here” … it’s a survivor bias thing.