The Smell of Molten Projects in the Morning

Ed Nisley's Blog: Shop notes, electronics, firmware, machinery, 3D printing, laser cuttery, and curiosities. Contents: 100% human thinking, 0% AI slop.

Author: Ed

  • Diamond-Drag Styrene Engraving: Scraped Sharpie

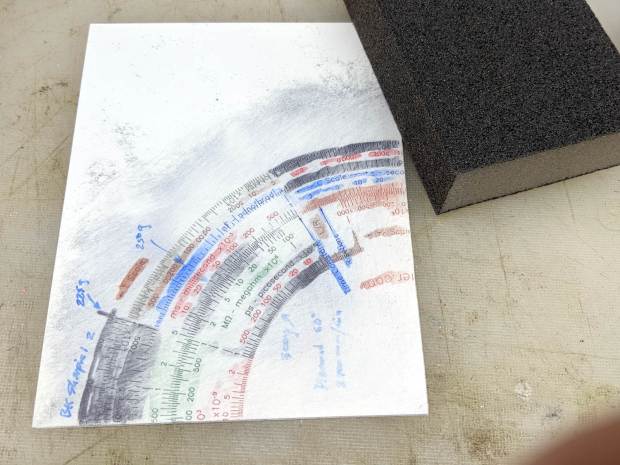
    Applying only two Sharpie colors to the third quadrant of the engraving testpiece produces a more restrained result:

    Diamond on styrene C - scraped red-black Sharpie - start
    Diamond on styrene C – scraped red-black Sharpie – start

    Instead of sanding the surface, I used a paint scraper to remove everything down to the engraved grooves. The scraper in the upper right is a Rubbermaid 54807, which is apparently no longer available. If I ever buy a new scraper, I’ll spring for a carbide blade.

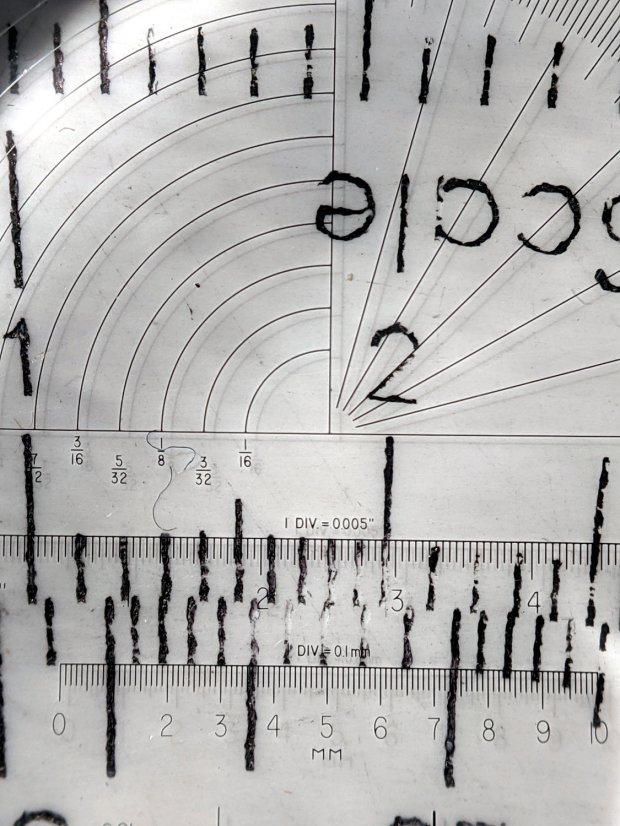
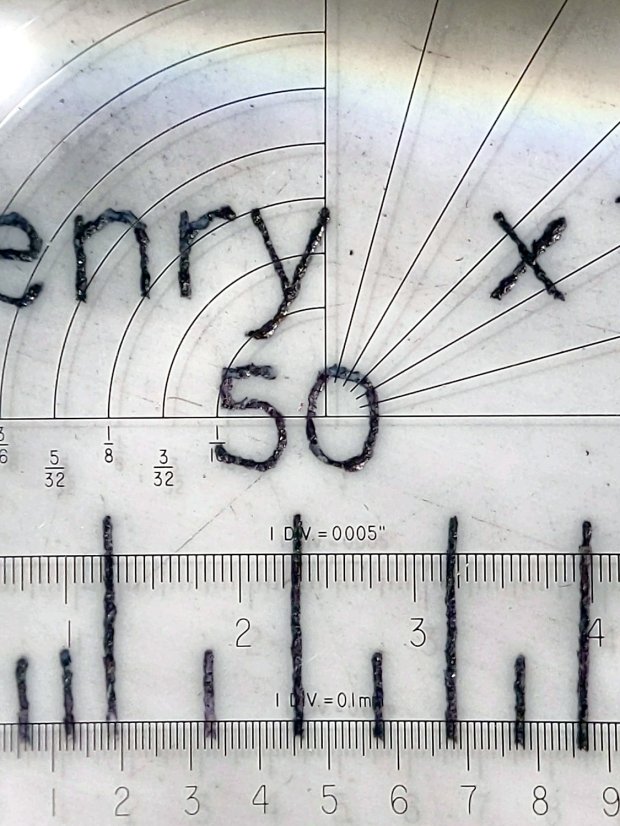
    A dirt speck under the plastic sheet can still obliterate the markings, though:

    Diamond on styrene C - scraped red-black Sharpie - first clearing
    Diamond on styrene C – scraped red-black Sharpie – first clearing

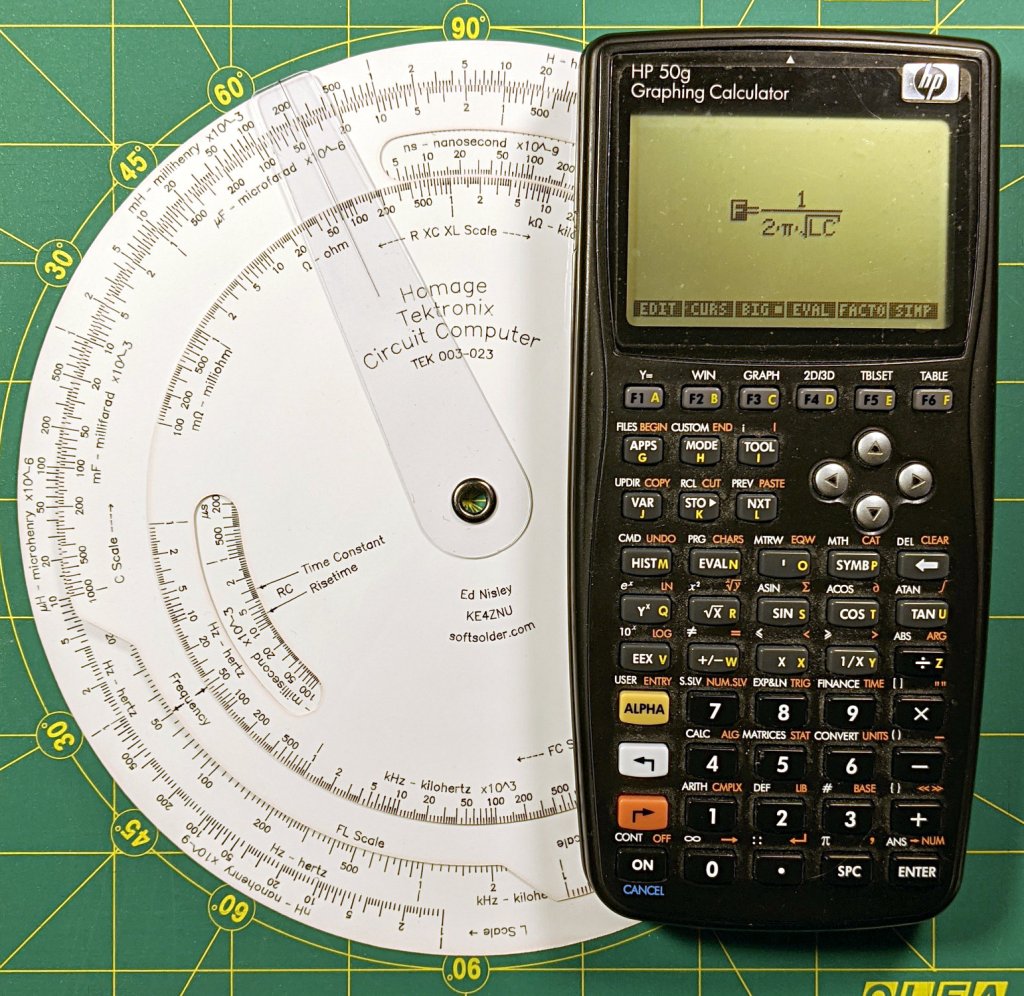
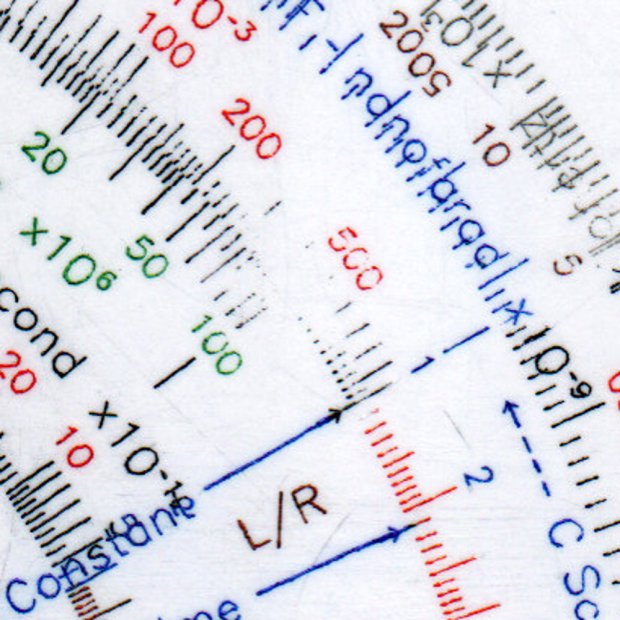
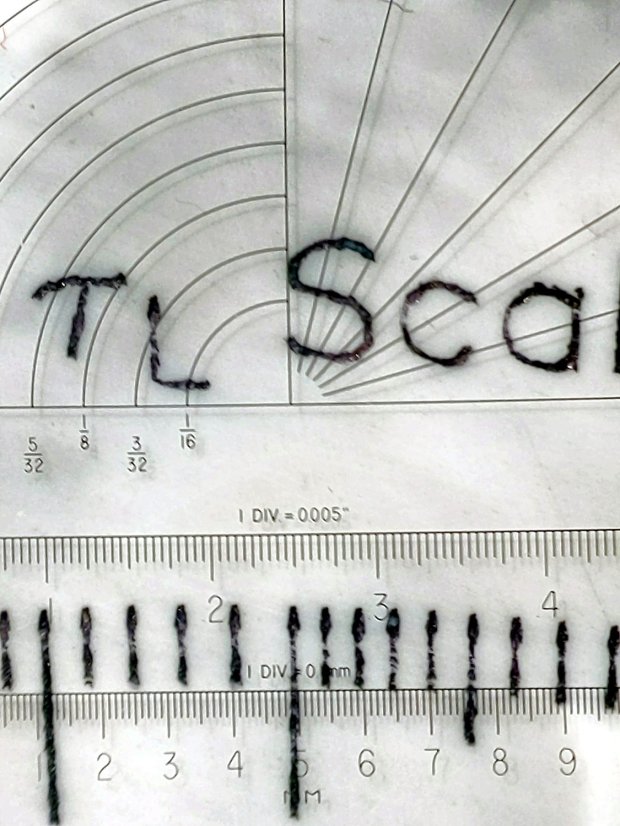
    Overall, the results look just like a real slipstick:

    Diamond on styrene C - scraped red-black Sharpie - 225 300 g scale detail
    Diamond on styrene C – scraped red-black Sharpie – 225 300 g scale detail

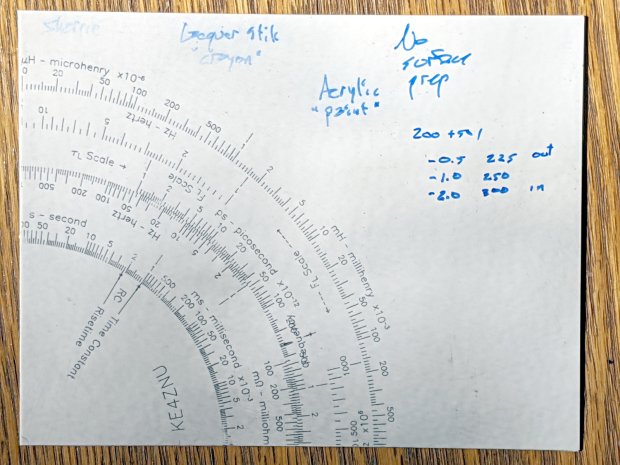
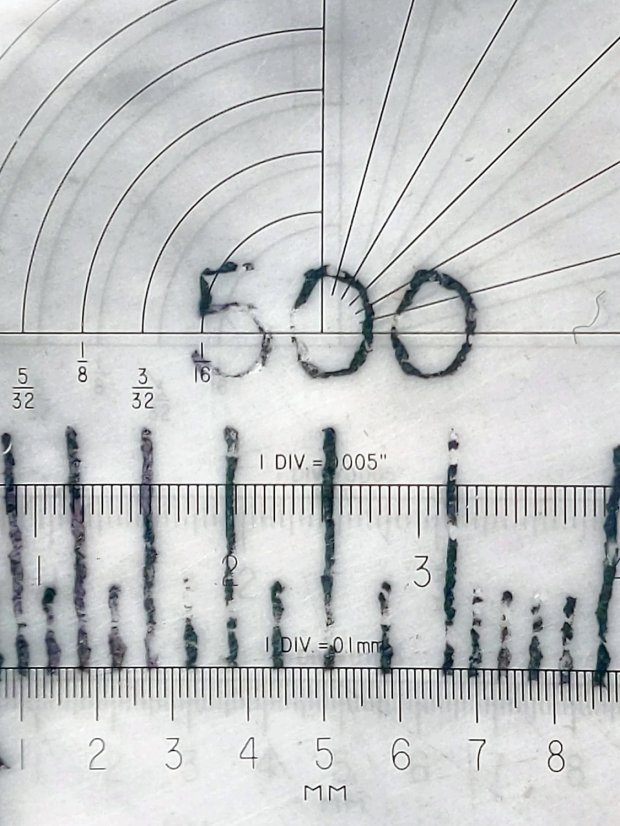
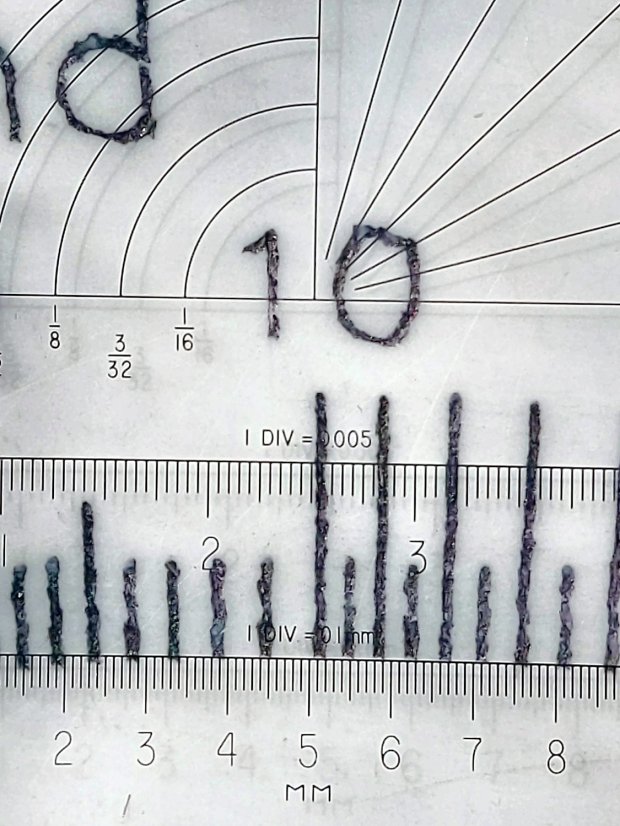
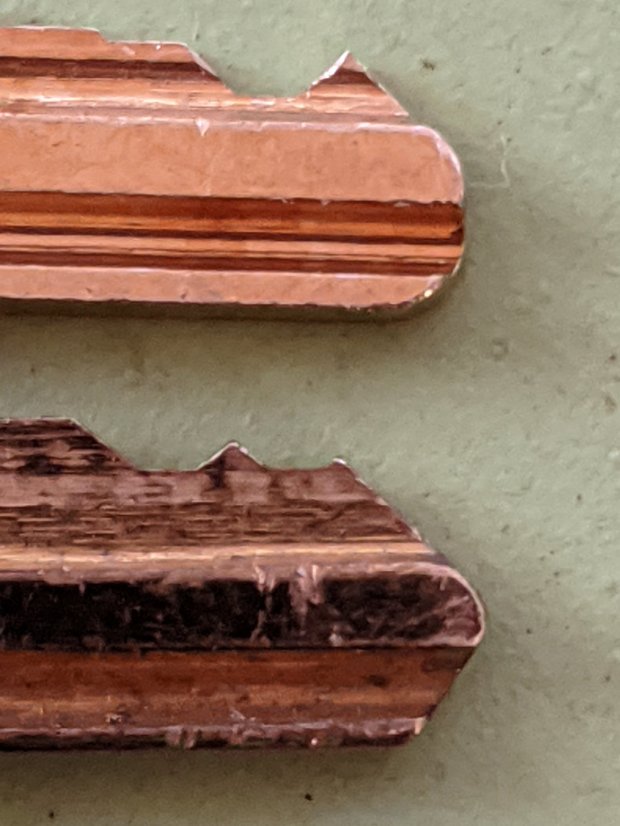
    The upper scale was engraved at 225 g downforce, the lower at 300 g, with corresponding differences in width & depth.

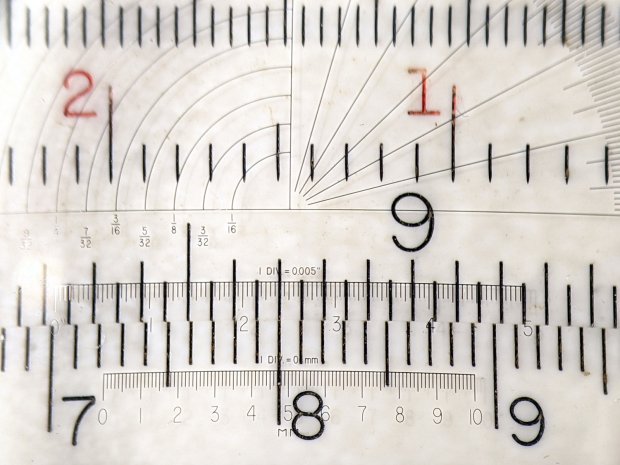
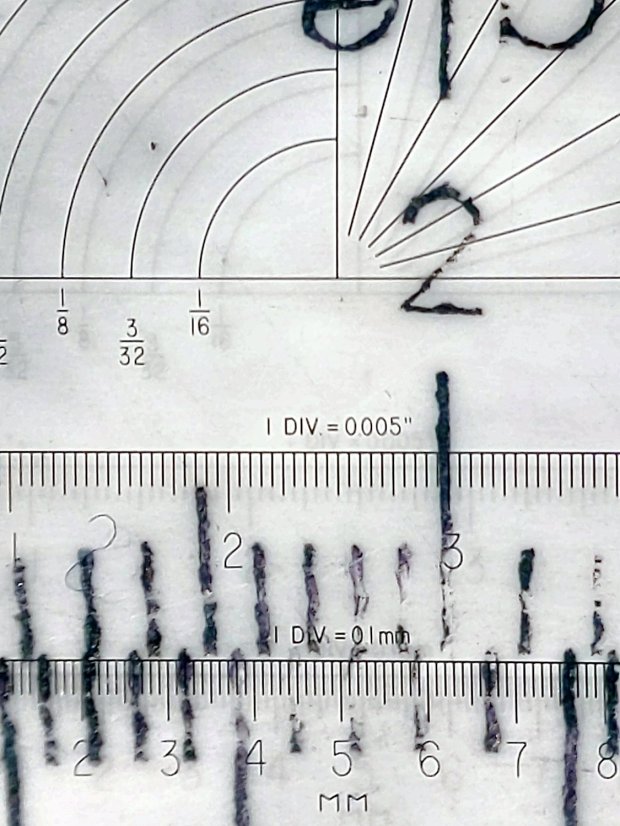
    Seen at higher magnification with omnidirectional light through the microscope, the tick marks have more detail:

    Diamond on styrene C - scraped red-black Sharpie - 225 300 g line detail
    Diamond on styrene C – scraped red-black Sharpie – 225 300 g line detail

    The upper ticks are 0.1 mm wide and the lower ticks a scant 0.2 mm wide. Both ticks on the sanded Sharpie sample were close to 0.1 mm, which suggests:

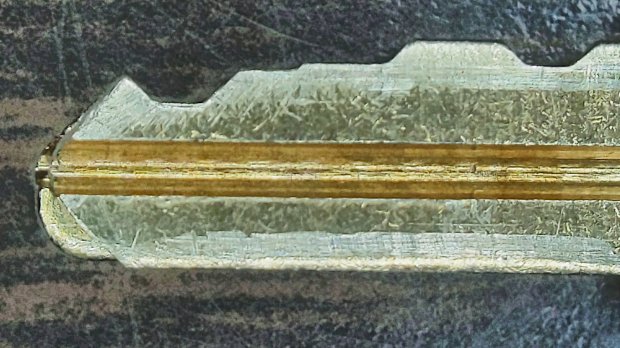
    • Scraping removes less plastic
    • The grooves have a flat-ish bottom and side walls roughly matching the slightly worn 60° diamond tool

    Sharpie ink is, of course, soluble in alcohol:

    Diamond on styrene C - scraped red-black Sharpie - alcohol wipe
    Diamond on styrene C – scraped red-black Sharpie – alcohol wipe

    That’s not unexpected, as I’ve been removing Sharpie with alcohol forever, but it’s worth keeping in mind. I don’t know if spraying a clear topcoat (Krylon FTW!) would provide good sealing with enough wear resistance.

  • Natural Enemies

    Natural Enemies

    I couldn’t resist setting this up for my next Digital Machinist column on logarithmic scales:

    Homage Tektronix Circuit Computer with HP 50g calculator
    Homage Tektronix Circuit Computer with HP 50g calculator

    The caption will read “Photo 1: A replica Tektronix Circuit Computer shown with its natural enemy, an HP 50g Graphing Calculator.”

    It’s my desk calculator. In the Basement Laboratory, I use the HP 48 calculator app, with a couple of $10 Sharp calculators in harm’s way.

  • Losing the Battery Bag

    Losing the Battery Bag

    Because the cheap batteries I use in the Sony HDR-AS30V camera provide just slightly less runtime than our longest usual ride after a year of use, I carry a spare battery in a small red felt bag. The bag also holds a USB card reader helping to make the MicroSD card somewhat less lose-able on its trips betwixt bike & desk.

    Here I am, swapping batteries in Adam’s Fairacre parking lot before starting the trip home:

    Losing the Red Bag - setup - 2019-02-25
    Losing the Red Bag – setup – 2019-02-25

    You can see it coming, right?

    Eight minutes later, we’re turning onto the Dutchess County Rail Trail:

    Losing the Battery Bag - flight - 2019-02-25
    Losing the Battery Bag – flight – 2019-02-25

    And then it’s gone:

    Losing the Battery Bag - gone - 2019-02-25
    Losing the Battery Bag – gone – 2019-02-25

    Mary drove past there on her way to a distant meeting, but the little red bag was not to be found anywhere. Maybe it’ll reappear on a fence post or taped to the bulletin board; I’ve tried to return things I’ve found that way.

    I expect somebody got a nice present and, if naught else, it’s good to drop happiness into the world.

    There’s another reader and a quartet of batteries on their way.

  • Diamond-Drag Styrene Engraving: Sanded Sharpie Colors

    Diamond-Drag Styrene Engraving: Sanded Sharpie Colors

    Attacking another quadrant of the engraving testpiece with All The Sharpies produced a cheerful mess:

    Diamond on styrene B - Sharpie colors
    Diamond on styrene B – Sharpie colors

    The “300 g” notation is wrong: the innermost scale is on the middle deck, which I engraved with 250 g of downforce, and reads through a window on the top deck. The next scale outward, the inner half of the green block on the left, would be on the upper deck at 300 g, just beyond the innermost scale.

    I removed the excess marker with a 320 (-ish) grit abrasive sanding block, producing a remarkable amount of gray dust in the process:

    Diamond on styrene B - sanded
    Diamond on styrene B – sanded

    The general idea was to find out what the colors looked like when confined to narrow engraved slots:

    Engraving Testpiece B - Sharpie colors - 2x600 dpi
    Engraving Testpiece B – Sharpie colors – 2×600 dpi

    It’s enlarged a factor of two from the 600 dpi scanned image by the simple expedient of changing it to 300 dpi, then assuming all the downstream image handling will Do The Right Thing, which could happen.

    I sanded it before fully appreciating how even the smallest particle of crud under the styrene sheet ruins the result:

    Engraving Testpiece B - debris oversanding
    Engraving Testpiece B – debris oversanding

    In this section, the scale with green numbers and black ticks was engraved at 300 g and is slightly less abraded than the adjacent scale at 225 g. Guesstimating the depth at 0.13 mm, 0.15 mm at most, the sanding block doesn’t remove much plastic at all … just enough to remove the scales.

    The lines are all about 0.1 mm wide and, to the naked eyeball, look about the same as the lines on my K&E Deci-Lon slipstick:, done on a real production line with an actual engraving tool and somebody who knew what he (I’m sure) was doing:

    KE Deci-Lon Slide Rule - scale detail
    KE Deci-Lon Slide Rule – scale detail

    The red CI scale reads right-to-left and, under magnification, you can see where the red ink made its way into the adjacent tick marks. I doubt they were using a pen, but it might be a mechanized roller or dauber.

    All in all, sanding works, but it’s messy and poorly controlled.

  • Diamond-Drag Styrene Engraving: Line Width

    Engraving all the Tek Circuit Computer scales on a single sheet of styrene plastic with a diamond drag tool produced a test piece with plenty of lines and characters:

    Diamond on styrene - engraving test - in action
    Diamond on styrene – engraving test – in action

    I covered one quarter with good old black Sharpie, a lacquer crayon, and well-aged black acrylic wall paint:

    Diamond on styrene - engraving test - raw color fill
    Diamond on styrene – engraving test – raw color fill

    Applying a sanding block removed the rubble + scribbles and brought the surface down to the engraved patterns:

    Diamond on styrene - engraving test - 225 250 300g 2400mm-min
    Diamond on styrene – engraving test – 225 250 300g 2400mm-min

    The lacquer crayon doesn’t seem to adhere well to styrene:

    Diamond on styrene - 225 250 g 2400mm-min - lacquer crayon
    Diamond on styrene – 225 250 g 2400mm-min – lacquer crayon

    A closer look shows I probably sanded off too much of the surface, perhaps above some grit below the sheet, because those lines almost vanish:

    Diamond on styrene - 225 250 g 2400mm-min - lacquer crayon
    Diamond on styrene – 225 250 g 2400mm-min – lacquer crayon

    The crayon may adhere better to deeper lines. These are obviously too shallow and the pigment seems to come off in chunks:

    Diamond on styrene - 300g 2400mm-min - lacquer crayon
    Diamond on styrene – 300g 2400mm-min – lacquer crayon

    The acrylic trim paint filled its patterns, despite having turned into a gummy mass during decades on the shelf:

    Diamond on styrene - 225g 2400mm-min - acrylic paint
    Diamond on styrene – 225g 2400mm-min – acrylic paint

    The Sharpie ink, being basically a thin liquid, completely filled its patterns and (apparently) soaked into the rough side walls. The lines seem to be 0.1 mm wide at 225 g downforce:

    Diamond on styrene - 225g 2400mm-min - Sharpie
    Diamond on styrene – 225g 2400mm-min – Sharpie

    They’re less uniform at 250 g:

    Diamond on styrene - 250g 2400mm-min - Sharpie
    Diamond on styrene – 250g 2400mm-min – Sharpie

    A 300 g downforce produces (somewhat) more uniform 0.15 mm wide lines and slightly distorted characters:

    Diamond on styrene - 300g 2400mm-min - Sharpie
    Diamond on styrene – 300g 2400mm-min – Sharpie

    I have no way to measure the actual engraving depth. If the 60° diamond tool had a perfect point, which it definitely doesn’t, then a 0.15 mm wide trench would be 0.13 mm deep. I’ve obviously sanded off some of the surface, so those lines could be, at most, 0.1 mm deep.

    All in all, the engraving came out better than I expected!

  • CVS BP3MV1 Blood Pressure Monitor: Laying on of Hands Fix

    Our CVS blood pressure meter (a relabeled Microlife unit) ran its pump for a few seconds this morning, gave up, and spat out Err 3, which translates into “Inflation of the cuff takes too long”. Not surprising, as the motor wasn’t running.

    The AA alkaline cell quartet has plenty of mojo and no corrosion, but the motor doesn’t even turn over. The display is fine and the pressure release valve clicks, so it’s not completely dead.

    This unit is sufficiently old to have the compelling advantage of transferring data through a USB (mini-B) connection, rather than a Bluetooth link through some sketchy Internet cloudy Android app, so it’s worth at least a look inside. Four screws and some internal snaps along the sides hold the case together; it’s a surprisingly easy teardown.

    The business side of the PCB looks good:

    CVS Blood Pressure Monitor - PCB
    CVS Blood Pressure Monitor – PCB

    The various wires and solder joints for the “high current” parts look OK, although the wires likely don’t go all the way through the PCB:

    CVS Blood Pressure Monitor - PCB detail
    CVS Blood Pressure Monitor – PCB detail

    Q4 and Q5 look like they switch the compressor pump motor and pressure-release valve. D3 and D4 should tamp down the inductive energy, but they look like they’re in series with the outputs. Yes, the Valve wires are both black.

    The motor has a foam vibration isolation wrap, which is a nice touch. Although you can’t see them well, all its wires & solder joints look like they’re in good shape:

    CVS Blood Pressure Monitor - pump
    CVS Blood Pressure Monitor – pump

    The hose sticking out toward you plugs into the black right-angle fitting in the lower right corner of the picture. It’d help to have smaller fingers than mine, but I managed to get the hose off and on the fitting with only minor muttering.

    Seeing nothing obviously wrong, I installed the same batteries, poked the switch to start a measurement, and the motor ran fine. Of course, the measurement failed because the cuff & pressure sensor weren’t connected.

    Connect the hose, plug in the cuff & wrap it around my arm, poke the button, and everything works fine.

    Reassemble everything and it still works fine.

    I still think there’s a bad wire or solder joint in there somewhere, so this delightful “repair” can’t possibly last very long …

  • HON Lateral File Cabinets: Rekeying

    You’d hope the original owner would tape a key inside each file cabinet before donating it to charity; ours arrived unlocked and without keys. Fortunately, eBay sellers have All The Keys and I ordered replacement keys for each cabinet.

    One pair of new keys fit into their lock, but the shoulder didn’t seat properly and the key didn’t turn:

    HON Lateral File - 125E key insertion
    HON Lateral File – 125E key insertion

    Compared with a key for the other cabinet (on the bottom), it seems the tip profile wasn’t quite the same:

    HON Lateral File - 125E key tip
    HON Lateral File – 125E key tip

    Perhaps the underside of the tip hadn’t been cut? Stacking the two keys makes it even more obvious:

    Key 125E tip shaping - vs Key 101E
    Key 125E tip shaping – vs Key 101E

    The eBay seller suggested the lock cores have changed over the years, as other (unaltered) keys fit current cabinet locks. Perhaps HON used fussy high-quality lock cores back in 2004 when they built these cabinets.

    I gingerly filed the 125E key’s tip to match the 101E key and, after several iterations, the shoulder seated firmly in the lock and the core turned smoothly. Flushed with success, I marked the other key of the pair, filed to the mark, and it worked on the first try.

    Mary doesn’t plan to store any secret fabrics in her new cabinets, but now I can declare victory and move on.