The auto-rewind spindles for spools inside the PolyDryer boxes use spiral springs harvested from retracting belt-clip badge holders to inhale filament as the MMU3 unloads the extruder:
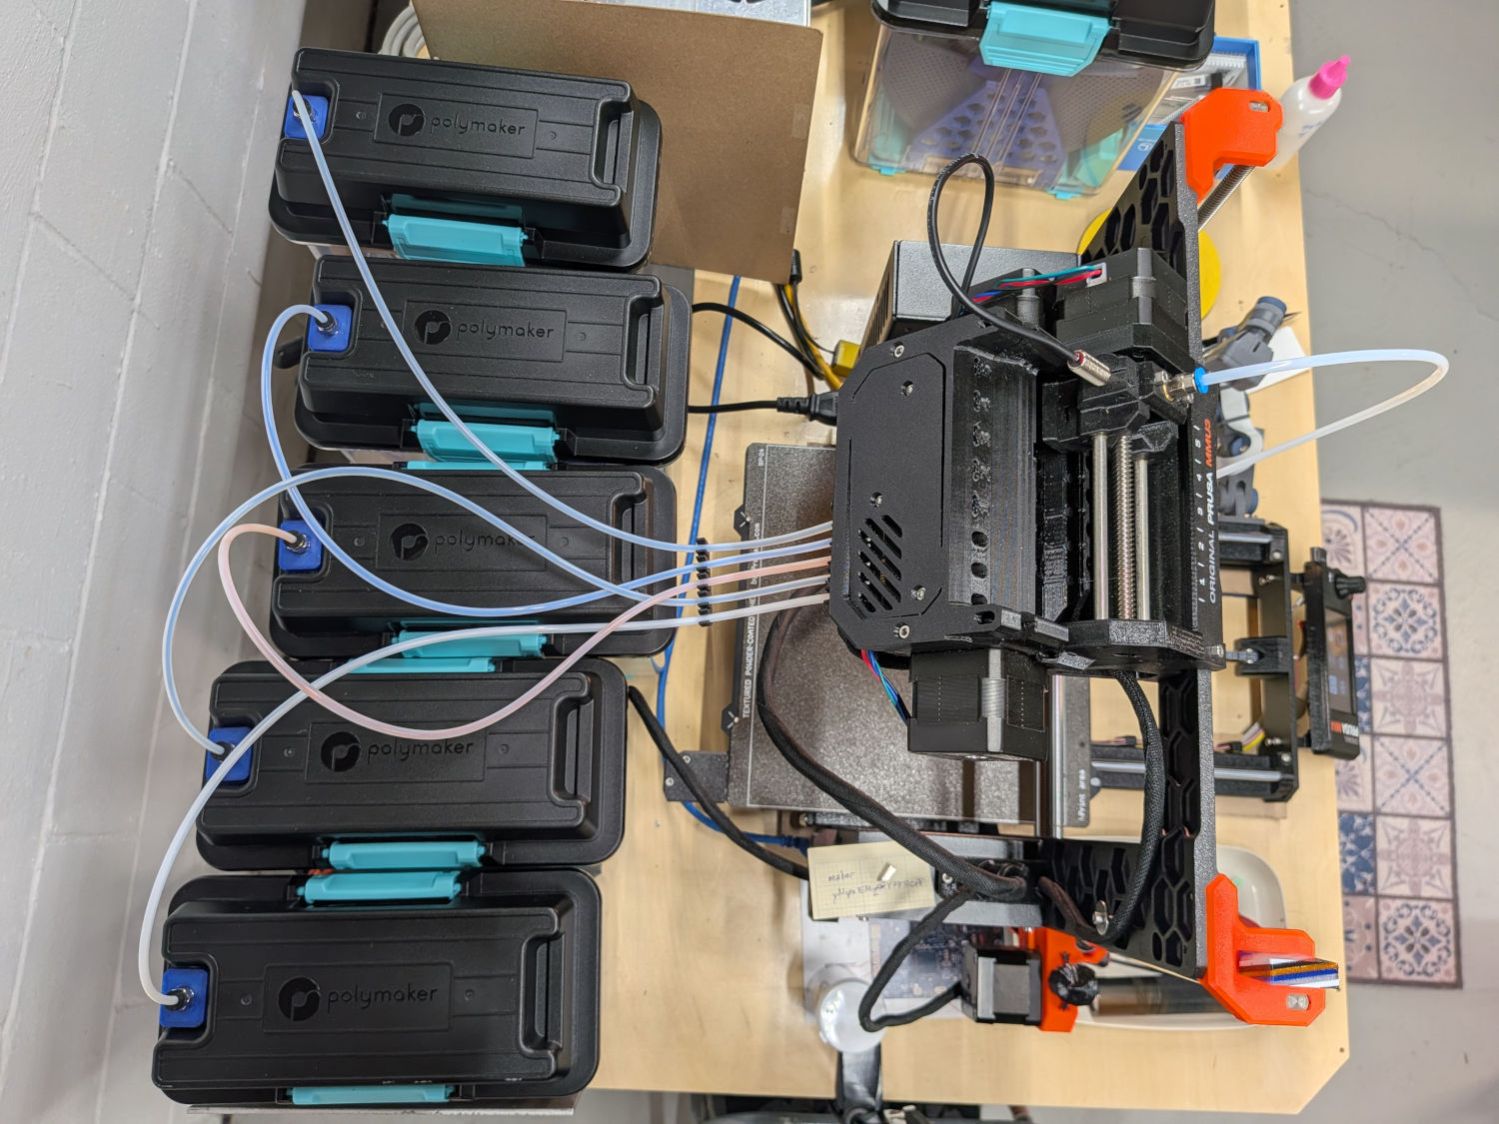
While this generally works well, the spindles sometimes continue pulling the filament after the MMU3 rotates the idler bearing away from its drive gear. If the spindle pulls the filament out of the small tube intended to guide it into the selector, it will likely almost certainly jam the next time it’s used.
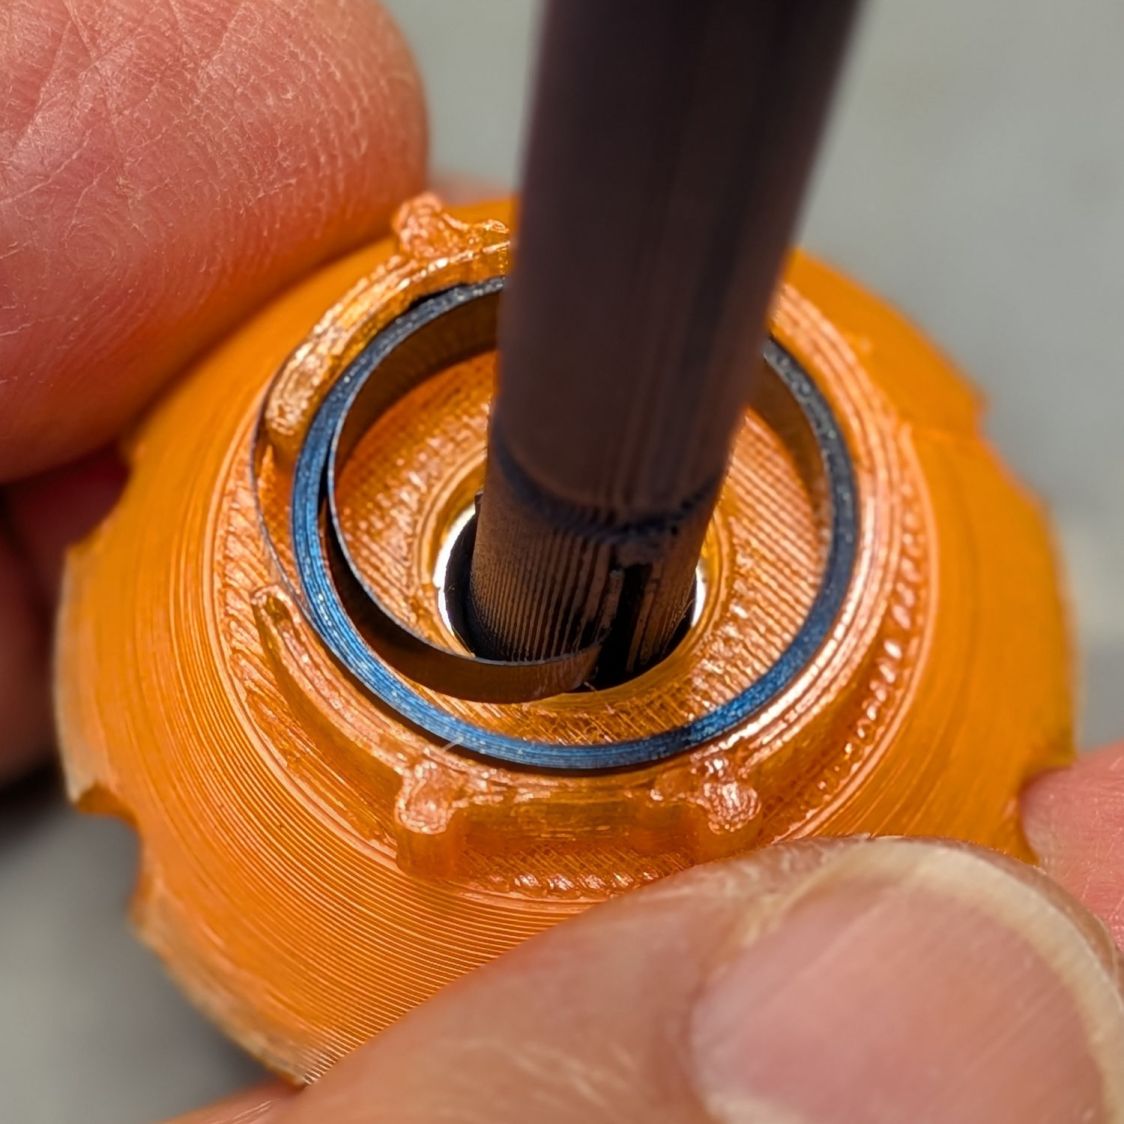
The spindle spring lives inside the endcap,where it looks like this in its relaxed state:
As the spool rotates (clockwise in this view) it winds the spring on the axle:
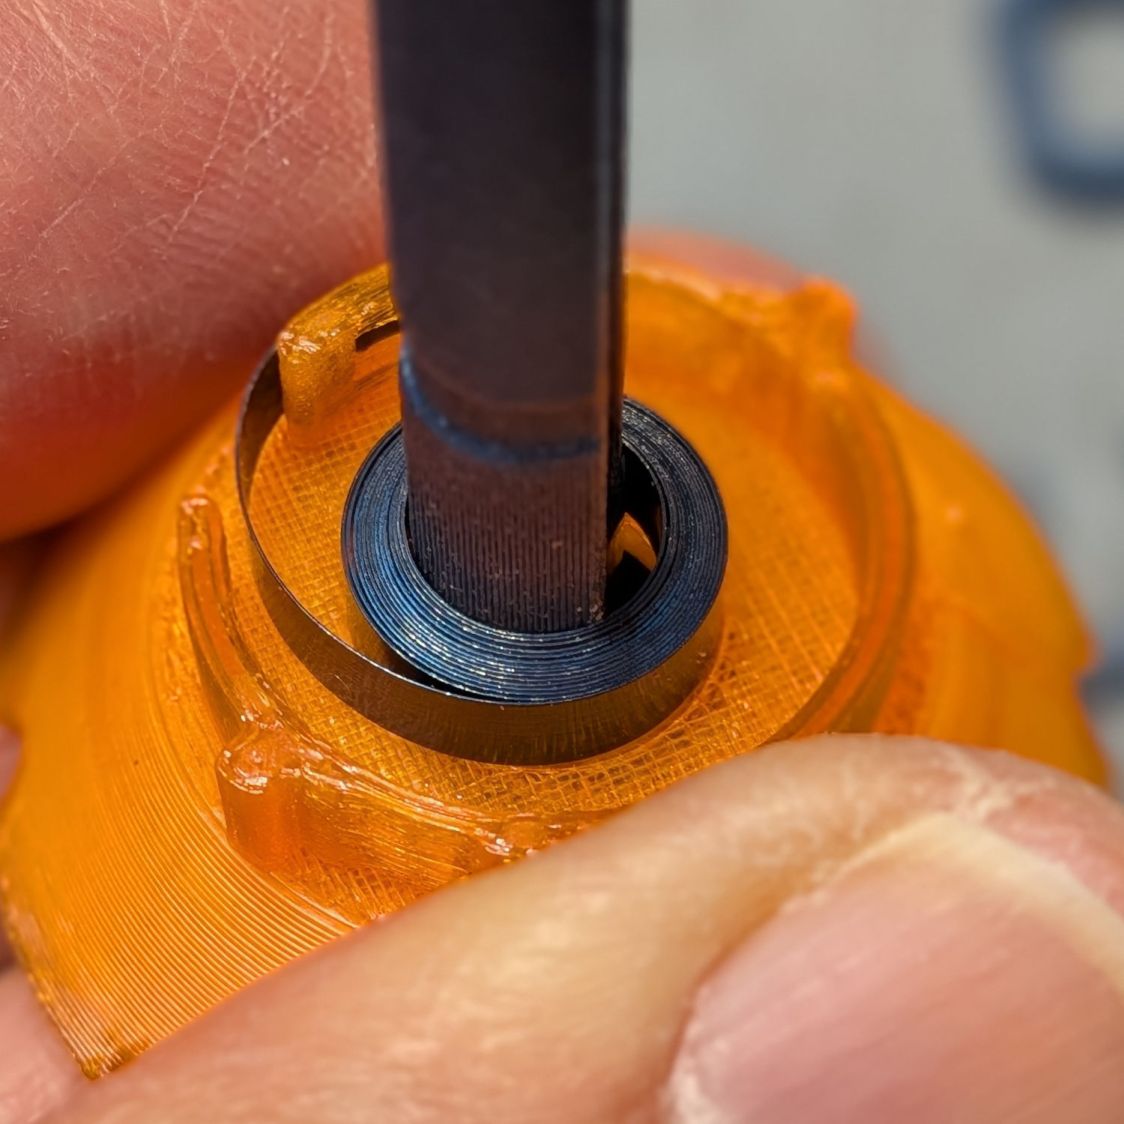
At some point while the spring tightens, the serrated wheels on the ends of the axle begin turning in the side supports, producing distinctive klunks which some folks find annoying and I find reassuring.
The length of filament pulled back onto the spool from the MMU3 depends on:
- How much filament remains on the spool core
- How much friction the various tubes / fittings / passages apply to the filament
- How much torque the spring applies to the spool
- Imponderables of spring length / shape / temper / etc
The filament wrapped on the core can have a diameter from (about) 80 to 180 mm and a circumference between 250 and 560 mm. The spring torque depends on how much filament has been pulled from the spool, up until the serrated wheels begin slipping, which depends on the spool weight.
The PTFE tube between the MMU3 selector and the MK4 extruder, plus a little on either end, is 500 mm long, so the spool must rotate once or twice to hold it. The MMU3 is entirely capable of shoving filament into the PolyDryer box without having the spool rotate, although you really don’t want to loose filament accumulating in there, lest a loop fall off the side of the spool and snag while being pulled out again, so two rotations seems like a reasonable number.
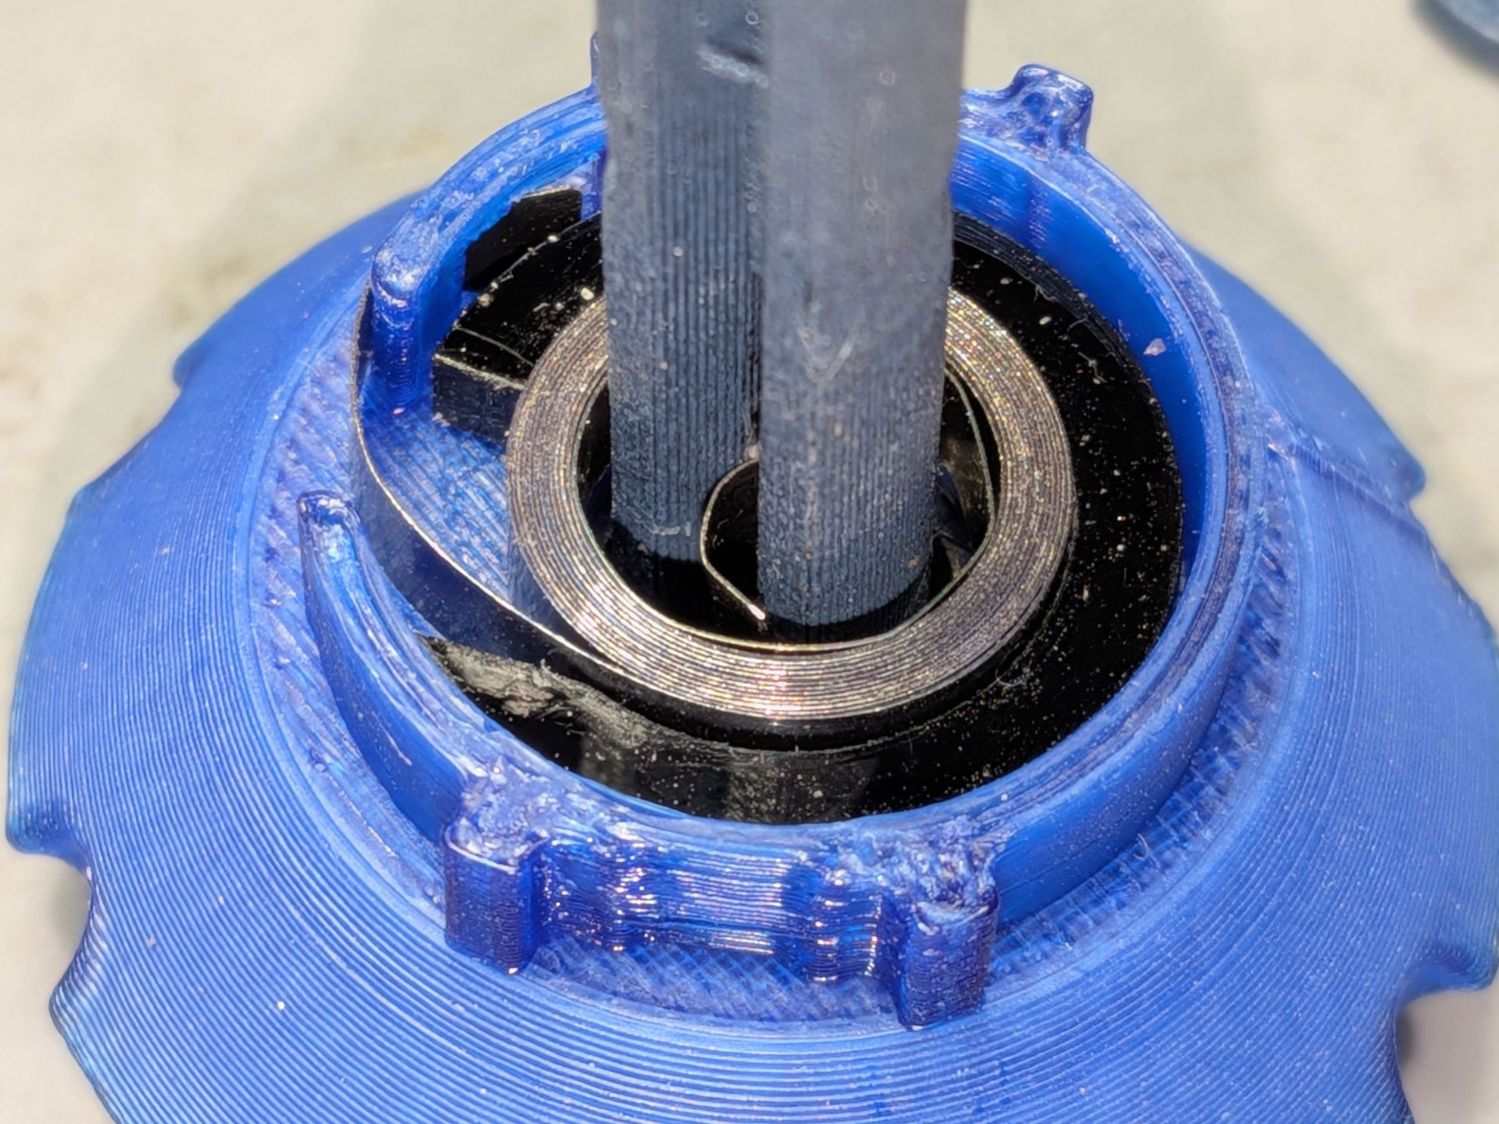
Restricting the number of turns consists of filling up the empty space where the spring coils up inside the endcap:
The fillers are laser-cut from 3 mm black acrylic:
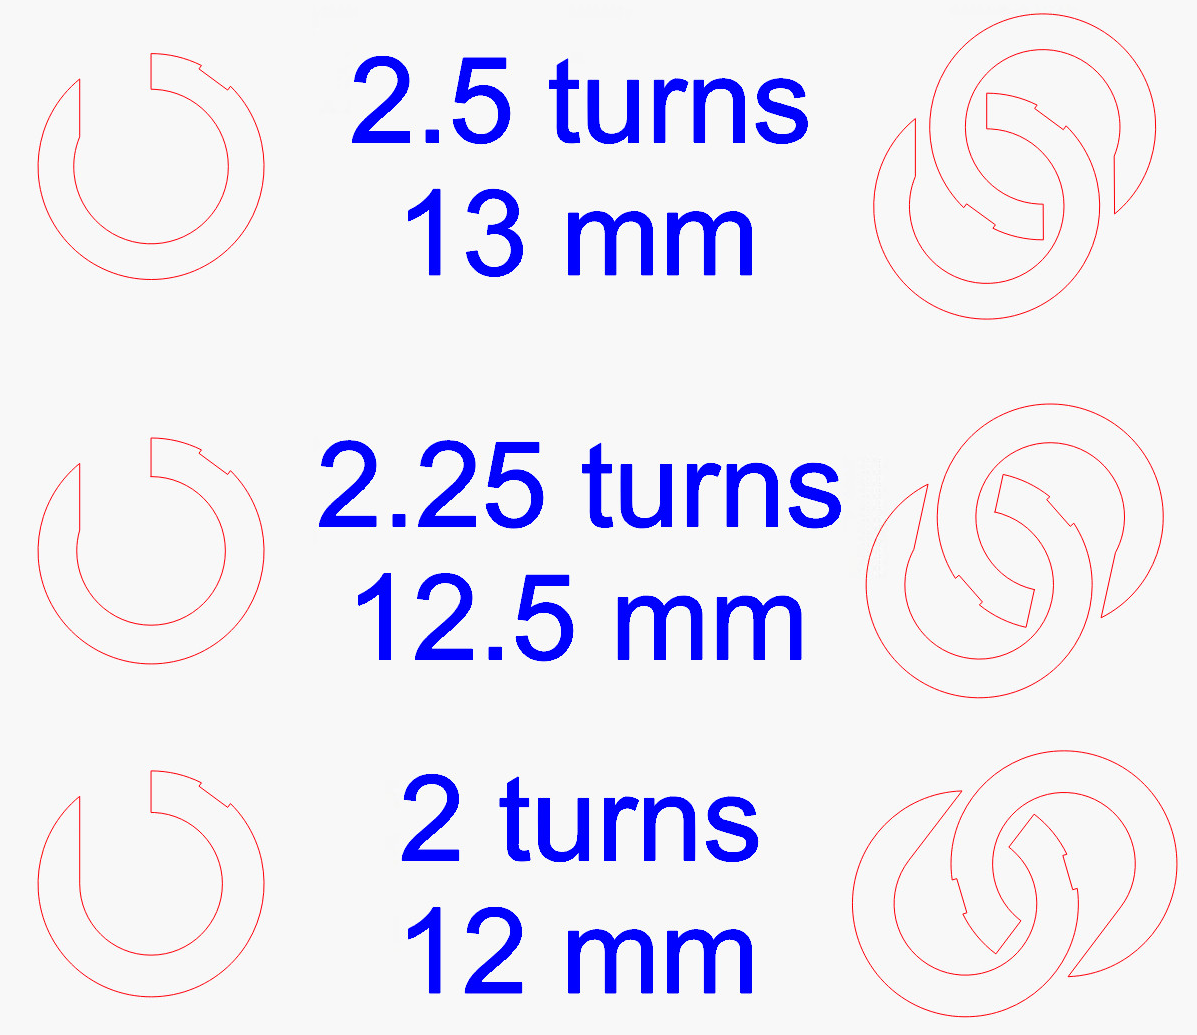
The number of turns is aspirational and the size is the filler’s inside diameter. The shallow notch accommodates the tab on the spring holding it in the opening.
Start by installing the spring and maneuvering the filler in place:
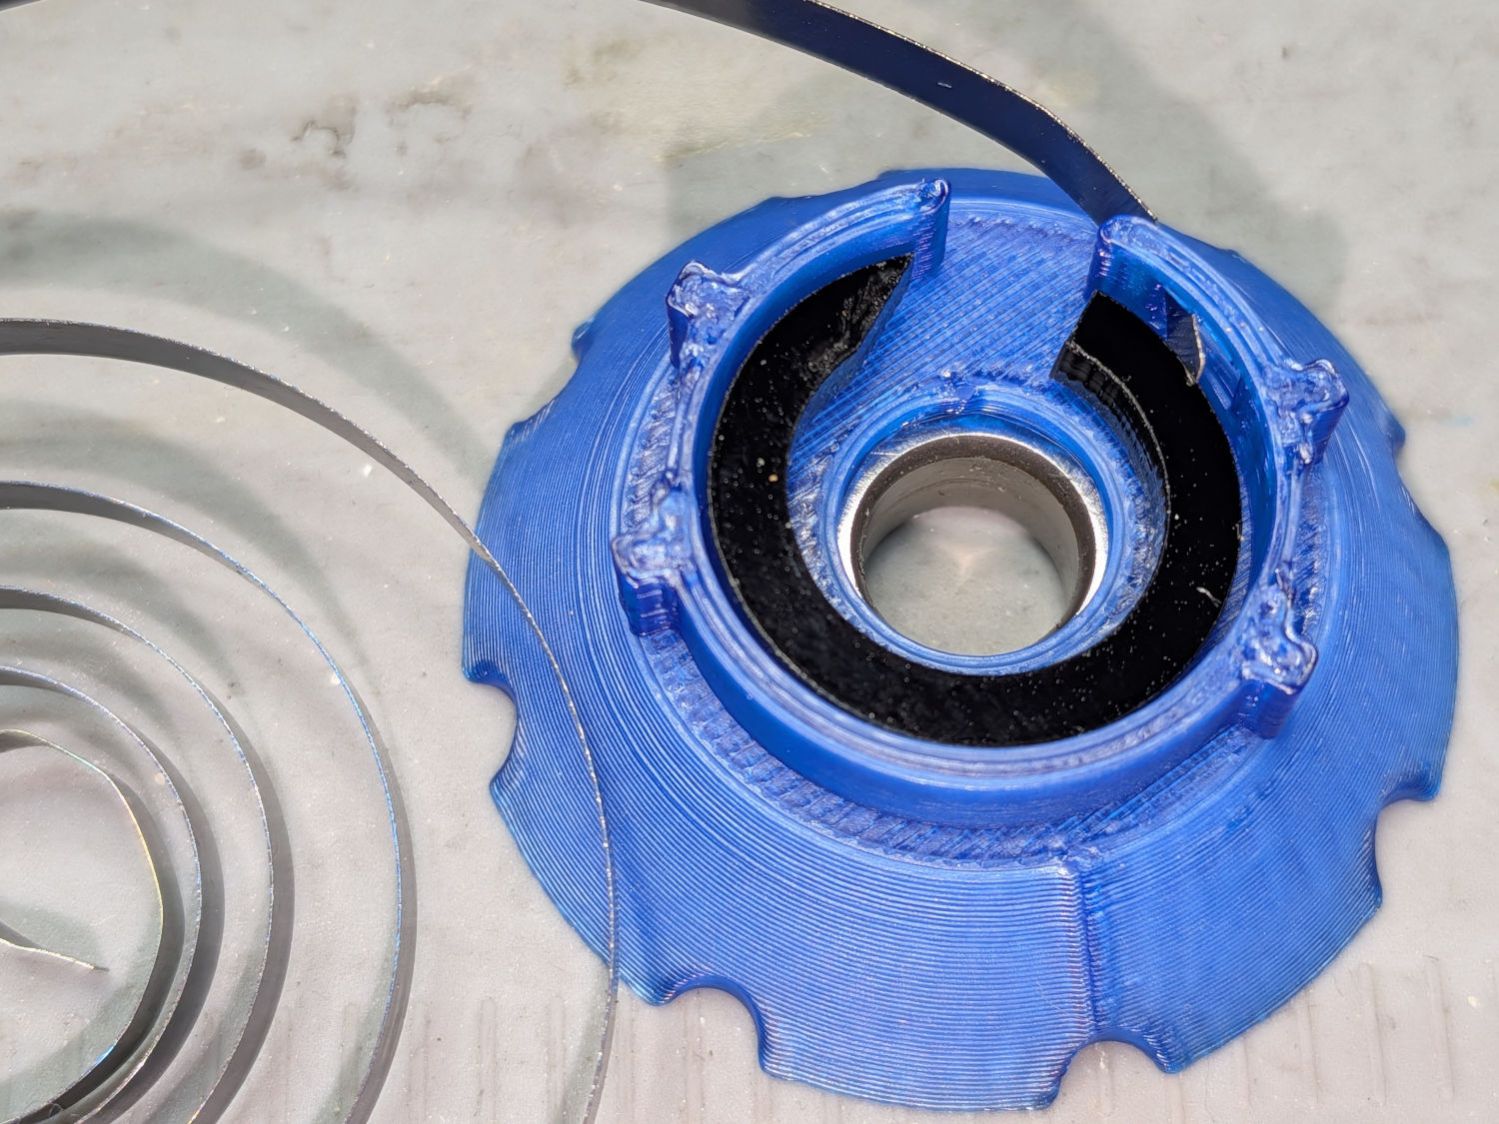
The alert reader will notice the lack of a notch in that filler, the need for which became glaringly obvious after I’d done a few.
Insert the shaft and maneuver the other end of the spring into its slot:
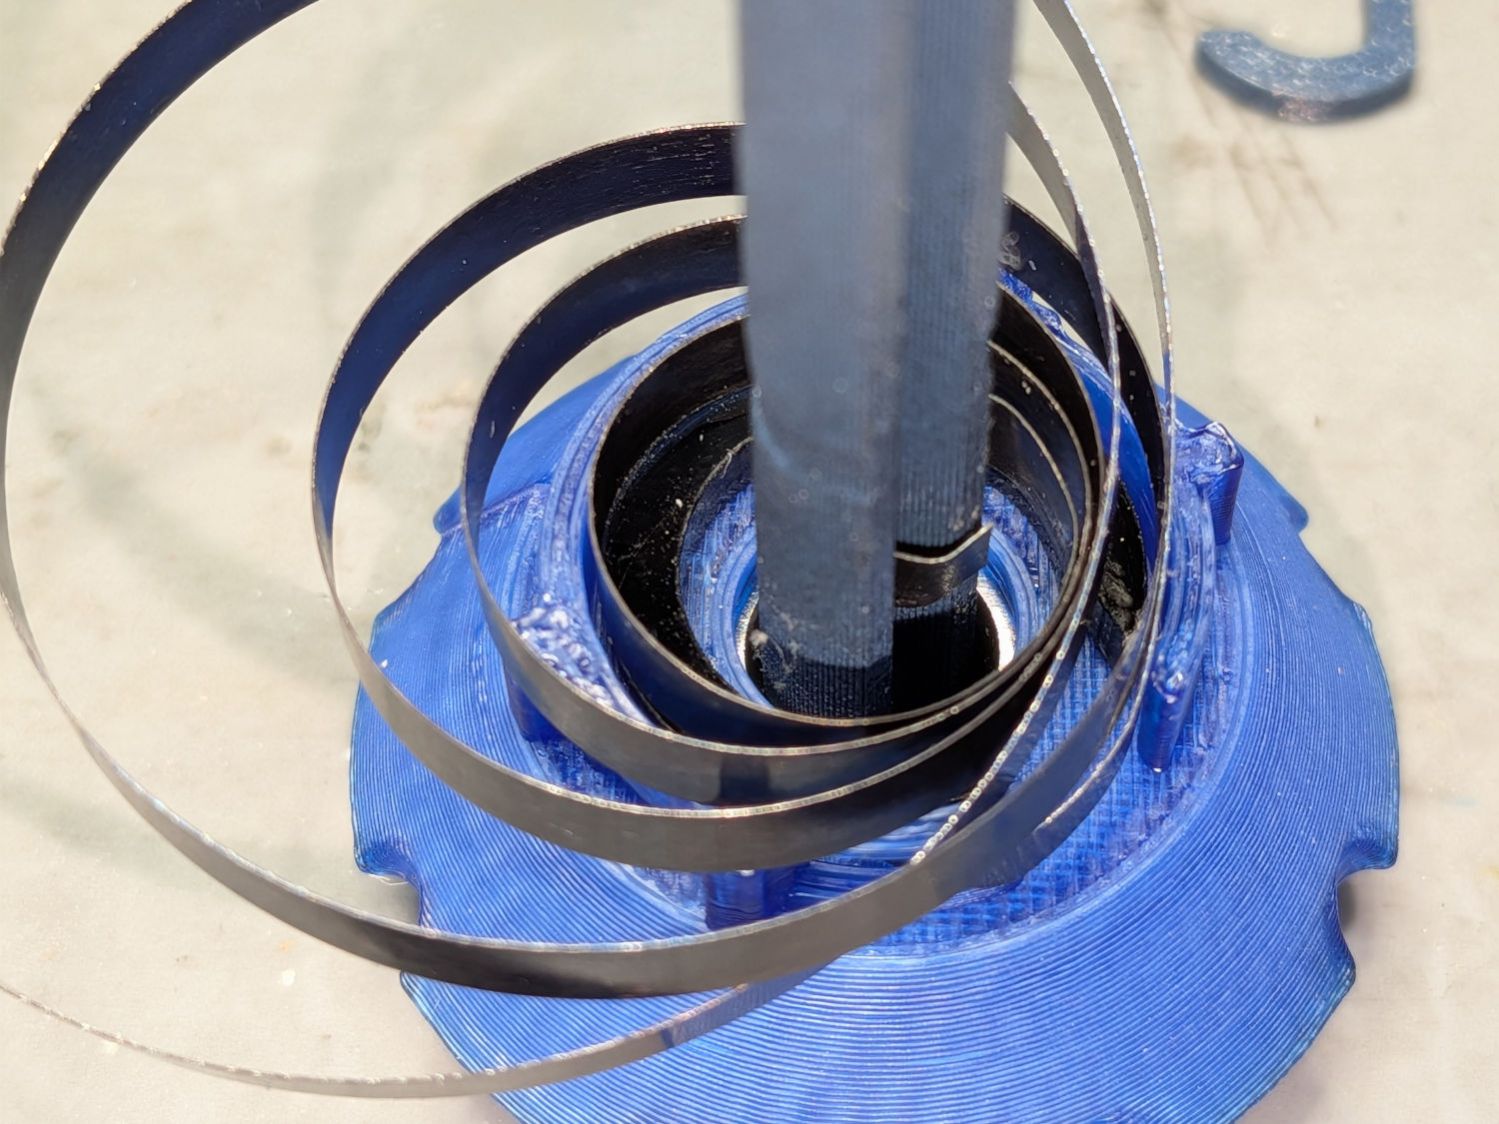
Wind the shaft while pressing the spring into place, as shown above, then slide the bearing holder over the endcap:
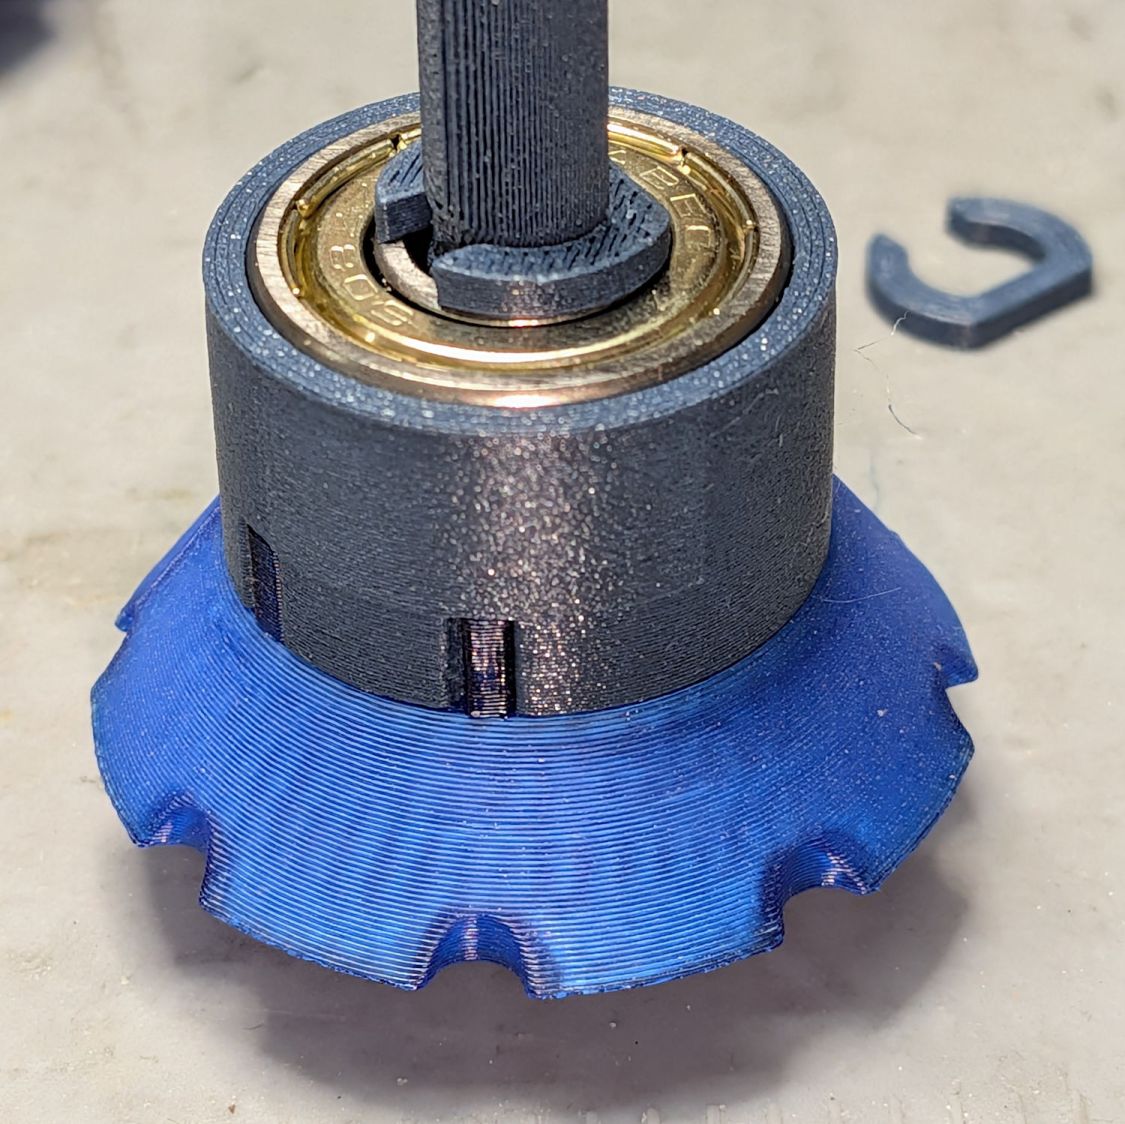
Reassemble the spindle, install in a spool, repeat for other boxes, insert the filaments into the MMU3, run a few test prints to verify the reduced spring power, and iterate until you’re happy.
The LightBurn layout in an SVG file as a GitHub Gist:


Spam comments get trashed, so don’t bother; you’re not as clever as you think. Comment moderation may cause a delay.