One of the living room window latches stopped working and, although the correct response would be to simply replace it, the window sash already had six holes surrounded by paint scars suggesting this wasn’t the first failure.
The latch as built:
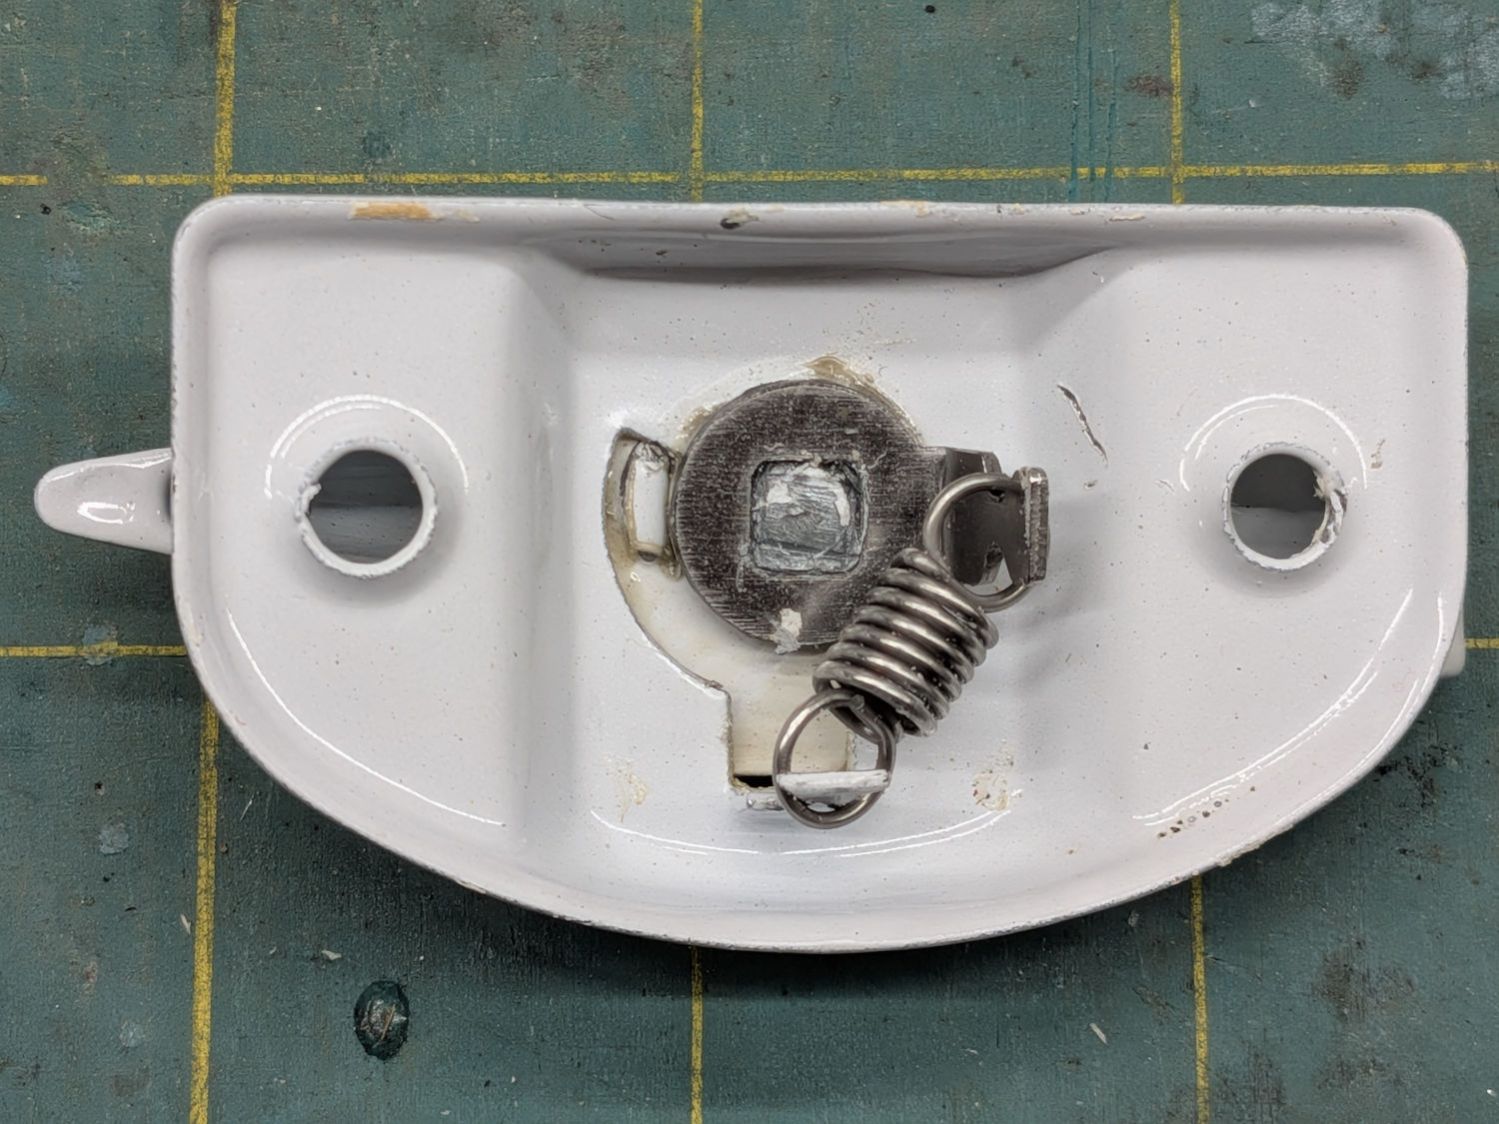
The stamped steel spring holder was loose on the handle arm’s square pot-metal post, due to obviously poor factory swaging during assembly. Unseen below the plate is a cam molded into the handle intended to slide the white latch plate with the stamped post (over on the left) guiding the plate around the curved track and into the recess.
I don’t have a “before” picture of the cam, but it had completely worn away against the various steel parts. The task boiled down to replacing it with something more durable, which turned out to be a reshaped M3 brass screw:
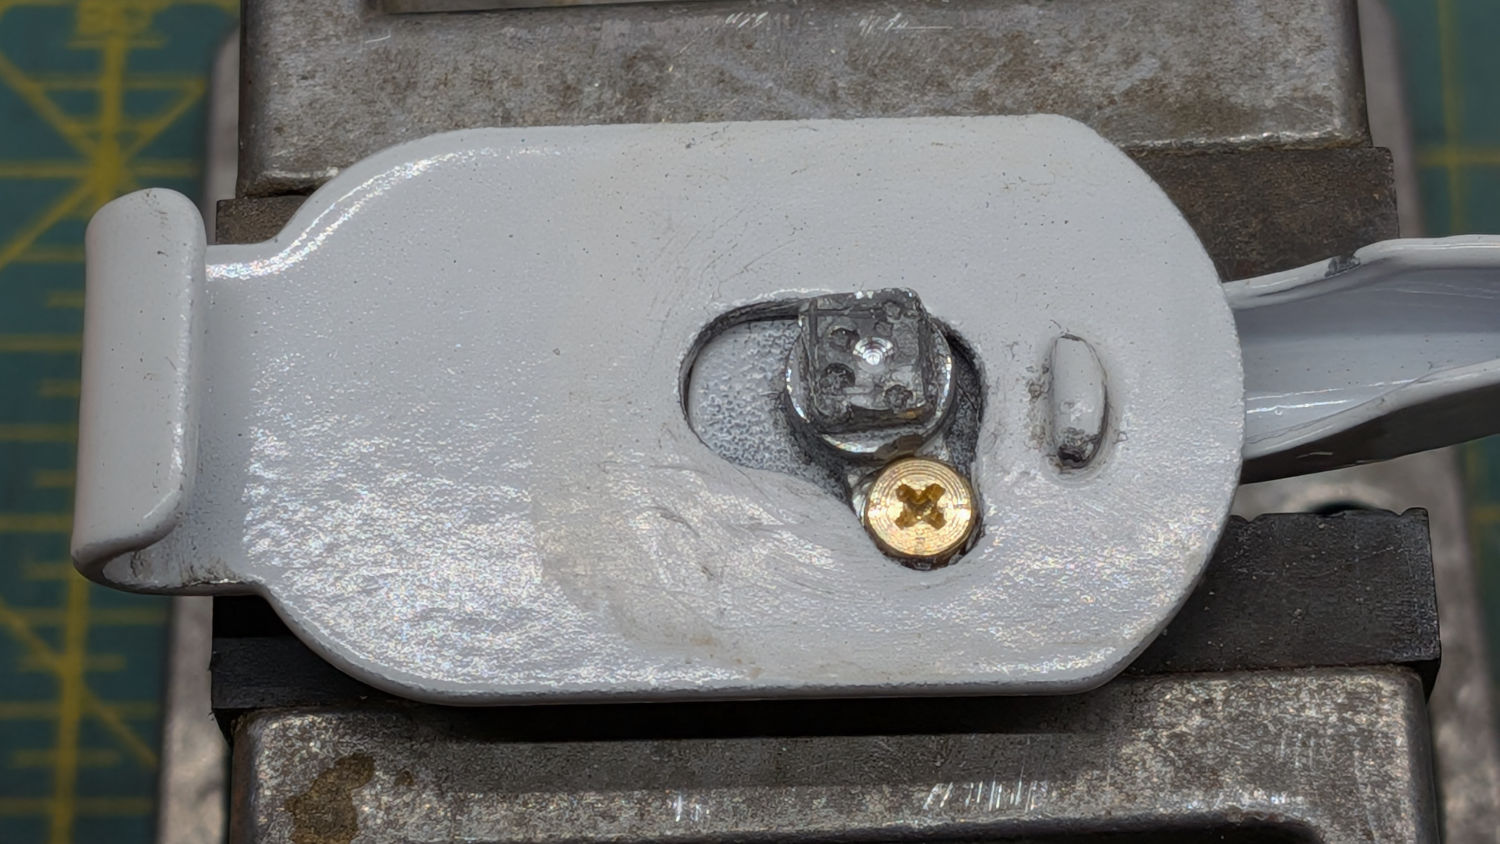
The Sherline setup to remove the worn cam, with the screw in place for a test fit:
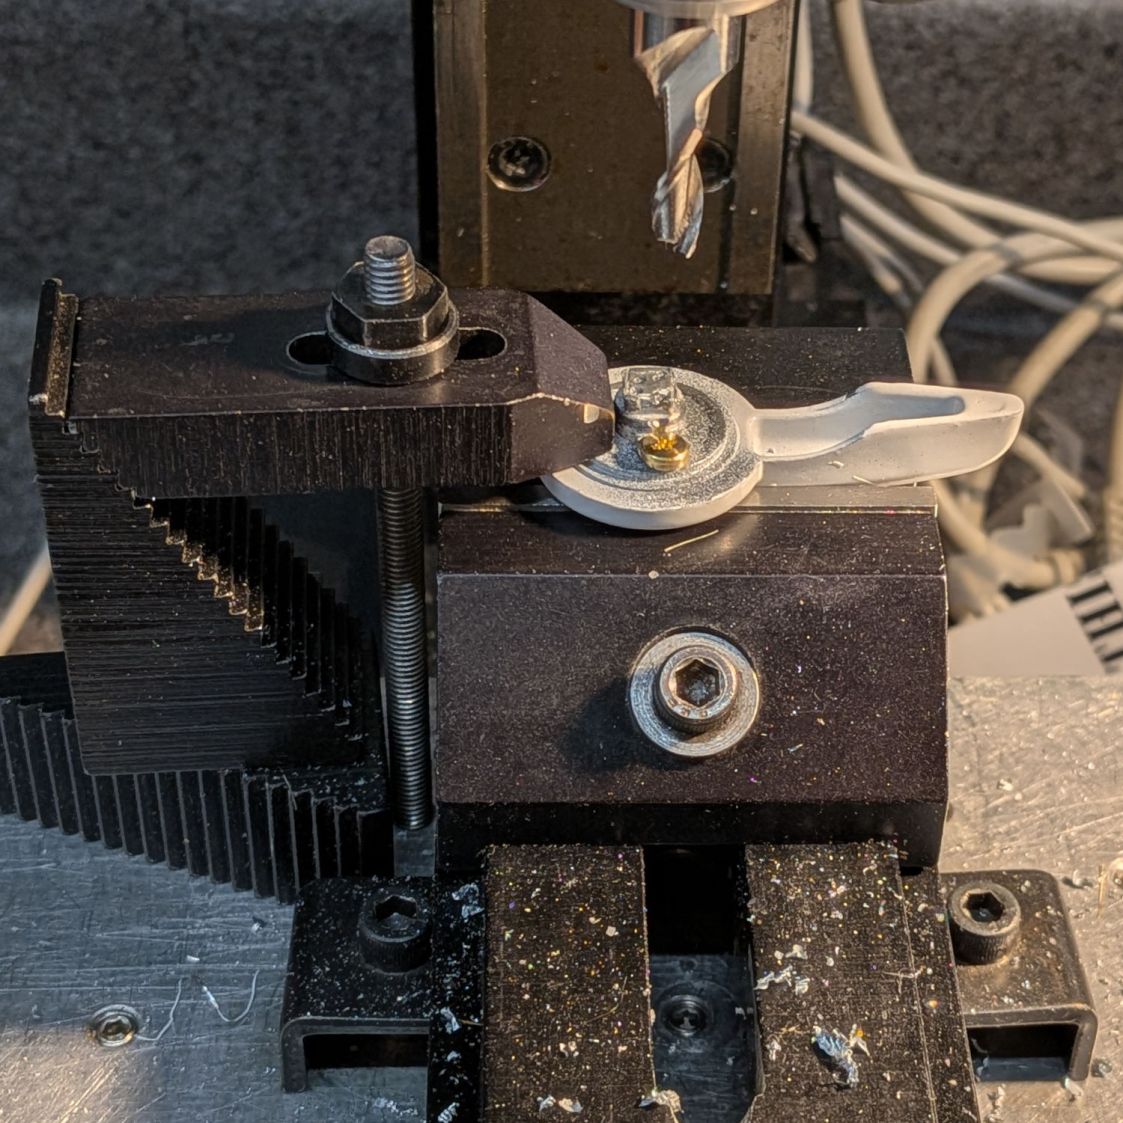
The vise loosely clamps the handle, mostly for alignment, with the step block clamp holding it firmly in place.
The lever arm looked like this after poking the endmill into it a few times to clear the rubble, then using a smaller endmill as a drill to get a flat-bottomed recess:
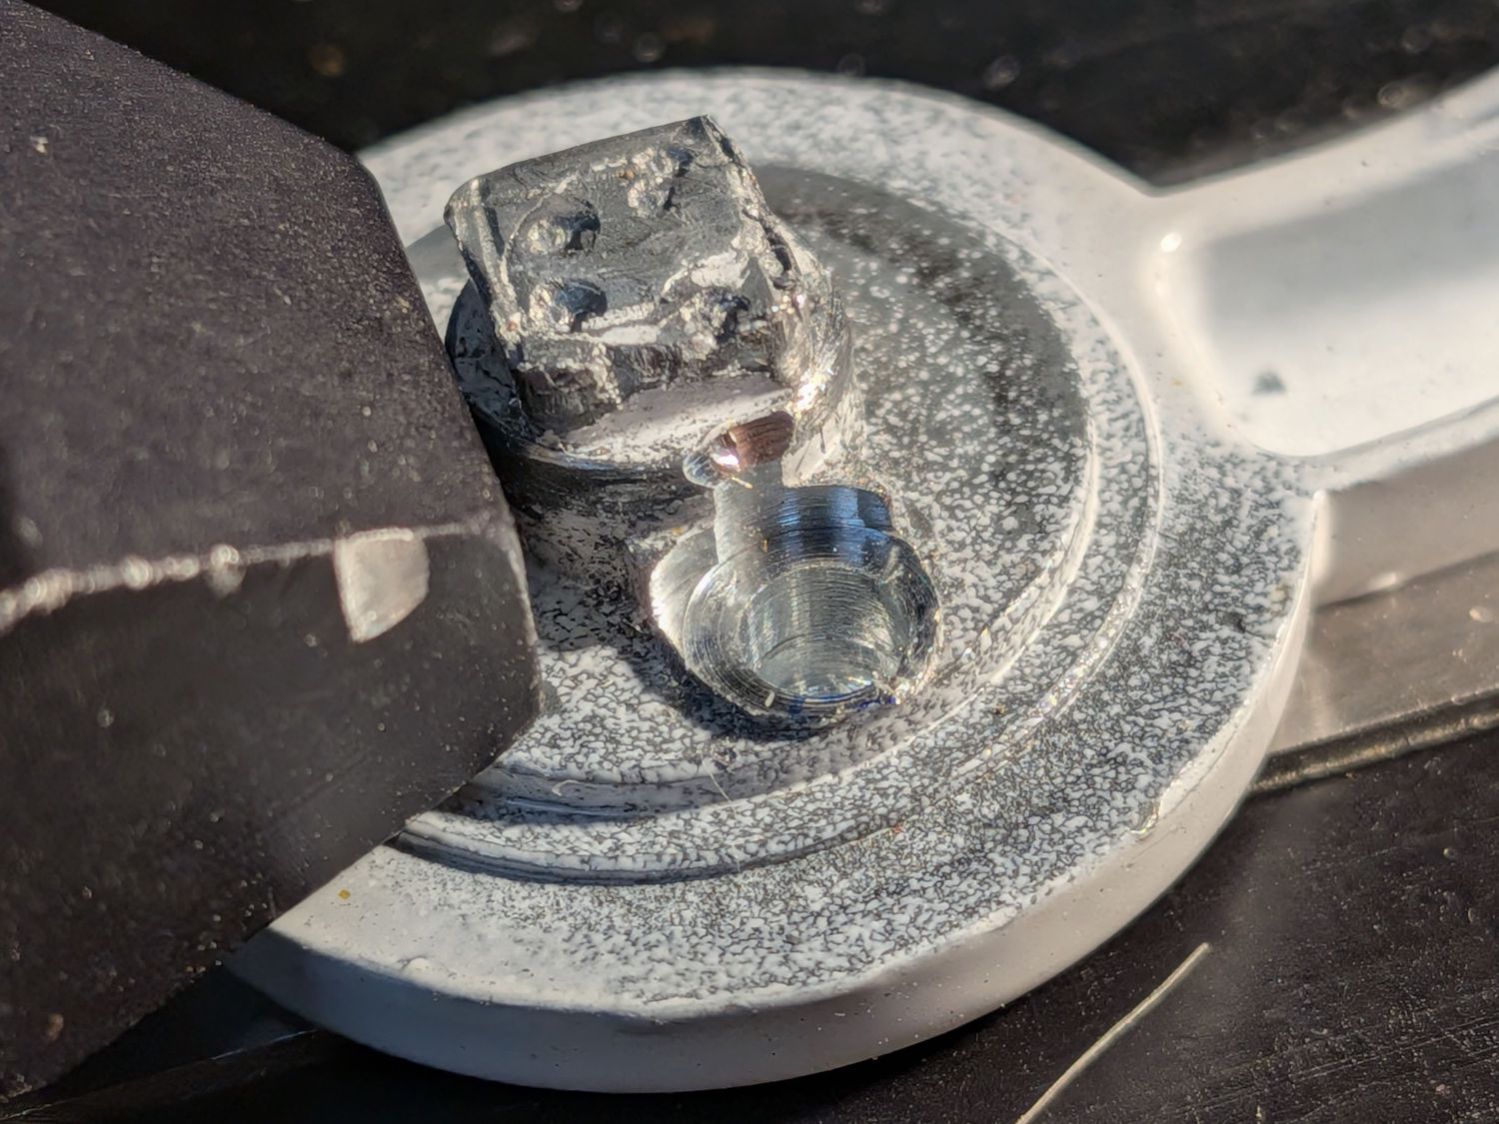
Obviously, that was accomplished with eyeballometric alignment and manual jogging.
Reshaping and trimming the screw with Tiny Lathe produced a suitable cam-like object:
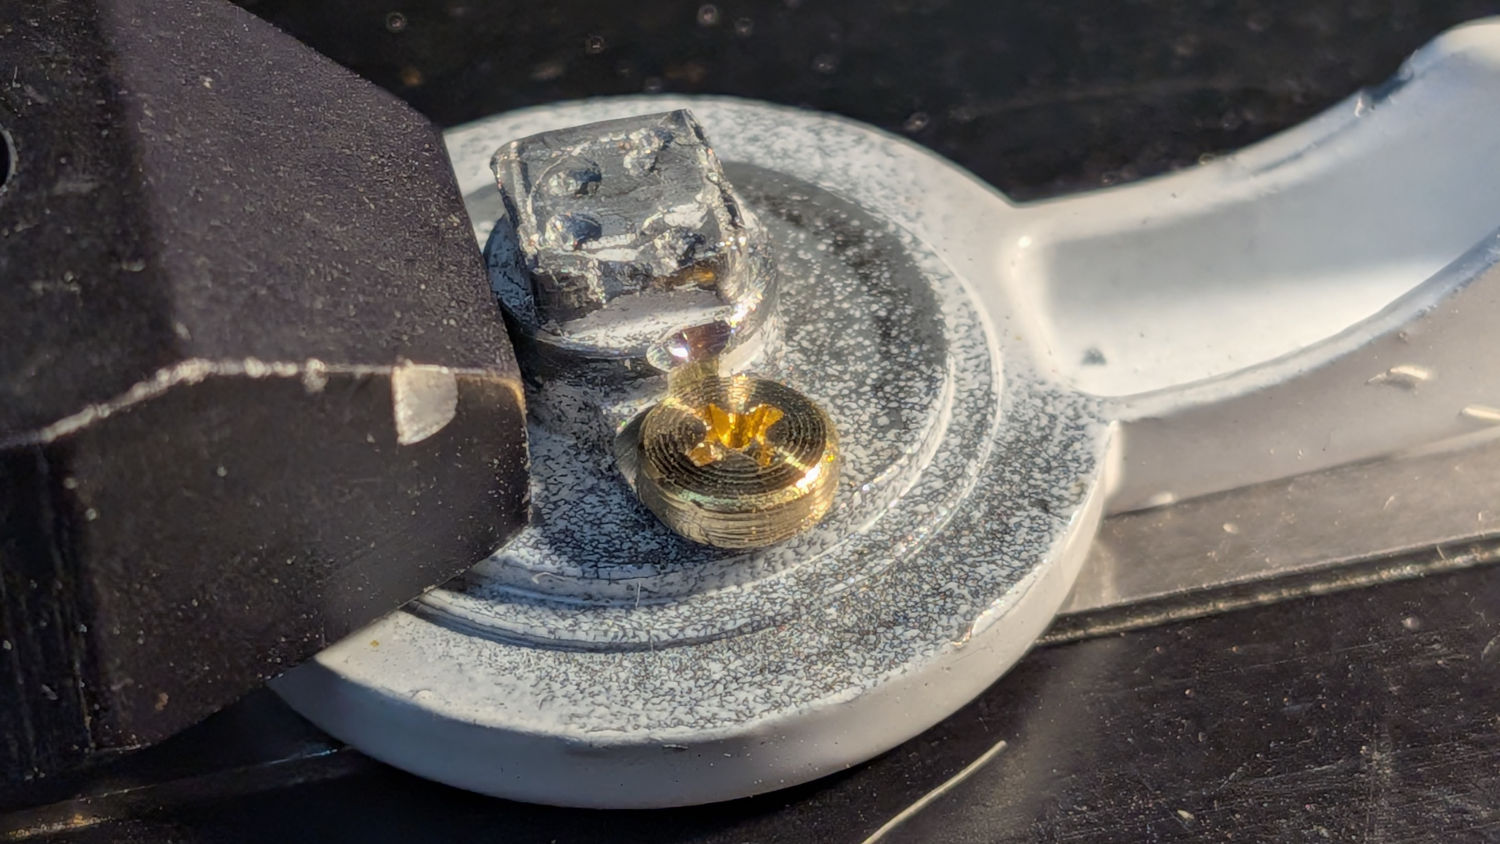
I planned to epoxy it in place, but AFAICT there is no way for it to go anywhere, so I just reassembled everything in reverse order:
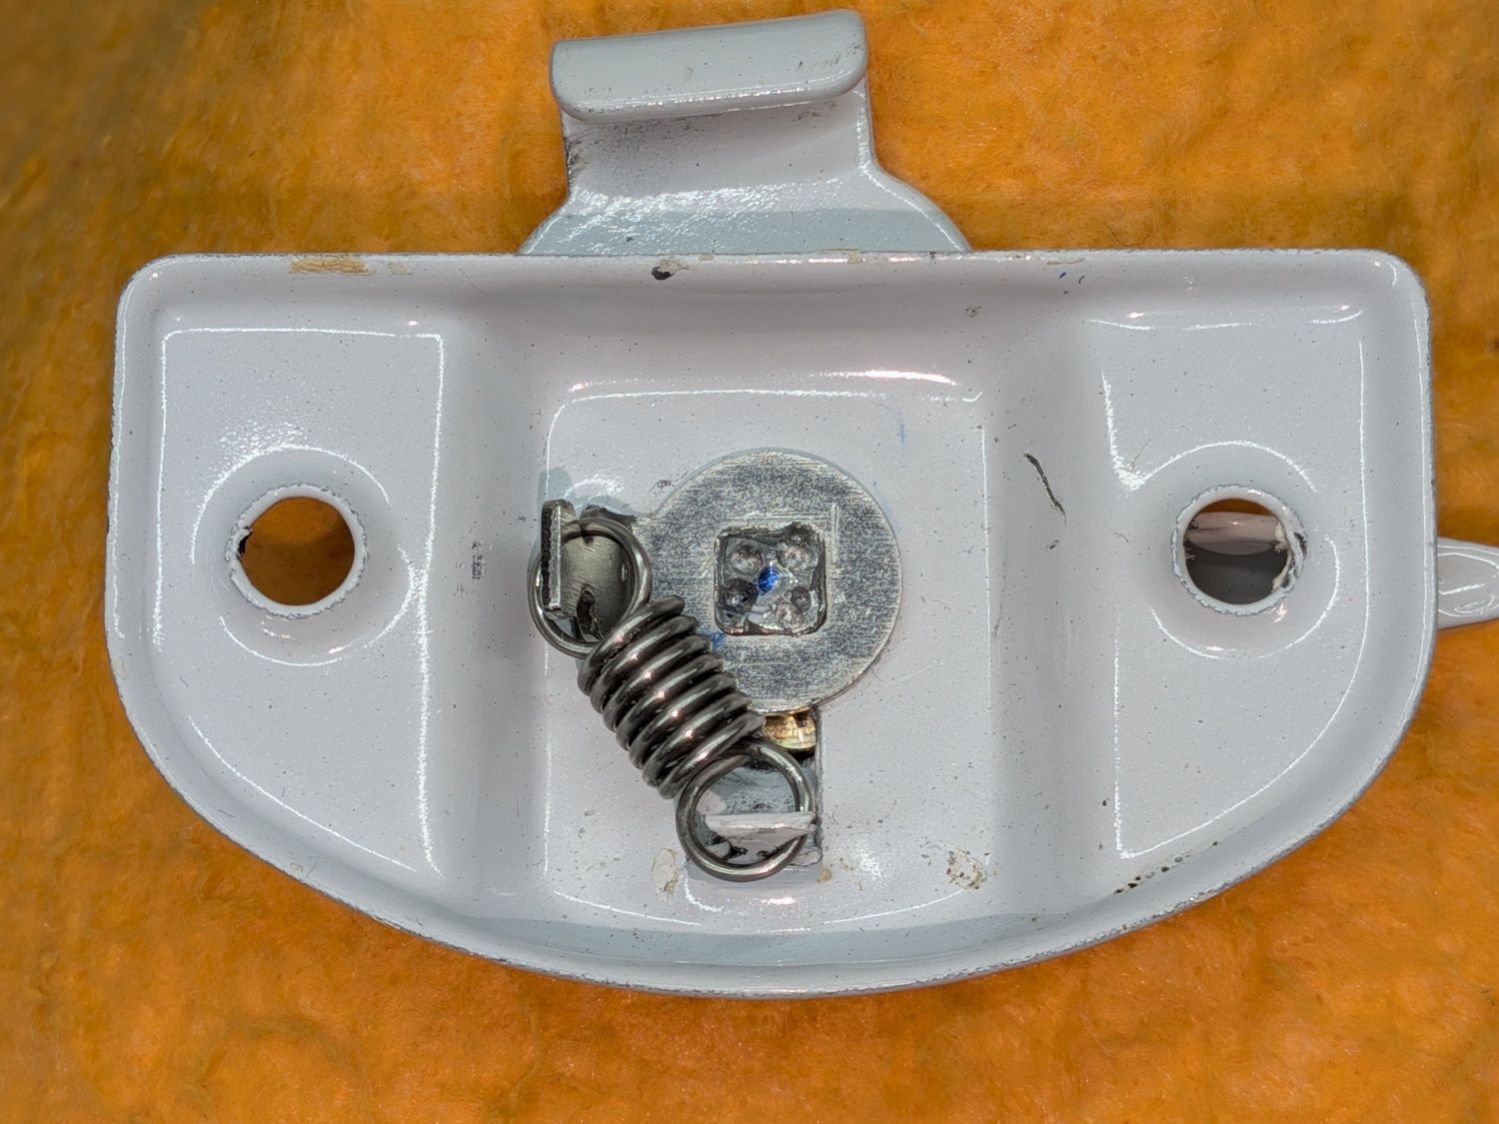
I brutally swaged the square post with an automatic center punch cranked to maximum throttle while forcing the spring holder firmly atop the stack. The latch now moves smoothly and everything stays properly aligned.
While that was going on, the window sash had wood pins pounded into the errant screw holes with wood epoxy filling the gaps. Aligning the latch, drilling holes in the proper spots, and screwing the latch in place proceeded as expected.
That wasn’t easy, but now I can install plastic film over those windows for the winter.


Spam comments get trashed, so don’t bother; you’re not as clever as you think. Comment moderation may cause a delay.