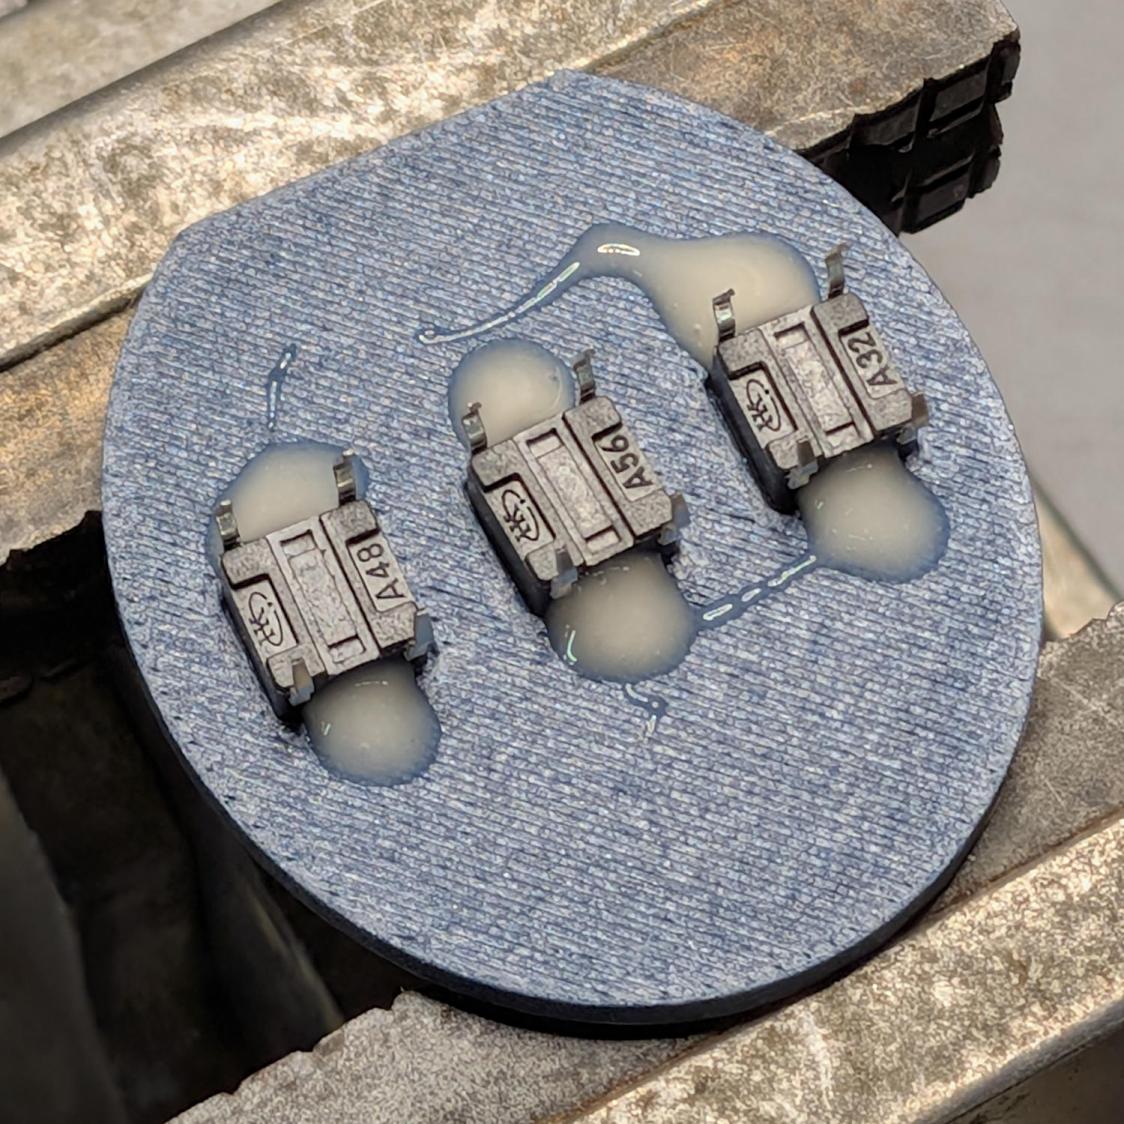
After 3D printing another set of cap parts, glob the switches into place with tan JB Weld Plastic Bonder:
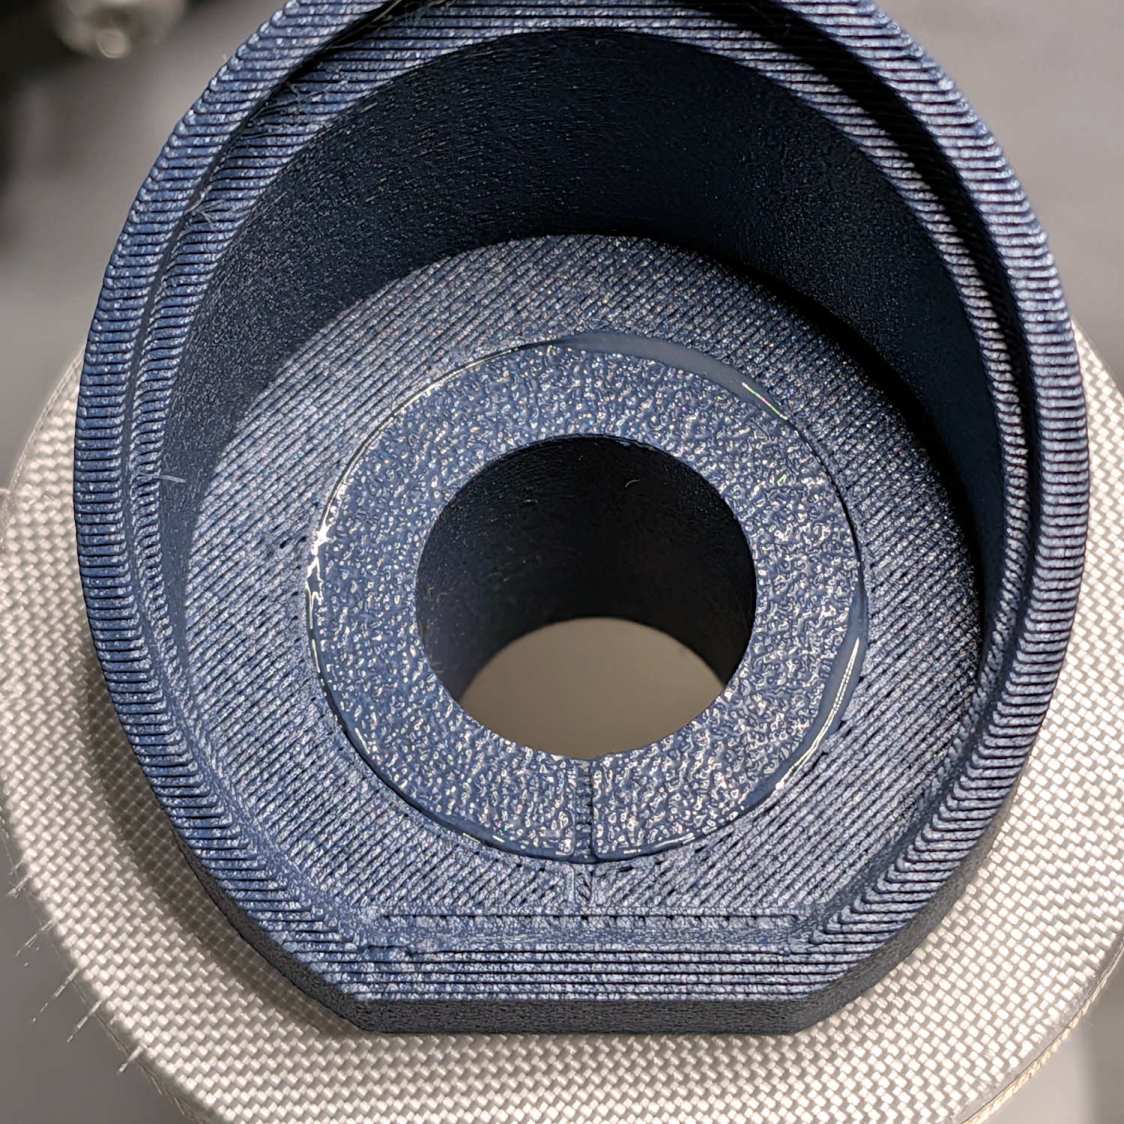
More Plastic Bonder joins the cap body to the plug fitting into the handlebars:
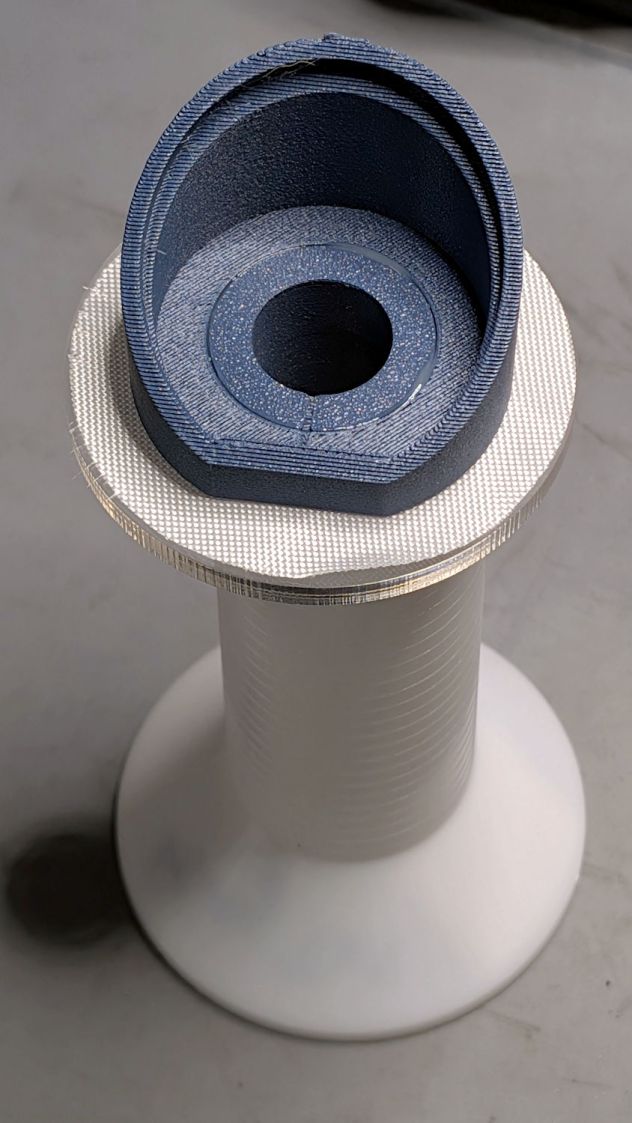
I laser-cut an acrylic disk to fit the plug stem and hold the bottom of the plug flush with the bottom of the cap, with the PTFE fabric preventing inadvertent bonding of All The Things. It’s perched atop an empty thread cone to cure: quilting requires a lot of thread and I have a good stock of cones.
The button cap body solid model now includes alignment marks to eliminate the need for the bench block & clamps:
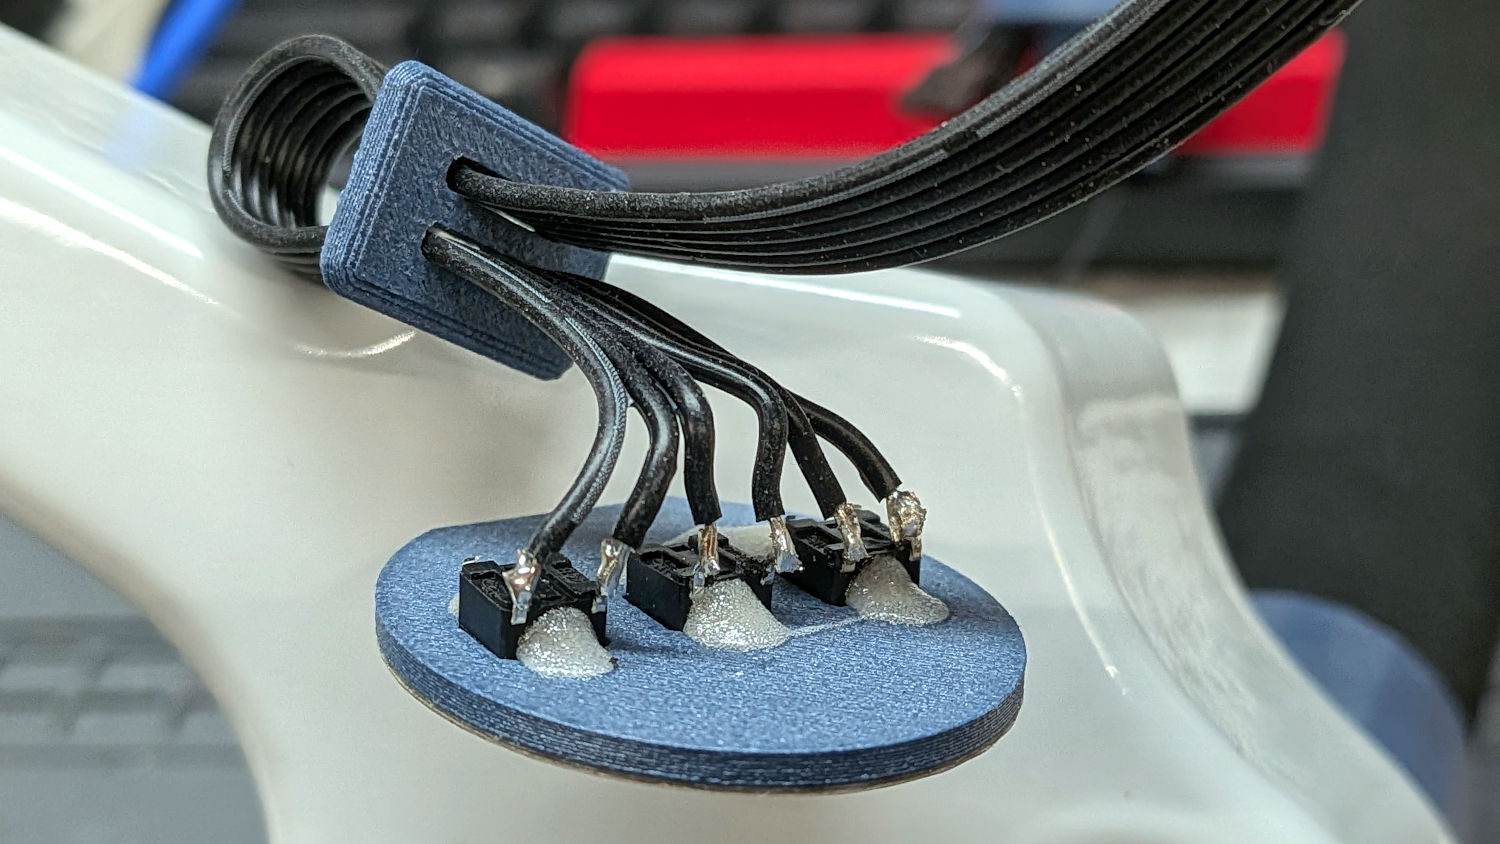
Soldering the cable directly to the switch terminals is déclassé, but the collar prevents the cable from exerting any force on them:
This time around, dabs of hot-melt glue hold the faceplate to the cap body.
I also used hot-melt glue to stick the transparent cover onto the handlebar body, as the OEM sticky tape was losing its mojo:
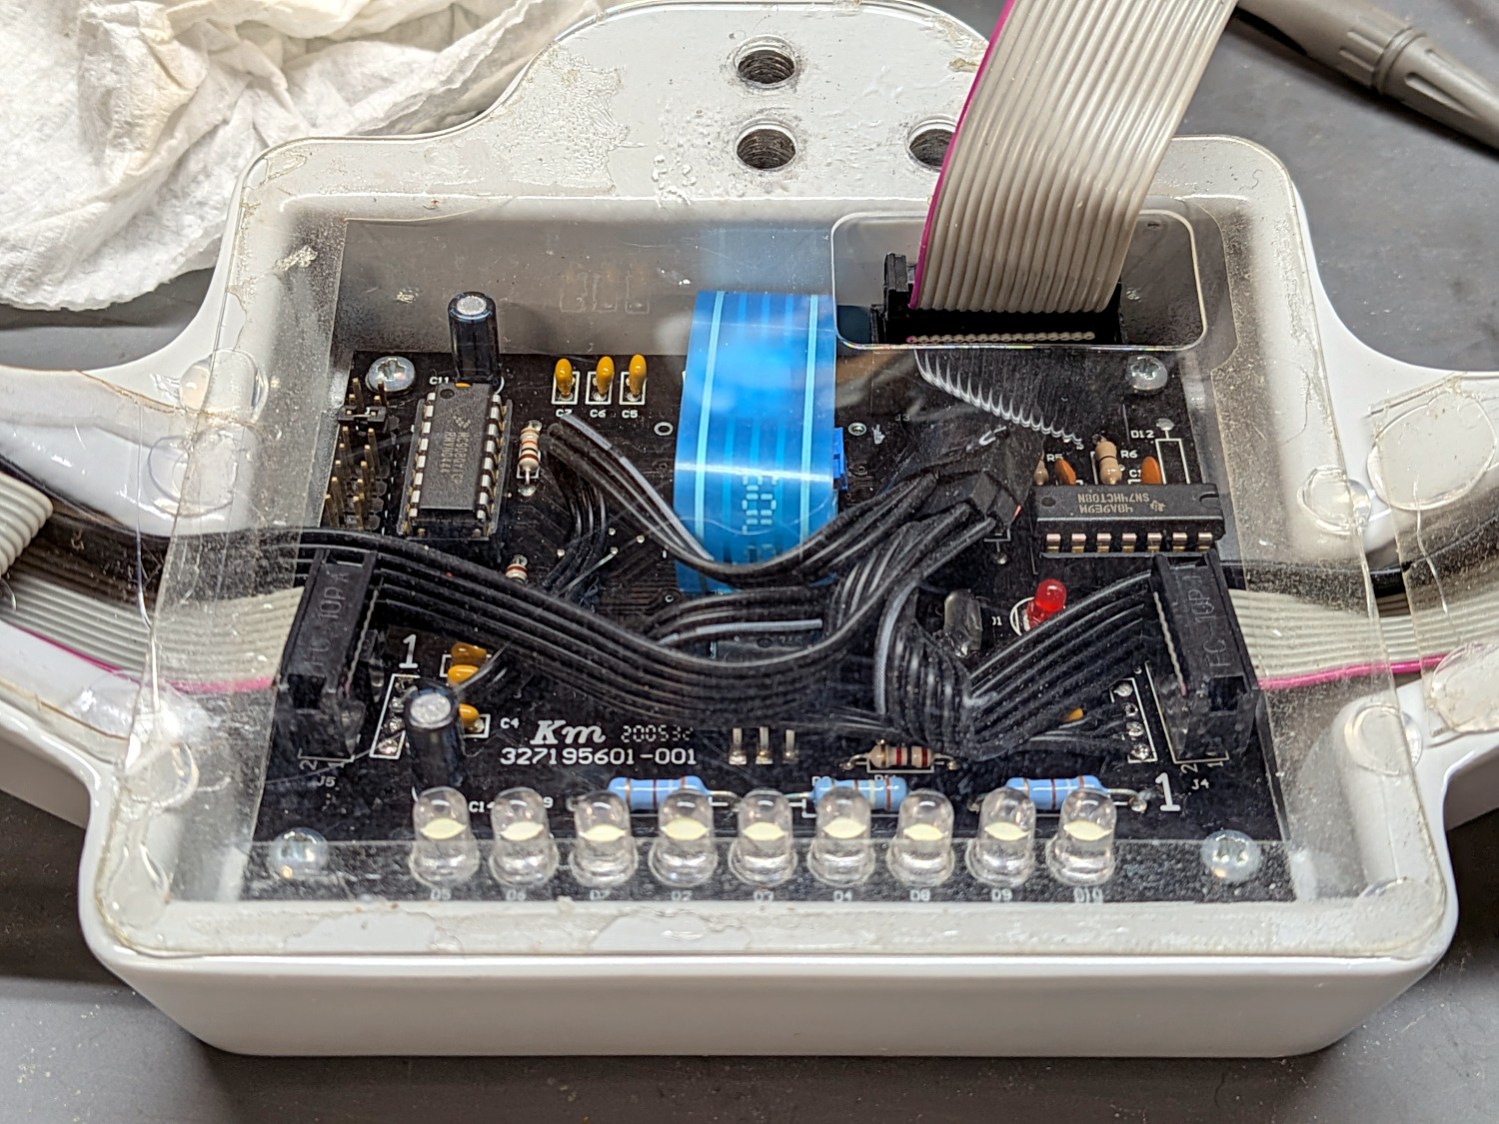
The rightmost three LEDs went dark a while ago and, while I had everything apart, I tracked the failure to the third LED from the right, replaced it, and it’s all good again. Those LEDs (plus the side groups) still can’t hold a candle to the Nose Ring Lights and Under-arm Lights, but it’s good to have all the lights working.
I managed to break one tiny wire on the header (wrapped in black silicone tape next to the IC on the right) joining the two cables from the control caps, but other than that things went smoothly.
Now I can start on other long-awaited tweaks before the next quilt arrives.


Spam comments get trashed, so don’t bother; you’re not as clever as you think. Comment moderation may cause a delay.