The Run/Stop (⏯) button on the HQ Sixteen’s left-hand grip control cap recently became intermittent:
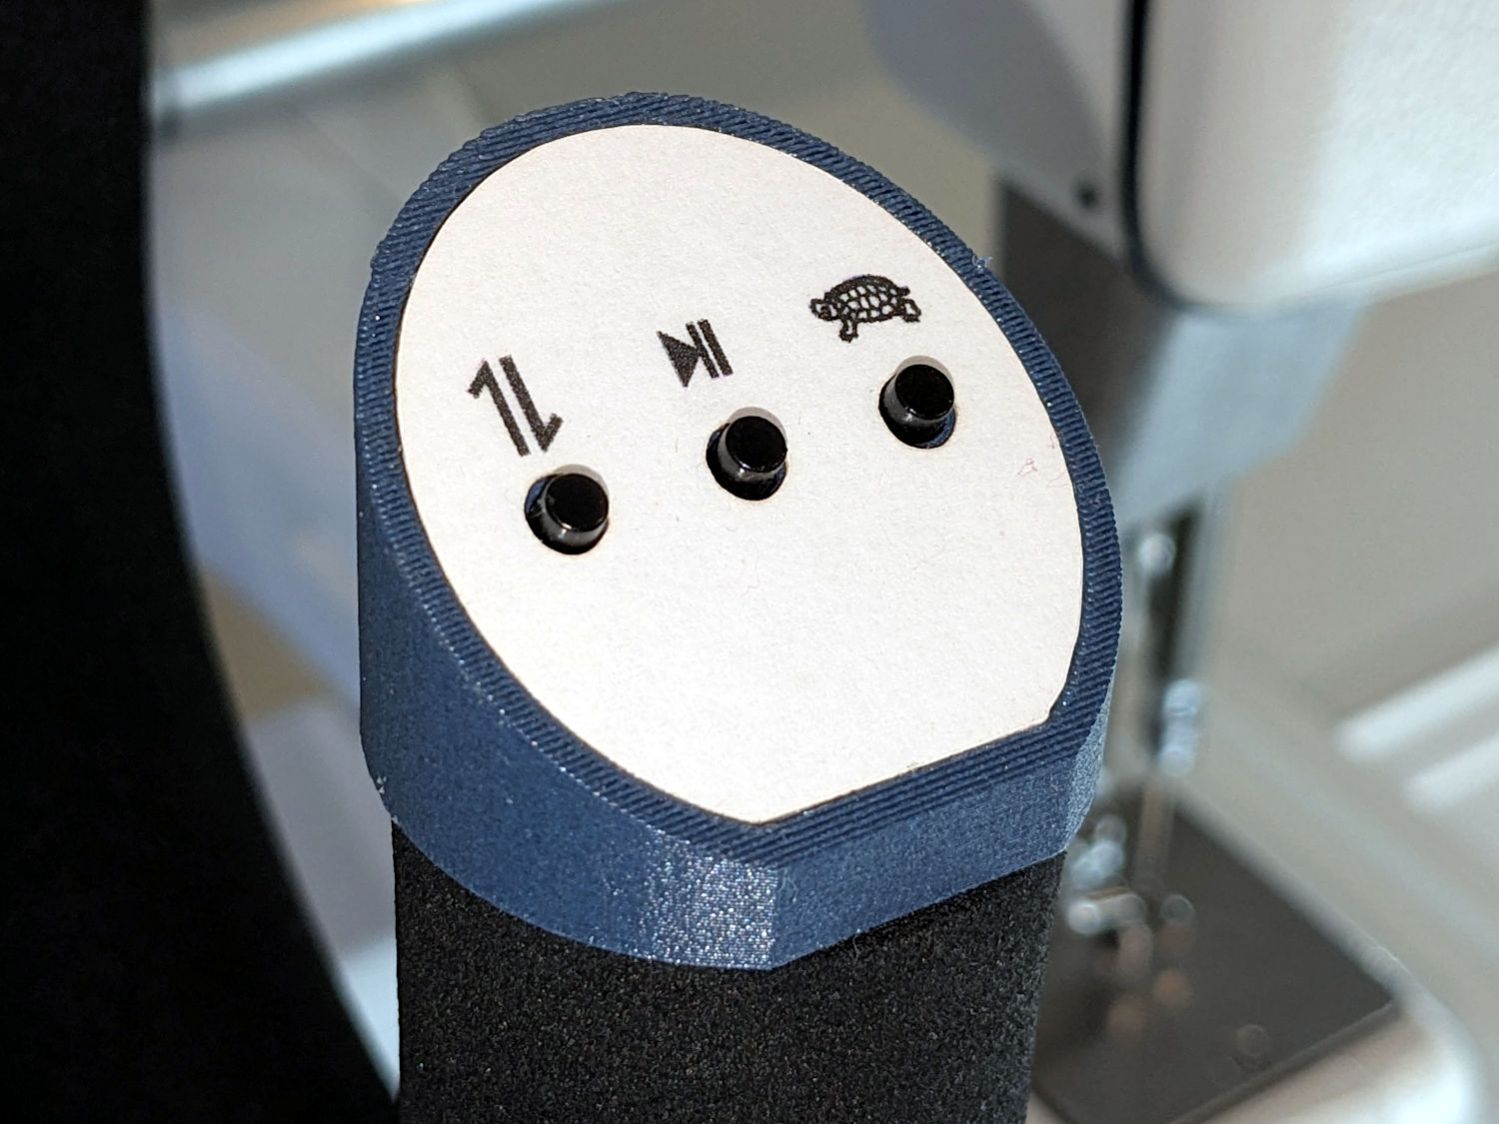
Which is a little more than a year after I built it, so I’m not red-hot pleased with the switch reliability. On the other paw, Mary has done a lot of quilting in the last year, generally controlling the machine with her left thumb, so that particular button has gotten a lot of use.
Because I glued the caps together, rather than trying to hide screws in finger-friendly locations, the replaceable unit is the whole cap.
I originally cut the cap labels using LightBurn’s Print-and-Cut tool to align the laser to the printed label, but subsequent experience making punched cards showed it’s generally easier (at least for my simple projects) to skootch the layout to match the laser position at known features:
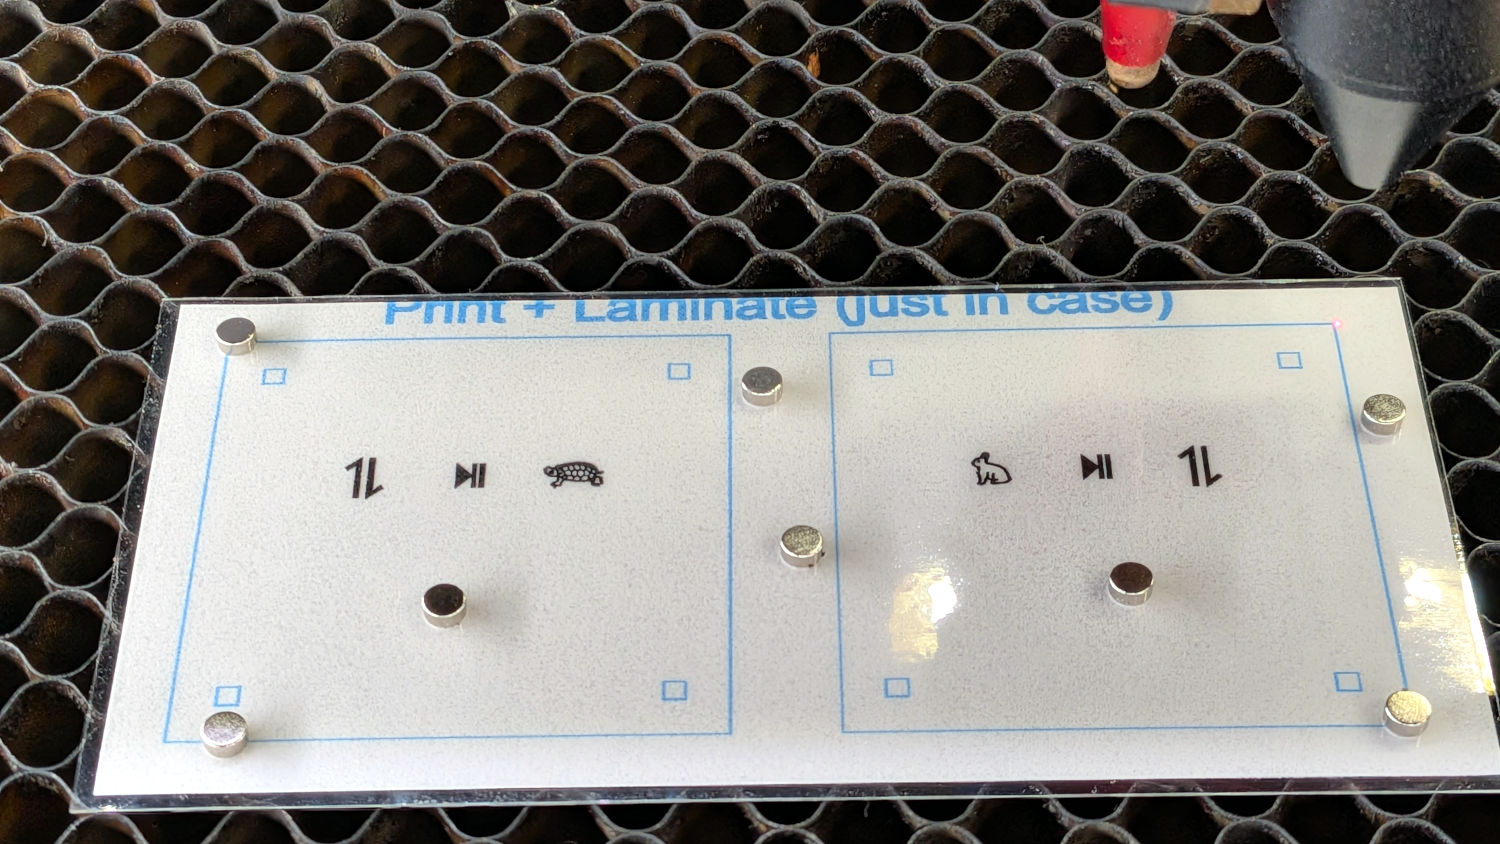
Those small magnets hold the laminated label flat against the honeycomb.
The Position Laser tool puts the laser at a selected corner of the square, with Object Snap ensuring it’s really at the corner. Firing a test pulse to verify the red-dot pointer is aligned with the focused CO₂ laser spot is good practice.
Unlike the cards, the control caps don’t have fractional-millimeter tolerances, so, after verifying the printed label alignment at all four outer corners, it’s Close Enough™:
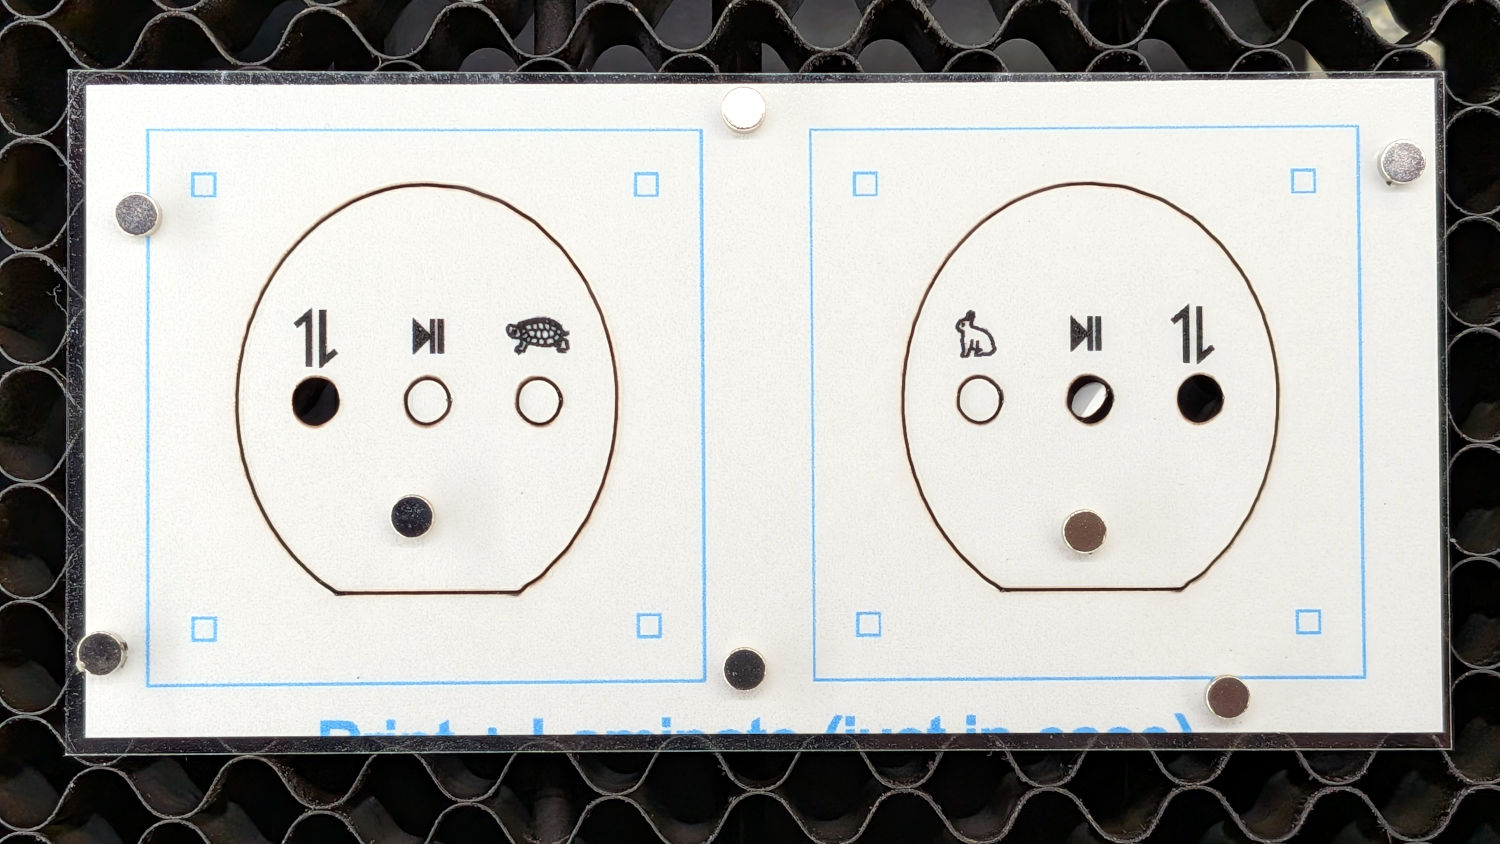
Cutting the adhesive sheet posed no alignment problems:
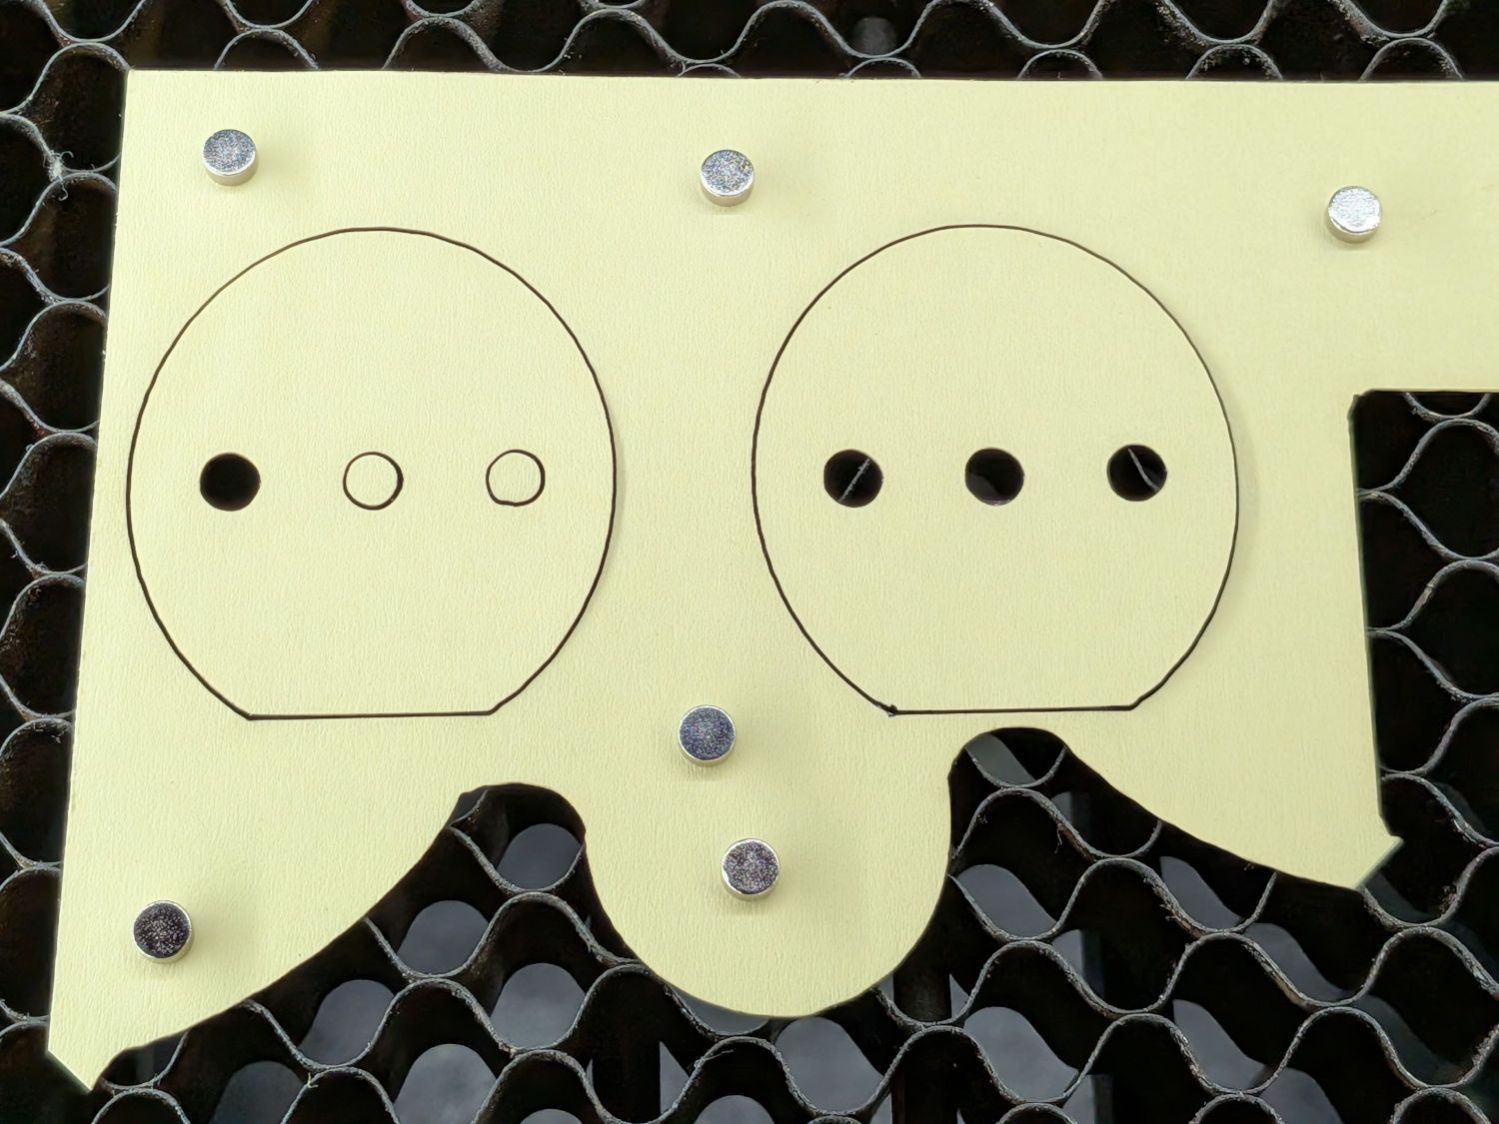
Then it’s just a matter of peel-n-stick.


Spam comments get trashed, so don’t bother; you’re not as clever as you think. Comment moderation may cause a delay.