The Summer 2026 issue of Living Bird from the Cornell Bird Lab had a downloadable set of paint-by-number images that seemed tailor-made for laser-cut layered paper, so I laid out a test piece with targets in the corners:

Print that on fancy paper, drop it into the Letter cutting fixture, align the printed targets with the layout using the same technique as with the punched cards:
- Position the laser head at the center of a target in the LightBurn workspace
- Skootch the fixture to put the corresponding printed target under the red dot pointer
- Position the laser head at another target
- Skootch the other printed target to match
- Iterate until both align properly
I find that’s faster / easier / no less accurate than Print and Cut.
Then Fire The Laser:

That’s cut over honeycomb, rather than empty space, because there’s not much paper left when the cutting is done and the remaining pieces distort the lacework:
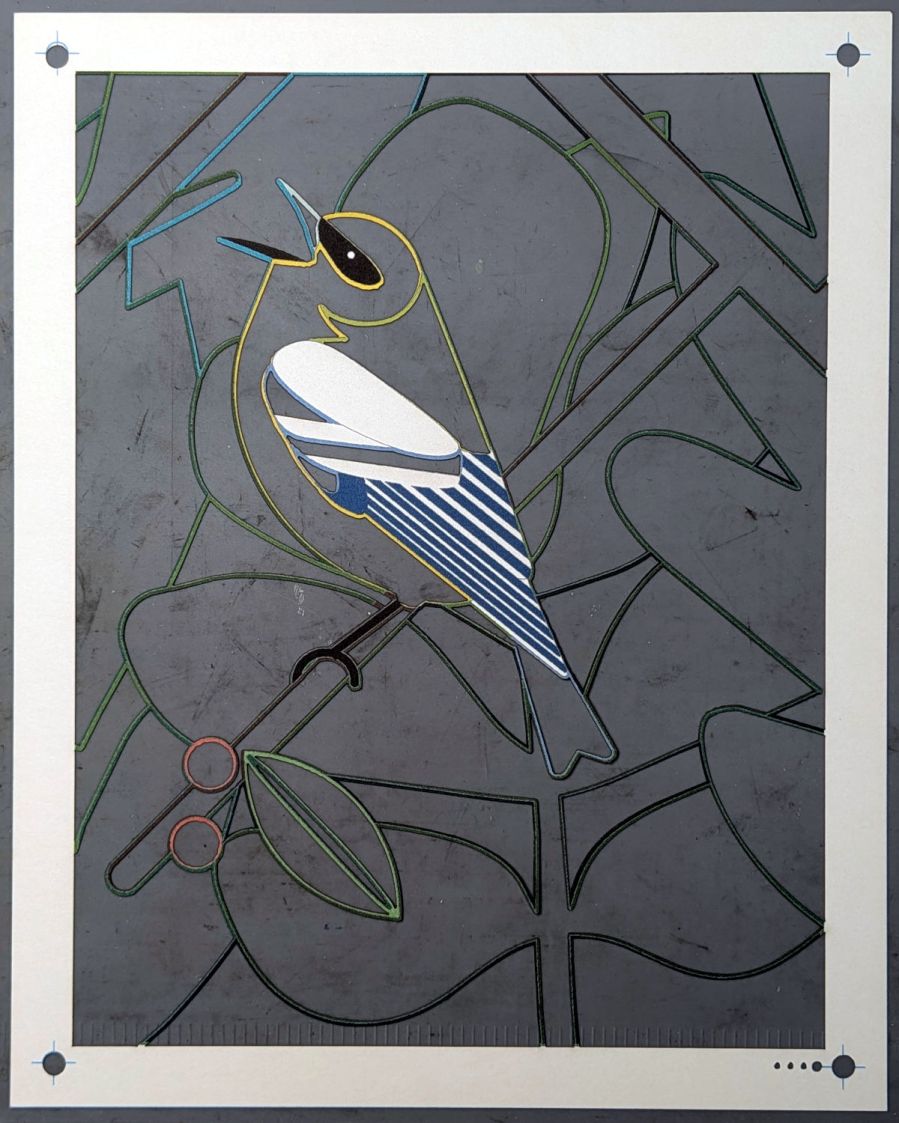
That layer (with binary code 0001) goes under the top black mask hiding the remaining colors on the lacework. The wing feathers and details seemed too small for slots cut into paper, so printing them finessed the issue.
I had aligned the fixture at the upper-right target:
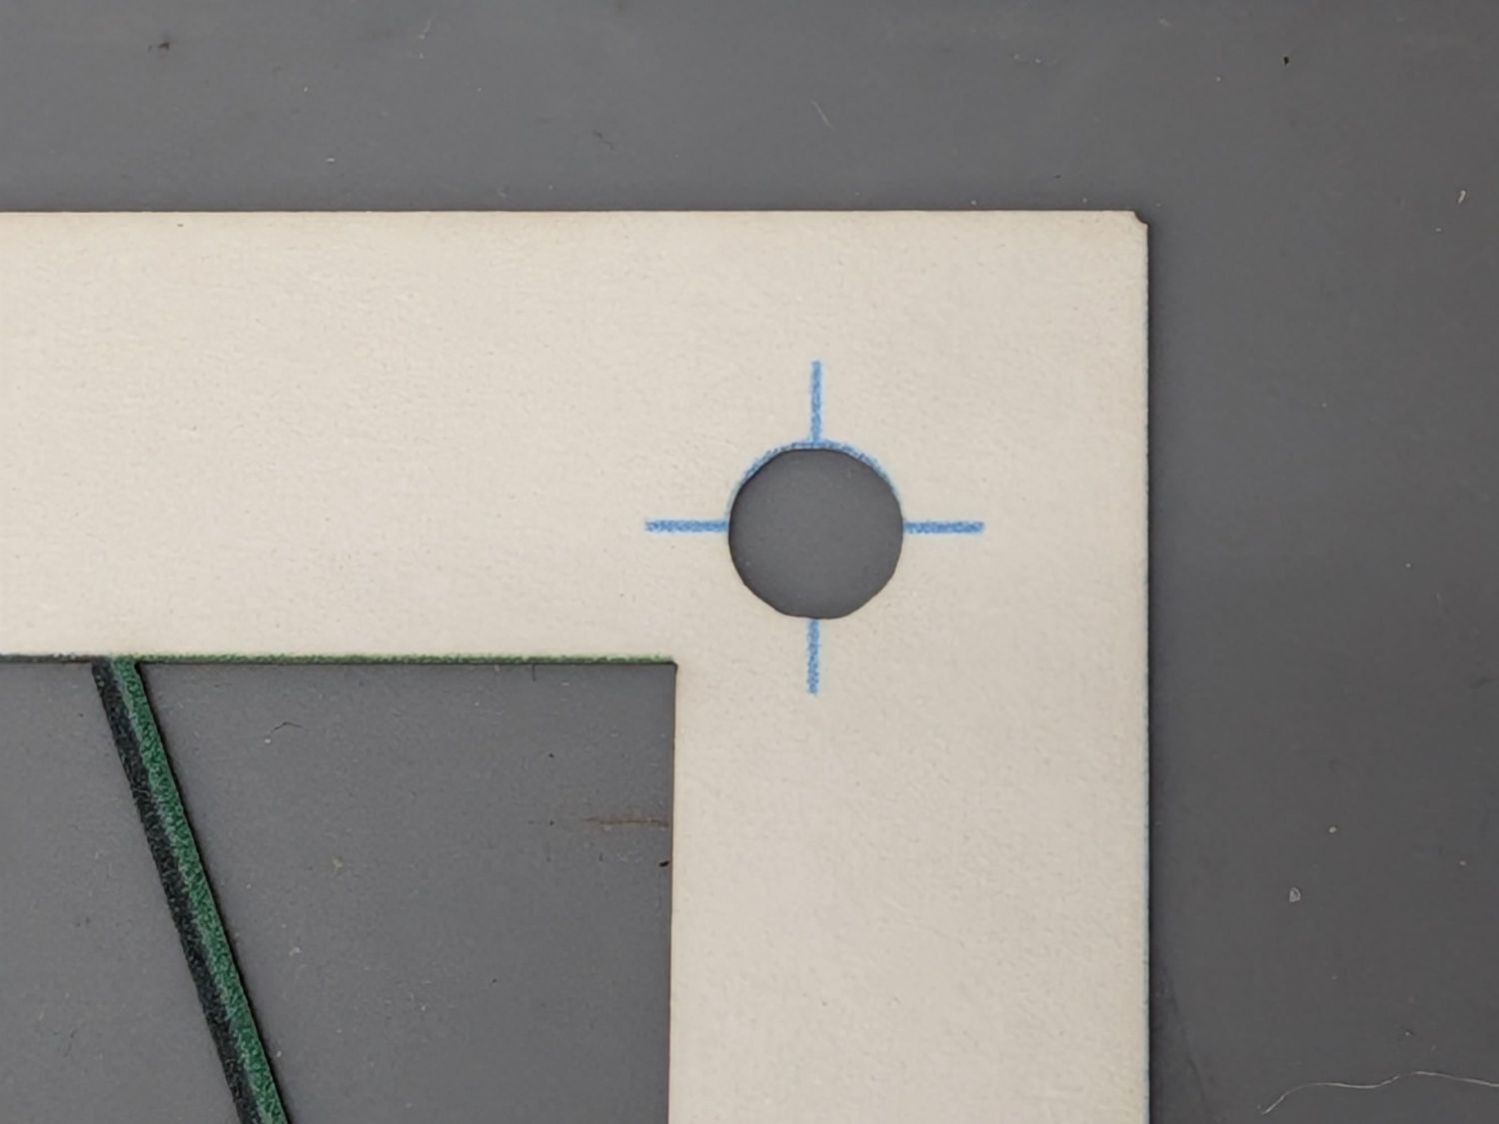
And the lower-left target:

The printed lines are about 0.3 mm wide, so the cut alignment is off by that much in both X and Y.
The lower-right target is spot on:

But the upper-left target is off by nearly a millimeter in Y:
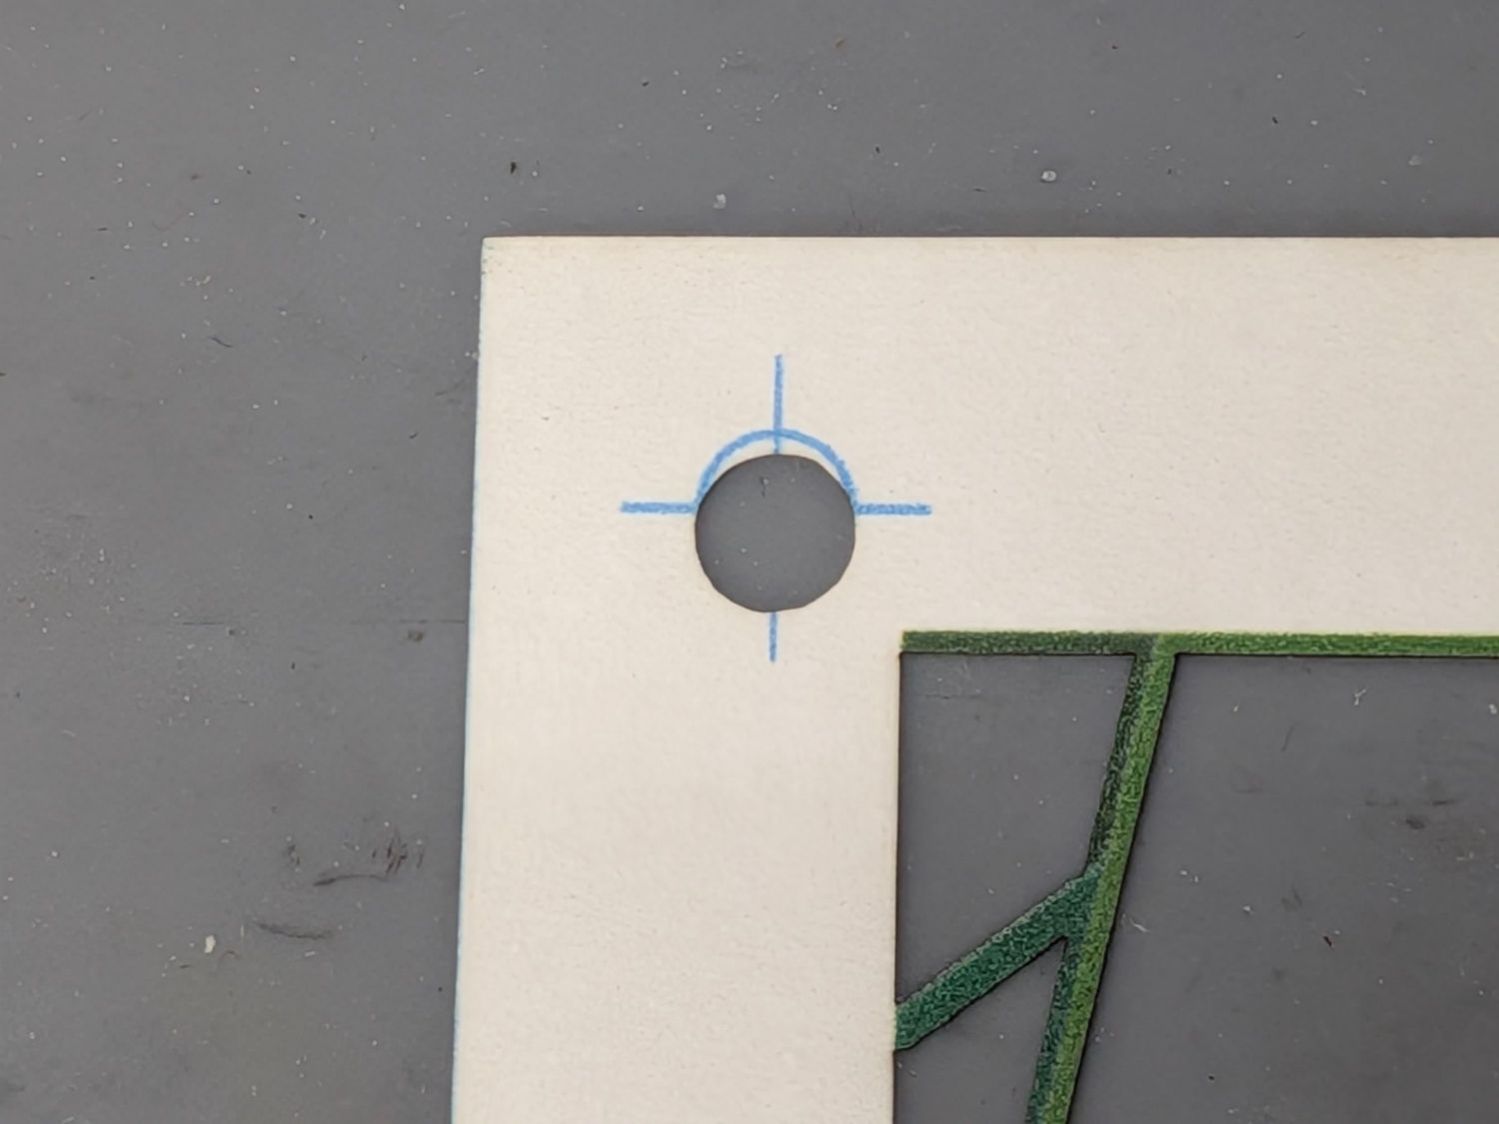
As well as I can measure, the printed image is slightly distorted, perhaps by the printer’s feed rollers skewing the paper slightly on its way through the printer. The laser-cut holes are, again as well as I can measure, dead on.
The punched card process required scaling the composited PNG image by 97%×97.9% so the image matched the laser-evaporated holes. This distortion seems different, but different paper and printer settings surely affect the outcome.
On the whole, though, the first test piece came out OK:

Those chonky feet need some attention.
Maybe three out of four ain’t bad …


Spam comments get trashed, so don’t bother; you’re not as clever as you think. Comment moderation may cause a delay.