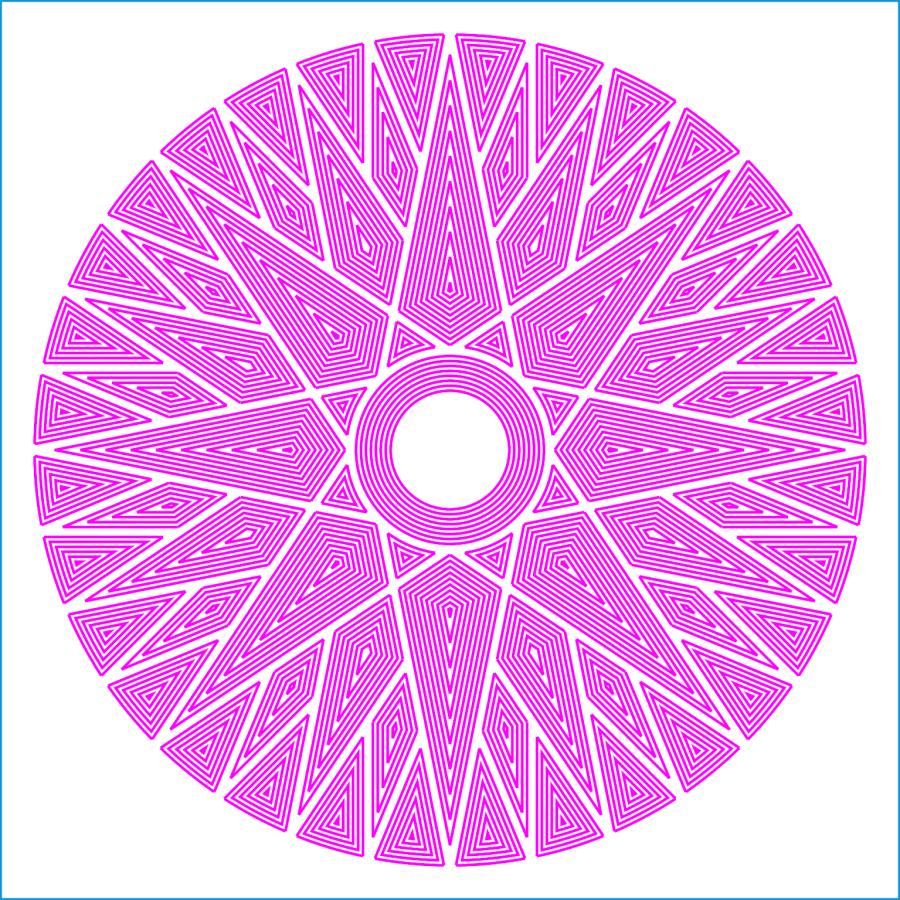
Wrecking scrap discs led to experimenting with the low-power behavior of my nominal 60 W CO₂ laser. I used the same inset version of the Mariner’s Compass quilting pattern as before:
The KT332N controller is set to a 7% minimum power, as the tube simply doesn’t fire below that level. The power levels shown below are the minimum and maximum for the layer.
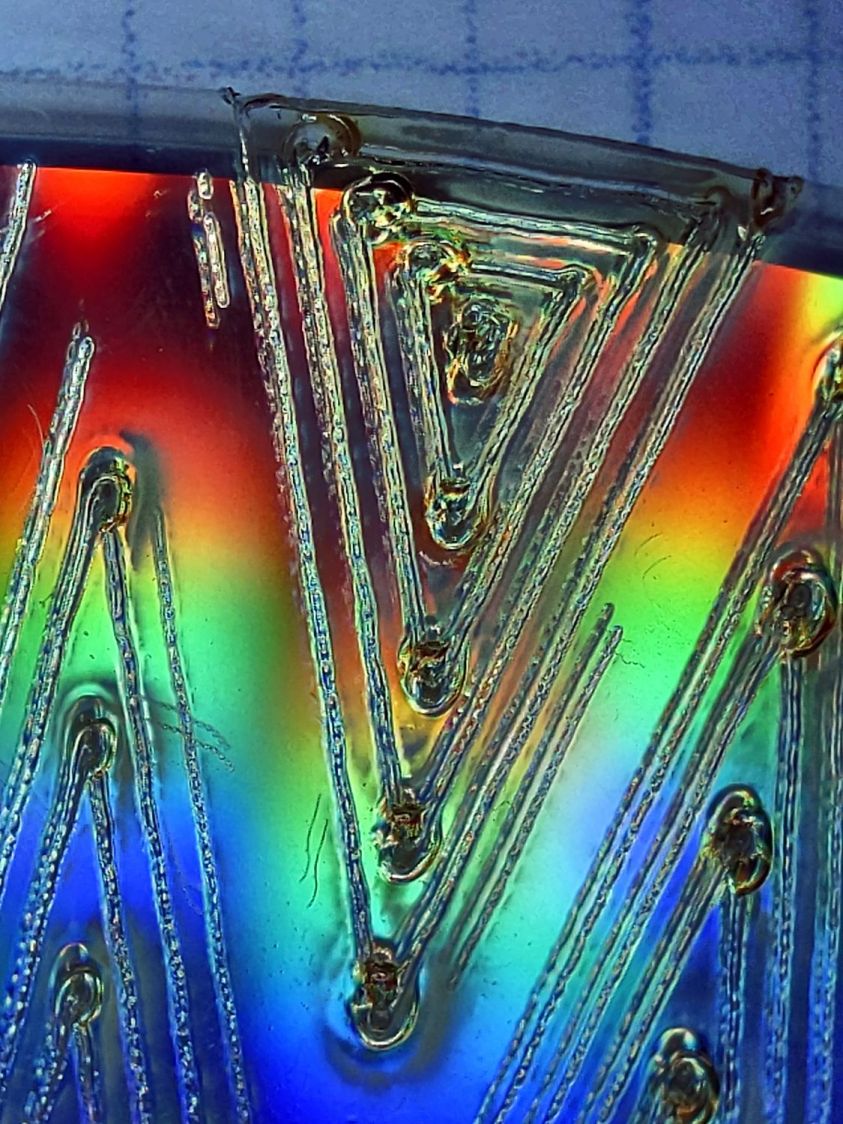
The cuts are on CD-R discs with the same general appearance, although I can’t say whether they all came from the same manufacturing lot. All of the cuts are on the clear side of the disc, with the data side flat against the platform. Unless otherwise noted, the pictures are from the clear side, looking down into the trenches carved into the surface, and you can see reflections of the cuts in the aluminized data layer.
Power 7 to 10%:
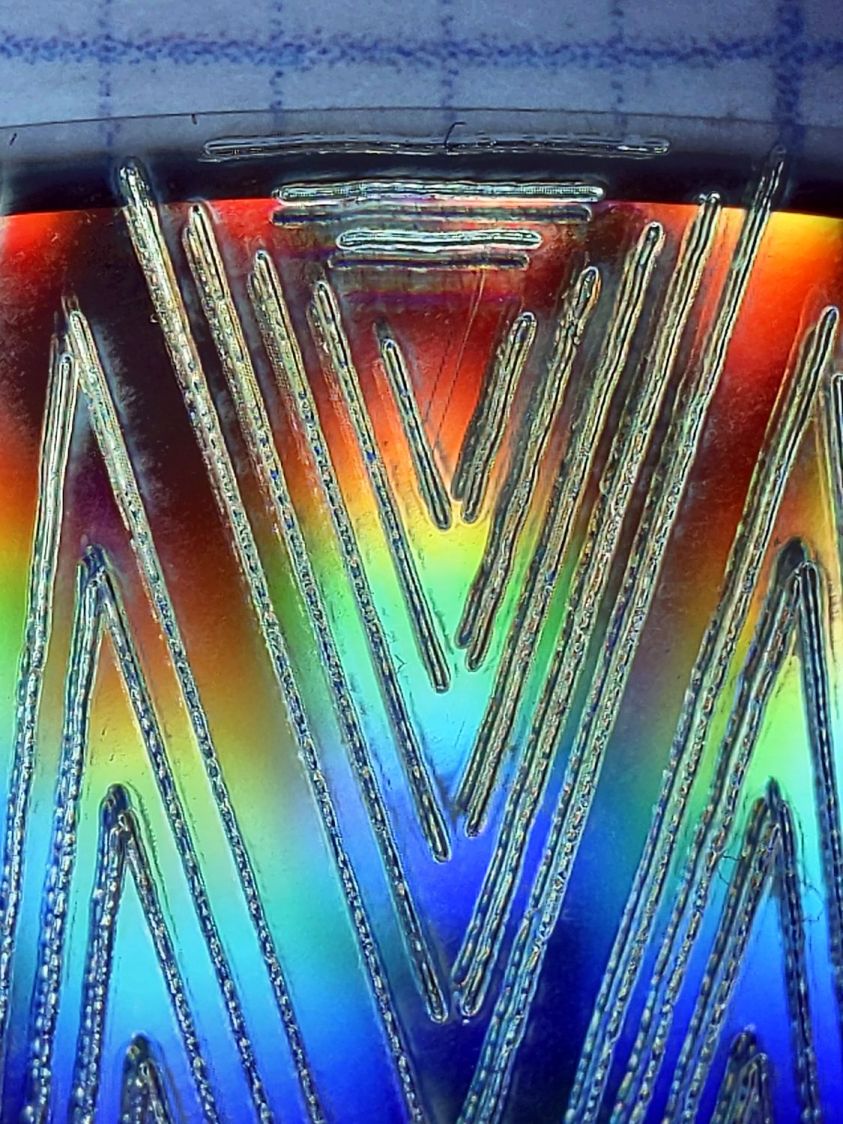
Because the controller uses the minimum power at lower speeds, the laser fails to fire near the corners of the pattern.
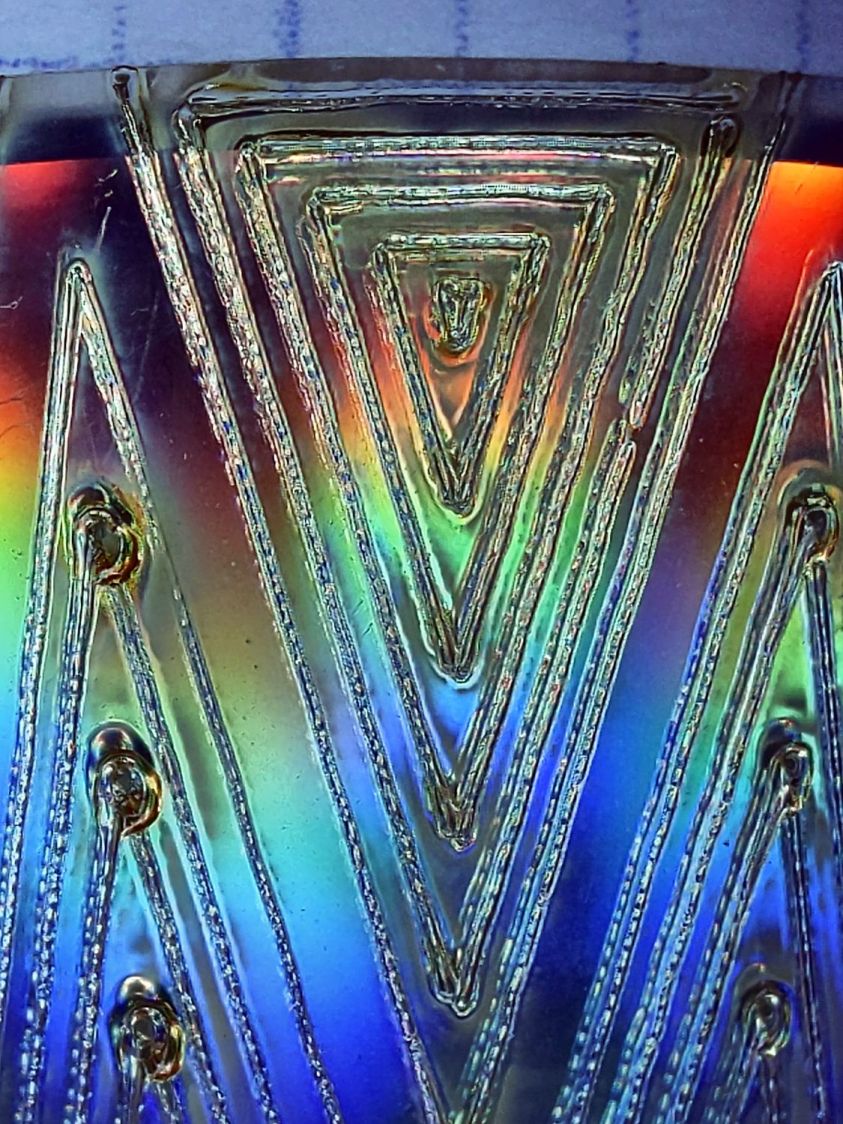
Power 8 to 10%:

The patterns generally begin in their upper-right corner where the laser has little enough power to prevent melting. However, the tube now continues firing as the laser slows for two other corners and melts a gouge into the surface.
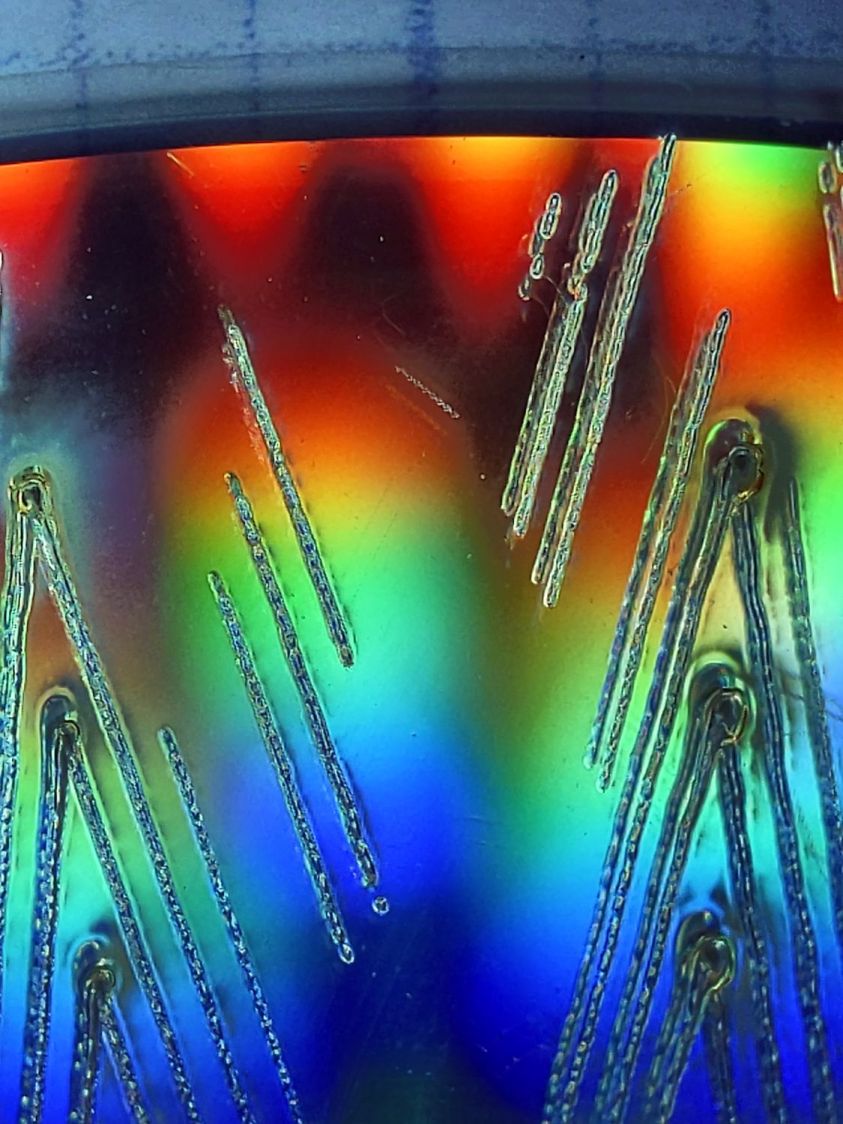
Power 7.5 to 10%:

The gouges are less prominent, but not by much.
Power 7.1 to 10%:
Reducing the minimum power to just over the 7% absolute minimum reduces the size of (most of) the blobs, but also causes gaps in some of the lines and at the corners.
Power 7.1 to 7.5%:
Reducing the maximum power causes the tube to not fire at all for some vectors; it doesn’t fire at all with the maximum power set to 7.1%.
However, the firing is very sensitive to the tube temperature, as that picture is for the first pattern around the disc rim with the cooling water temperature at 20.5 °C.
The last pattern (which is just to the right of the first) looks much better with the coolant at 20.7 °C:
It’s still not complete, but you can see the tube power has increased enough to melt blobs into the surface similar to those at higher maximum powers.
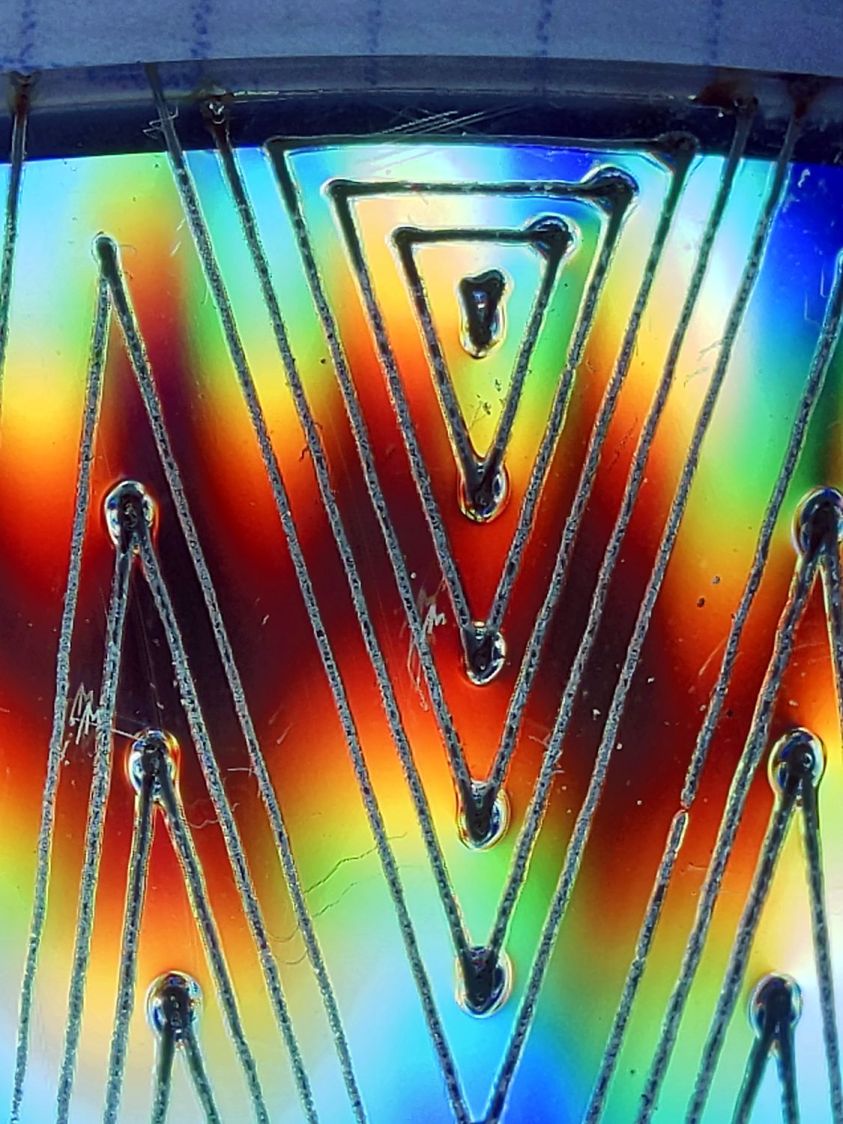
Power 7.5 to 8%:

Although the tube now fires continuously throughout the pattern, you can see thinner sections in the longer vectors over on the left.
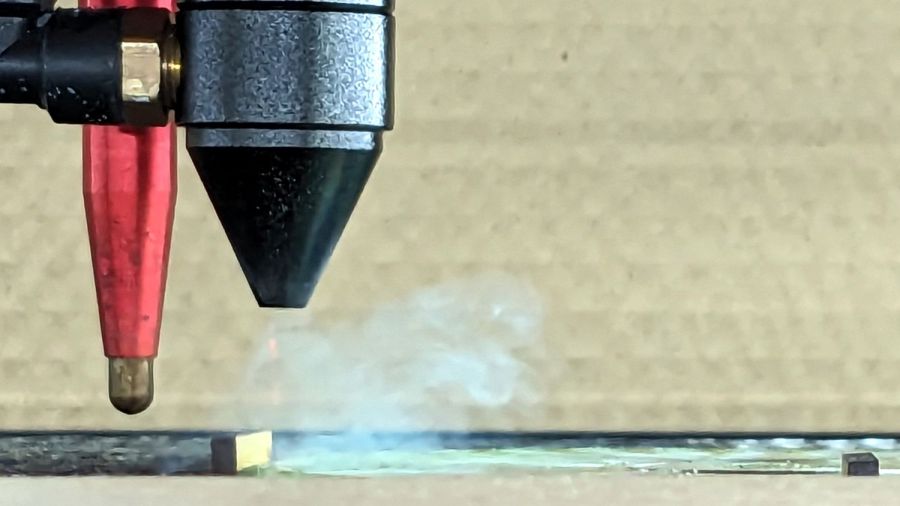
All of the pictures above are using assist air at 12 l/min, so there’s a stiff breeze blowing the smoke away from the laser beam. Turning the assist air off reduces the flow to 2 l/min and produces a much larger cloud of fumes over the surface that seems to deposit more crud around the vectors:
The small MDF stops jammed in the honeycomb platform let me put all the CD-Rs at the same spot and reuse the same pattern with slight power variations and no realignment. It’s not perfect, but it’s pretty good.
Power 7.5 to 8%, 2 l/min assist air:

Notice the smudges to the left of center.
Cleaning the surface with a soft cloth and a vigorous circular motion improves the result:

If you’re being fussy about cleanliness, you might avoid scratching the otherwise pristine surface.
I also burned the data side of a disc to wreck the lacquer and aluminized layer, rather than just the clear polycarbonate.
Power 7.5 to 8% on data side, as seen from the data side:

The same pattern on the same disc, seen from the clear side:
Burning through the lacquer and aluminum produces a narrower trench and slightly smaller blobs at the junctions.
Running near the tube’s minimum power produces unpredictable results, because the tube temperature matters. Variations of a few tenths of a degree can prevent the tube from firing, either intermittently or completely, so keeping the minimum layer power well above the minimum tube power is a Good Idea™ unless you can afford considerable scrap.
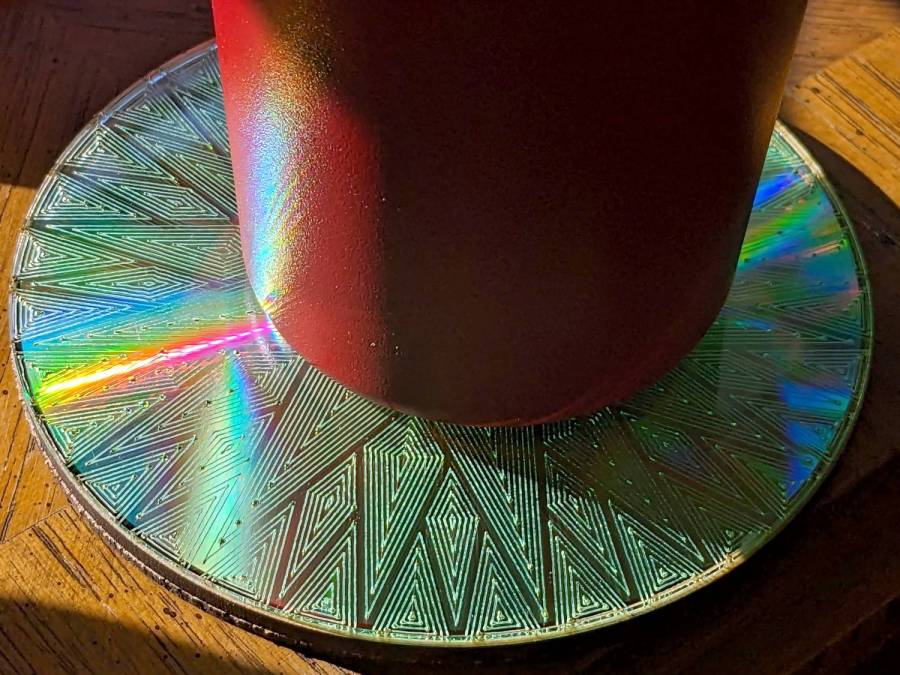
It’s a slow way to wreck discs, but a nice way to produce suncatching coasters:

Comments
2 responses to “Laser Cutter: Low Power Vectors vs. CD-Rs”
I’m always a little squeamish about the danger of lasers, especially cutting something so reflective. I was wondering about the air assist photo. Was it taken with the cover open with safety goggles on, or cover closed with the camera on time delay, or some other way?
Aye, you and me both!
The laser has front & rear passthrough hatches, with the front one serving as an inlet to get air flow over the cutting surface toward the rear. The hatches are about thigh-high, so I’m not worried about reflections and stray light in normal operation.
My glasses being opaque to IR means I have no qualms about aiming the phone camera through the front passthrough with me behind it, although I do wear known-good laser goggles when any of the other hatches are open. I take most of the photos through the amber-tinted lid, which is why they look slightly blurred with weird colors.