Having just finished another set of daytime running lights, we once again have a matched pair of Tour Easy recumbents:
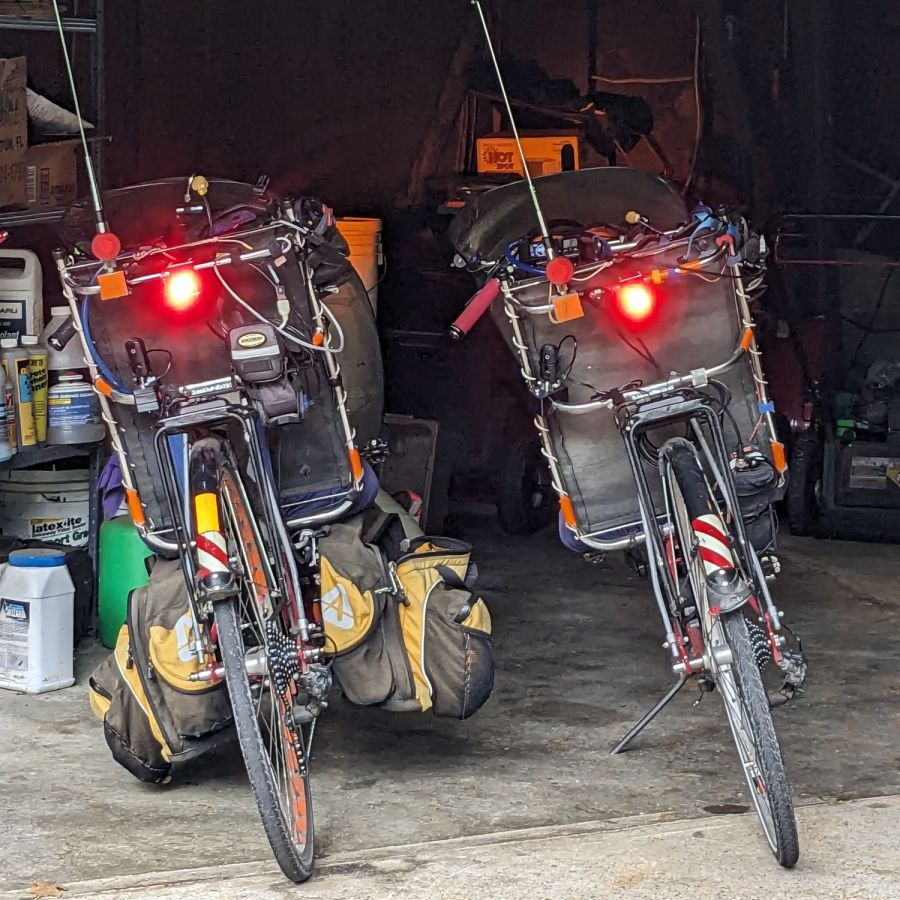
Although both ‘bents have Bafang 750 W motors with 48 V lithium batteries and both motor controllers have “light” outputs, they are different.
The controller on Mary’s bike (on the right) has a 6.3 V output that goes active when you press the 500C display’s + button for a few seconds. Those running lights simply use the light output for power, with a bit of tweakage to keep their current draw within the 500 mA limit.
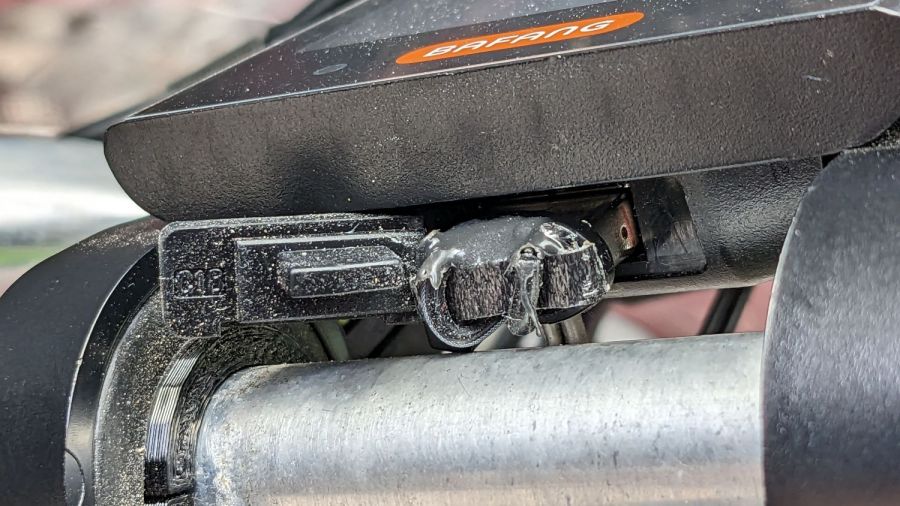
The controller on my bike (on the left) has a 12 V output that goes active when I press-and-hold the headlight button on the DPC-18 display’s pad. Unlike the 500C, however, the DPC-18 dims its display when the lights are on, rendering it completely illegible in sunlight.
Because the running lights must operate with the headlight output inactive, a buck converter from a randomly named Amazon seller steps the 48 V battery down to 6.3 V. Note that the usual buck converters have a 36 V upper limit, so you want one with an LM2596HV regulator.
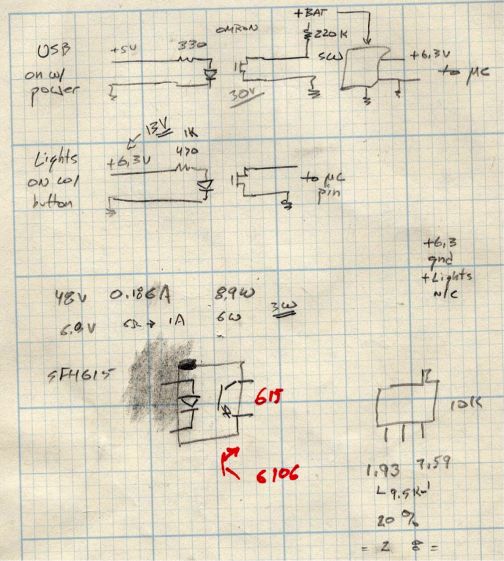
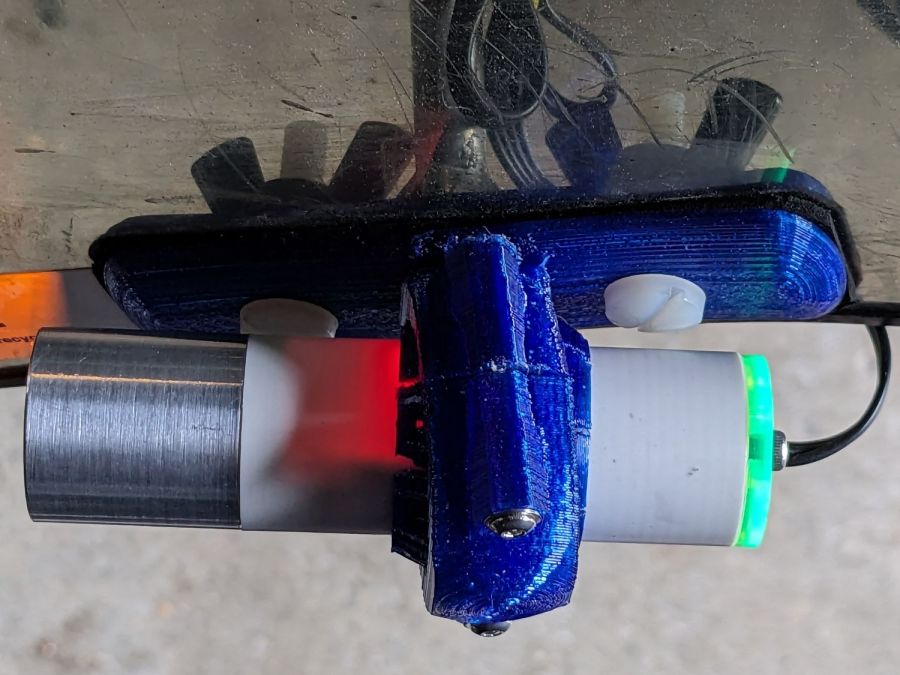
Because the regulator should be turned off when the motor controller is off, it must have a control input to enable / disable it; even if the regulator has the input pin, most boards don’t bring it out to a pad. The PCB I used has a SW input that must be low to enable the regulator, as shown in the middle doodle amid these scratches:
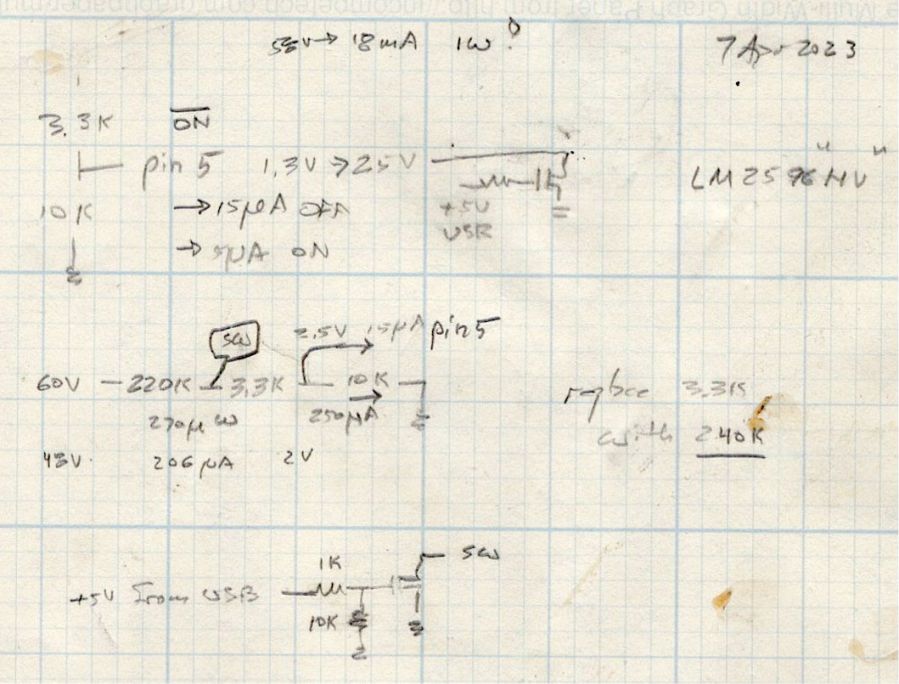
The SW pad on the PCB drives a voltage divider made from a 3.3 kΩ and a 10 kΩ resistor, with the regulator’s control (pin 5) looking at the junction. Running the numbers suggested a 220 kΩ resistor from the battery + terminal would provide enough current to hold the pin high, while not drawing more than a few hundred microamps, and a transistor could pull it low to turn the regulator on.
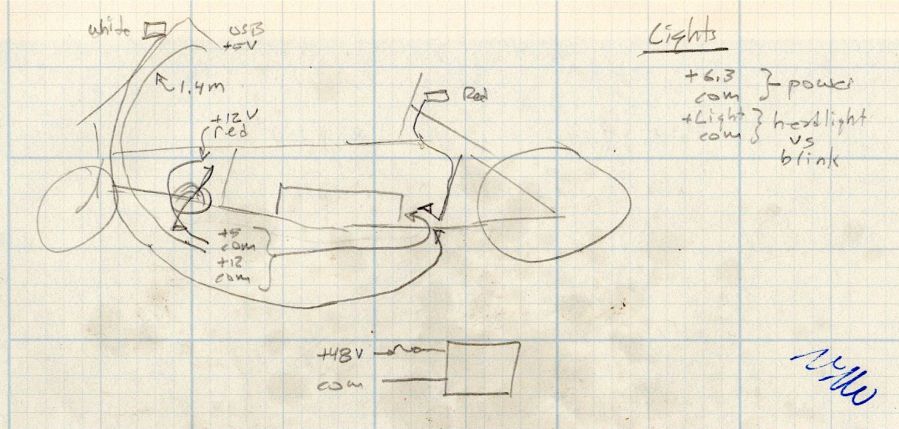
The DPC-18 display has a USB port to charge your phone on the go, so I hijacked that to get +5 V when the controller is turned on:
It’s a cut-down USB breakout board with two 24 AWG wires stripped from a ribbon cable soldered in place and coated with epoxy. The silicone port cover sticks out on the left; I eventually jammed it under the display panel in lieu of cutting it off.
Although I want the running lights on whenever the controller is on, It Would Be Nice™ to have a steady headlight / taillight in the unlikely event I ever ride after dark. With that in mind, the USB power pair joins another pair from the motor controller’s LIGHT connector (via a red 2-pin Juliet plug), so the firmware can tell when the headlights should be on, and the resulting 4-wire ribbon cable wanders off to the battery mounting plate:
The connectors along the way are 4-pin JST-SM 2.5 mm, which are most certainly not watertight. We’re fortunate in being able to not ride in the rain whenever we want, so the connectors won’t be exposed to water very often.
The battery mounting plate has an aluminum casting with a small compartment, probably intended for a complete e-bike controller, that just barely holds the hardware required to produce the 6.3 V supply:
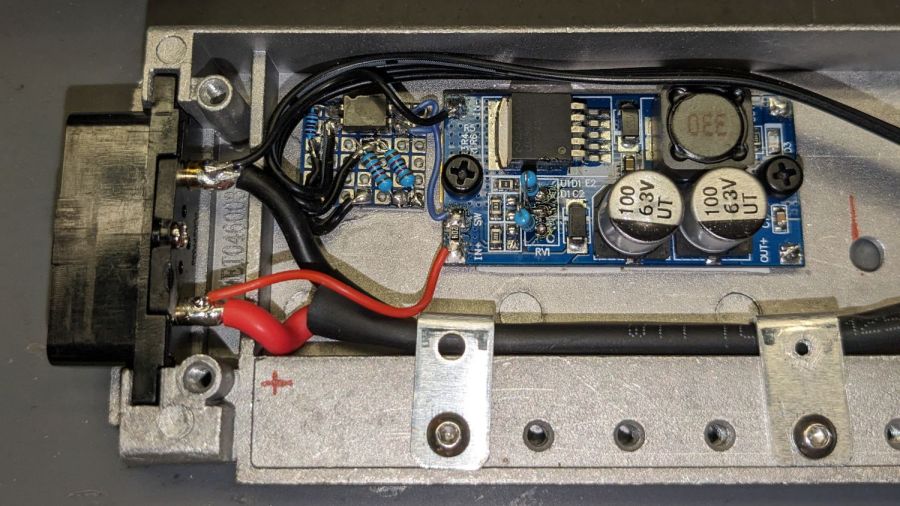
Yes, those exposed battery terminals with soldered-on wires got a silicone tape wrap. No, there are no fuses involved. The two steel brackets holding the main power cable in place came pre-bent and pre-drilled in a random piece of scrap harvested from some dead equipment; they’re screwed into pre-tapped holes intended for the six TO-220 style power transistors of the missing motor driver.
The perfboard in the upper left holds an optoisolator for the USB power → SW input and a pair of resistors for the LIGHT signal to the headlight and taillight:
The optoisolators come from an ancient surplus deal; the bag I thought contained unmarked SFH615 parts apparently got mixed with some unmarked SFH6106 parts with the opposite transistor pinout.
The sketched trimpot in the lower right was on the buck regulator board, where it stood just an itsy too tall to fit the space available. Given that I would never adjust it, I set it for 6.3 V, removed it, measured the resistances, substituted fixed resistors, and the board should produce 6.3-ish V forevermore.
The regulator sits atop heatsink tape on a brass sheet with more heatsink tape isolating it from the housing and two nylon screws holding the stack in place.
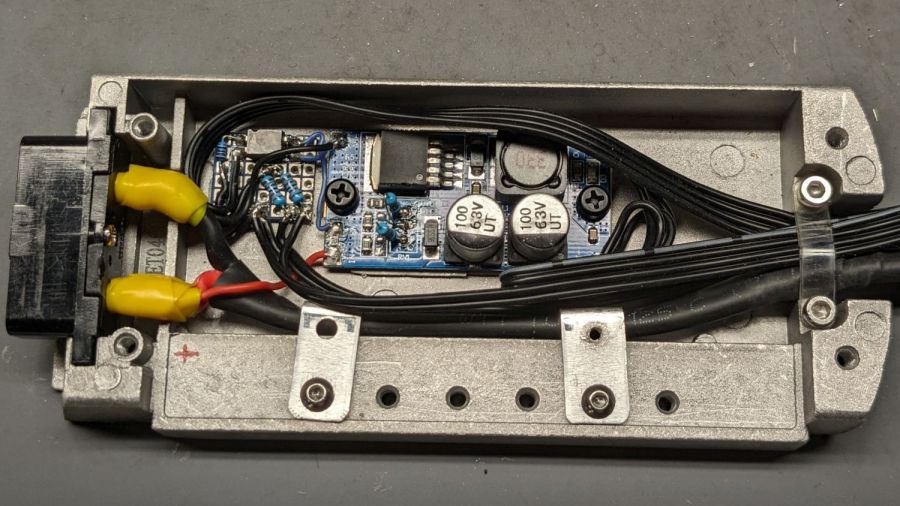
With the various cables soldered in place:
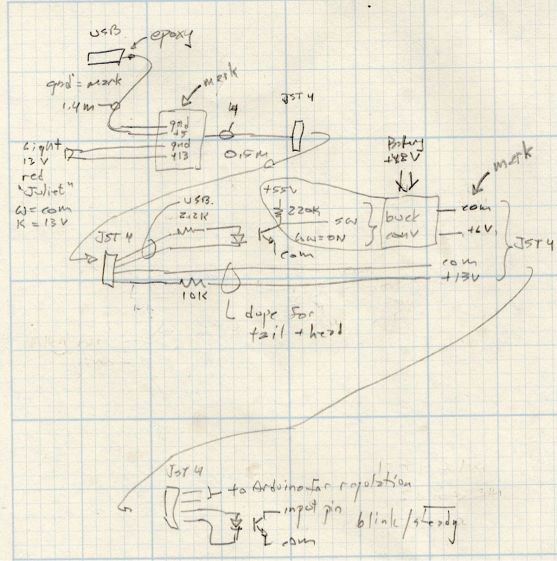
The layout of all those cables:
Surprisingly, It Just Worked™:
More details to follow …
