Mash all these together:
- Russ Sadler’s notion of 2 mm steel dowel pins inserted into a hand-drilled acrylic plate atop a cold-rolled steel sheet
- David Johnson’s notion of using punk clothing spikes as standoffs
- A sufficiently aligned honeycomb platform
- My desire to not form deep emotional bonds with a fixture
To get a cardboard spike plate:

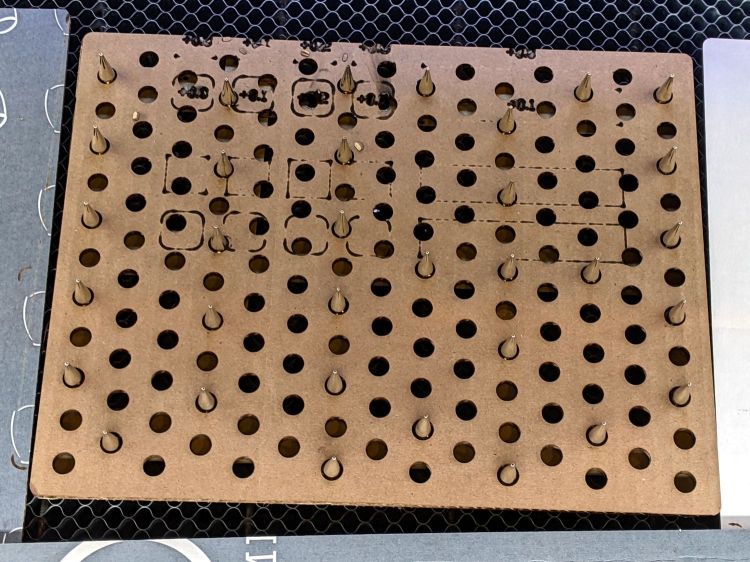
The punk spikes stick to a layer of ordinary masking tape across the back surface which lets them sit flat on the honeycomb and support a sheet parallel to the platform. They’re nominally an inch tall, which works out to a very consistent 24 mm, and come with a matching set of 6 mm M3×0.5 truss-head screws now residing in a ziplock bag against future need.
The spike plate works well under thin paper-like sheets requiring high cutting speed and low power, where the defocused beam just scorches tracks across the cardboard without setting it on fire:
Nota bene: a cardboard sheet makes a terrible backing plate under material requiring slow speed and high power, like MDF / plywood / acrylic, where the cloud of combustible gases under the victim forms a very effective flamethrower. You have been warned.
Obviously, you need not fill every hole. Leaving some holes vacant doesn’t (seem to ) allow much smoke removal downward through the honeycomb, perhaps because there’s insufficient perimeter area to get enough wind into the center section.
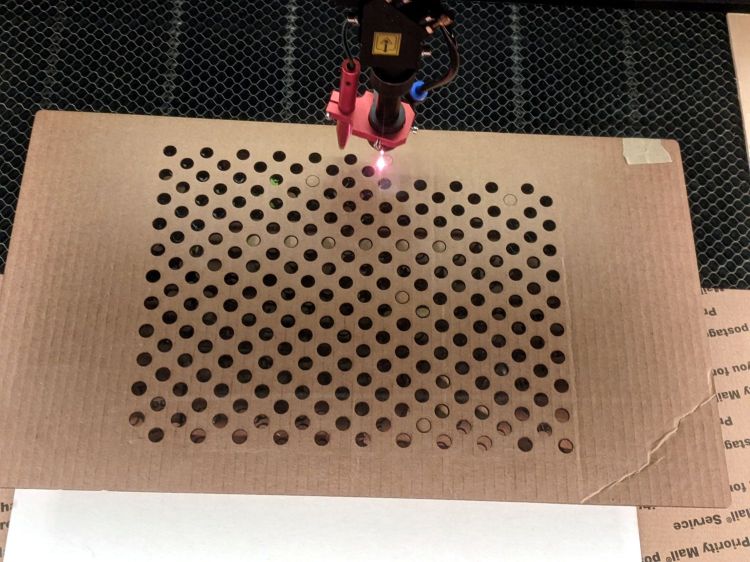
Eventually, the cardboard becomes sufficiently scarred to justify making another one, which is easy enough:
The motivation for raising the target above the platform is to provide good airflow to remove the smoke / fumes / smog from the area, thereby reducing unsightly deposits on the lower surface. Given decent airflow across the platform, this works surprisingly well:
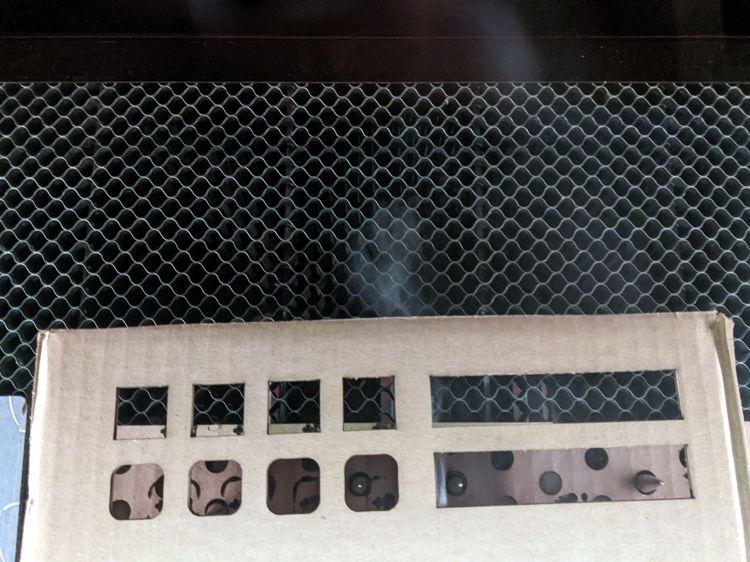
That picture comes through the laser’s tinted polycarbonate window, so it’s somewhat blurred, but shows smoke streamers emerging from the victim’s corrugations and across its surface.
All in all, it’s quick, easy, and effective.

Comments
4 responses to “OMTech 60 W Laser: Spike Plates”
Could you make the whole thing from cardboard, including the spikes? By cutting the spikes from a long rectangle of cardboard that interlocks with a perpendicular rectangle of cardboard.
The only real advantage of the cardboard backing is to hold a bunch of pins at once and let them settle against the honeycomb for Z-axis uniformity.
An upcoming post (scheduled a while ago!) describes the first iteration of spikes cut from MDF that jam directly into the honeycomb, with arms to locate them against its surface. They work better than I expected, although an as-yet-unwritten post covers some improvements.
It’s been a busy few weeks around here! [grin]
[…] These work well when the fumes from cutting MDF / plastic / whatever would blowtorch a cardboard sheet holding metal spikes: […]
[…] a cardboard base plate under metal spikes would pose a fire hazard, you can position magnetic spikes where they’re […]