The honeycomb grid panel doesn’t have a perfectly flat surface, but the bench block kinda sorta averages things out:
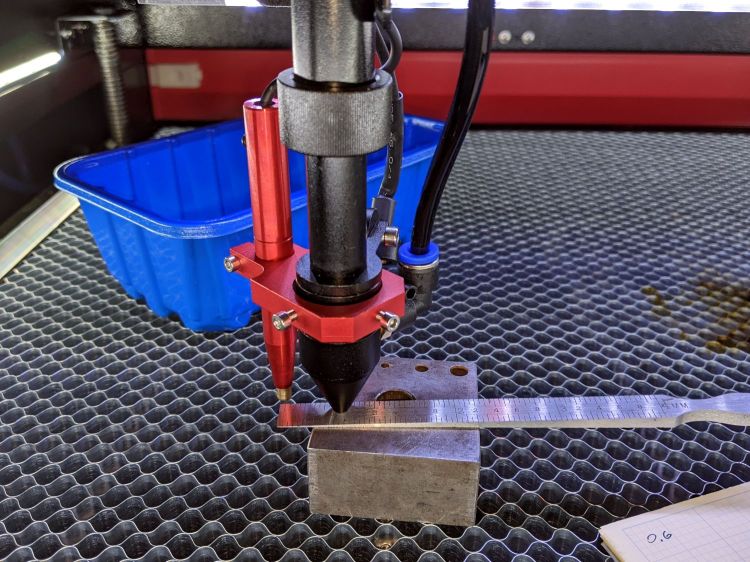
I jogged the platform down until the nozzle just cleared the block, then measured the space at various spots across the grid. Somewhat to my surprise, it’s just about as good as you can expect:

You could argue that the left side is lower by half a millimeter.
The four stout single-start leadscrews moving the platform have a 4 mm lead (= pitch for single-start), driven by a belt with a 0.2 inch (!!) tooth spacing around 14 tooth sprockets, so moving the belt by one tooth produces 0.286 mm of vertical motion. I could loosen the belt and turn the left rear leadscrew one tooth to raise that corner, but not right now.
The laser lens has enough depth of field to cover a millimeter without too much spot size variation, unless you’re being very fussy. A quick focus check:

The center hole happened pretty close to the lens focal point, with the adjacent holes 1 mm above / below that point. An accurate initial focus setting is obviously important, but varying by half a millimeter on either side seems survivable.

Comments
5 responses to “OMTech 60 W Laser: Platform Alignment Check”
I (naively) assume that you will place a sacrificial MDF board (or sim) over the mesh bed when the laser is used. So why bother with the multipoint leveling process? Or do you repeat every time you use the laser given the MDF will likely change dimensions seriously after each use? Question is posed as a naive observer, not as a shot across your bows, sir.
There’s a horror story out there from someone with infinite troubles getting good results from his new high-price laser. After much trial-and-error that should not be needed with a fancy laser from a known-good source, he discovered the fancy motorized platform was several millimeters low on one side: the assembly tech evidently got distracted and QC didn’t catch the error.
This not being a fancy laser, I figured a quick check was in order. It looks good enough that I’ll use the honeycomb surface as a reference plane until a project requires more fussy alignment, which will probably involve a smaller platform atop the honeycomb.
As I remember, most of these lasers suck the air from below the honeycomb… covering it up might be counterproductive. Plus, metal is not affected by 60W CO2 laser, it’s not like you’ll cut into the honeycomb.
Covering up the front of the platform directs the air over the surface, past the victim, then either through the honeycomb or down past the rear of the platform. I don’t have enough experience to know if it really makes any difference, but it’s definitely visible.
[…] A sufficiently aligned honeycomb platform […]