A little support pillar makes a printable holder for a small tactile pushbutton:
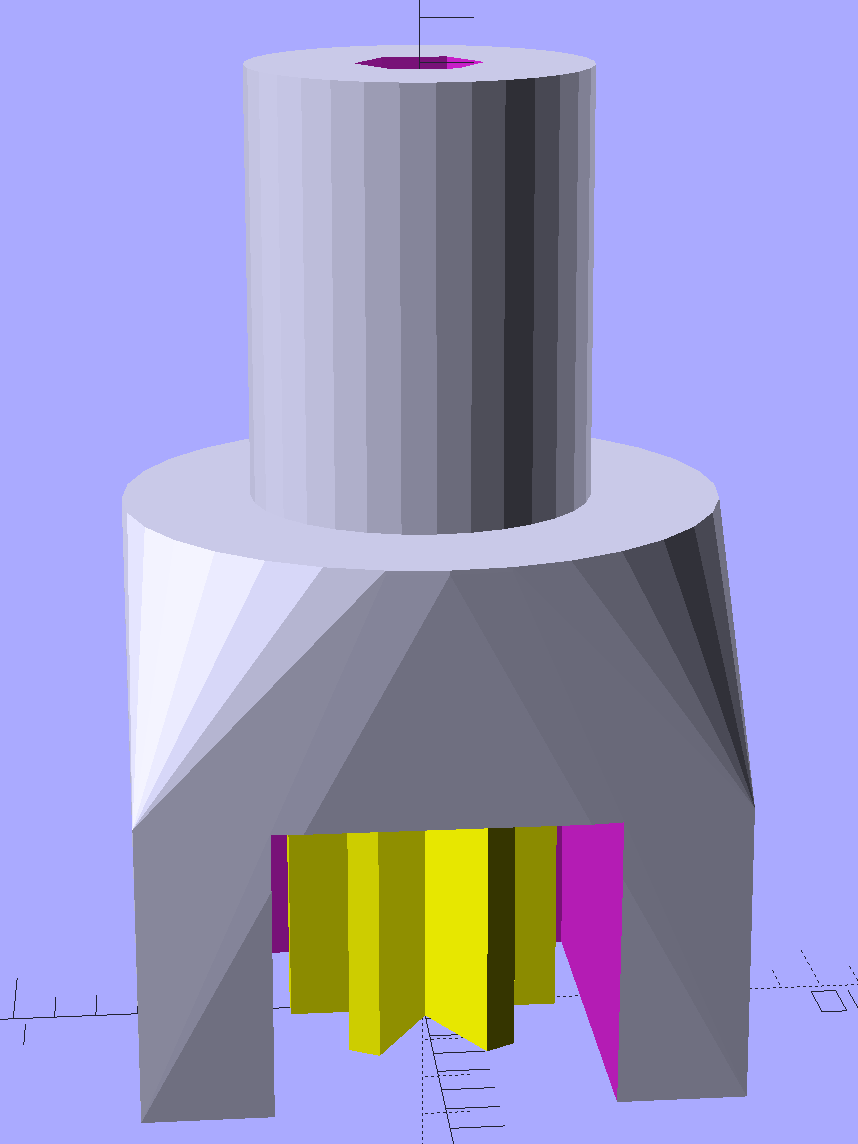
A(n) 0-80 brass washer epoxied atop the butt end of a P100-B1 pogo pin keeps the pin from falling out and provides a flat button pusher:

With the epoxy mostly cured, ease the pin off the tape, flip the whole affair over, shove the switch into position, realign vertically with point down, then let the epoxy finish curing with the washer held in place against the switch to ensure good alignment:

The brass tube ID is a sloppy fit around the pogo pin, but it’s also many pin diameters long and the position error isn’t worth worrying about.
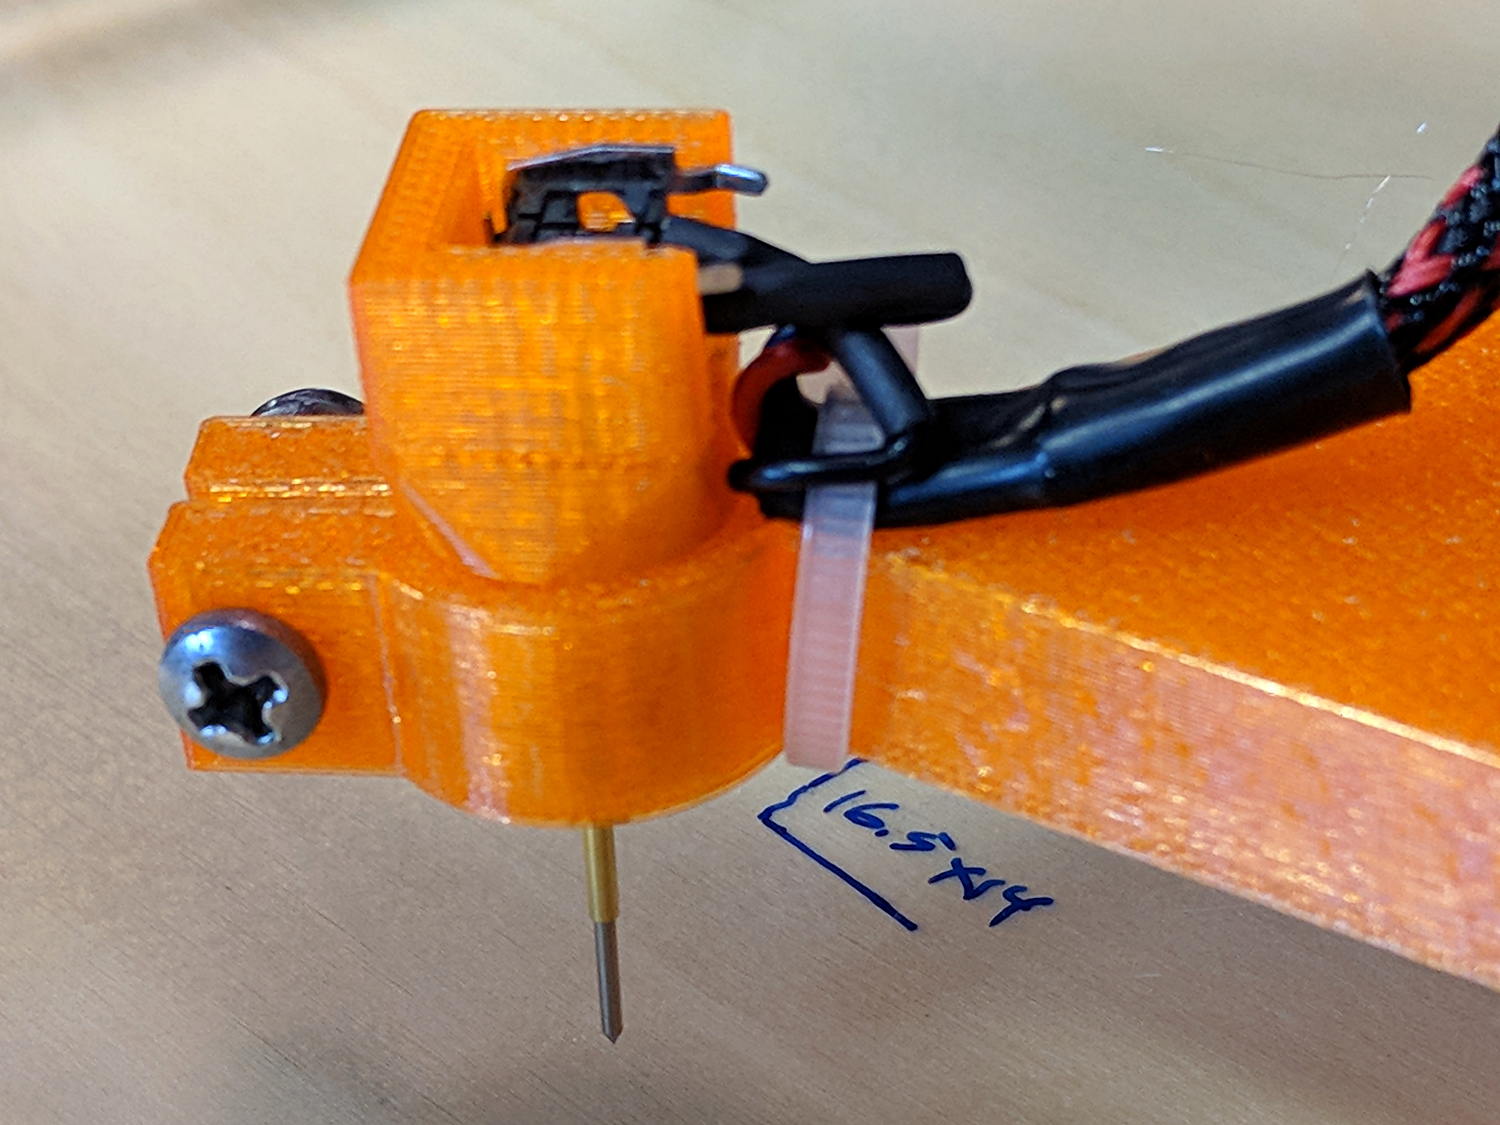
Solder a cable, clamp it in the pen holder, attach to tool holder:
The pogo pin provides half a dozen millimeters of compliance, letting the initial probe speed be much higher than the tactile pushbutton’s overshoot could survive, after which a low-speed probe produces a consistent result.
Unleashing bCNC’s Autolevel probe cycle:
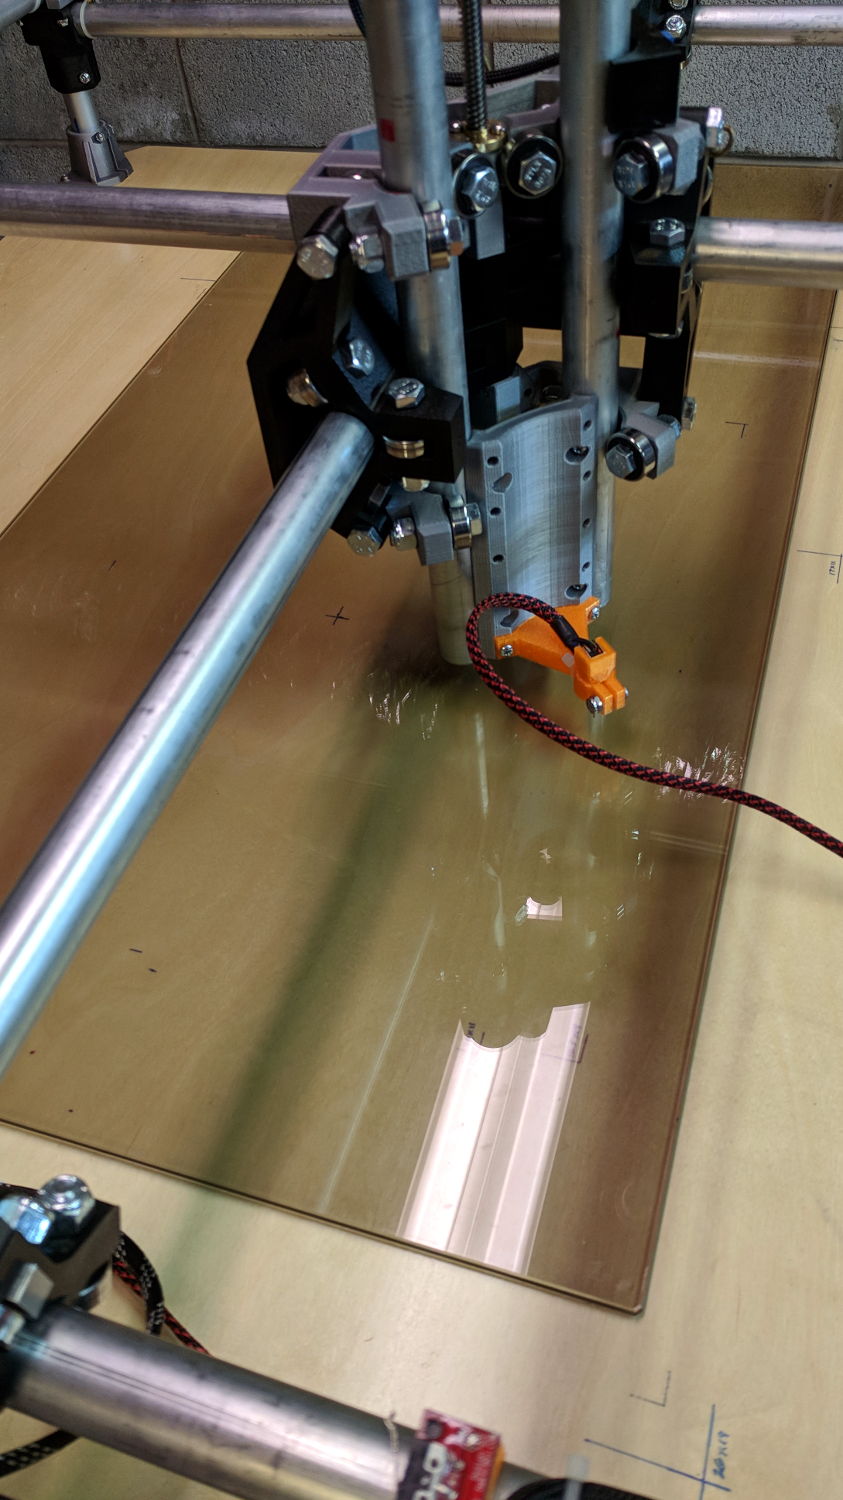
Although the picture shows the MPCNC probing a glass plate, here’s the first height map taken from the bare workbench top with 100 mm grid spacing:
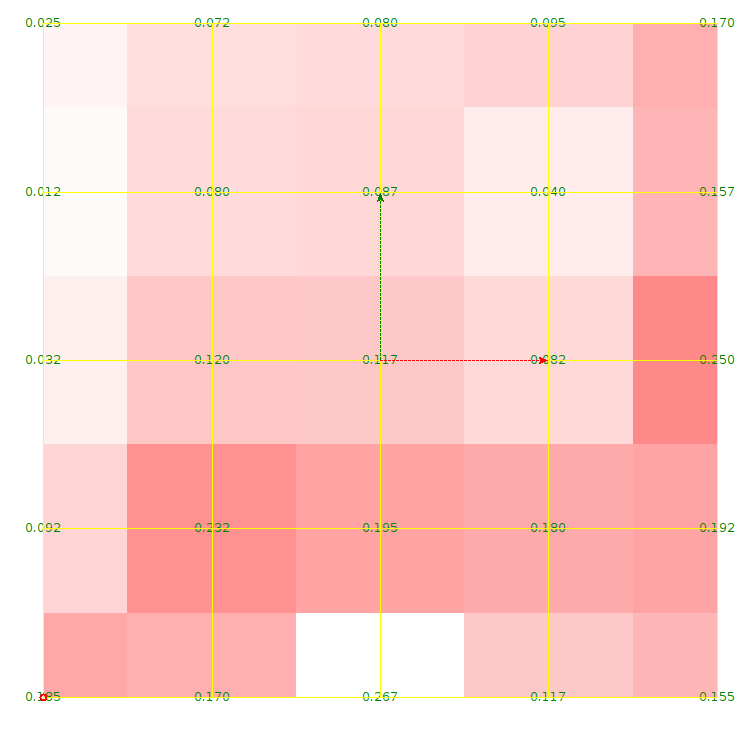
The ridge along the right side comes from a visible irregularity in the wood grain, so the numbers actually represent a physical reality.
Doing it with a 50 mm grid after re-probing the Z=0 level:

Eyeballometrically, the second plot is 0.2 mm higher than the first, but this requires a bit more study.
All in all, not bad for a first pass.

Comments
2 responses to “MPCNC: Z Height Probe”
[…] the tempered glass sheet I used for the initial trials and B-size Spirograph plots under the Z height probe eliminated the plywood benchtop’s small-scale […]
[…] putting a Z-axis height probe in a rigid pen holder worked well enough, it’d be handy to have a probe with a stud suitable […]