Shortly after replacing the battery, the dreaded Malfunction Indicator Lamp popped on with a P0420 error code that, according to the Nice Man at Autozone, translates into “low catalytic converter efficiency”. A bit of diagnostic sleuthing reported that the most likely cause was an exhaust leak, followed by an out-of-calibration downstream oxygen sensor, followed by a bad converter. Internet lore has it that replacing the cat cracker is a dealer-only event (here in New York State, with a van sporting the California emissions package) that costs upwards of $2 k, which seems excessive for a 14-year-old van.
Actually, the most probable cause was replacing the battery: the brief power outage wipes out the stored performance data for the emissions control machinery. Because we make only short trips and it’s been bitterly cold, the algorithms may conclude the converter’s dead when it’s just a matter of measuring the variables under suboptimal conditions.
With all that in mind, after a peek under the van ruled out the exhaust leak, I decided to replace the oxygen sensor. All this happened during a week when the outdoor temperature hovered around 10 °F = -12 °C, but the forecast called for an atypical January day with a high of 55 °F = 13 °C; I might not get a second chance before the annual inspection came due in February.
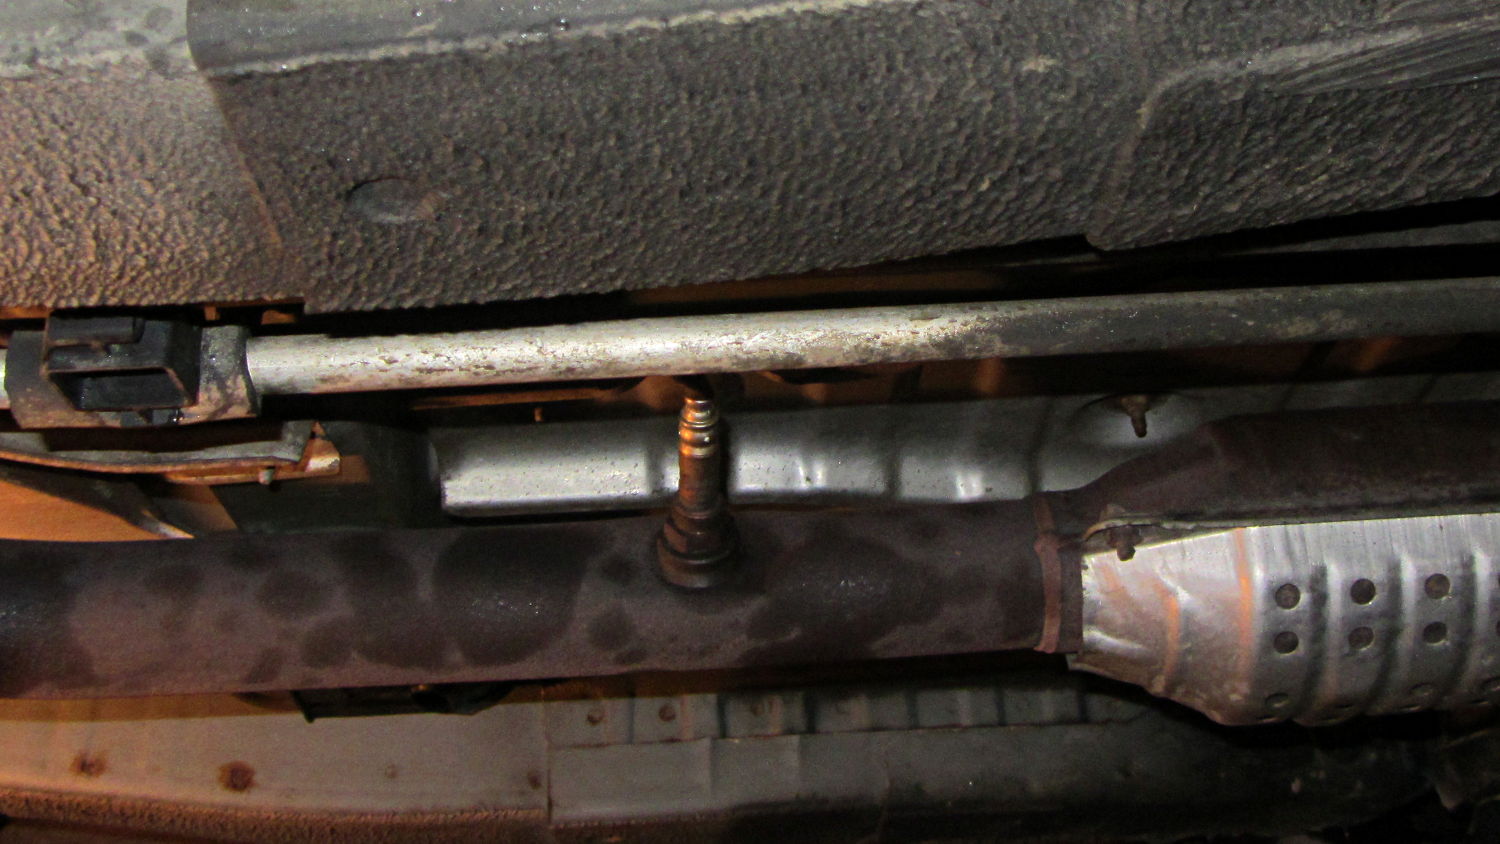
The sensor is relatively cheap (about $70 at the local Autozone) and, entirely unlike Bank 1 Sensor 1, readily accessible on the tailpipe downstream of the cat cracker:
The OEM sensor cable runs in a sheath held to the chassis with a plastic clamp:
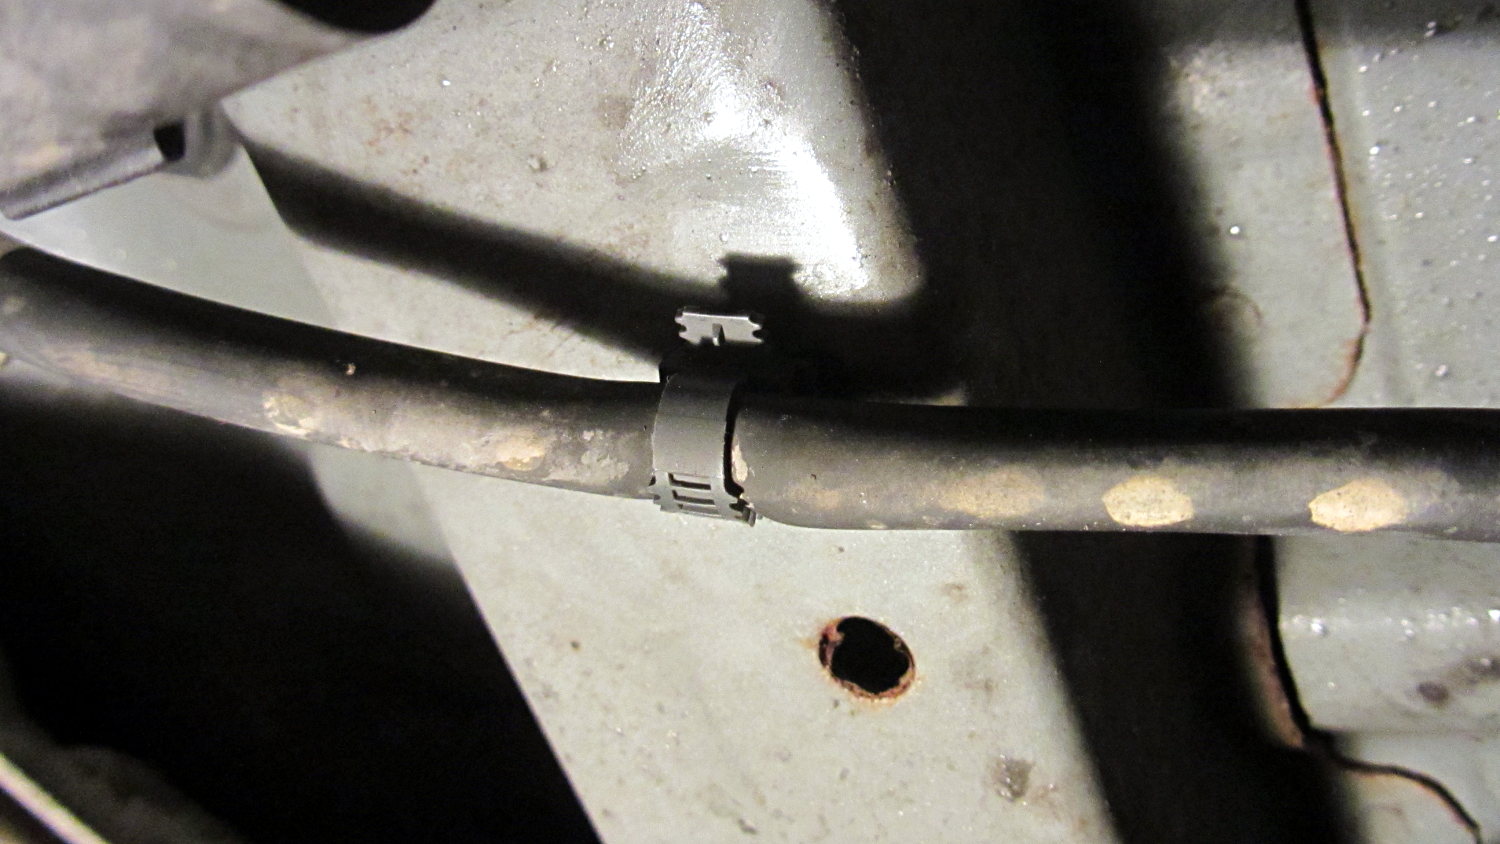
Jamming a small screwdriver into the clamp released the tongue and the sheath. The sheath vanishes into the van’s interior through a squishy rubber boot, with a crimped metal band joining the two:

Internet lore would have you believe you can replace the sensor without removing the front passenger seat, but it’s much easier if you remove the four bolts, disconnect the seat sensor, and lay the seat on its back:

More fiddly-diddly with the screwdriver under the van wrecked the band enough to separate sheath from boot, at which point deploying the BFW with the magic oxygen sensor socket showed that the anti-seize compound on the sensor’s thread worked as intended: after one oomph the sensor turned out by hand.
Then you just punch the boot through the floor and bring it all inside to splice new sensor onto OEM connector. Standardization is a wonderful thing; the sensor cable may use any one of eight color codes. The Toyota OEM sensor was a “Type B” that matches up with the Bosch replacement sensor thusly:
- Heater = two black leads ↔ two white leads
- Signal = blue lead ↔ black lead
- Ground = white lead ↔ gray lead
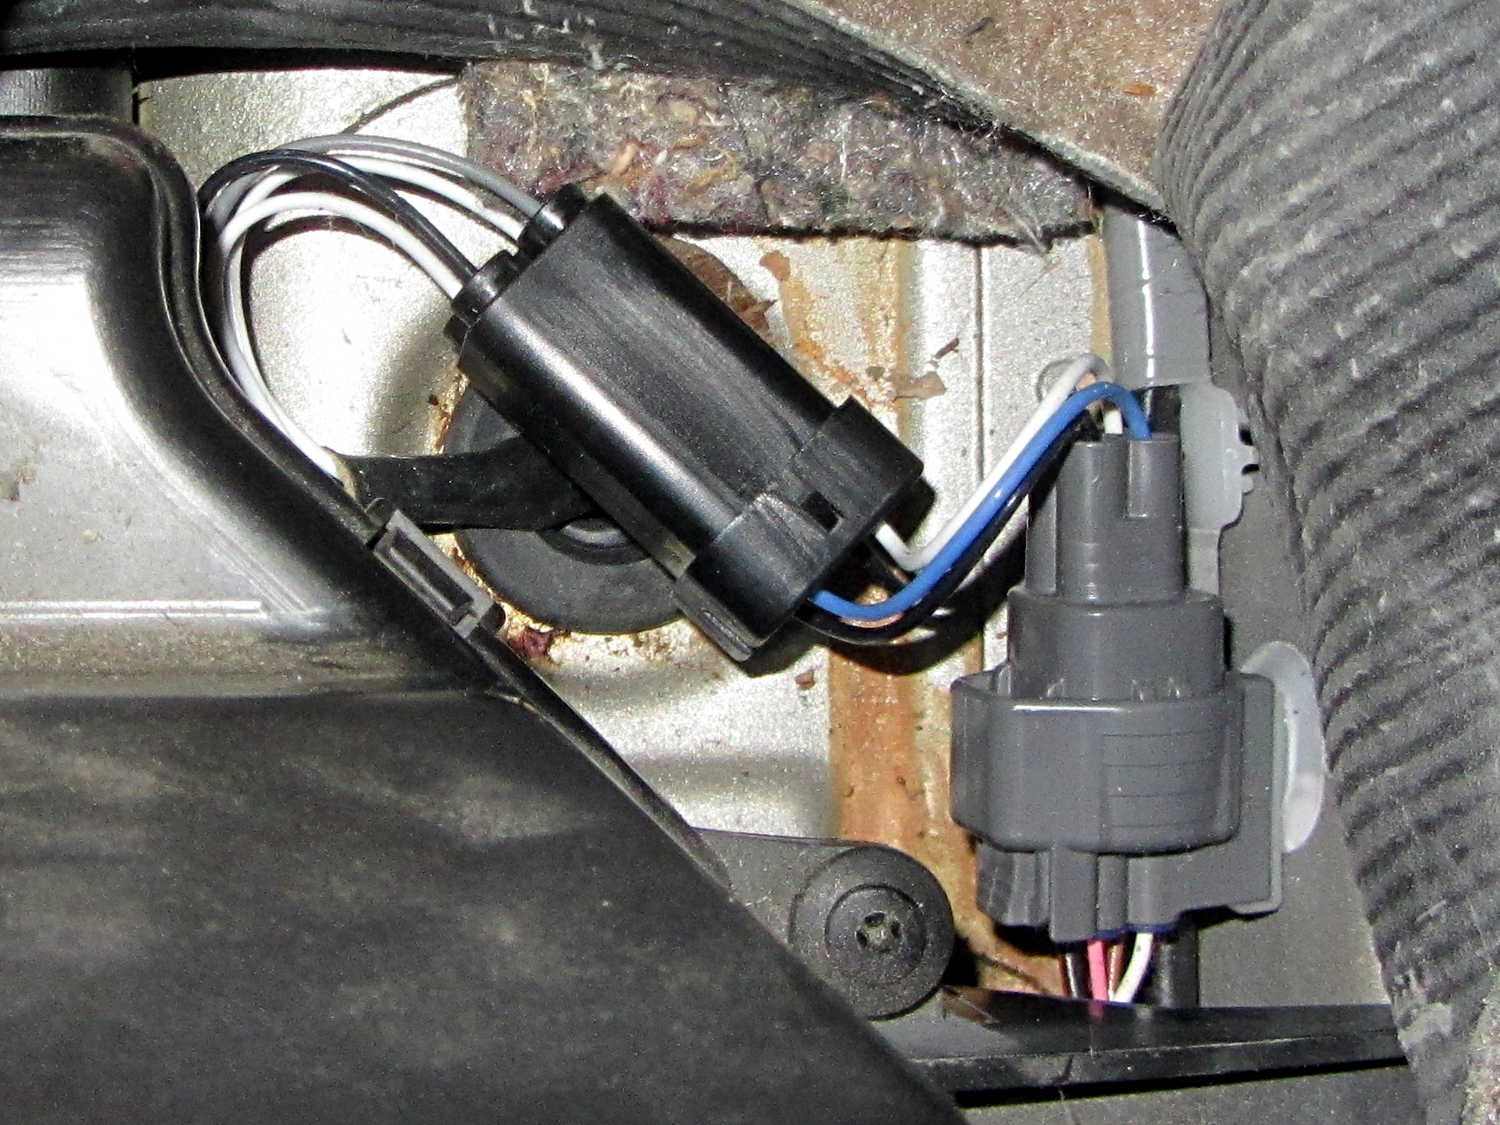
Although the splice block has water-resistant seals, I figured putting it inside the van couldn’t possibly be a Bad Idea, so there it is, nestled snugly into the recess in the floor:
Picked up a nice new Autel AL519 OBD Code Scanner from the usual Amazon vendor, reset the trouble code, drove to-and-from Squidwrench (across the river, just barely far enough to reset the performance data), and so far it’s All Good. The motivation for getting my very own scanner, rather than returning to Autozone, is that the AL519 can do real-time graphing and data capture from various sensors, so I can perform Science! should the spirit move me.
The AL519 has a USB connection that appears as a USB serial device but, alas, the relentlessly Windows-centric host program won’t run under Wine.

Comments
5 responses to “2000 Toyota Sienna: Replacing the Bank 1 Sensor 2 Oxygen Sensor”
As I’ve heard it, the next line is “That’s why there are so many of them!” I was dismayed to find that of the 3 vehicles we have that use the OBD code system, I only need 3 different scanners to cover them. Meh. (Vehicles built in 1998, 2003 and 2012.)
At least the tractor doesn’t need a code scanner. On the gripping hand, we’re not in an inspection zone, and haven’t had any O2 sensor problems so far.
Hmm, need to re-research. The Audel scanner just might do the job for all 3.
Loading the comment stack, but I’m still in the same boat. The Audel works fine for Japanese vehicles, but according to the Amazon reviews, can’t speak to older (2007!) GMCs and doesn’t fully support the protocol used by 1998 Fords. I’ll wait until I really need one, methinks. (Note that one review says Audel won’t support units bought from “non-authorized sellers”, including Amazon.)
I’ve always wondered how you’d find an Authorized Seller… [grin]
My usual line is, ” that’s the good thing about standards, there are so many to choose from”. Just like programming languages, C works/worked fine and just about everyone has spun some new language that uses some part of it. I suppose we do need to make progress and things need to change, but they are not always changed for a good reason. We all know various companies out there who put their own spin on an already accepted standards. It often amount to just switching a few wires around to keep the “average individual” from possibly repairing it on their own. Phooey on those folks!