Ed Nisley's Blog: Shop notes, electronics, firmware, machinery, 3D printing, laser cuttery, and curiosities. Contents: 100% human thinking, 0% AI slop.
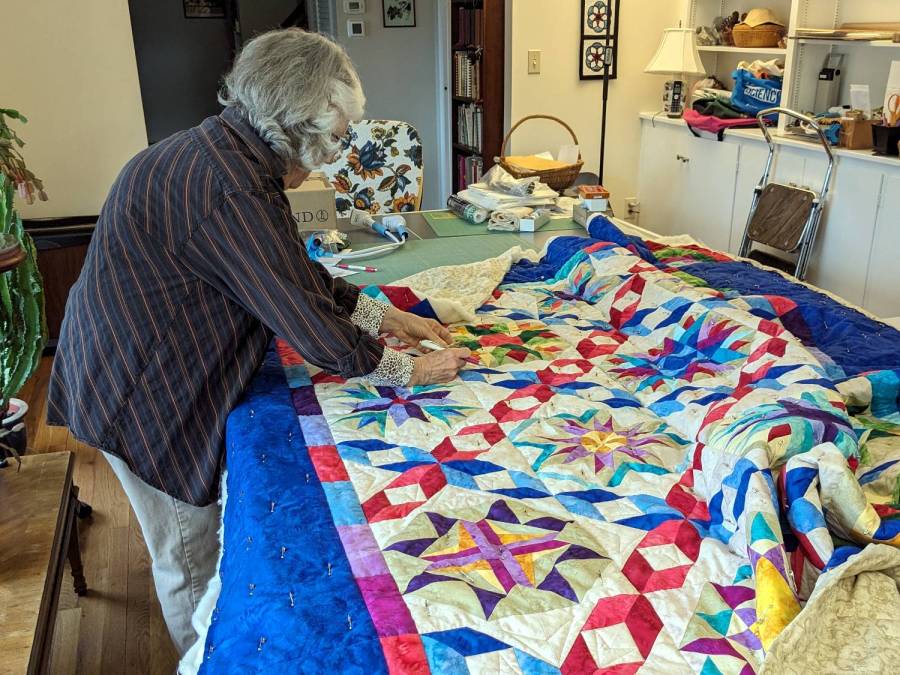
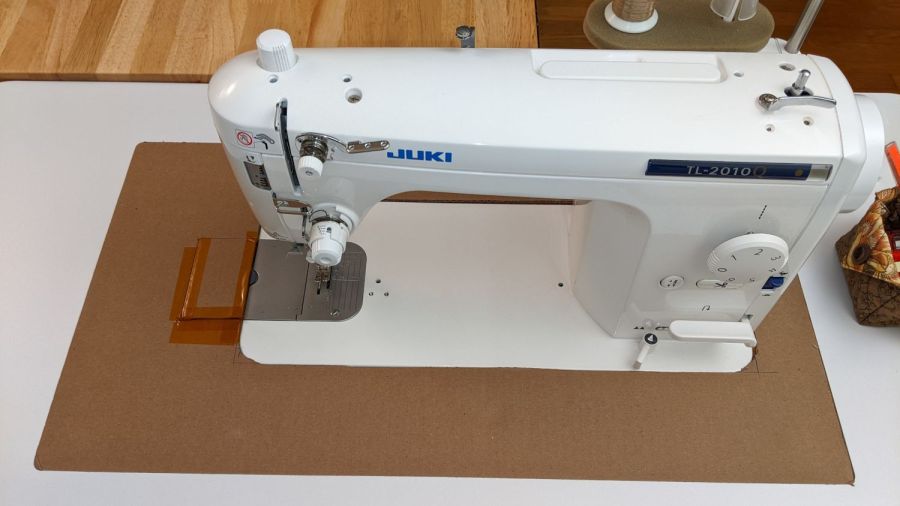
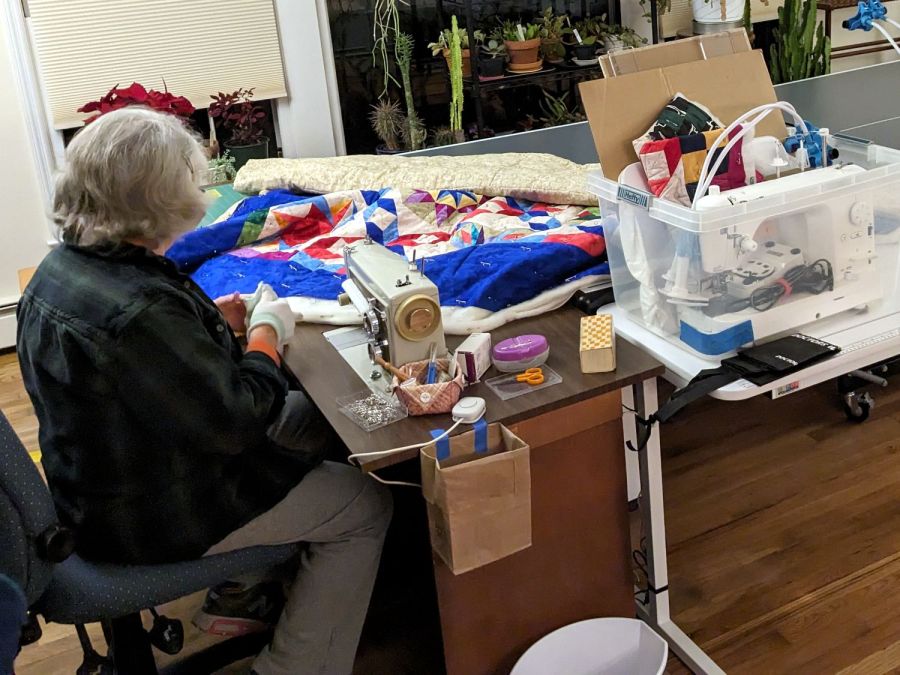
Mary redesignated the Prince Tournament 6800 ping-pong table that Came With The House™ as her quilting layout table, so it now fills much of the Sewing Room (f.k.a. the Living Room):
Mary with quilt on ping-pong table
For reasons lost in the table’s history, the two halves of the top surface weren’t quite flush on one side, by a matter of a few millimeters. This bothered me far more than it did her, so the delay until I finally fixed it wasn’t critical:
Prince ping-pong table leveler
That’s 3 mm plywood + 1.5 mm Trocraft Eco pushing the surface upward just enough to almost make the joint (visible near the bottom of the picture) flush within +2 -1 mm across the table width, making it obvious that neither piece is exactly planar.
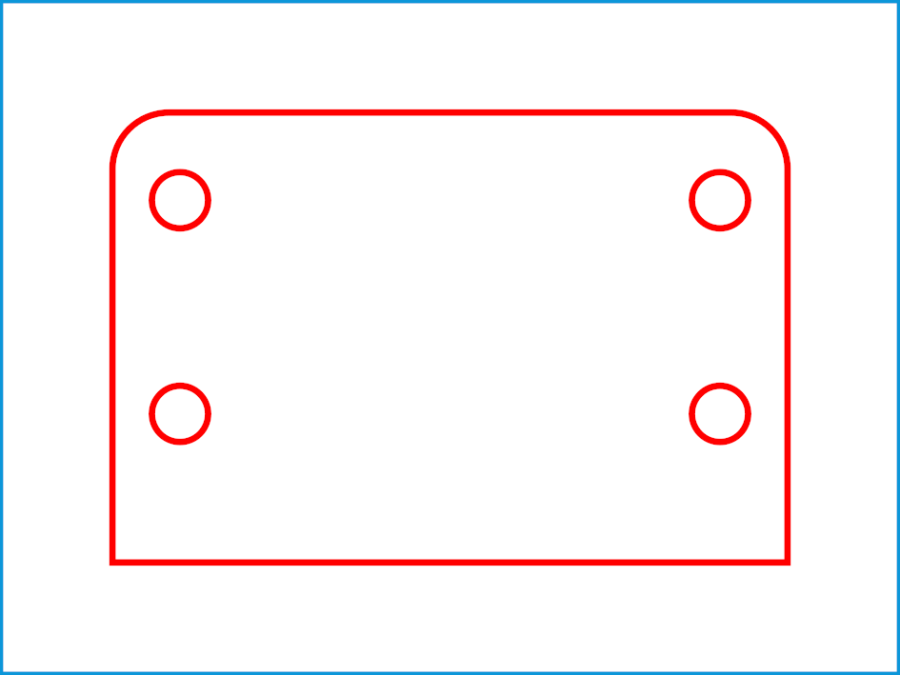
The shape has mixed metric and inch dimensions, for no reason I know:
Prince ping-pong table leveler
If you ever need such a thing, remember to use screws about 4 mm longer than the ones you took out.
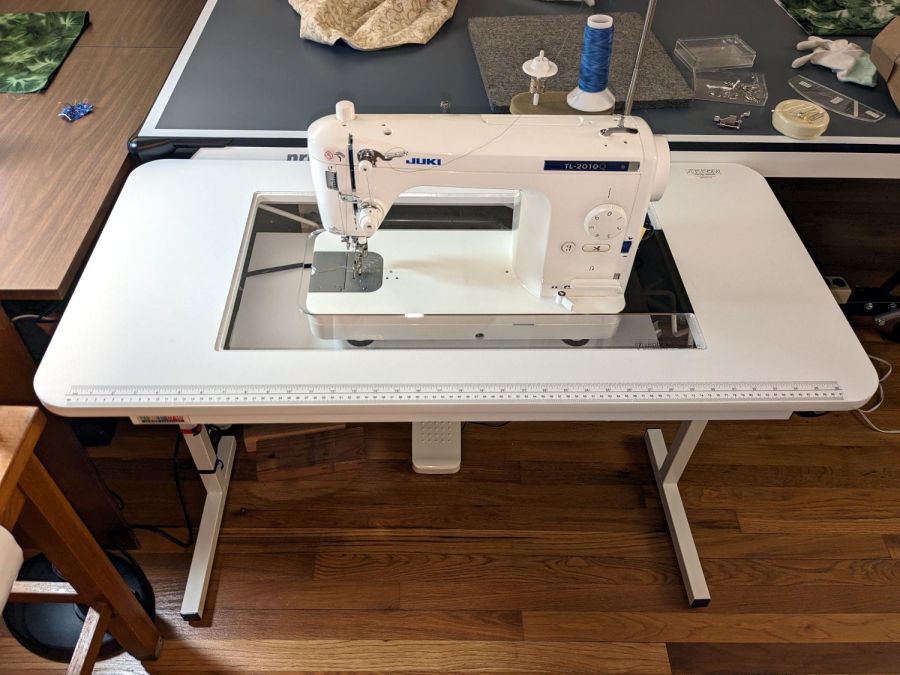
Although it may not be obvious from the picture, unlike my cardboard insert, the acrylic insert does not fill the tabletop hole to the immediate right of the machine:
Custom Inserts are U-shaped, designed to fit around all 3 sides of your sewing machine
Shortly after the insert arrived I hacked a temporary filler, for which no pictures survive, to keep pins / tools / whatever from falling to their doom. This turned out to be a blessing in disguise, because she wanted the machine positioned an inch to the right of its intended spot to leave enough space for a finger to reach the bobbin hatch latch.
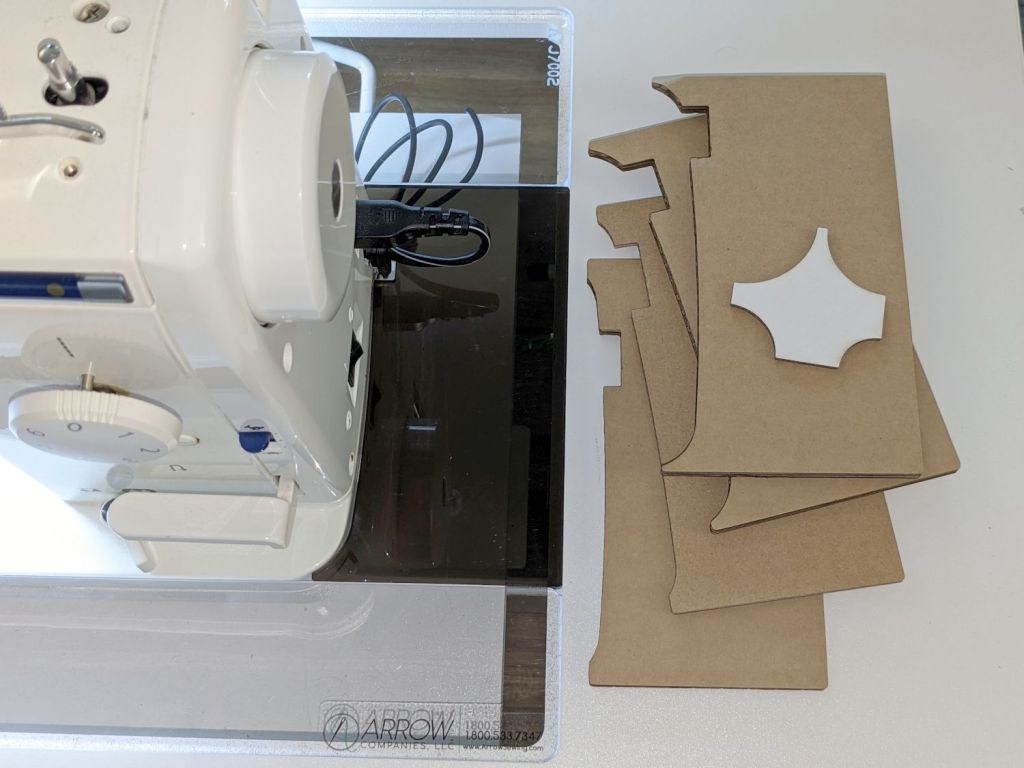
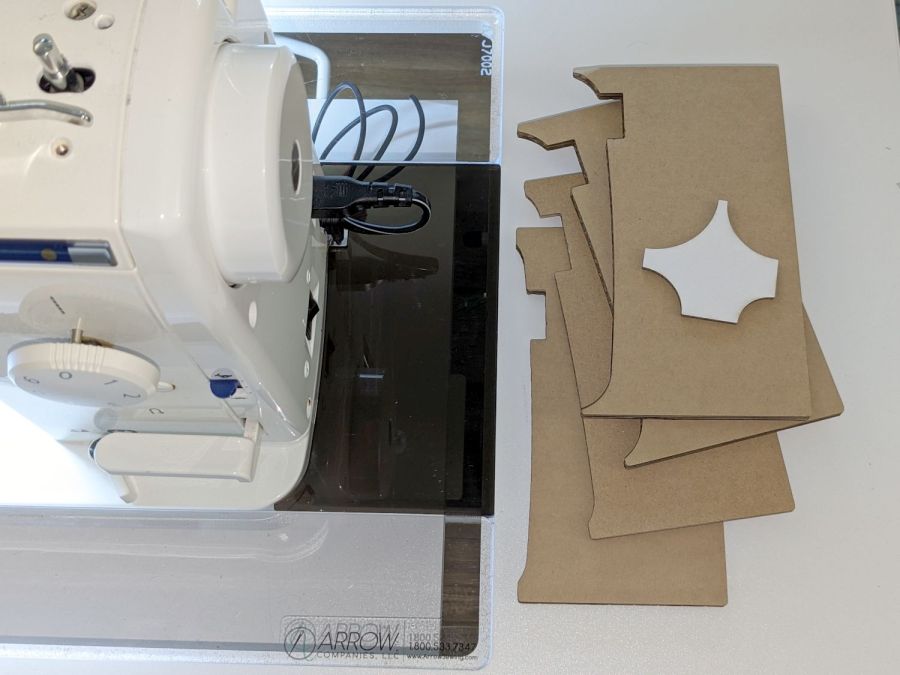
I then promised to replace the ugly cardboard filler with a less awful acrylic filler and finally got it done:
Juki TL-2000Q in Gidget II table – insert filler
The stack of cardboard prototypes show iterative fit-and-finish improvements, with the odd shape on the top serving to measure the machine’s 25 mm corner radius by comparison with known circles.
The insert filler is made from smoked gray acrylic, because I have yet to unpack the acrylic stockpile and may not, in fact, have any clear 6 mm acrylic, so we’ll regard this as a final prototype pending further developments. It did, however, confirm the laser survived the move, which was pretty much the whole point.
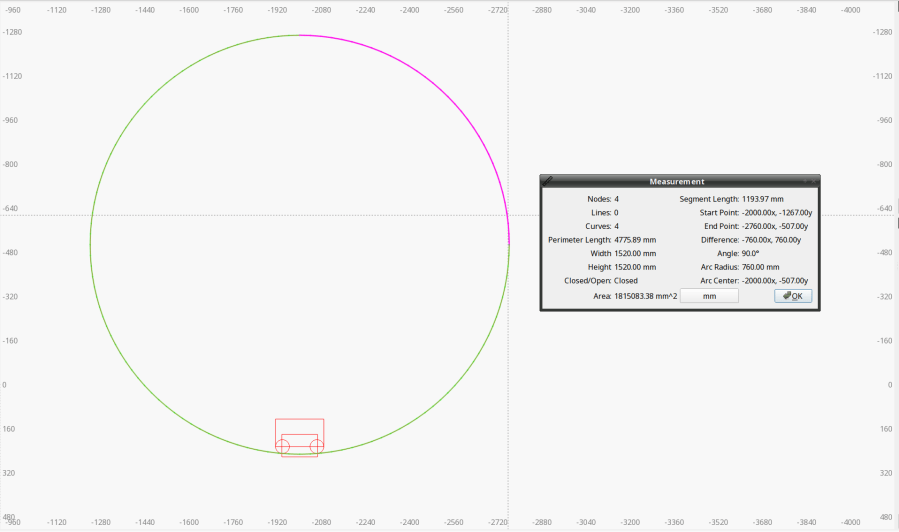
The end of the machine is not a straight line. Part of the iteration was measuring the curve’s chord height to calculate the circle’s radius, which turned out to be 760 mm:
Juki Insert Filler – end chord circle
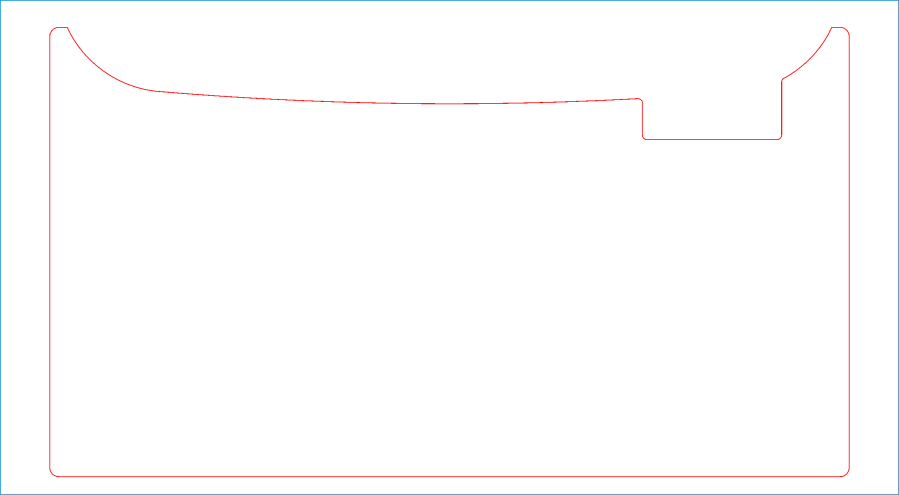
With that in hand, a few Boolean operations produced the filler shape:
Juki Insert Filler
A pair of silicone bumper feet stuck to the side of the Juki hold the left edge of the filler at the proper level.
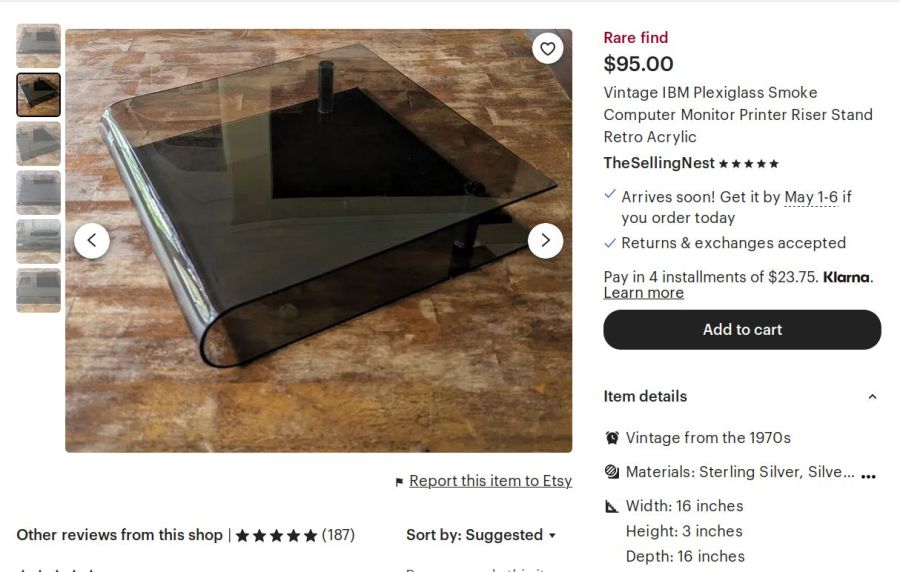
For the record, the smoked acrylic came from a fragment of a Genuine IBM Printer stand I’ve had in the scrap pile since The Good Old Days:
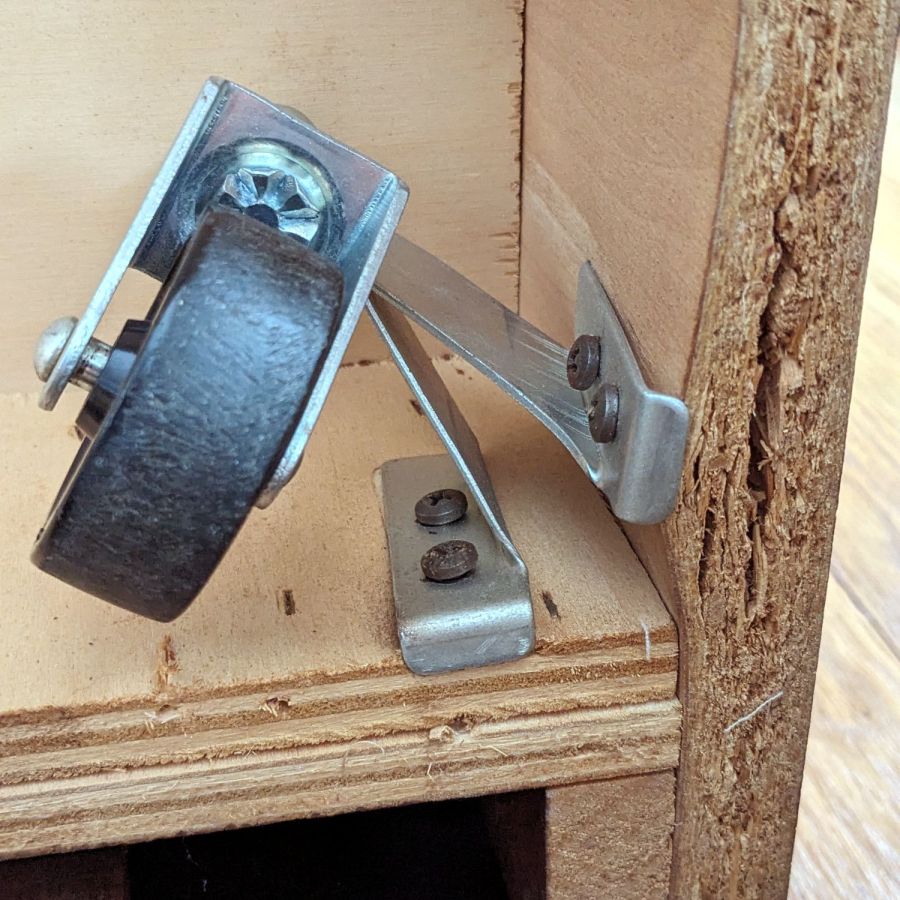
While arranging the venerable Sears Sewing Table in its new abode, we found the casters underneath didn’t roll nearly as well as they should, which turned out to be due to an accumulation of damage:
Sears sewing table – torn MDF
As far as I can tell, all four casters have been displaced upward, probably because they have no support directly above their stems and any force applied to the wheel has plenty of lever arm against those screws.
The MDF panels on the outside of the table have pictures of wood laminated to their surface, but lack enough structural integrity to keep the screws in place. The plywood, however, survived largely unscathed, although the screws were pulling out.
I poked as much wood glue into the gaps as possible, then applied as many clamps as possible, with wood strips on both sides of the bulge squashing the MDF into a flat sheet. Over the course of two gluing sessions (I need more clamps!) spanning three days, while Mary really wanted to start sewing, the glue cured. I had plenty of time to unbend the brackets and put a more-or-less right angle between their two screw plates.
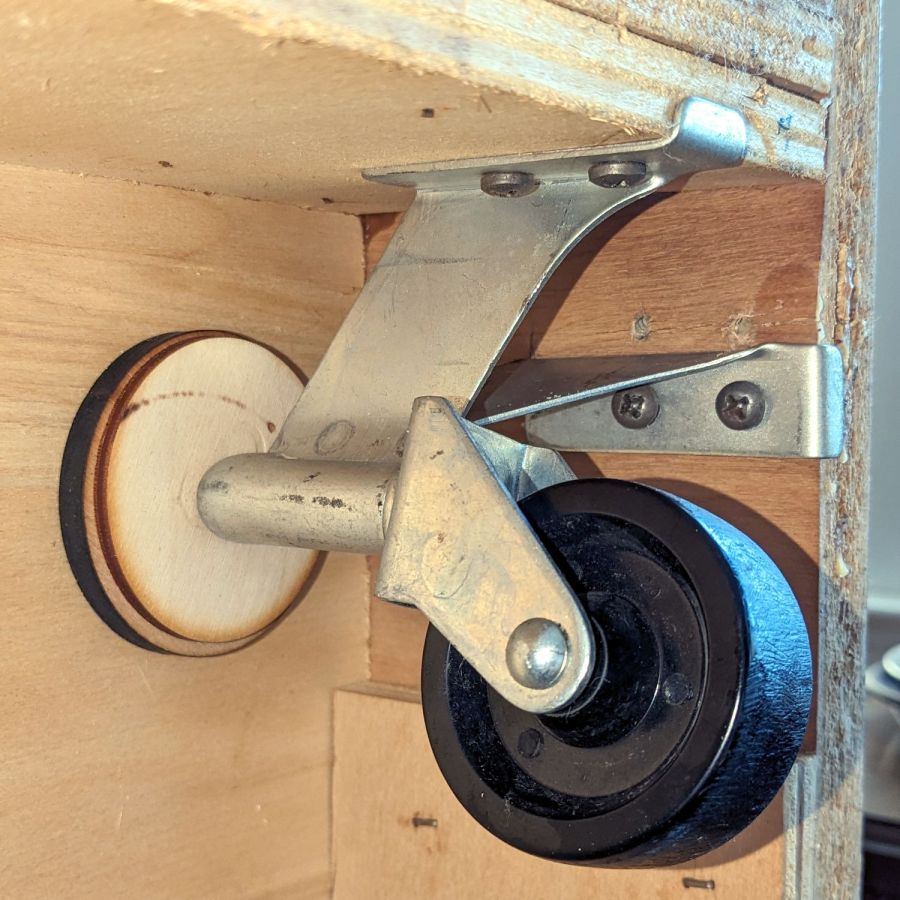
Rummaging in the box of laser scraps (after finding said box) produced disks cut from various projects that fit between the plywood bottom of the cabinet and the stems:
Sears sewing table – repaired foot – side
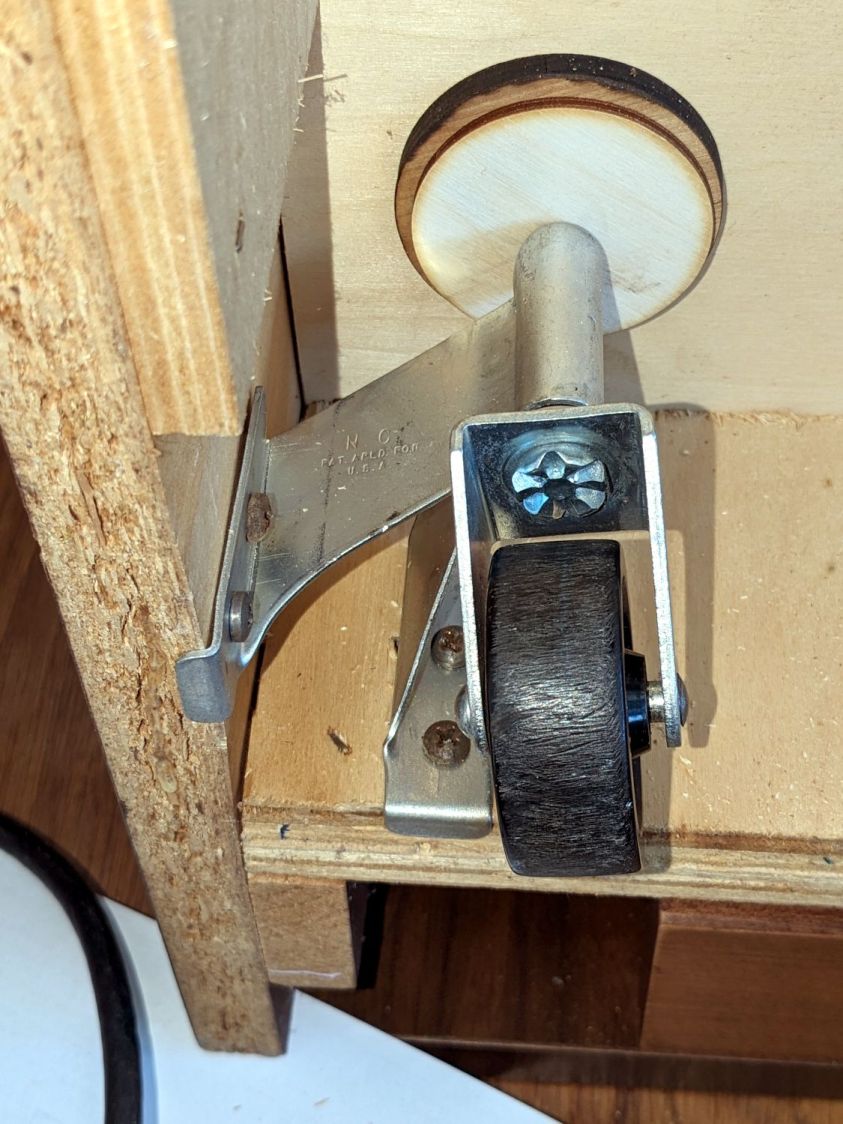
The brackets deliberately don’t match their original shape, because their new squareness put the screws into undamaged spots in the MDF and plywood:
Sears sewing table – repaired foot – bottom
The MDF will never be quite the same, but it’s flat on the visible side and the glue (seems to have) consolidated the fragments well enough.
Although those wheels look terrible, the bracket now holds the stem vertically and all four of them roll easily and pivot smoothly.
The laser-cut disks are held in place by pure faith and the overwhelming weight of all the MDF in the table, so they’re not going anywhere. Because the table’s weight now rests on the caster stems, as distributed across the plywood cabinet bottom through the disks, the brackets shouldn’t be subject to excessive upward force.
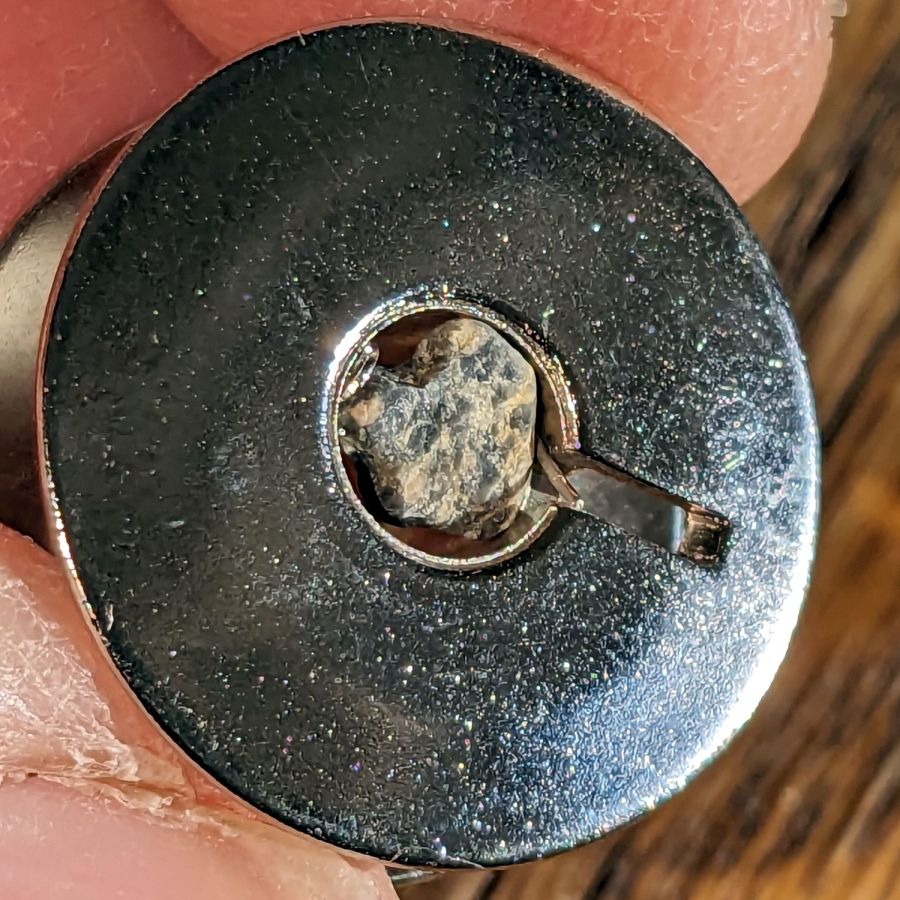
While loading bobbins for her next quilt project, Mary found another one that just wouldn’t fit on the winder:
Bobbin with polishing rock
Knocking the rock out of the bore required a pin punch and more than a gentle tap, but it eventually left without damage. The little stick in the slot looked organic, although it vanished without a trace during the operation.
I originally thought the bobbin factory’s final vibratory polisher used walnut shells, but the evidence certainly suggests ordinary gravel!
For reasons not relevant here, Mary asked for a bunch of small cloth wipes cut to a particular size. A few minutes with LightBurn for rectangle-drawing and array-fiddling produces a useful result:
Laser-cut wipes – cutting
The part about peeling away what you don’t want just never gets old:
Laser-cut wipes – on honeycomb
It turns out this is even faster than rotary cutter action, because you need not worry about the old T-shirt sliding around while you’re slashing away at it. Bonus: a free 2 mm radius on all the corners!
Let the pieces air out for a day on the patio and they’re ready for use.
The Chimney Swallows block from page 128 of Beyer’s book:
Chimney Swallows – Beyer 128
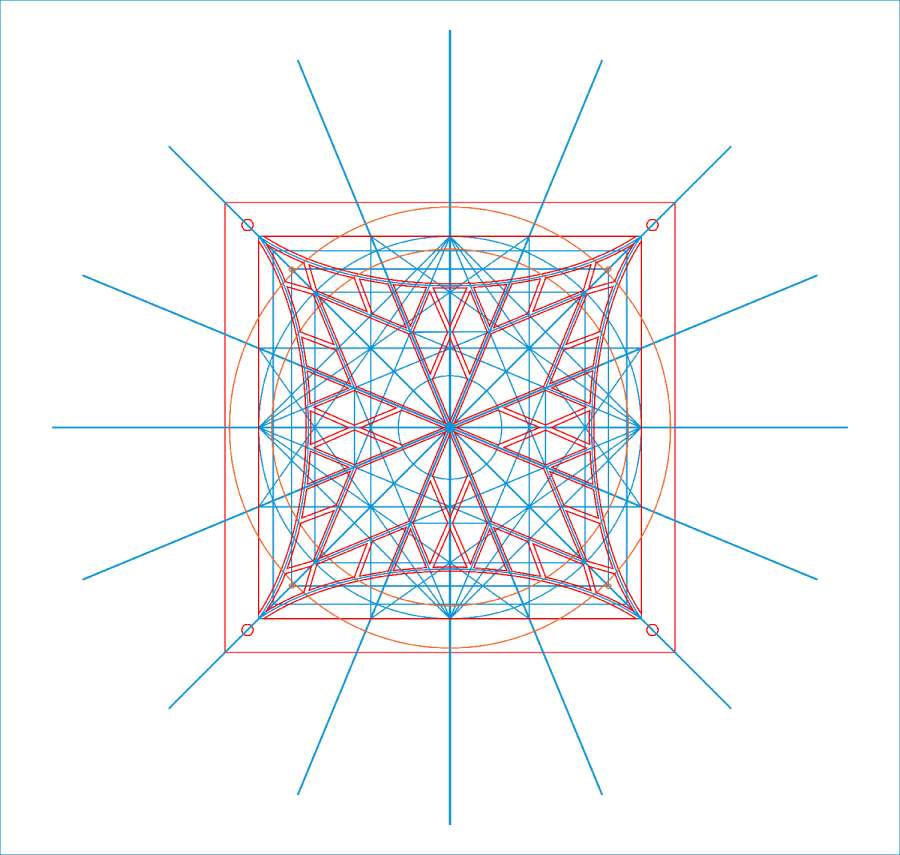
The tool (blue & orange) and top cut (red) layers:
Chimney Swallows – LB layout
The long radial blue tool lines simplified selecting them when mirroring / duplicating the cut polygons around their symmetries. The orange tool circles aligned various midpoints / vertices / features during construction.
The inward curve along the outer edge started as a triangle with a node at about the middle of the curve. Deleting that node left the remaining two sides overlapped, but dragging one of them to match the curve worked OK. There’s probably a better way.
That curve defines the outer edges of the shapes along it, so I drew polygons from the corner intersections and dragged the outer edge to match the curve at high zoom.
The shape remains selected after dragging the side, which meant I could immediately apply a 1 mm inset to create the cut lines.
To my surprise, the swallow bodies are straight-sided polygons!
After taking advantage of all the symmetries, knock out the shapes defining each layer:
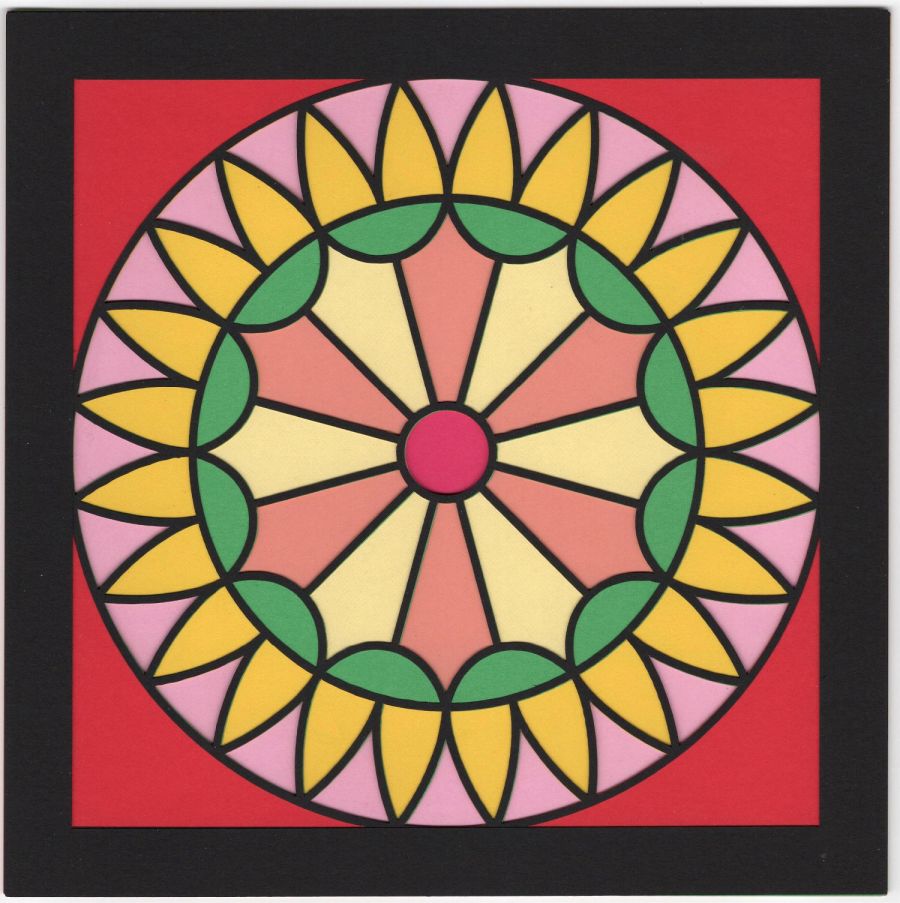
It looks more like flowers than fireworks to me, but there’s no accounting for taste.
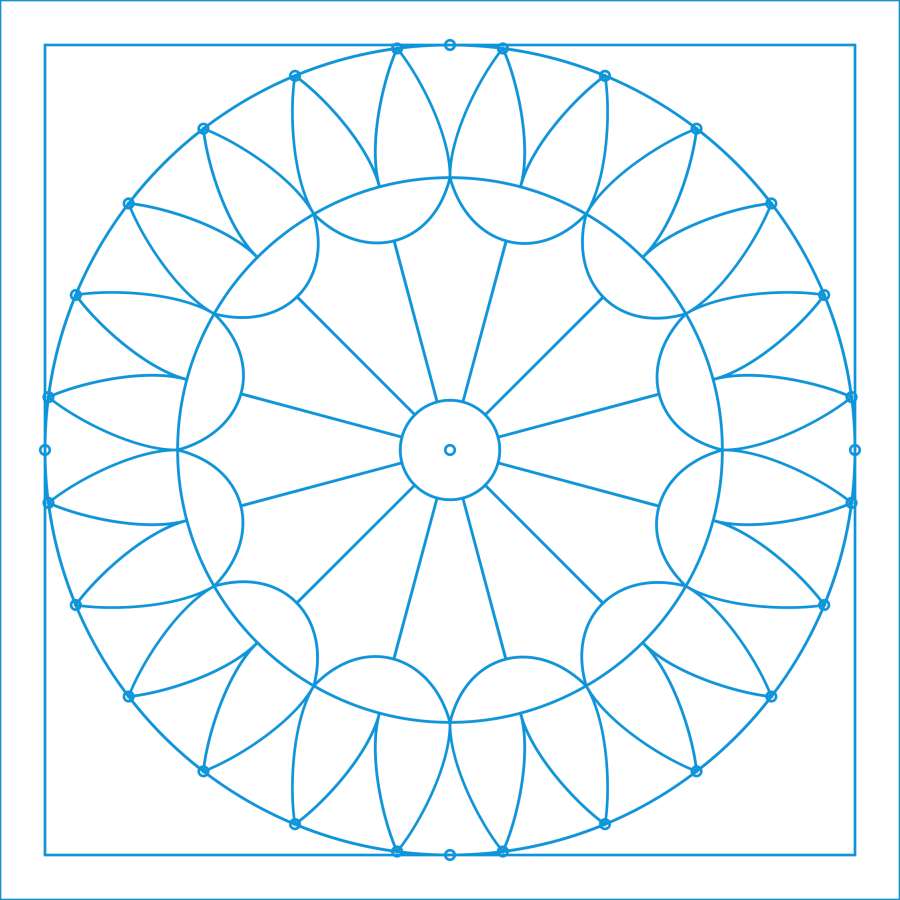
Deploy enough 2 mm circles to catch the flower’s radial symmetry:
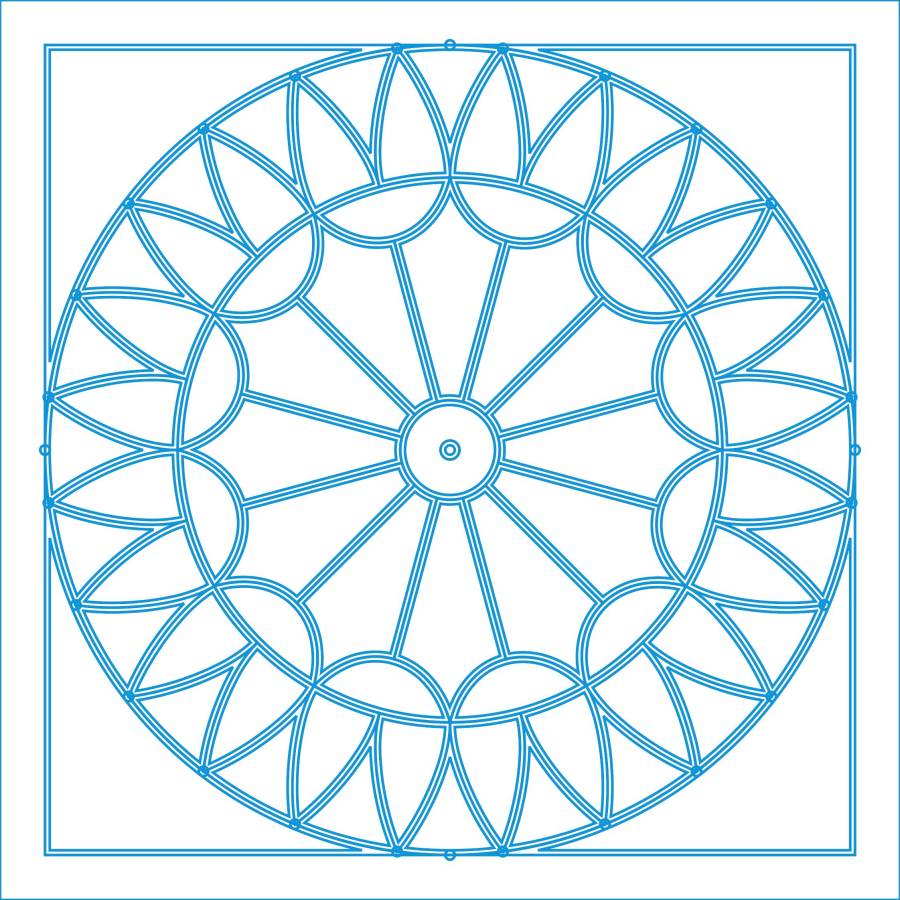
Pyrotechnics – LB layout
During the process of building the layout, a big circle positioned the cups at the base of the flowers, another delineated the joint between the cups and the petals, and more little circles caught the intersection of those circles with the petals. All that was for visualization and positioning, as you only draw one flower shape, then duplicate it around the pattern.
Although the cups and petals are surely circular arcs, it’s easier to draw a closed line triangle around the intersections, then pull the midpoint of a line into an arc (Bezier curve!) matching the pattern Closely Enough™ at high zoom. Because the arcs end at the intersection points based on circular arrays of points, they’ll all match up when they’re duplicated around the pattern; in fact, you need only one side of one petal, mirror it around the midline, and away you go.
Then the magic happens:
Pyrotechnics – LB tool insets
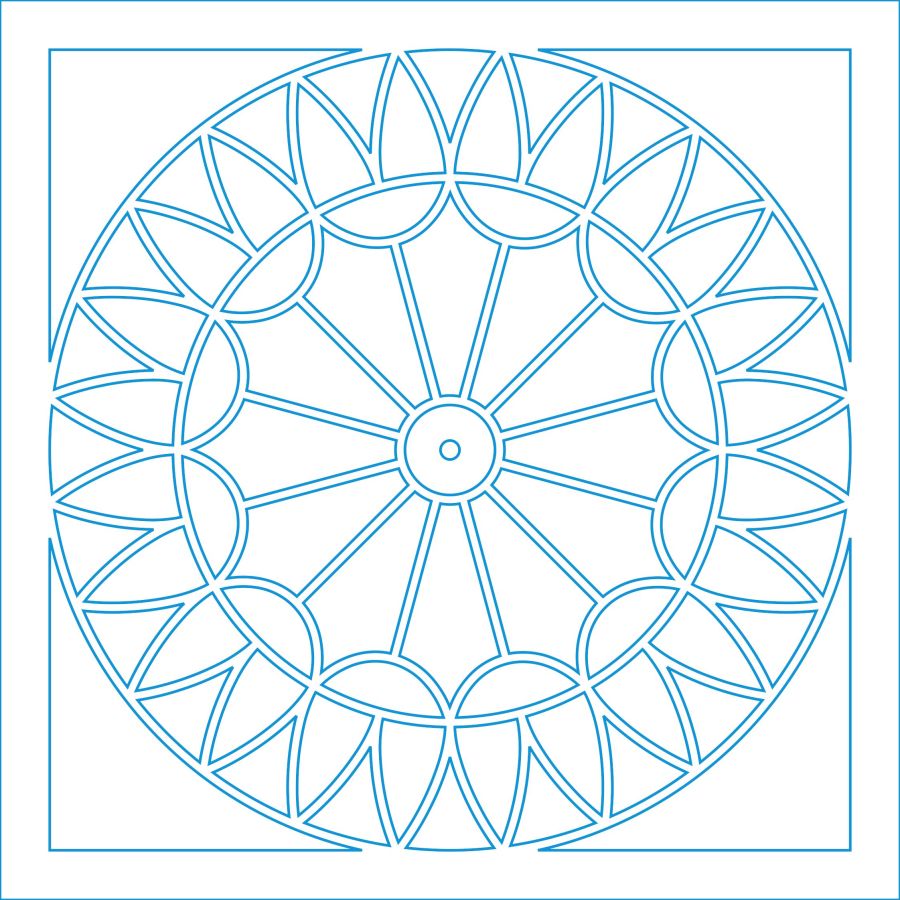
Which is easier to see without the original shapes:
Pyrotechnics – LB insets
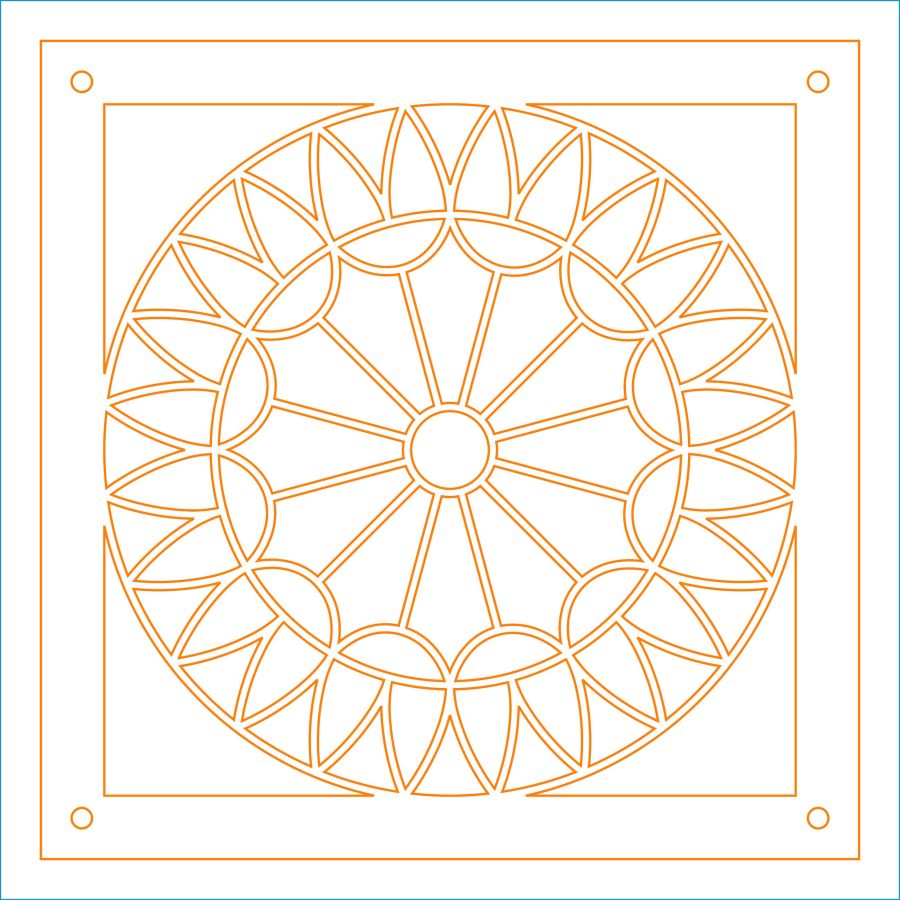
Pick one of the closed shapes, apply the Offset tool to shrink it by 1 mm, duplicate as needed, and you get the outlines of the regions to cut with 2 mm between them. Plunk those shapes on a cutting layer, add the outer frame with locating holes for the fixture, and it’s ready to cut the top layer from black paper:
Pyrotechnics – LB cuts
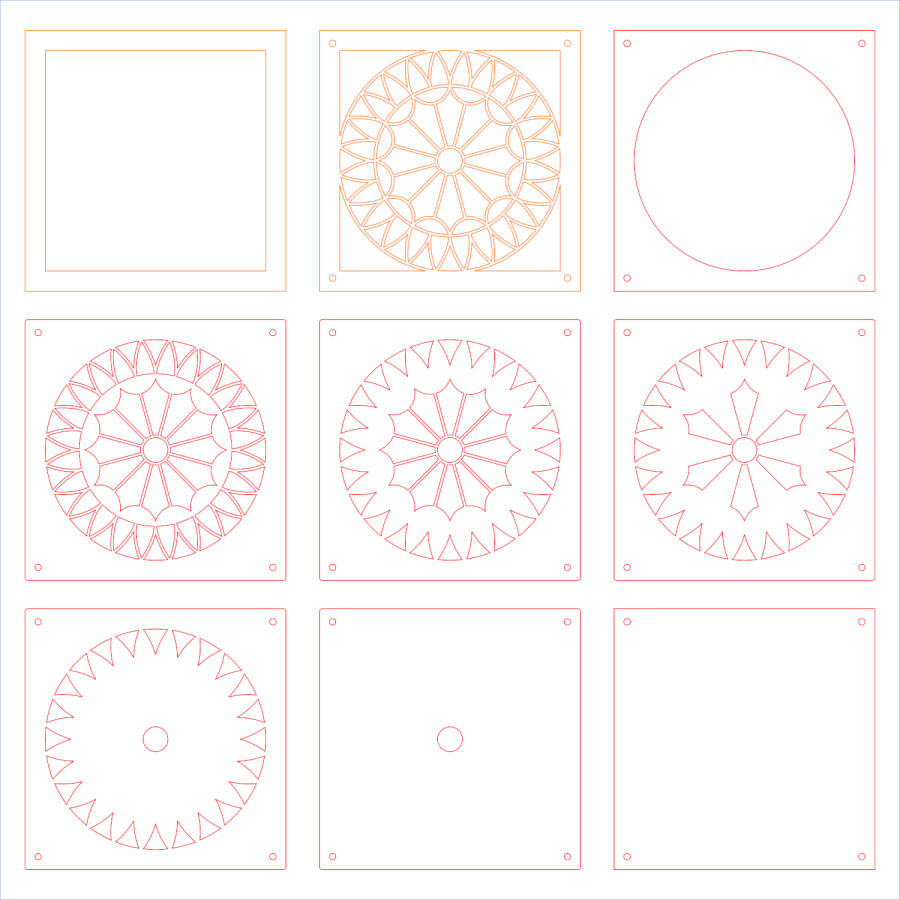
Knock out the cuts for each sheet of paper in the stack:
Pyrotechnics – LB paper cuts
Then Fire The Laser™:
Layered Paper – Pyrotechnics – Beyer 132
That was a nearly random selection of colors, but it’s hard to go wrong.