The Smell of Molten Projects in the Morning

Ed Nisley's Blog: Shop notes, electronics, firmware, machinery, 3D printing, laser cuttery, and curiosities. Contents: 100% human thinking, 0% AI slop.

Tag: Sewing

Fabric arts and machines

  • Ironing Weight, a.k.a. Tailor’s Clapper: Overview

    Ironing Weight, a.k.a. Tailor’s Clapper: Overview

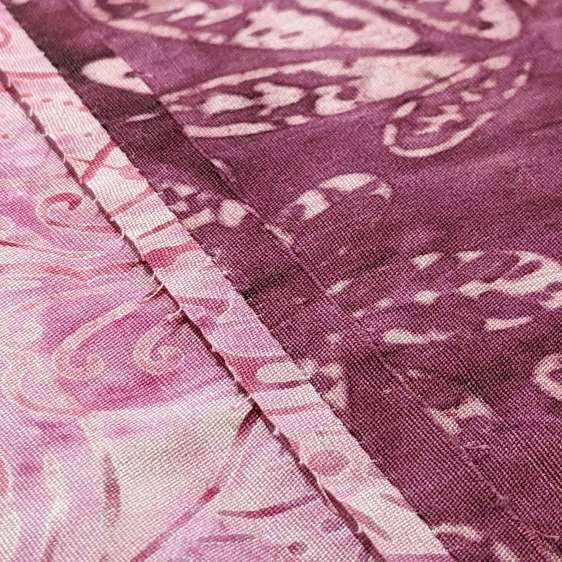
    Mary wanted some ironing weights, formally known as tailor’s clappers, to produce flatter seams as she pieced fabric together:

    Ironing weight - flattened seam
    Ironing weight – flattened seam

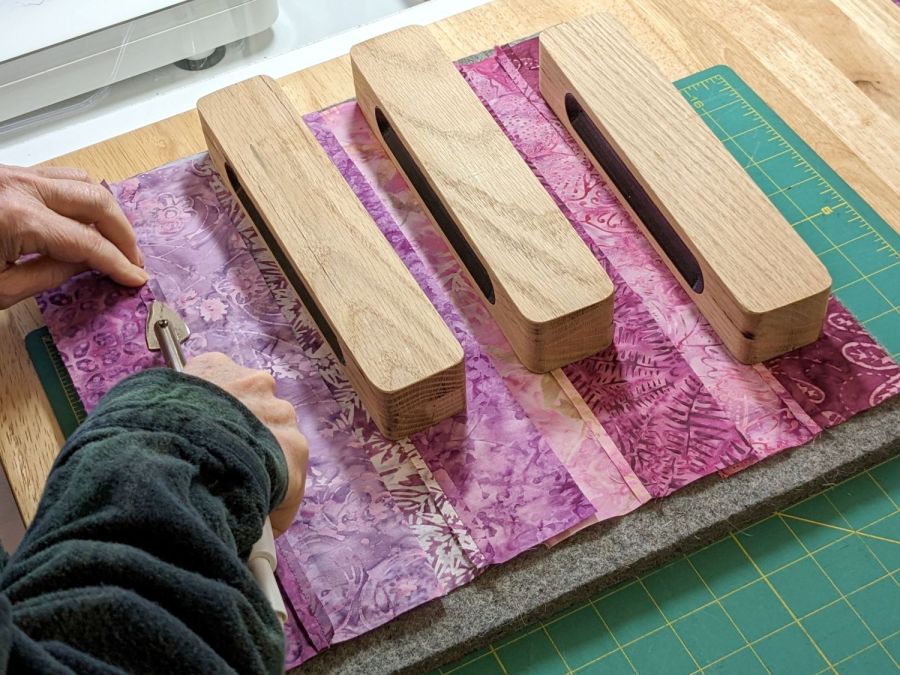
    The weights are blocks of dense, hard, unfinished wood:

    Ironing weight - seam ironing A
    Ironing weight – seam ironing A

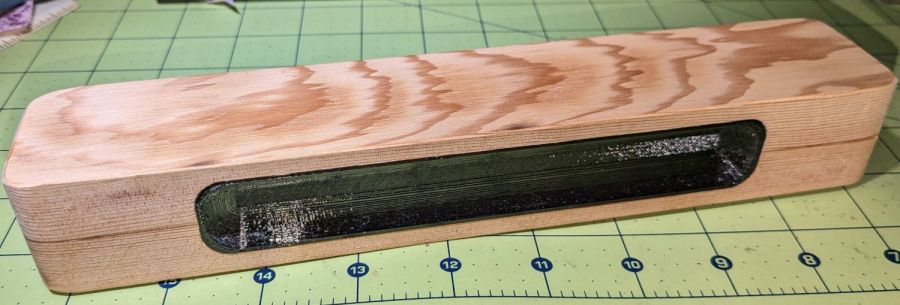
    One can buy commercial versions ranging from cheap Amazon blocks to exotic handmade creations, but a comfortable grip on a block sized to Mary’s hands were important. My lack of woodworking equipment constrained the project, but the picture shows what we settled on.

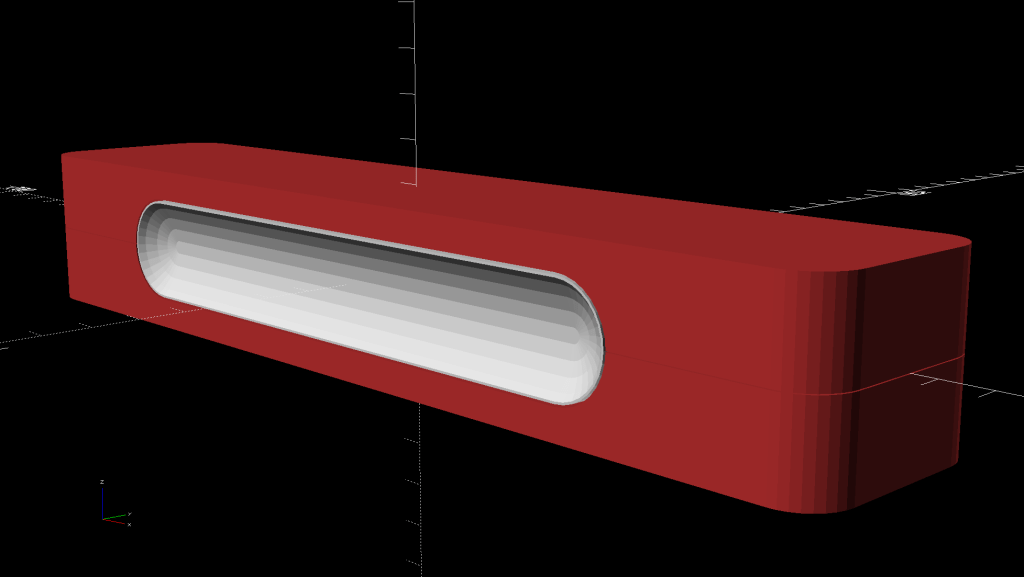
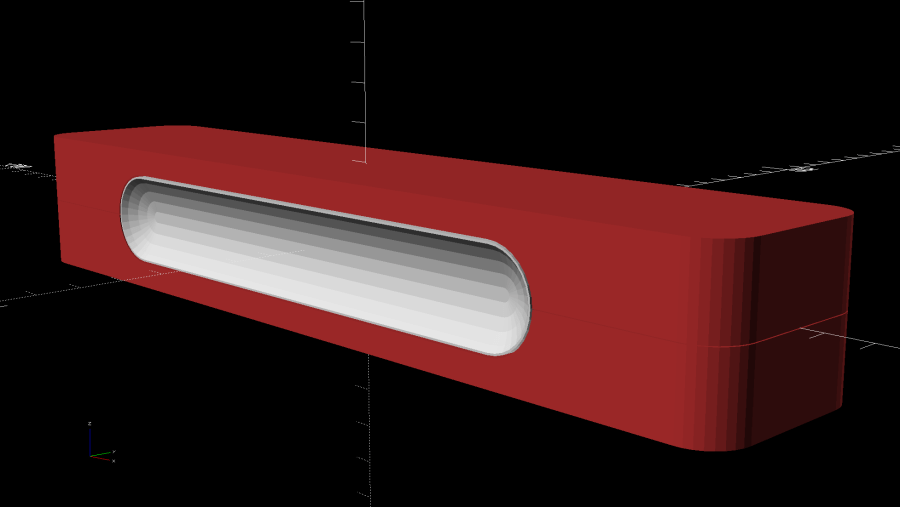
    The general idea is a rounded wood block with 3D printed grips:

    Ironing Weight Finger Grip
    Ironing Weight Finger Grip

    All other clappers seem to have a simple slot routed along the long sides, presumably using a round-end or ball cutter, which means the cutter determines the shape. This being the age of rapid prototyping, I decided to put the complex geometry in an easy-to-make printed part inserted into a simple CNC-milled pocket.

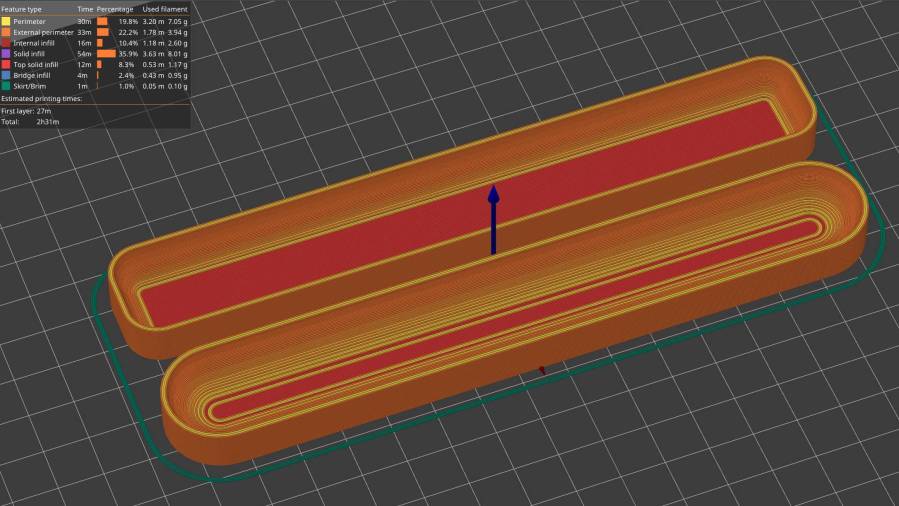
    The first pass at the grip models:

    Ironing Weight Finger Grip - slicer preview
    Ironing Weight Finger Grip – slicer preview

    Both recesses came from spheres sunk to their equators with their XY radii scaled appropriately, then hulled into the final shape. Customer feedback quickly reported uncomfortably abrupt edges along the top and bottom:

    Ironing Weight - maple prototype
    Ironing Weight – maple prototype

    We also decided the straight-end design didn’t really matter, so all subsequent grips have rounded ends to simplify milling the pocket into the block.

    With the goal in mind, the next few posts will describe the various pieces required to make a nice tailor’s clapper customized to fit the user’s hand.

  • Bobbin Rock

    Bobbin Rock

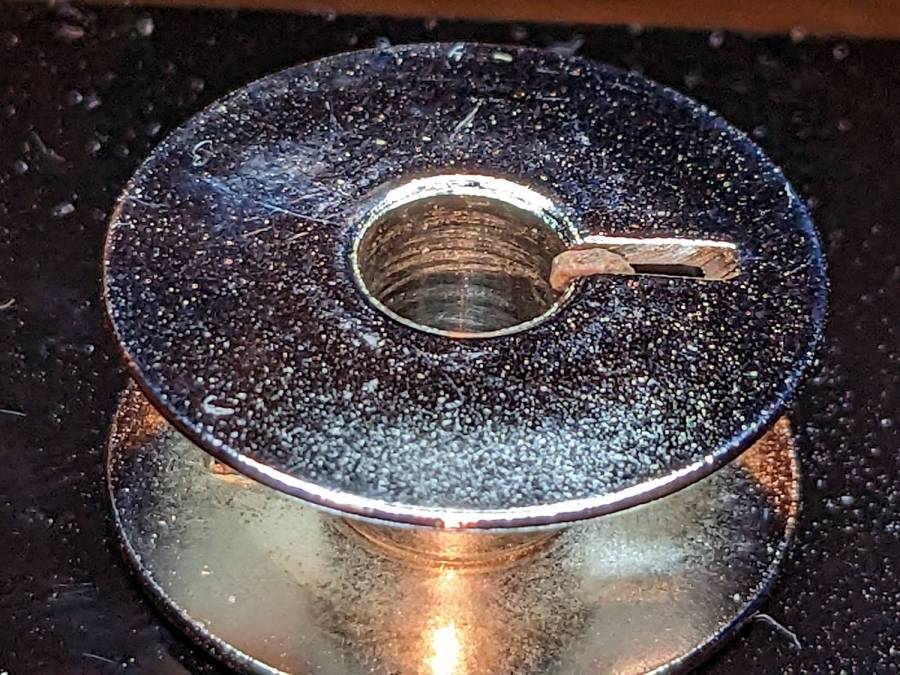
    Mary handed me a bobbin with a trouble report: it fit into the bobbin holder either way, but would go into the sewing machine either poorly or not at all.

    Based on past experience with this lot of bobbins (*), I expected to find a burr inside the steel hub left behind by the saw cut creating the drive dog slot, so this came as a surprise:

    Bobbin Rock - overview
    Bobbin Rock – overview

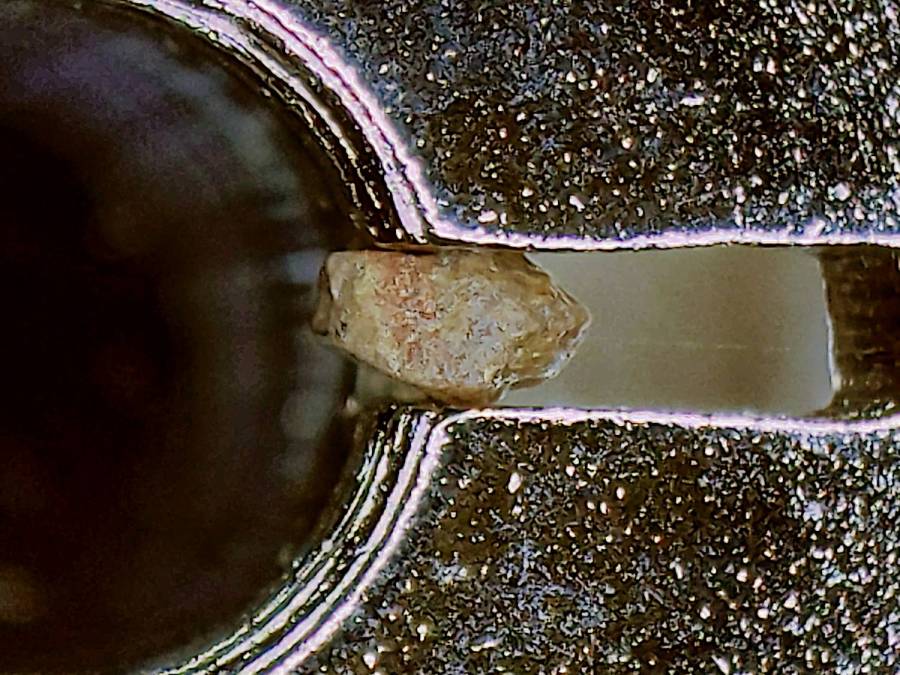
    A closer look:

    Bobbin Rock - detail
    Bobbin Rock – detail

    That pebble was jammed in place so firmly I needed a pin punch: a small screwdriver wasn’t enough.

    It came new from the factory like that, which makes one wonder just exactly what the factory floor looks like.

    More likely, the bobbins spend their last few hours in a vibratory polisher and that little rock just crept with all the walnut shell kibble.

    Works fine now, so we’ll call it a win.

    (*) I gave her a lot of 100 to ensure she never had to unload a bobbin to keep her new Juki well-fed.

  • Splined Neck Cozy Pattern

    Splined Neck Cozy Pattern

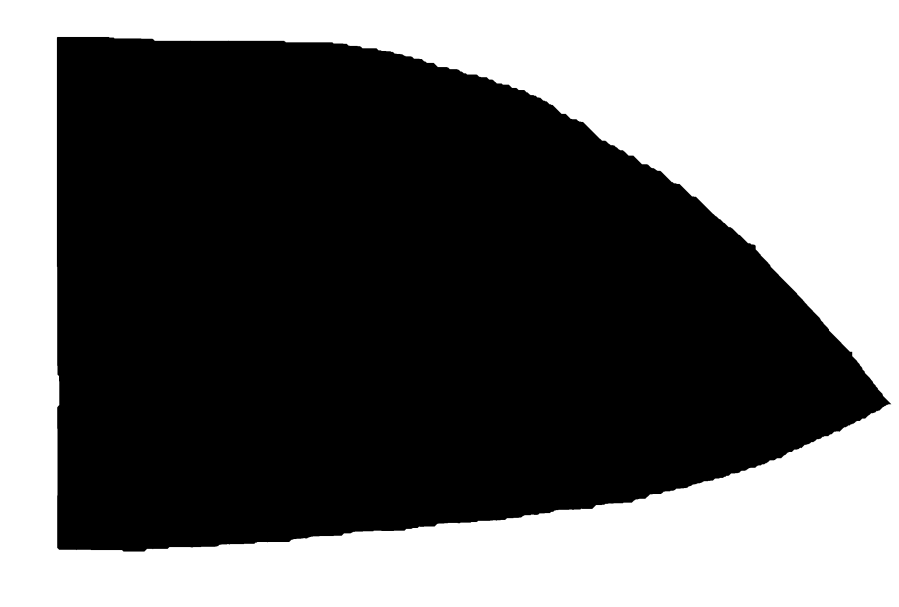
    Mary made a neck cozy based on a Craftsy description using a pattern I’d extracted from the low-res photo and rescaled to the proper size. The perimeter came out grittier than I like, but the laser had no trouble chopping it from a sheet of paper, and she cut smoothly around the lumps:

    Neck Cozy mask - right
    Neck Cozy mask – right

    It looks better on her, but you get the general idea:

    Neck Cozy - rev 1 finished
    Neck Cozy – rev 1 finished

    After some experience, however, she wanted to lengthen the top and bottom seams to improve the way it draped, which meant I had to modify the extracted pattern. The original pattern in the Craftsy photo was hand-drawn (which is perfectly fine) and the two halves were of two different sizes; we decided to work with the left half and produce a symmetric result.

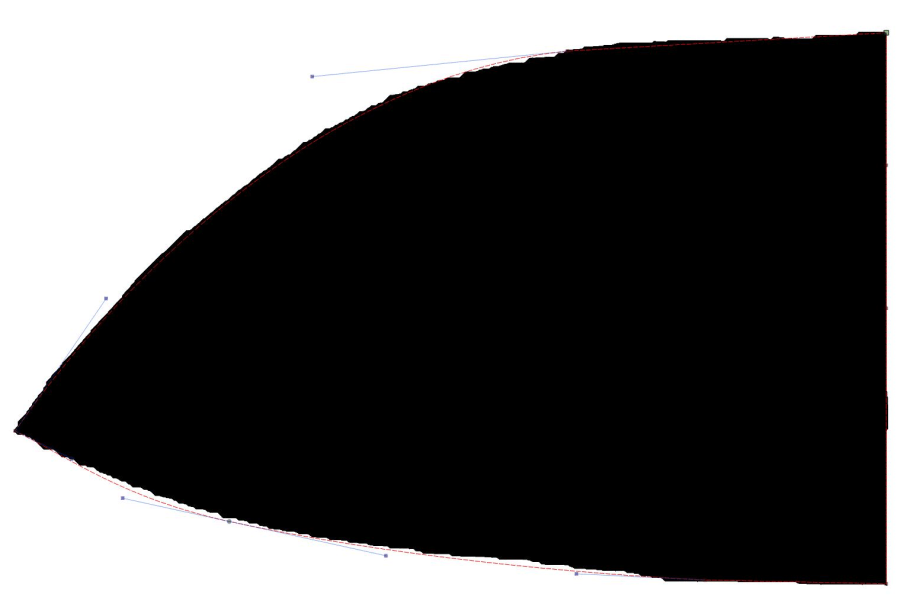
    Rather than fiddle with the bitmap, I drew a rectangle around the outside of the left pattern mask, converted it to a path, moved the nodes to key locations, then fiddled with the control points to lay the splines along the perimeter:

    Neck Cozy pattern - LB splines
    Neck Cozy pattern – LB splines

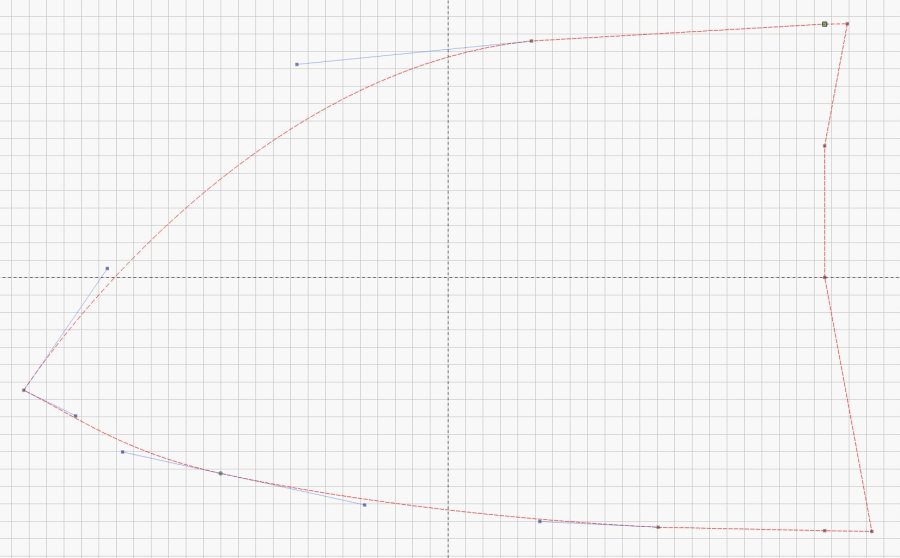
    Removing the bitmap makes the splines much more obvious and shows the much smoother perimeter:

    Neck Cozy pattern - LB extended splines
    Neck Cozy pattern – LB extended splines

    Adding a few nodes to change the splined shape is much simpler than fiddling with the bitmap, particularly when tweaking their position as directed by someone who knows how the fabric will eventually take shape.

    Add fiducial marks and a label, duplicate the shape, mirror it to get the other half, and fire the laser:

    Neck Cozy pattern - as cut right
    Neck Cozy pattern – as cut right

    Fabric cutting isn’t in my wheelhouse, but I made the offer …

    The LightBurn layout as a GitHub Gist:

    Loading
    Sorry, something went wrong. Reload?
    Sorry, we cannot display this file.
    Sorry, this file is invalid so it cannot be displayed.

  • Dogbone Pillow Pattern

    Dogbone Pillow Pattern

    Mary is putting together a dogbone headrest pillow for a friend who will be spending a lot of time in a chair. It’ll be similar to this one from a while ago:

    Dog Bone Pillow
    Dog Bone Pillow

    She used Bonnie Browning’s pattern and I offered to laser-cut it as practice for other projects I have in mind.

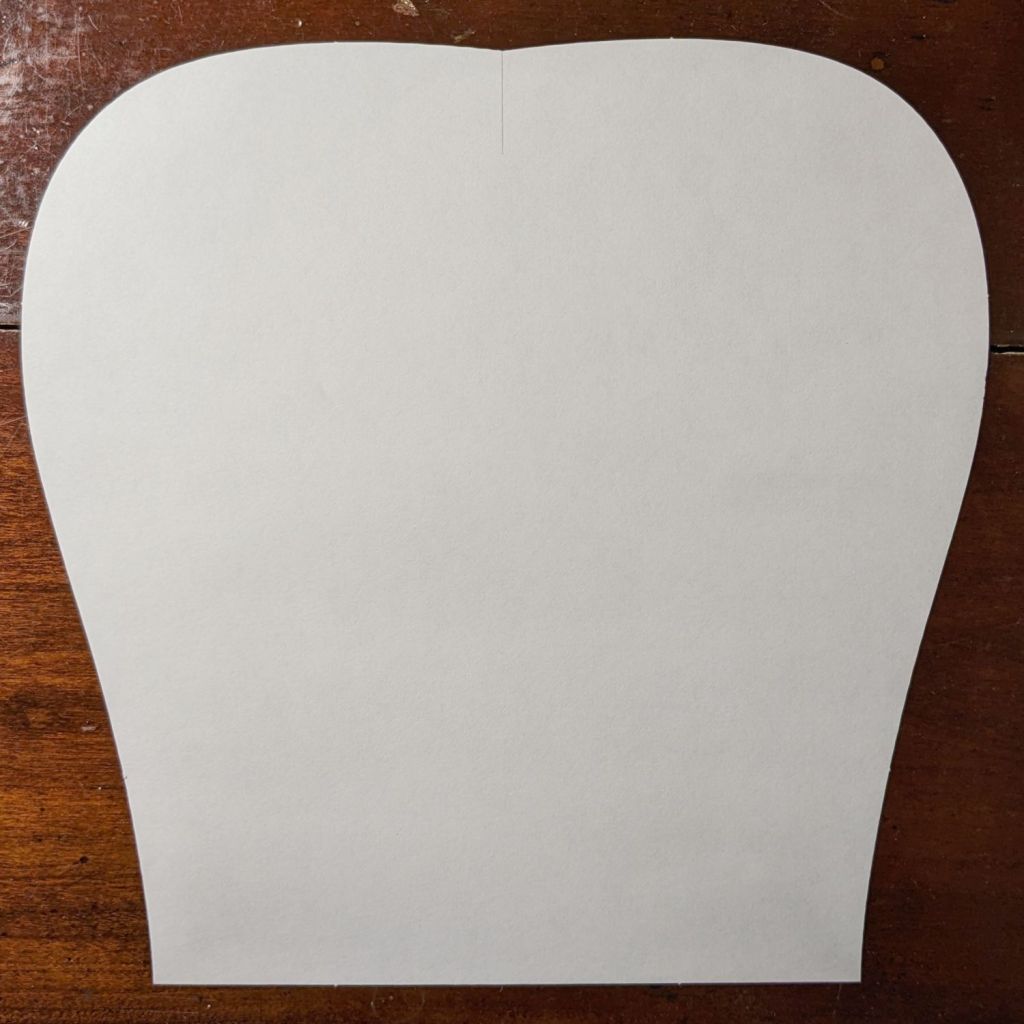
    It eventually worked out well enough:

    Dog Bone Pillow - cut pattern
    Dog Bone Pillow – cut pattern

    Fold a piece of fabric in half, align the pattern’s bottom edge with the fold, cut around the perimeter, make two more, and sew ’em together.

    My first mistake was attempting to assemble the two halves of the pattern from the PDF document into a bitmap image using The GIMP:

    D0G-BONE pattern - rejoined
    D0G-BONE pattern – rejoined

    That is both tedious and unnecessary, as I found out while trying to align the pieces.

    The end goal is a simple and symmetric vector path defining the outline, including a line across the bottom, suitable for laser cutting. Rather than assembling an image, tracing it into a bunch of vectors, then cleaning up the mess, just lay a smooth spline vector path around half of it and invoke symmetry, much as happened with the Lip Balm Holder.

    So import the slightly misaligned bitmap into LightBurn, draw a rectangle over just the left half, convert the rectangle to a path, then add a few nodes anchoring the splines to key points of the image:

    Dog Bone Pillow - LB half pattern first splines
    Dog Bone Pillow – LB half pattern first splines

    Although it’s not visible, the top and bottom spline nodes defining the vertical line down the middle are not quite vertically aligned, even though I dragged them to the middle of the pattern. Unsurprisingly, the bitmap image is not exactly aligned with the axes, even though the conversion from PDF to bitmap is entirely digital; the original design may be off by an itsy that would never matter for its intended application.

    Tweak the splines / control points, add a few more nodes, and in short order the vector path runs pretty nearly along the middle of the bitmap image:

    Dog Bone Pillow - LB half pattern overlay
    Dog Bone Pillow – LB half pattern overlay

    Rather than trying to draw the second half just like the first half, duplicate the path and mirror the copy left-to-right to get the right half of the pattern. Grab the lower-left corner of the copy and snap it to the lower-right corner of the original, whereupon you will find the two points at the top of those lines don’t quite line up.

    This is a grossly zoomed look at the top center, with the two red angles showing the two halves not quite meeting in the middle:

    Dog Bone Pillow - LB top center spline mismatch
    Dog Bone Pillow – LB top center spline mismatch

    Now the magic happens.

    In quick succession:

    • Select the right-side path
    • Invoke Arrange → Two-point Rotate / Scale
    • Zoom way in on the bottom center
    • Click on the center point to define the Rotate center
    • Zoom way in on the top center
    • Click-n-drag the right corner to snap it onto the left corner
    • Done!

    What just happened is that the right half now directly adjoins the left half, with the upper and lower center points overlapping.

    Invoke the node editor and delete the center lines from both halves, leaving just the (overlaid) top and bottom nodes. Select both paths, then invoke Edit → Auto-join selected shapes to merge the two halves into one:

    Dog Bone Pillow - LB splines
    Dog Bone Pillow – LB splines

    I missed the clip line in the middle of the top, but that’s why the first version is always a prototype.

    This was easy, but it’s good to stay in practice …

  • LitUp LED Light Pad: Direct Wiring

    LitUp LED Light Pad: Direct Wiring

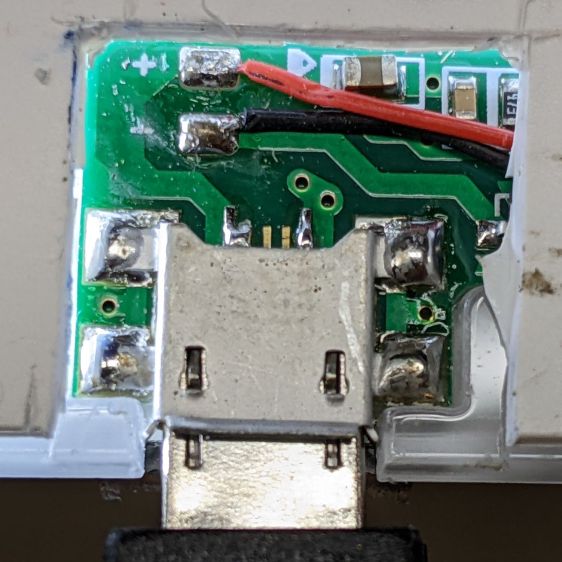
    Unfortunately, reinforcing the USB Micro-B jack on the side of the LitUp LED Light Pad only delayed the inevitable: the light became erratic even without the slightest touch. The pad consists of three acrylic sheets glued together around the entire perimeter, so there’s no way to get access to the no-user-serviceable-parts within. Apparently, you’re supposed to just throw it out.

    On the other paw, it’s already dead, so there’s nothing to lose:

    LitUp LED Light Pad - failed USB jack
    LitUp LED Light Pad – failed USB jack

    A little deft razor knife work chopped through the rear sheet without doing any (more) damage to the PCB within. The LEDs can still be convinced to light, but the USB jack is definitely wrecked.

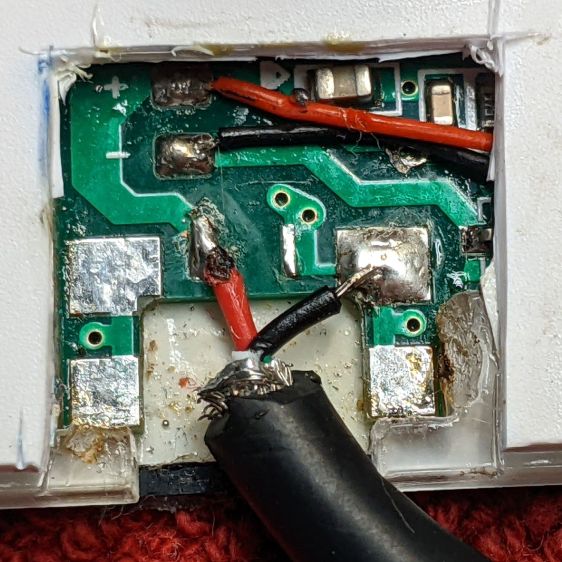
    Applying some ChipQuik let me extract the jack without (too much) more damage. Rather than replace it, I just soldered a pigtail USB cable to the obvious PCB pads:

    LitUp LED Light Pad - direct power wiring
    LitUp LED Light Pad – direct power wiring

    If I’d noticed that little solder ball, I’d have removed it before filling the cavity with hot melt glue and squishing the cut-out piece of white acrylic in place.

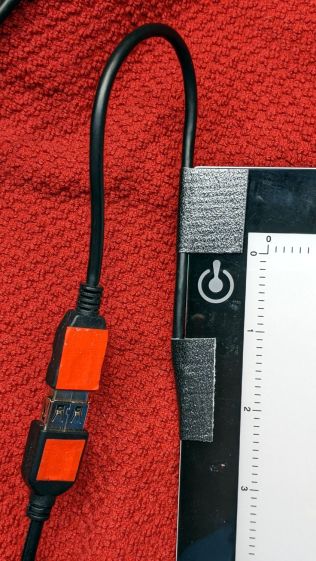
    A little black duct tape should keep the wiring stable enough for the foreseeable future:

    LitUp LED Light Pad - redirected cable
    LitUp LED Light Pad – redirected cable

    That was another (relatively) easy zero-dollar repair that should not be necessary.

  • 70 inch OD Curved Quilting Layout Template

    70 inch OD Curved Quilting Layout Template

    Mary sketched a quilt layout on ordinary Letter-size paper using her quilting templates, but the final design will be a 30×30 inch layout requiring a suitably upscaled template. Running the numbers suggested a template with curved edges lying on a 70 inch diameter circle, which was easy enough:

    Quilting Template - 70 inch dia - short
    Quilting Template – 70 inch dia – short

    The normal-size acrylic template with a 20 inch diameter sits atop the upscaled cardboard version. We decided cardboard would work fine for a single-use tool; should she need one in the future, I have the technology.

    It turns out that the inner curve also has a 70 inch diameter: its center point is displaced 200 mm along the center radius from the outer curve. The straight sides are parallel, not radii of either circle.

    She decided a much longer template would simplify smooth edge-to-edge curves, so I laid out a skinnier version with a keyed joint in the middle:

    Quilting Template - 70 inch dia - long
    Quilting Template – 70 inch dia – long

    The grid represents the OMTech laser’s 700×500 mm platform, so I used LightBurn’s Cut Shapes function to chop the template into two overlapping parts:

    Quilting Template - 70 inch dia - split
    Quilting Template – 70 inch dia – split

    The cuts at the keyed ends extend slightly more than needed, but weren’t critical. Similarly, I didn’t worry about kerf compensation for two pieces of cardboard joined by packing tape.

    The template looks a lot like a scimitar:

    Quilting Template - 70 inch dia - long
    Quilting Template – 70 inch dia – long

    The shorter version had its corrugations running along the short dimension. I put the longer version’s corrugations along the longer dimension, thinking they would prevent bending. That was true, but they also interfered with the pencil tracing the curves. Next time, I’ll know better!

  • Paracord Hot Knife

    Paracord Hot Knife

    An upcoming project calls for cutting dozens of lengths from a spool of 550 (pound tensile strength) all-nylon paracord, which means I must also heat-seal the ends. Cold-cutting paracord always produces wildly fraying ends, so I got primal on an old soldering iron tip:

    Paracord cutting - flattened soldering iron tip
    Paracord cutting – flattened soldering iron tip

    Bashed into a flattish blade, it does a Good Enough job of hot-cutting paracord and sealing the end in one operation:

    Paracord cutting - results
    Paracord cutting – results

    Setting the iron to 425 °C = 800 °F quickly produces reasonably clean and thoroughly sealed cut ends.

    Obviously, I need more practice.

    Yes, I tried laser cutting the paracord. Yes, it works great, makes a perfectly flat cut, and heat-seals both ends, but it also makes no sense whatsoever without a fixture holding a dozen or so premeasured lengths in a straight line. No, I’m not doing that.