Poking the Print button on the front of the Siglent SDS2304X scope saves the screen to a BMP file (in the /BMP directory) on a USB flash drive plugged into its front-panel port:
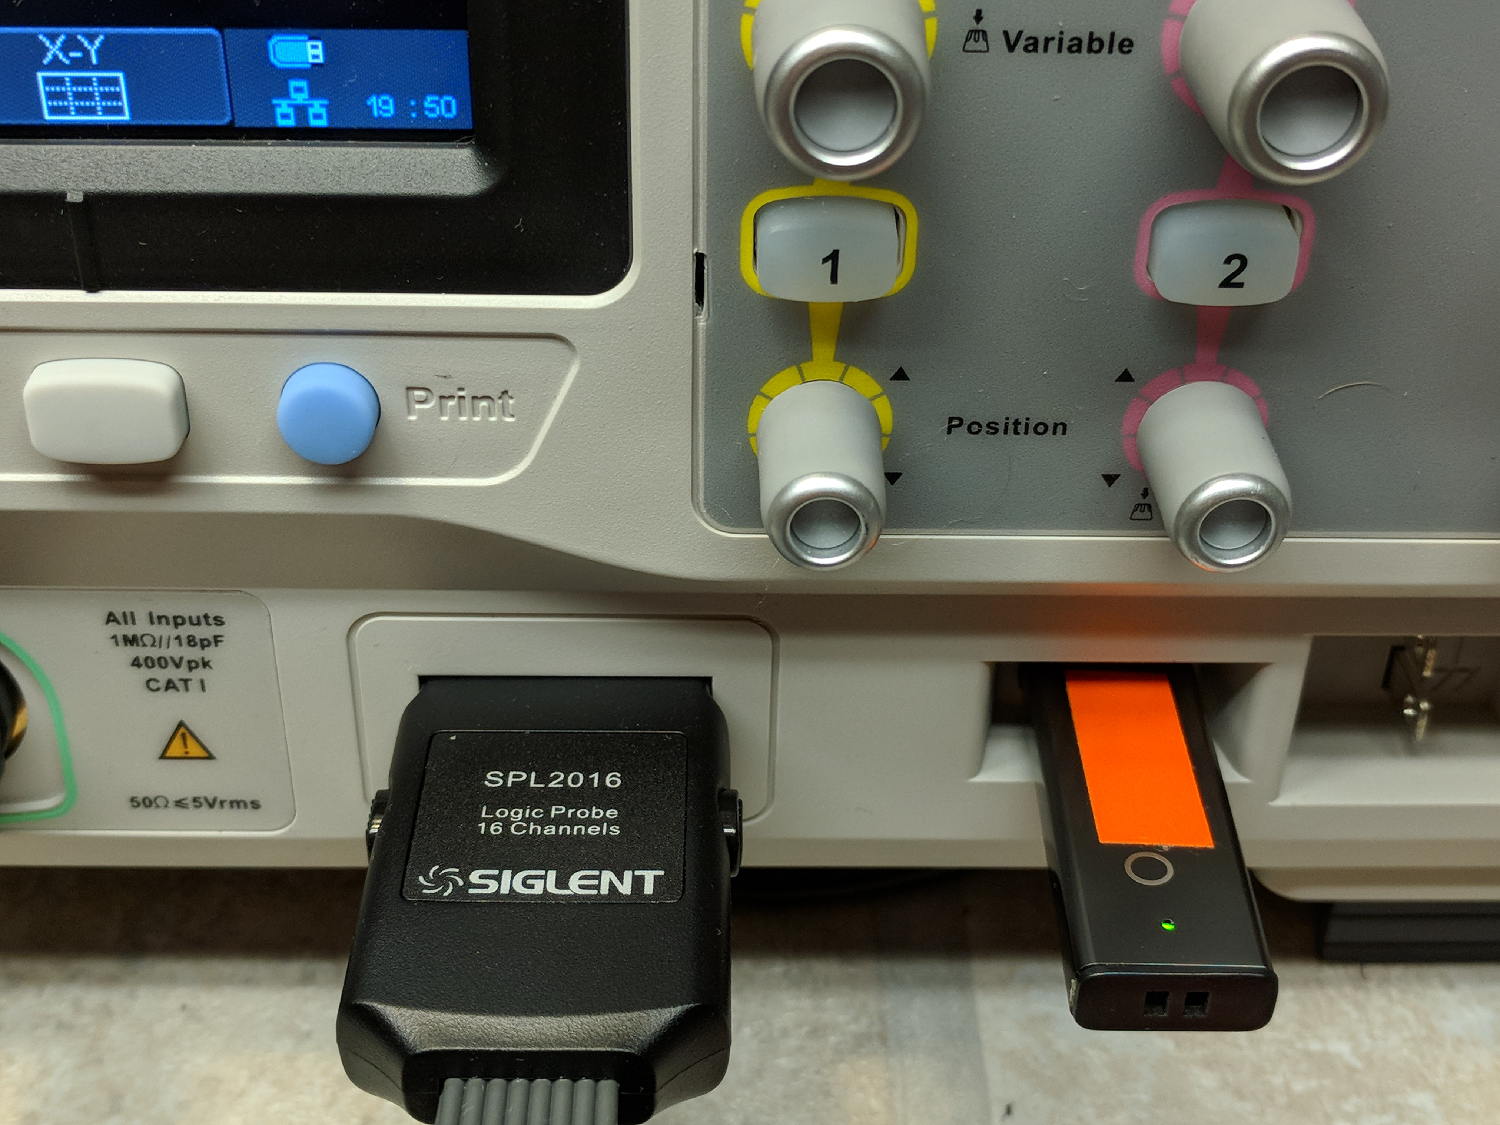
Which produces files like these:
ll --block-size=1 /path-to-USB-stick/BMP/
total 2318336
drwxr-xr-x 2 ed ed    4096 May 23 13:13 ./
drwxr-xr-x 4 ed ed    4096 Dec 31  1969 ../
-rw-r--r-- 1 ed ed 1152054 May 23 13:13 SDS00001.BMP
-rw-r--r-- 1 ed ed 1152054 May 23 13:13 SDS00002.BMP
The files are 1152054 bytes long, as specified by the BMP header inside the file:
hexdump -C /path-to-USB-stick/BMP/SDS00001.BMP | head
00000000  42 4d 36 94 11 00 00 00  00 00 36 00 00 00 28 00  |BM6.......6...(.|
00000010  00 00 20 03 00 00 e0 01  00 00 01 00 18 00 00 00  |.. .............|
00000020  00 00 00 94 11 00 00 00  00 00 00 00 00 00 00 00  |................|
00000030  00 00 00 00 00 00 01 01  01 01 01 01 01 01 01 01  |................|
00000040  01 01 01 01 01 01 01 01  01 01 01 01 01 01 01 01  |................|
*
00000880  01 01 01 01 01 01 01 01  01 01 01 01 01 01 1e 1e  |................|
00000890  1e 1e 1e 1e 1e 1e 1e 1e  1e 1e 1e 1e 1e 1e 1e 1e  |................|
*
00000990  1e 1e 1e 1e 1e 1e 01 01  01 01 01 01 01 01 01 01  |................|
The first 14 bytes contain the Bitmap file header, with the file size in Little-Endian order in the four bytes at offset +0x02: 0x00119436 = 1152054.
The four bytes at offset +0x0A give the offset of the pixel data: +0x36. That’s the series of 0x01 bytes in the fourth row. Unlike most images, BMP pixel arrays start at the lower left corner of the image and proceed rightward / upward to the last pixel at the upper right corner.
The data between the Bitmap file header and the start of the pixel data contains at least a Device Independent Bitmap header, identified by its length in the first four bytes at offset +0x0E. In this case, the length of 0x28 = 40 bytes makes it a Windows (no surprise) header.
The two bytes at +1C give the bits-per-pixel value: 0x18 = 24 = 3 bytes/pixel, so parse the pixels in RGB order.
The four bytes at +0x12 give the bitmap width in pixels: 0x320 = 800. Each pixel row must be a multiple of 4 bytes long, which works out fine at 2400 bytes.
The tail end of the file shows one dark pixel at the upper right:
hexdump -C /path-to-USB-stick/BMP/SDS00001.BMP | tail
00118330  00 cc 00 00 cc 00 00 cc  00 00 cc 00 00 cc 00 00  |................|
00118340  cc 00 00 cc 00 00 cc 00  00 cc 00 00 cc 00 00 cc  |................|
00118350  00 00 cc 00 00 cc 00 00  cc 0f 0f 75 1e 1e 1e 1e  |...........u....|
00118360  1e 1e 1e 1e 1e 1e 1e 1e  1e 1e 1e 1e 1e 1e 1e 1e  |................|
*
00118ad0  1e 1e 1e 01 01 01 1e 1e  1e 1e 1e 1e 1e 1e 1e 1e  |................|
00118ae0  1e 1e 1e 1e 1e 1e 1e 1e  1e 1e 1e 1e 1e 1e 1e 1e  |................|
*
00119430  1e 1e 1e 01 01 01                                 |......|
Which looks like this, expanded by a factor of eight (clicky for more dots to reveal the situation):

The scope can also transfer a screenshot over the network:
lxi screenshot -a 192.168.1.42 /tmp/lxi-shot.bmp
Loaded siglent-sds screenshot plugin
Saved screenshot image to /tmp/lxi-shot.bmp
Which has the same header:
hexdump -C /tmp/lxi.bmp | head
00000000  42 4d 36 94 11 00 00 00  00 00 36 00 00 00 28 00  |BM6.......6...(.|
00000010  00 00 20 03 00 00 e0 01  00 00 01 00 18 00 00 00  |.. .............|
00000020  00 00 00 94 11 00 00 00  00 00 00 00 00 00 00 00  |................|
00000030  00 00 00 00 00 00 01 01  01 01 01 01 01 01 01 01  |................|
00000040  01 01 01 01 01 01 01 01  01 01 01 01 01 01 01 01  |................|
*
00000880  01 01 01 01 01 01 01 01  01 01 01 01 01 01 1e 1e  |................|
00000890  1e 1e 1e 1e 1e 1e 1e 1e  1e 1e 1e 1e 1e 1e 1e 1e  |................|
*
00000990  1e 1e 1e 1e 1e 1e 01 01  01 01 01 01 01 01 01 01  |................|
But the resulting file is three bytes = one pixel (!) too large:
ll --block-size=1 /tmp/lxi.bmp
-rw-rw-r-- 1 ed ed 1152057 May 23 19:09 /tmp/lxi.bmp
The tail end of the file:
hexdump -C /tmp/lxi.bmp | tail
00118330  00 cc 00 00 cc 00 00 cc  00 00 cc 00 00 cc 00 00  |................|
00118340  cc 00 00 cc 00 00 cc 00  00 cc 00 00 cc 00 00 cc  |................|
00118350  00 00 cc 00 00 cc 00 00  cc 0f 0f 75 1e 1e 1e 1e  |...........u....|
00118360  1e 1e 1e 1e 1e 1e 1e 1e  1e 1e 1e 1e 1e 1e 1e 1e  |................|
*
00118ad0  1e 1e 1e 01 01 01 1e 1e  1e 1e 1e 1e 1e 1e 1e 1e  |................|
00118ae0  1e 1e 1e 1e 1e 1e 1e 1e  1e 1e 1e 1e 1e 1e 1e 1e  |................|
*
00119430  1e 1e 1e 01 01 01 01 01  0a                       |.........|
Because the file header doesn’t include those three bytes, they don’t go into the image and the resulting screenshot is visually the same.
Which looks like a picket-fence error, doesn’t it? I’d lay long odds the erroneous loop runs from 0 to NUMPIXELS, rather than 0 to NUMPIXELS-1. Raise your hand if you’ve ever made that exact mistake.
I have no practical way to determine whether the error is inside the scope or the LXI network code, but given Siglent’s overall attention to software fit-and-finish, I suspect the former.
One can convert BMP files to the much more compact PNG format:
convert /tmp/lxi.bmp /tmp/lxi.png
convert: length and filesize do not match `/tmp/lxi.bmp' @ warning/bmp.c/ReadBMPImage/829.
Yes. Yes, there is a mismatch.
The space savings is impressive, particularly in light of PNG being a lossless format:
ll /tmp/lxi.*
-rw-rw-r-- 1 ed ed 1.1M May 23 19:09 /tmp/lxi.bmp
-rw-rw-r-- 1 ed ed  14K May 23 19:17 /tmp/lxi.png
You can eliminate the nag by truncating the file:
truncate --size=1152054 /tmp/lxi.bmp
One could wrap it all up in a script:
#!/bin/bash
lxi screenshot -a 192.168.1.42 /tmp/"$1".bmp
truncate --size=1152054 /tmp/"$1".bmp
convert /tmp/"$1".bmp "$1".png
echo Screenshot: "$1".png
And then It Just Works:
getsds2304x.sh "Test Shot Starfish"
Loaded siglent-sds screenshot plugin
Saved screenshot image to /tmp/Test Shot Starfish.bmp
Screenshot: Test Shot Starfish.png
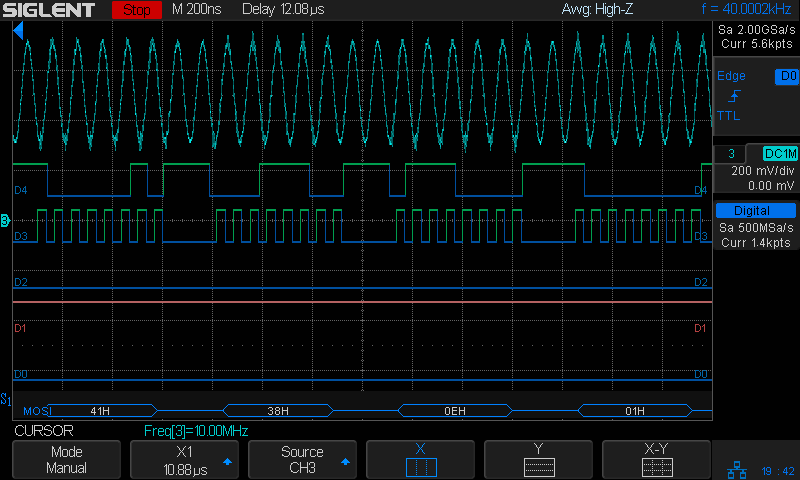
SpaceX uses Test Shot Starfish tracks for pre-launch background music; the actual test shot was spectacular.