The Smell of Molten Projects in the Morning

Ed Nisley's Blog: Shop notes, electronics, firmware, machinery, 3D printing, laser cuttery, and curiosities. Contents: 100% human thinking, 0% AI slop.

Tag: Repairs

If it used to work, it can work again

  • Belt Pack Zipper Pull Re-Repair

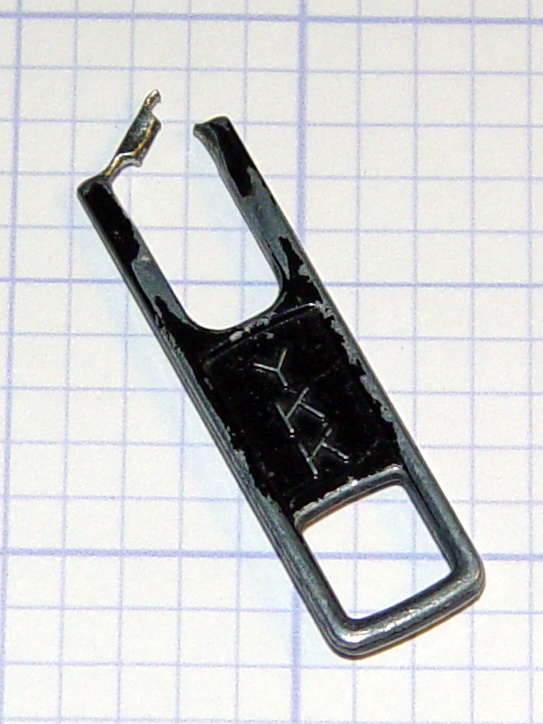
    In our last episode, the zipper tab on my belt pack had worn through:

    Eroded YKK Zipper Tab
    Eroded YKK Zipper Tab

    I “fixed” that by the simple expedient of running a key ring through the latch that used to hold the tab. That held for half a year, which isn’t to be sniffed at for a zero-cost repair.

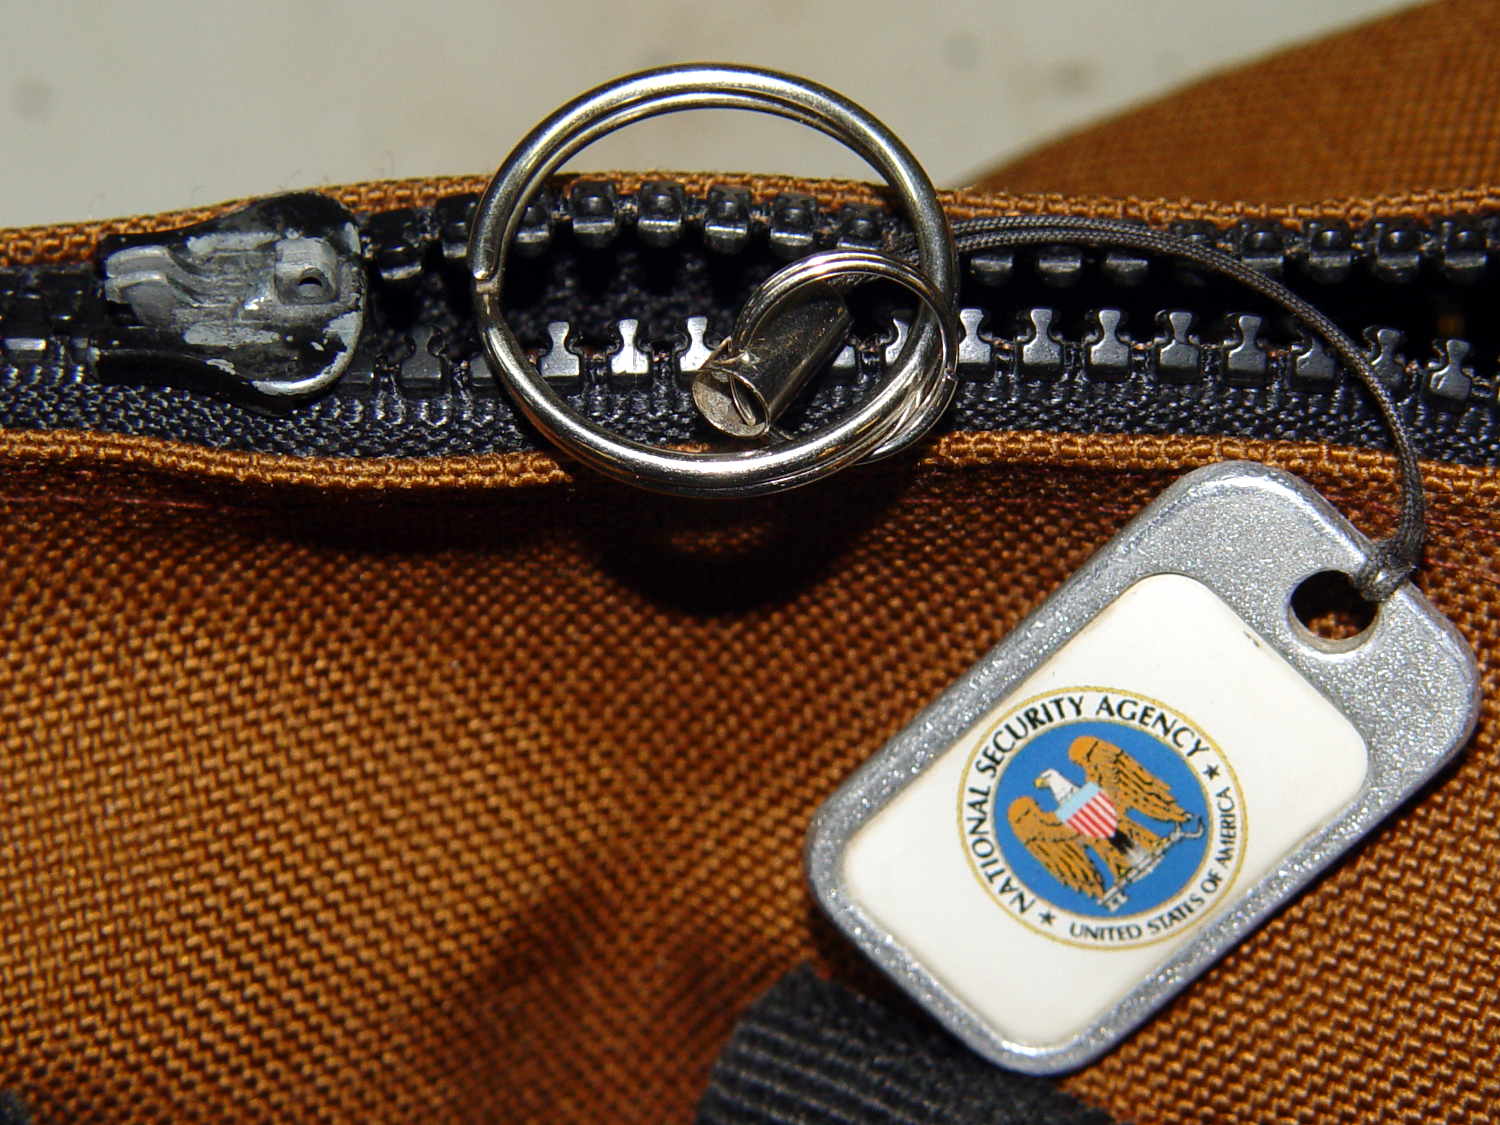
    A few days ago, the abused latch popped off the slider, leaving the NSA tag and ring in my hand:

    Belt Pack Zipper - missing tab and latch
    Belt Pack Zipper – missing tab and latch

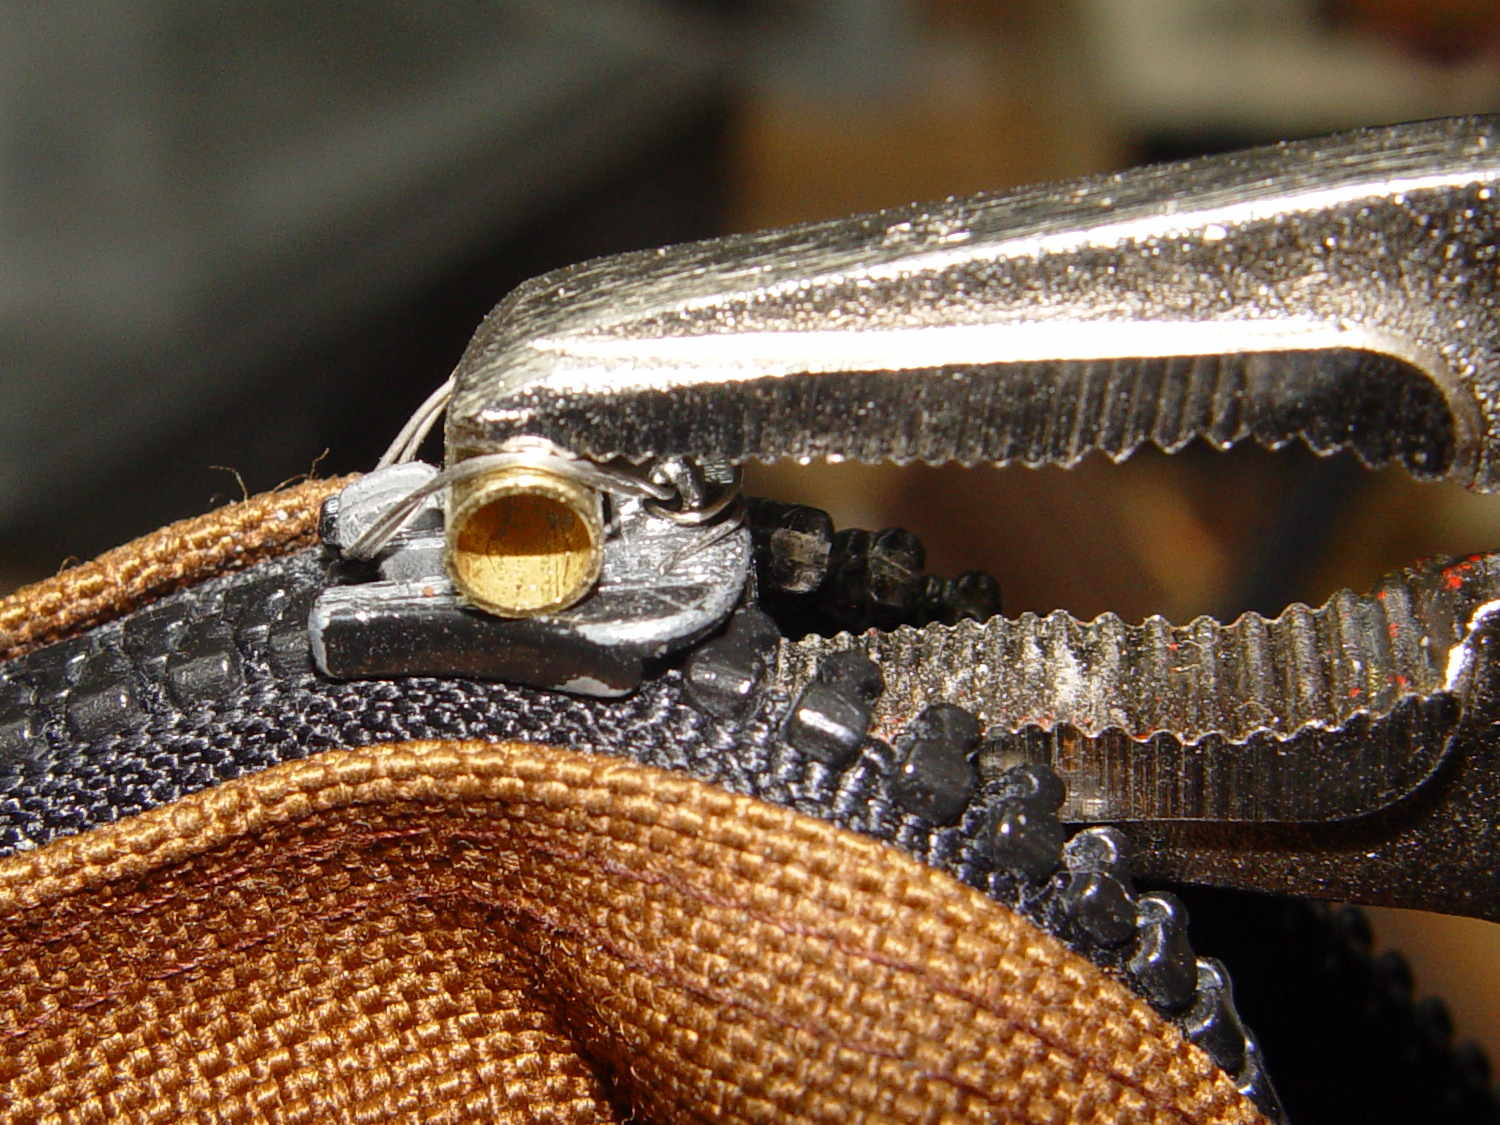
    I scuffed up the surface with a file to provide a bit more grip for the inevitable epoxy, then clamped a brass tube athwart the slider:

    Belt Pack Zipper - wired brass tube
    Belt Pack Zipper – wired brass tube

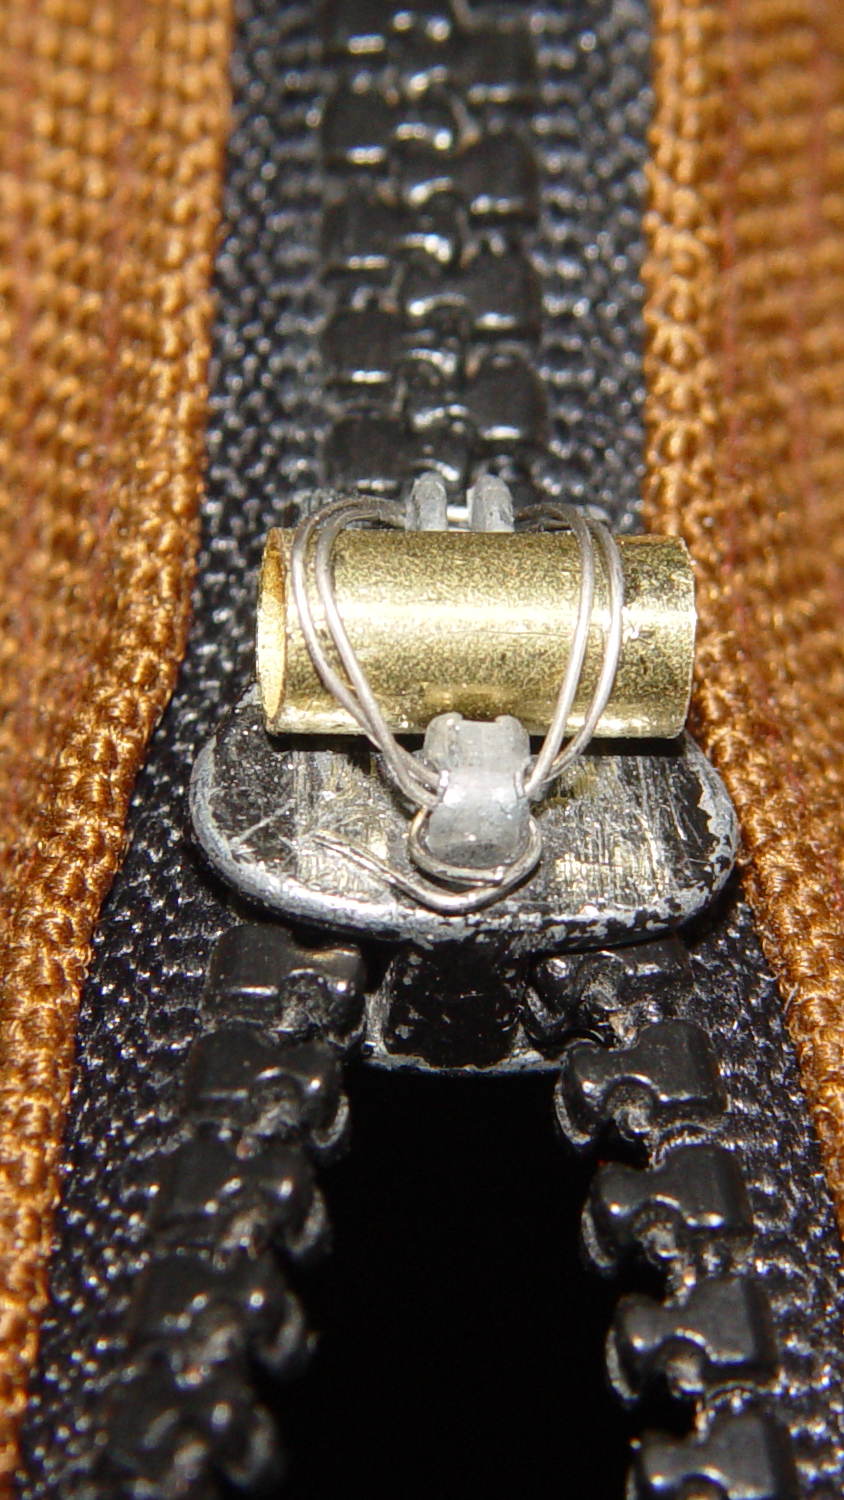
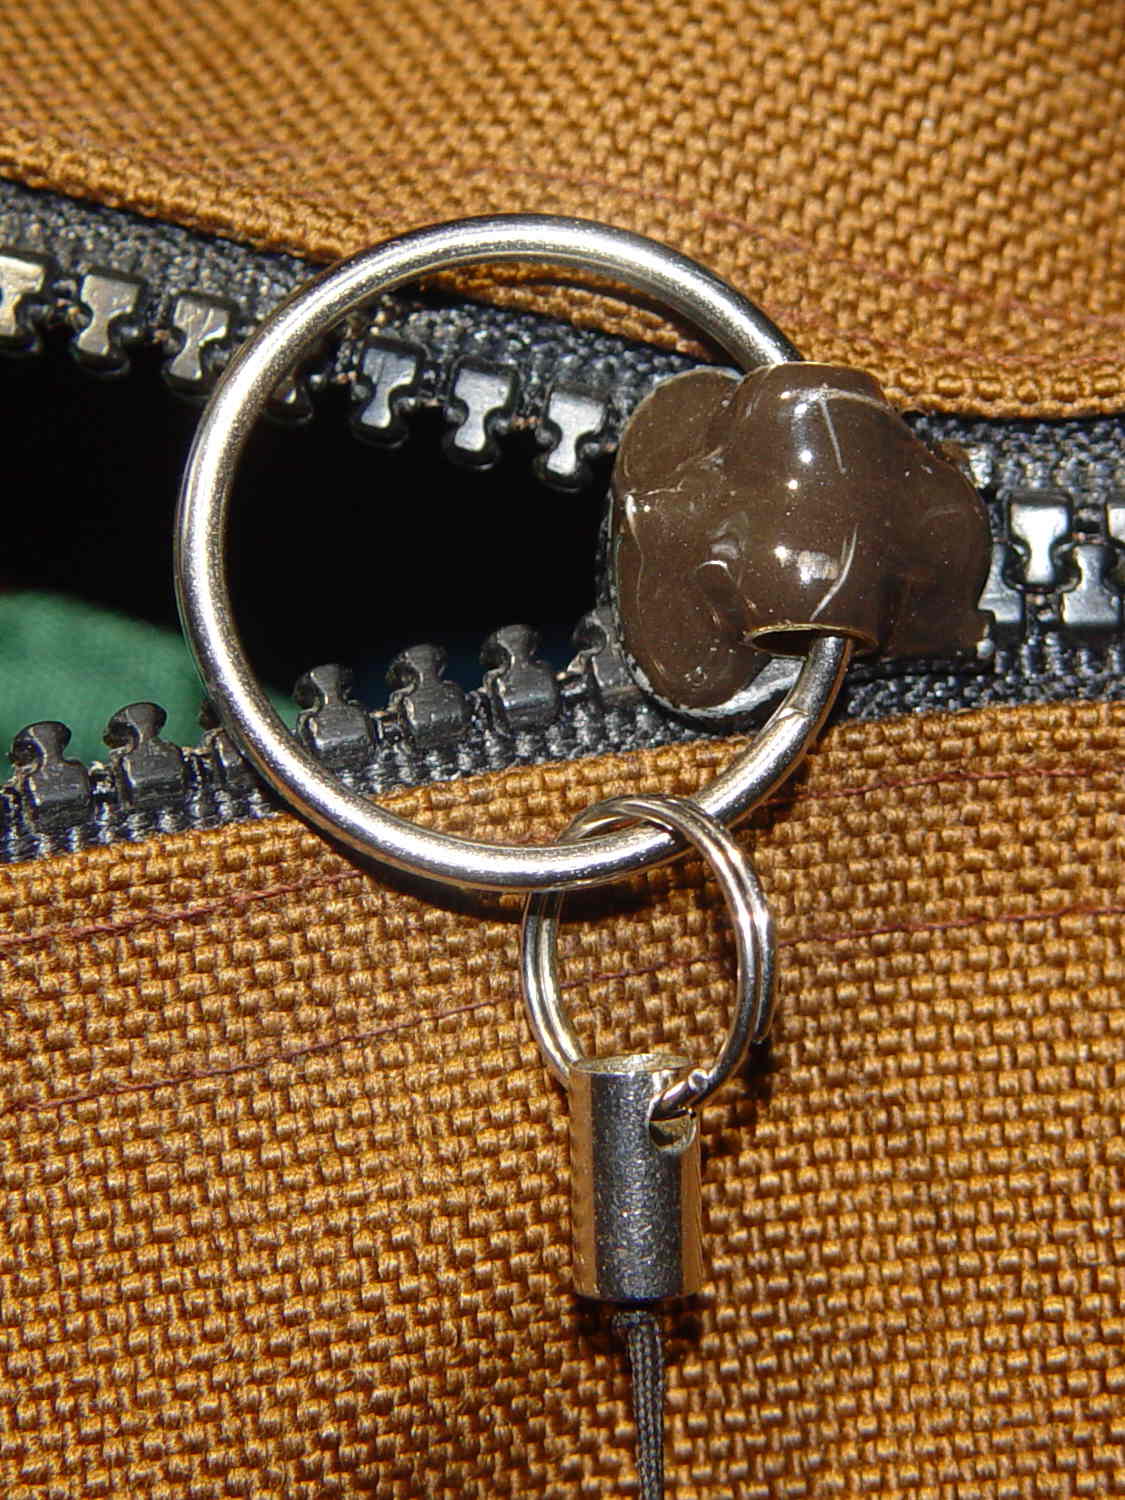
    The tube ID passes the ring with enough clearance to make it work out. The general idea is that the tube provides rigidity for the ring, the wires hold the tube against the pull, and the epoxy holds the wires in place. I fully expect the sharp edges around the tube’s ID will gradually wear away.

    Threading 14 mil stainless steel wire through the slider’s pivot hole:

    Belt Pack Zipper - wire opened end
    Belt Pack Zipper – wire opened end

    … and under the latch guide:

    Belt Pack Zipper - wire closed end
    Belt Pack Zipper – wire closed end

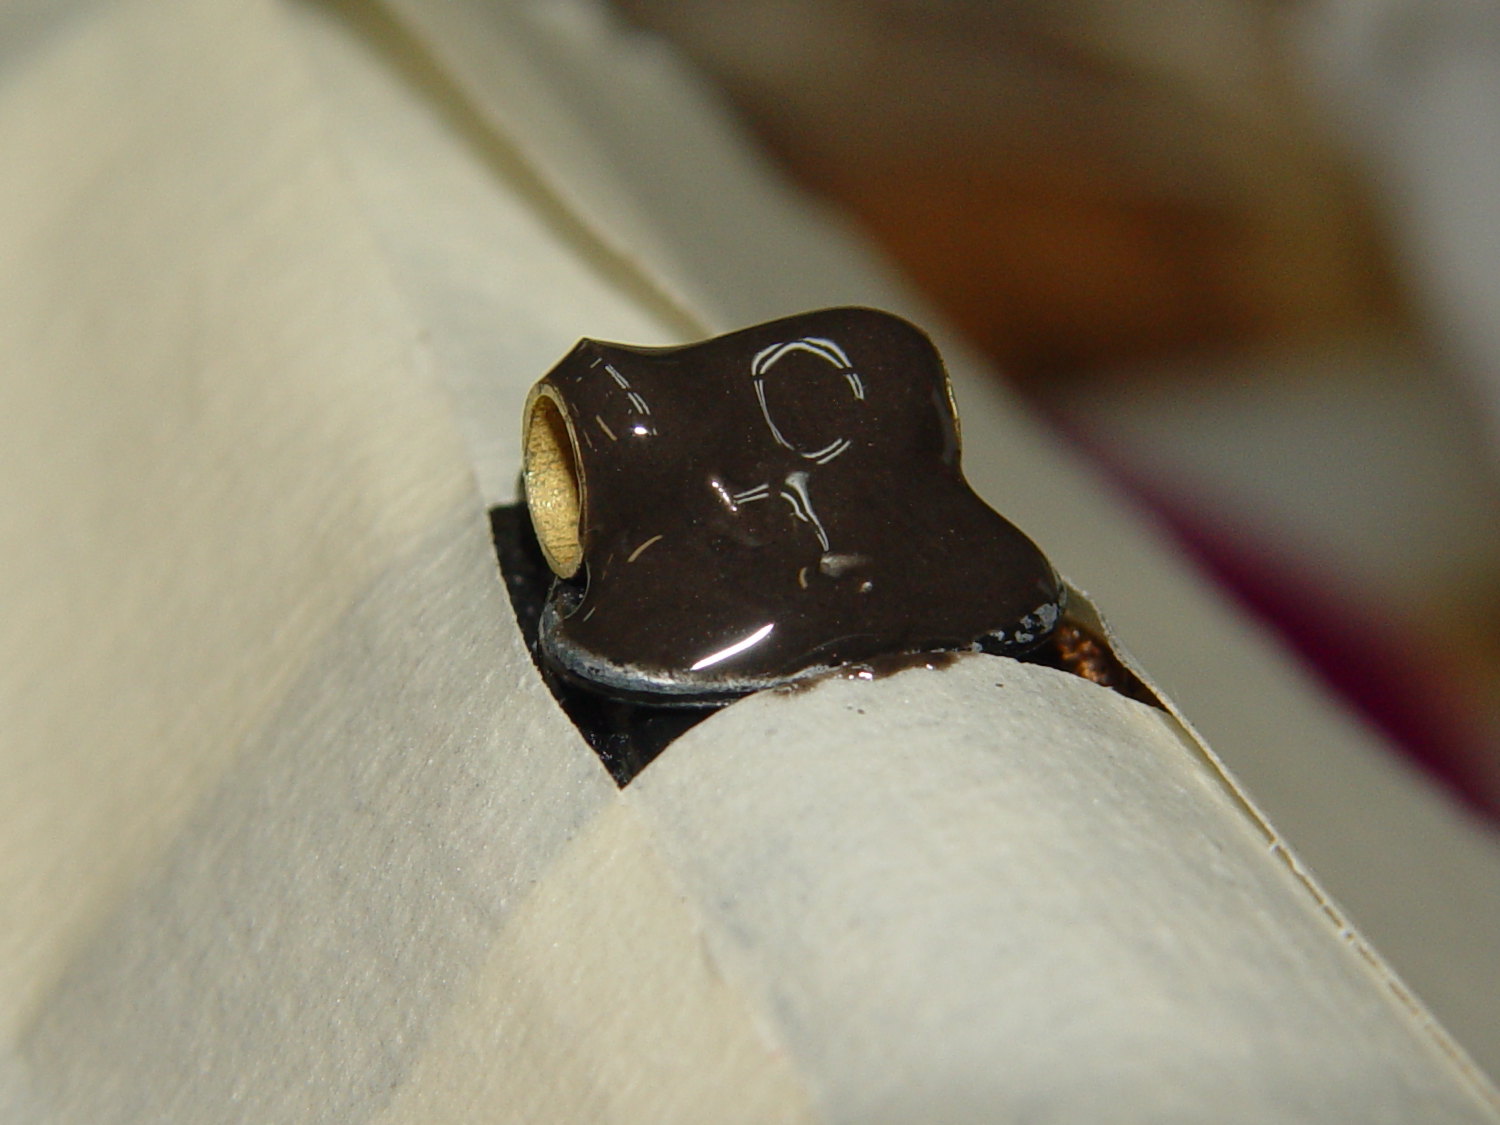
    … required a few tries and produced some nasty puncture wounds, but eventually it all hung together long enough to let me tuck some JB Kwik epoxy into all the nooks and crannies:

    Belt Pack Zipper - epoxy curing
    Belt Pack Zipper – epoxy curing

    That’s wide masking tape covering the work area. As it turned out, good preparation like that meant I didn’t slobber epoxy anywhere it shouldn’t go; had I omitted the tape, there’d be a smear down the side of the pack.

    Fast-forward to the next morning and it’s all good:

    Belt Pack Zipper - repaired
    Belt Pack Zipper – repaired

    The missing latch locked the slider in place, but I think I can eke out a miserable existence with a loose slider…

  • American Optical Microscope Illuminator: New Bulb!

    A classic American Optical microscope illuminator emerged from a box, minus its bulb. Some rummaging turned up a reference for AO bulbs, so I knew I needed a GE 1460 prefocused bulb. Those seem to be a bit rare these days, with 1460X bulbs sharing the same base with a slightly different glass envelope shape. As nearly as I can tell, as long as the filament sits in the same location relative to the base, it’s all good. Five bucks and a few days brought a new 1460X bulb to the bench, a few drops of Caig DeoxIT slicked the holder’s rather gritty contact patches, and the new bulb fit perfectly:

    Microscope Illuminator - 1460X bulb - detail
    Microscope Illuminator – 1460X bulb – detail

    And it lit up just fine, too:

    Microscope Illuminator - 1460X bulb - turned on
    Microscope Illuminator – 1460X bulb – turned on

    That’s running at the lowest of three selectable voltages: 5, 6, and 7.5 VAC, respectively. Given that the bulb spec says 6.5 V (at 2.75 A!), you best have a spare bulb on hand if you need the highest setting. At the nominal 6.5 V, it’s good for 100 hours; 6 V should eke out many more hours.

    A generously articulated arm holds the illuminator for desk work:

    American Optical Model 651 Microscope Illuminator - on base
    American Optical Model 651 Microscope Illuminator – on base

    That long snout fits into the pair of holes in the arm of my stereo zoom microscope to cast a bright light directly on the subject. The LED ring light makes that less necessary than before, although sometimes distinct shadows help pick out the details:

    Microscope Illuminator Test
    Microscope Illuminator Test

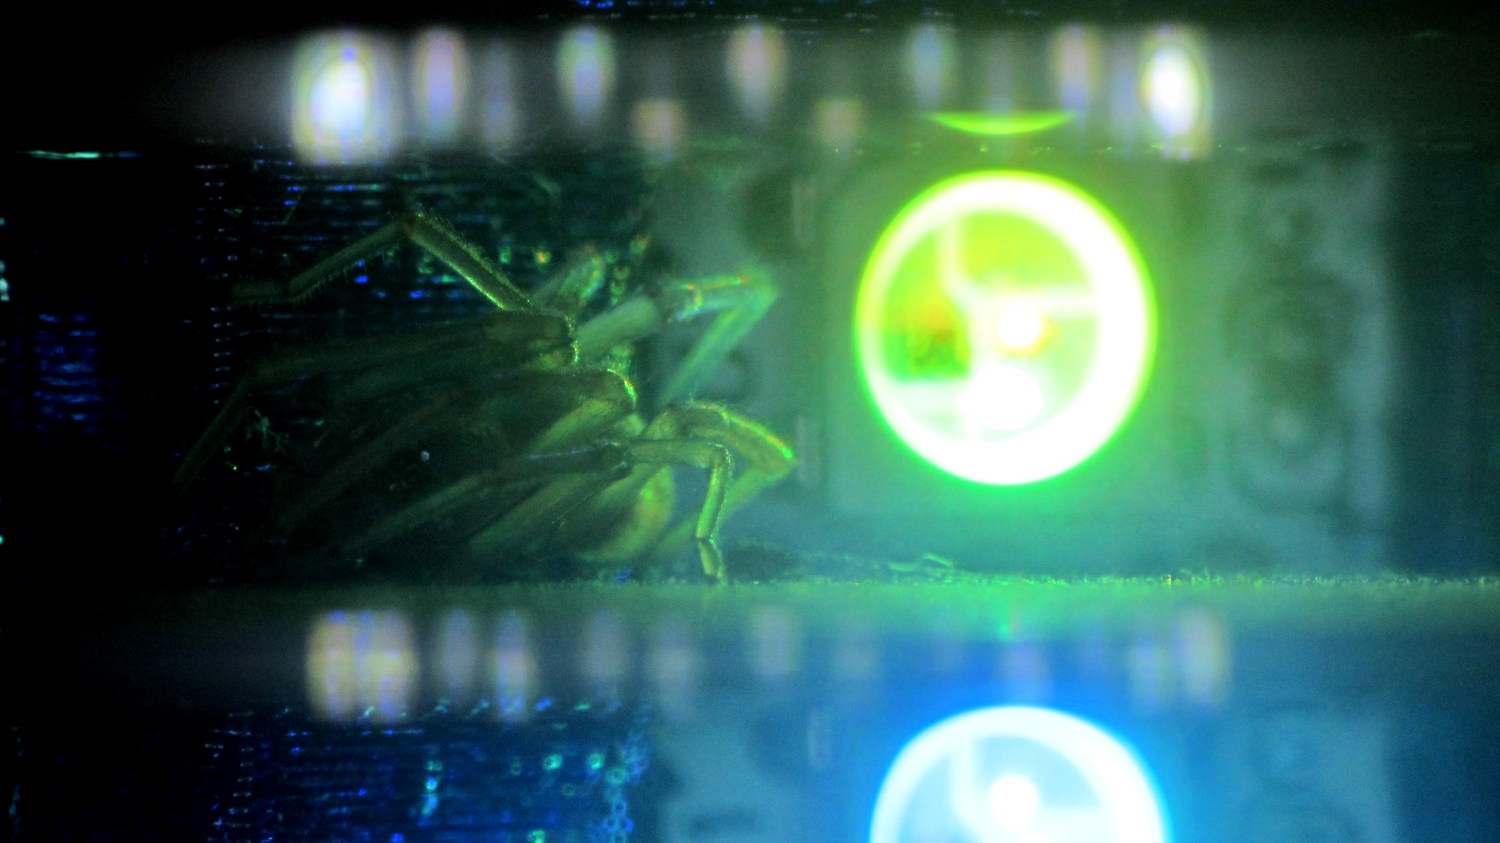
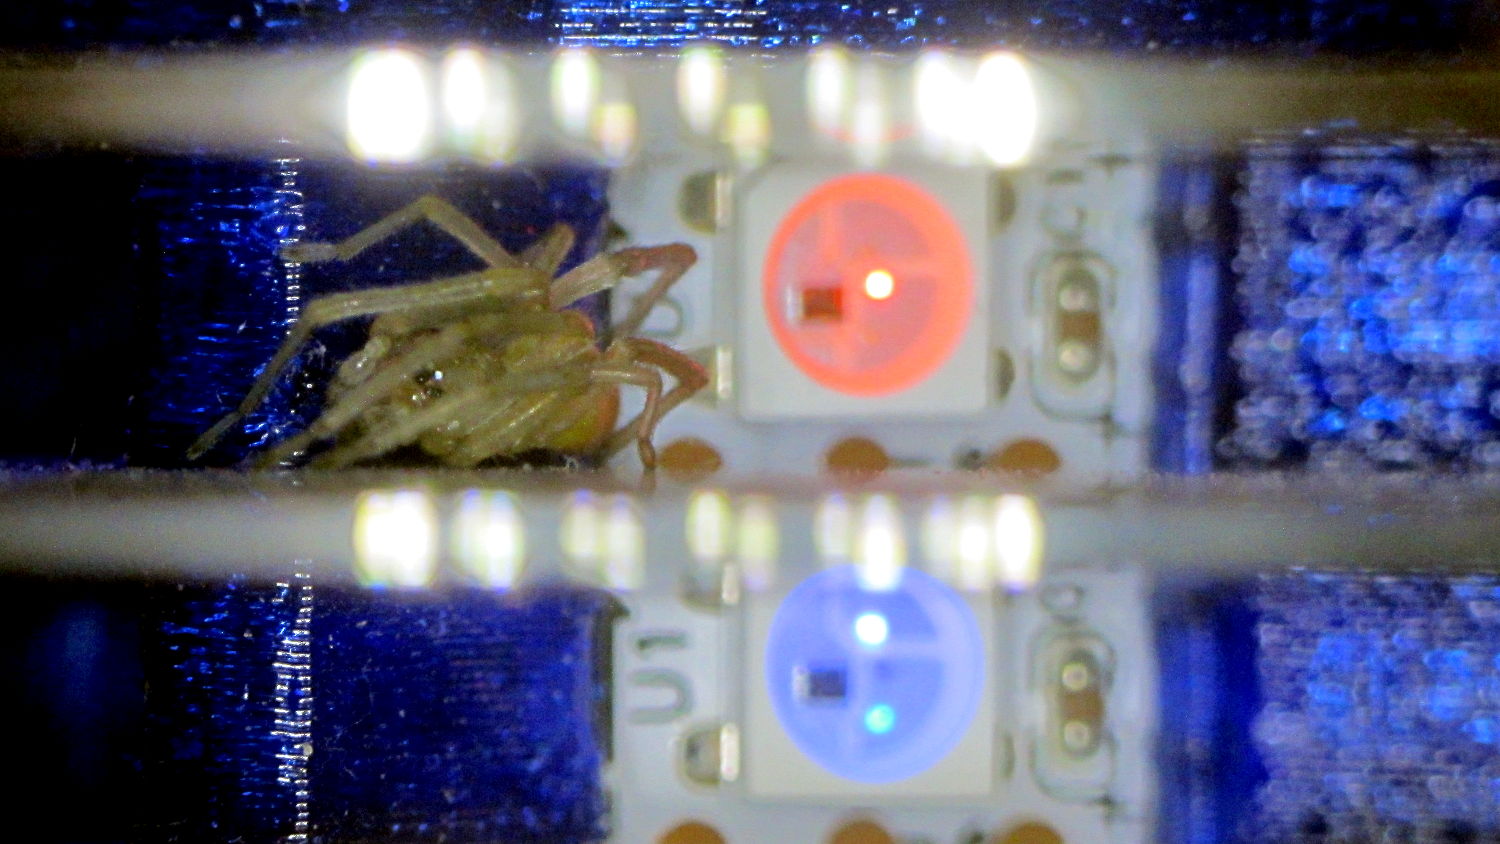
    That’s the failed WS2812B LED from the Noval tube, which again shows I need a USB camera with better resolution …

    The data plate on the bottom of the illuminator, should someone need it:

    American Optical Model 651 Microscope Illuminator - data plate
    American Optical Model 651 Microscope Illuminator – data plate

    The optics cast an image of that white-hot filament out into space, so I think the diffuse active area of a white LED wouldn’t produce the same amount of light on the target. I have some Pirhana LEDs, though, so (when this bulb fails) I’ll see about that.

  • Phil Wood Rear Hub Internal Bearing

    As part of replacing the entire drivetrain on my Tour Easy, I finally got around to replacing the bearings in the Phil Wood rear hub. The rear axle supports four bearings, with the innermost one captured between the end of the freehub and the aluminum retainer:

    Phil Wood hub - internal bearing
    Phil Wood hub – internal bearing

    The three small screws secure the retaining ring (sitting off to the right) against the bearing. If you don’t know what’s inside, you’d think they hold the freehub in place. Removing them doesn’t do anything useful unless you’re replacing the bearings and, if the retainer rotates even slightly inside the hub, you’re faced with taking the whole damn thing apart.

    That bearing is lightly loaded, well-protected on all sides, and felt just fine, so I slathered more grease around it and left it in place. The other three bearings hit the trash can with a resounding clang…

  • Opening a Dell Inspiron Mini 10 Case

    I volunteered to update an old Inspiron Mini 10 netbook (or whatever they called the things) with Mint Linux and wanted to see what replacing the dead-slow 5400 rpm hard drive with an SSD would do for the struggling Intel Atom Inside. Dell provides a Service Manual showing how to remove the three screws on the bottom of the case, then gently remove the keyboard (!) to get access to the innards.

    You start by covering the screen with some low-tack plastic film that you’ve been saving for this very purpose, sticking a small screwdriver into the center screw hole, and pushing the keyboard firmly away from the case. This bends the keyboard enough to get your fingernails underneath, after which you can pull / pry it away from the latches on each side.

    The left side of the keyboard (as seen from the normal vantage point) comes out first, after clearing a small latch just over the single left-side USB port:

    Dell Inspiron Mini 10 - left keyboard latch
    Dell Inspiron Mini 10 – left keyboard latch

    The right side pops free from its latch over the HMDI port when you push the keyboard firmly to the left:

    Dell Inspiron Mini 10 - right keyboard latch
    Dell Inspiron Mini 10 – right keyboard latch

    Then release the keyboard’s ribbon cable clamp, pull the cable out, remove the keyboard, remove the single screw holding the hard drive carrier in place, and swap drives in the obvious manner.

    Conclusion: an SSD helps a lot, but Firefox on an Atom CPU remains pretty slow off the starting blocks …

  • Improved Lipstick and Lip Balm Holder With Text

    For reasons that aren’t relevant here, Mary asked me to make four sets of improved lipstick / lip balm / sunscreen holders with five smaller tubes plus the central one and an inscription on the bottom. I ran off one with the last of the cyan PETG and the other three in natural PETG:

    Improved Lipstick Holder - on platform
    Improved Lipstick Holder – on platform

    I embossed the text into the bottom three layers. The tiny spots of detached infill for lowercase letters like a didn’t adhere to the platform, mostly because the retraction settings that work well for larger areas don’t push enough plastic out to bond with the platform before retracting and moving away.

    The bridging layer over the text shows Slic3r doing the best it can (clicky for more far more dots). Laying a uniform patch over all the letters in one shot would work better, but I don’t know how you’d define an algorithm that specifies when such a situation occurs:

    Lip Balm Holder - text bridge layer - Slic3r preview
    Lip Balm Holder – text bridge layer – Slic3r preview

    The solid infill layer directly over the Hilbert Curve bottom layer came out grossly severely excessively overstuffed, to the extent that the accumulation reduced the flow of molten plastic and caused the filament drive to strip:

    Overfilled layer 2
    Overfilled layer 2

    Previewing the G-Code show nothing out of the ordinary and, after considerable flailing around, I finally set Slic3r to begin the 3D Honeycomb infill directly atop the Hilbert Curve bottom layer. That provided enough open space to complete the mission, but more debugging was in order.

    The OpenSCAD source code as a GitHub gist:

    // Lipstick and Balm Tube Holder
    // Ed Nisley KE4ZNU – February 2016
    //- Extrusion parameters – must match reality!
    ThreadThick = 0.25;
    ThreadWidth = 0.40;
    function IntegerMultiple(Size,Unit) = Unit * ceil(Size / Unit);
    Protrusion = 0.1;
    HoleWindage = 0.2;
    //——
    // Dimensions
    RawDia = [27,18,16,18,16,18]; // actual tube diameters in desired order, center = largest first
    NumTubes = len(RawDia);
    Clearance = 2.0;
    TubeDia = [for (i=[0:NumTubes-1]) (RawDia[i] + Clearance)]; // actual tube diameters
    TubeRad = TubeDia / 2;
    echo(str("NumTubes: ",NumTubes));
    Wall = 2.0;
    BaseThick = 2.0;
    BaseFactor = 2.0;
    NumSides = 12*4;
    // per-tube info, first element forced to 0 to make entries match RawDia vector indexes
    Radius = [0, for (i=[1:NumTubes-1]) (TubeRad[0] + TubeRad[i] + Wall)]; // Tube[i] distance to center point
    echo(str("Radius: ",Radius));
    CtrToCtr = [0, for (i=[1:NumTubes-2]) (TubeRad[i] + TubeRad[i+1] + Wall)]; // Tube[i] distance to Tube[i+1]
    echo(str("CtrToCtr: ",CtrToCtr));
    Angle = [0, for (i=[1:NumTubes-2]) acos((pow(Radius[i],2) + pow(Radius[i+1],2) – pow(CtrToCtr[i],2)) / (2 * Radius[i] * Radius[i+1]))];
    echo(str("Angle: ",Angle));
    TotalAngle = sumv(Angle,len(Angle)-1);
    echo(str("TotalAngle: ",TotalAngle));
    //———————-
    // Useful routines
    // vector sum cribbed from doc
    function sumv(v,i,s=0) = (i==s ? v[i] : v[i] + sumv(v,i-1,s));
    //———————-
    //- Build it
    difference() {
    union() {
    for (i=[0:NumTubes-1])
    rotate(90 – TotalAngle/2 + sumv(Angle, (i>0) ? (i-1) : 0))
    translate([Radius[i],0,0]) {
    resize([0,0,2*BaseThick]) // bases
    difference() {
    sphere(r=BaseFactor*TubeRad[i],$fn=NumSides);
    translate([0,0,-BaseFactor*TubeDia[i]])
    cube(2*BaseFactor*TubeDia[i],center=true);
    }
    difference() { // tubes
    cylinder(r=TubeRad[i] + Wall,h=1.5*TubeDia[i] + BaseThick,$fn=NumSides);
    cylinder(d=TubeDia[i],h=1.5*TubeDia[i] + BaseThick + Protrusion,$fn=NumSides);
    }
    }
    for (i=[1:NumTubes-2]) // gap plugs
    rotate(90 – TotalAngle/2 + sumv(Angle,i-1) + (Angle[i])/2)
    translate([(TubeRad[0] + Wall),0,0])
    cylinder(r=2*Wall,h=1.5*min(TubeDia[i],TubeDia[i+1]) + BaseThick,$fn=3);
    }
    translate([0,0,-Protrusion]) // text
    mirror([1,0,0])
    linear_extrude(height=3*ThreadThick + Protrusion) {
    translate([0,25,0])
    text(text="Linda",size=7,spacing=1.05,font="Arial:style=Bold Italic",halign="center");
    translate([0,15,0])
    text(text="FDQ ExComm",size=5,spacing=1.05,font="Arial:style=Regular",halign="center");
    translate([0,7,0])
    text(text="2014 – 2016",size=5,spacing=1.05,font="Arial:style=Regular",halign="center");
    translate([0,-3,0])
    text(text="Thank you!",size=6,spacing=1.05,font="Arial:style=Regular",halign="center");
    translate([0,-15,0])
    text(text="Mary Nisley",size=7,spacing=1.10,font="ITC Zapf Chancery:style=Medium Italic",halign="center");
    }
    }
  • Vacuum Tube LEDs: Another Knockoff Neopixel Failure

    The WS2812B controller in this knockoff Neopixel failed:

    Failed W2812B Ersatz Neopixel
    Failed W2812B Ersatz Neopixel

    It used to live in the Noval socket:

    Noval socket - red phase
    Noval socket – red phase

    As with the one atop the big incandescent bulb, it failed by emitting random flashes of primary colors. This time, the Octal and Duodecar sockets were downstream and I got to watch four randomly flashing RGB LEDs, which says the controller failed enough to corrupt the data stream, but not enough to make the downstream controllers regard it as completely invalid.

    I replaced it with another one, just like the other ones, and it’s been running happily ever since.

    Fairly obviously, cheap knockoff Neopixels aren’t a good deal; the strip and these PCB versions have racked up three or four (I’m losing track) out of less than a dozen deployed. I won’t hold the overtemperature failures against the strip versions, but, still …

  • Refrigerator Trim Tab: Now With Inserts

    If the only tool you have is a knurled brass insert, well, then, you use ’em everywhere:

    Refrigerator Trim - melt-installed inserts
    Refrigerator Trim – melt-installed inserts

    Those are mounting holes for the little trim tab that closes one of the two holes left for the door hinge bracket on the vent grill of our refrigerator. The tab originally had a pair of the flimsiest little plastic pegs you’ve ever seen, both of which broke off and got themselves repaired with epoxy at least once along the way.

    The holes in the bosses started out only slightly larger than the 4-40 insert body diameter, so they were surely undersized, and the knurls definitely stretched the plastic on the way in. I applied a soldering iron to the studs until the plastic melted around the knurls, relieved much of the stretching, and secured those puppies forevermore.

    I was willing to try heat-setting them because I absolutely didn’t care if they came out a little crosseyed. For future reference, the inserts will cant off-axis unless they’re held in place: use a drill press or something similar as an alignment fixture. That would be awkward with three feet of grill hanging off the drill press table.

    I step-drilled (to avoid grabbing the soft plastic) the tab with slightly oversized 1/8 inch holes to allow some adjustment for best fit. A trial assembly showed a pair of greatly oversized 6-32 nylon standoffs spaced it well enough from the bosses for my simple needs:

    Refrigerator Trim - trial fit
    Refrigerator Trim – trial fit

    The two broken pegs sit disconsolately atop the tab, with the crushed section of their ribs showing their depth of insertion in the bosses. Note that the tab sits proud of the grill, originally supported entirely by the pegs and stopped by the square block in the middle, with no support or alignment on any side.

    The left peg popped out of its epoxy blob, forcing me to file the blob flat before drilling through both it and the tab.

    After some wiggle-n-jiggle adjustment, the tab lined up a bit better, I defined it to be Good Enough, and popped the grill back in place on the refrigerator.

    Done!