
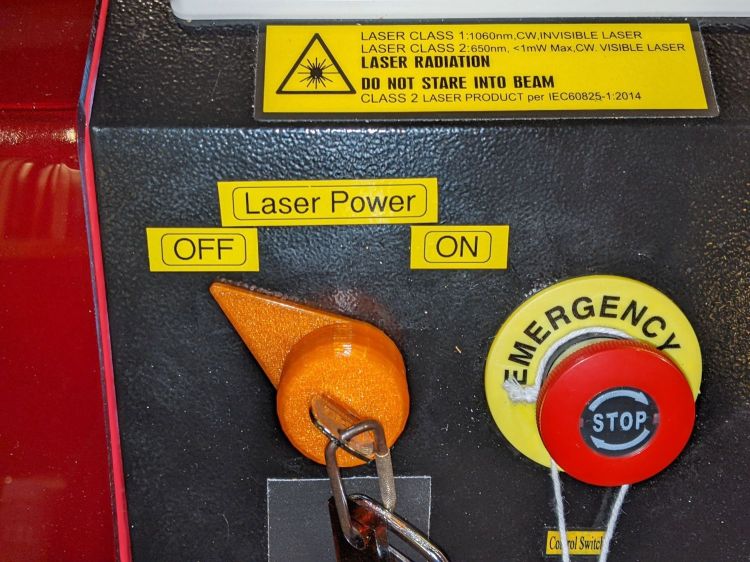
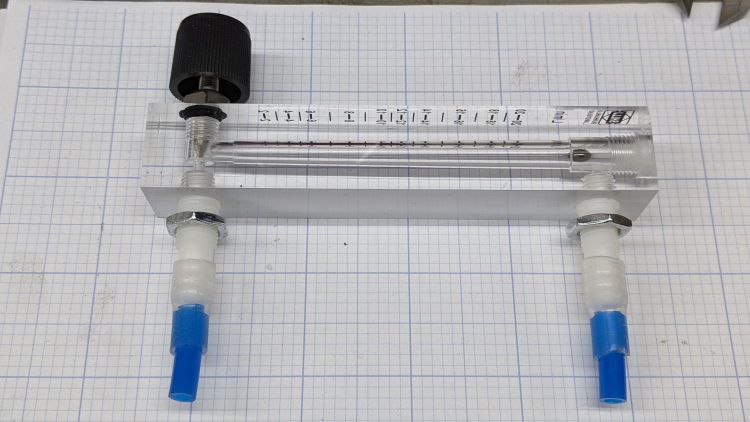
The Box o’ Optical Stuff disgorged an ancient Gentec ED-200 Joulemeter:
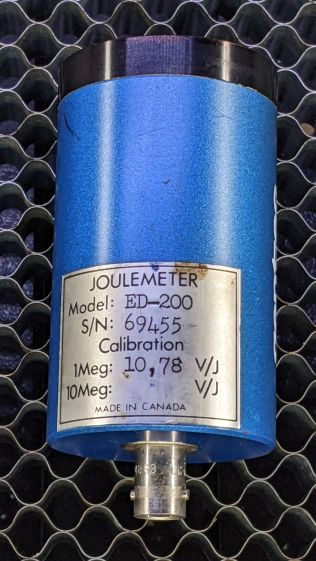
It’s an optical pyrometer producing, sayeth the dataplate, an output of 10.78 V per joule of energy applied to its matte black absorber. Whether it’s accurate or not, I have no way of knowing, but aiming the business end toward the sun and waving my fingers over it produced a varying voltage, so there was hope.
It has a 1/4-20 socket on one side and my spare magnetic mount expects a 3/8 inch rod, so I drilled a suitable hole in a suitable aluminum rod and cut the head off a suitable bolt:
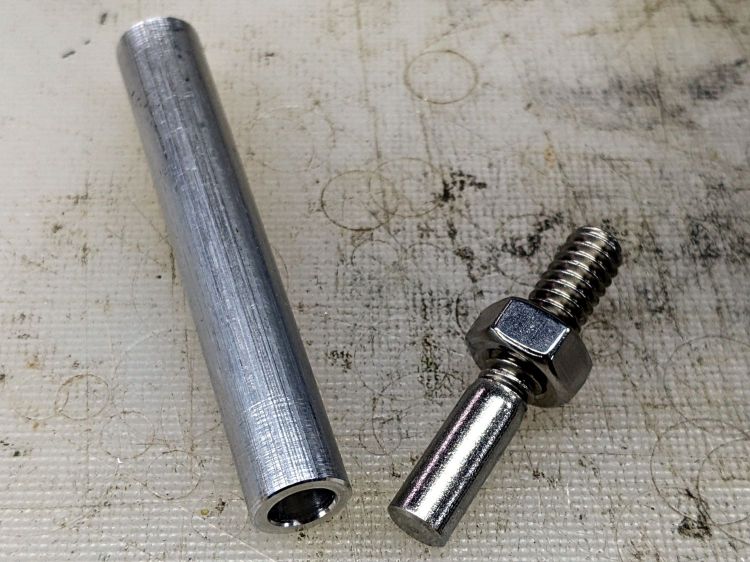
A dab of Loctite intended to secure bushings completed the assembly:
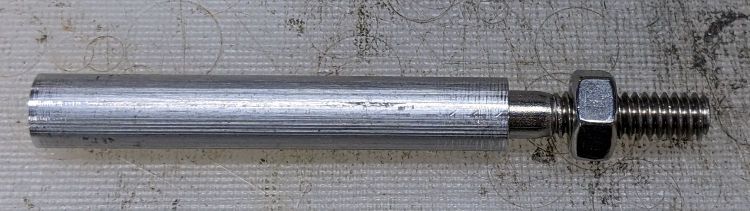
I later replaced the nut with a finger-friendly nylon wingnut.
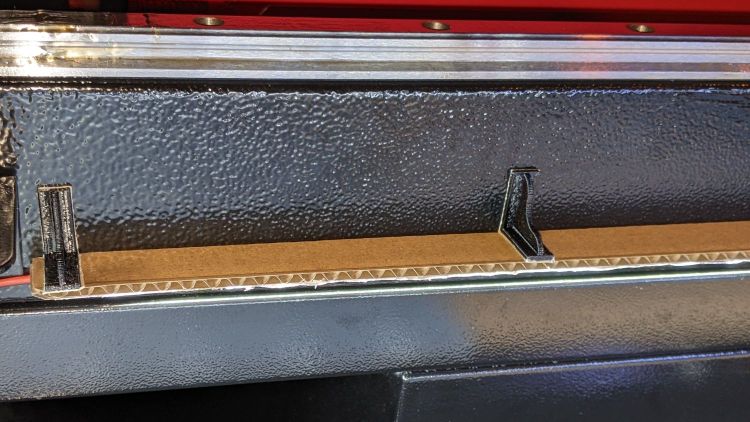
Which allows a measurement setup along these lines:

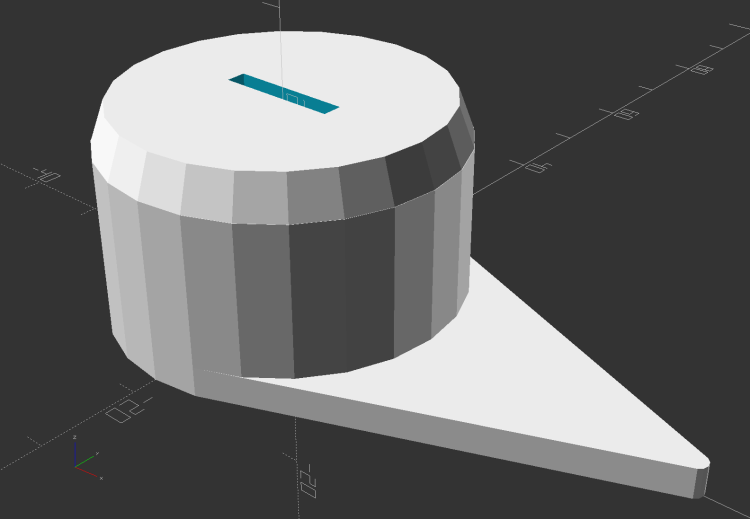
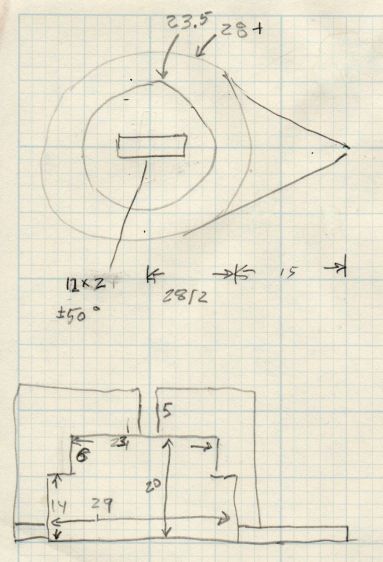
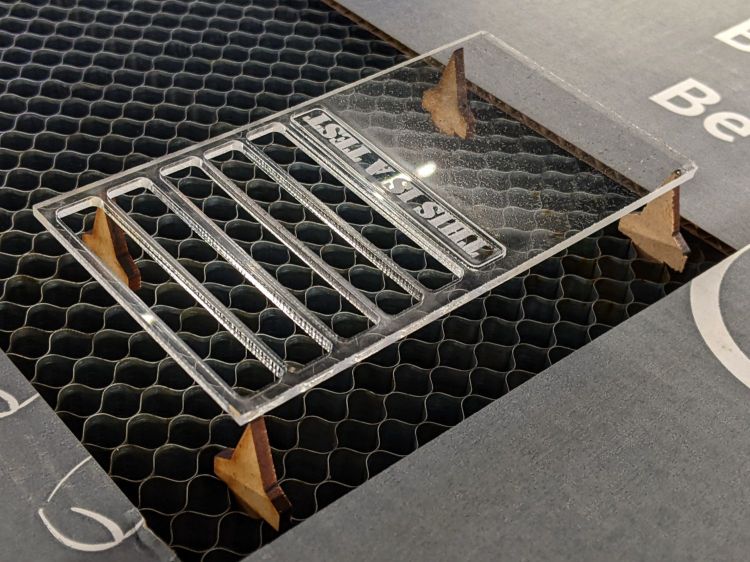
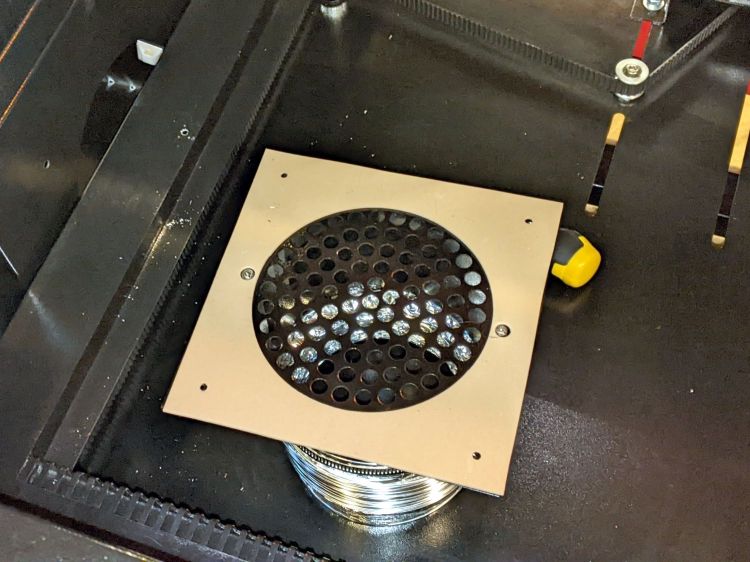
The white disk atop the sensor is a homebrewed target to indicate the active sensor area and its center point:
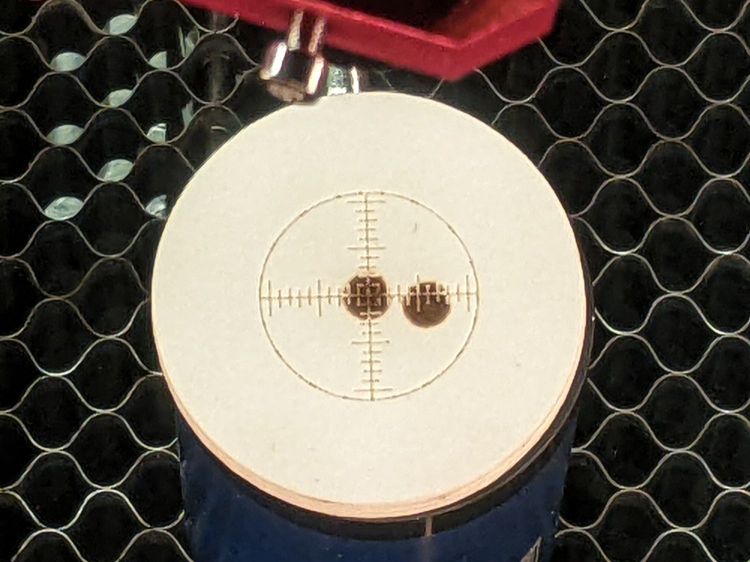
The 1 mm graticule lines give a jogging suggestion to hit the center, assuming you (well, I) manage to hit anywhere on the target at the first shot. The beam is supposed to fill most of the central region, which is obviously not going to happen here, and it must not be focused to a pinpoint. The previous owner (or his minions) put a few scars on the surface and I expect to make similar mistakes.
Early results look encouraging:

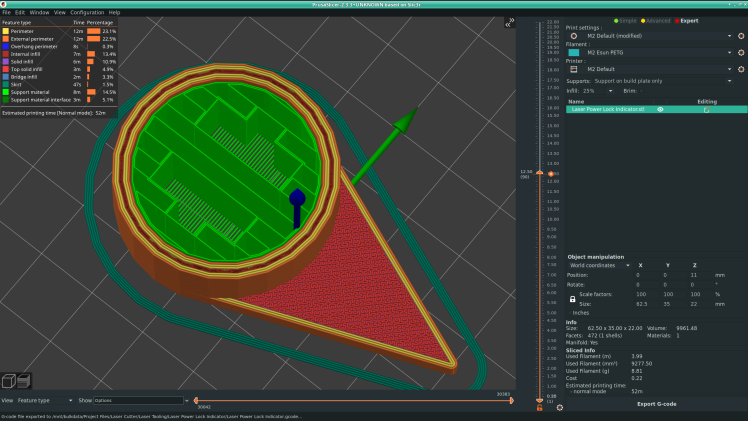
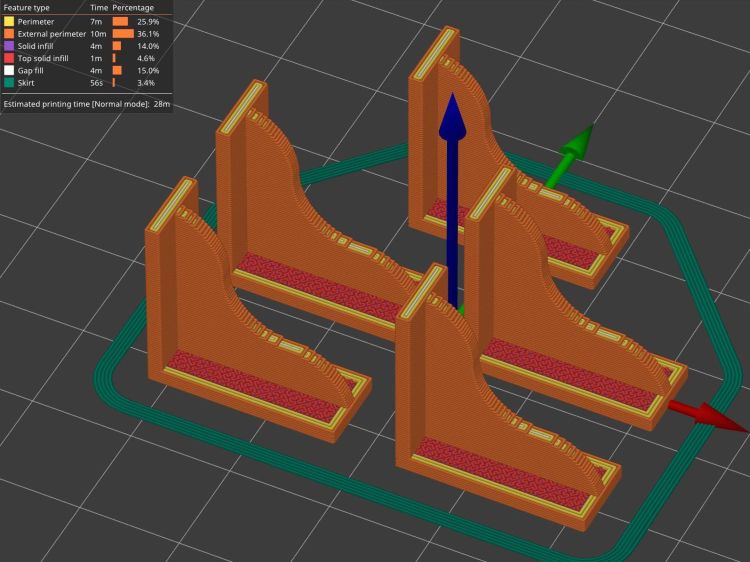
The SVG image as a GitHub Gist:
I added the two mounting ears in anticipation of putting the joulemeter in the beamline between the mirrors to measure their loss.


