Ed Nisley's Blog: Shop notes, electronics, firmware, machinery, 3D printing, laser cuttery, and curiosities. Contents: 100% human thinking, 0% AI slop.
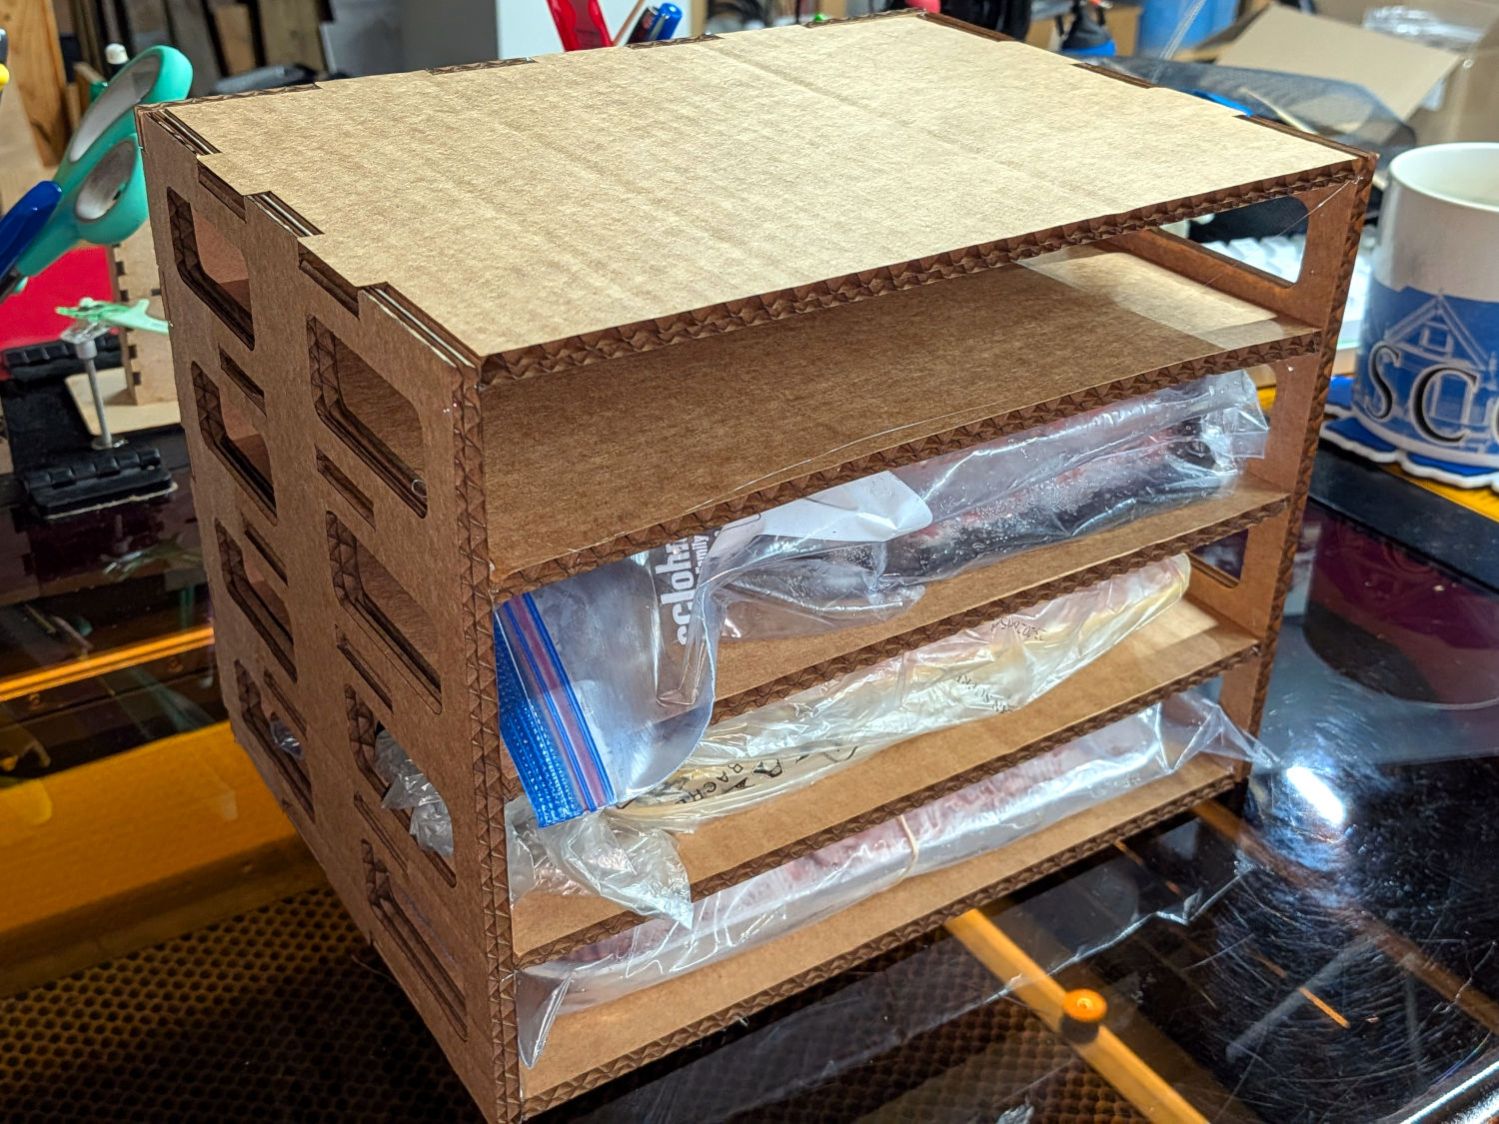
The new chest freezer’s interior has a rectangular lump on the right side over the compressor, atop which we’d been stacking foam trays of ground meat. To forestall a tragic landslide, I made a quick-n-easy rack held together with hot-melt glue:
Freezer Tray Rack – test fit
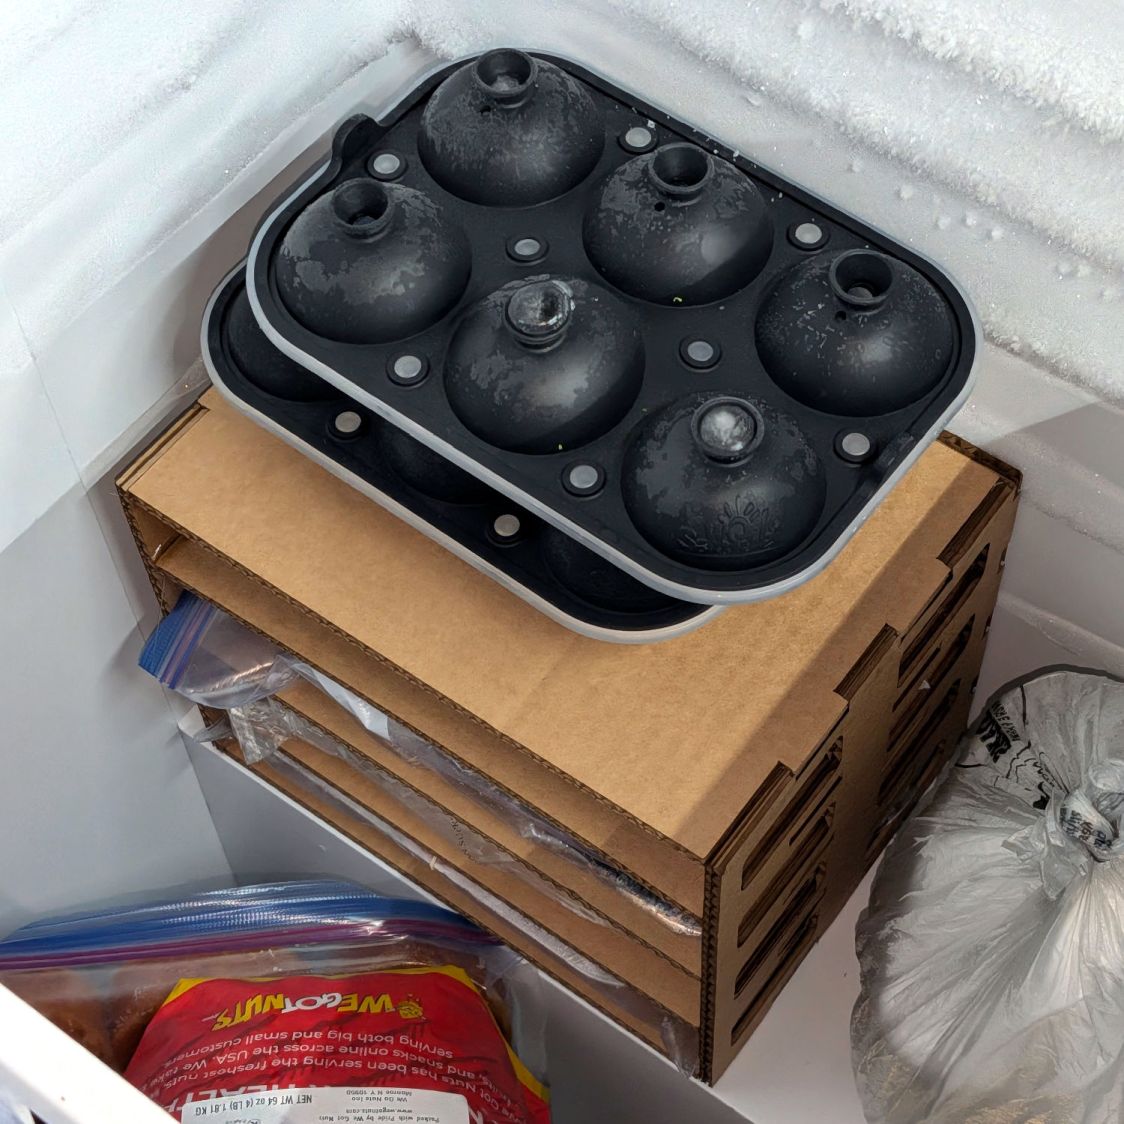
It doesn’t look like it grew there, but it’ll suffice:
Freezer Tray Rack – installed
The weird black things are silicone molds for 4 fl. oz. ice balls (known in these parts as “iceteroids”) suited for chilling the water used to quench veggies after steaming / blanching, prior to freezing.
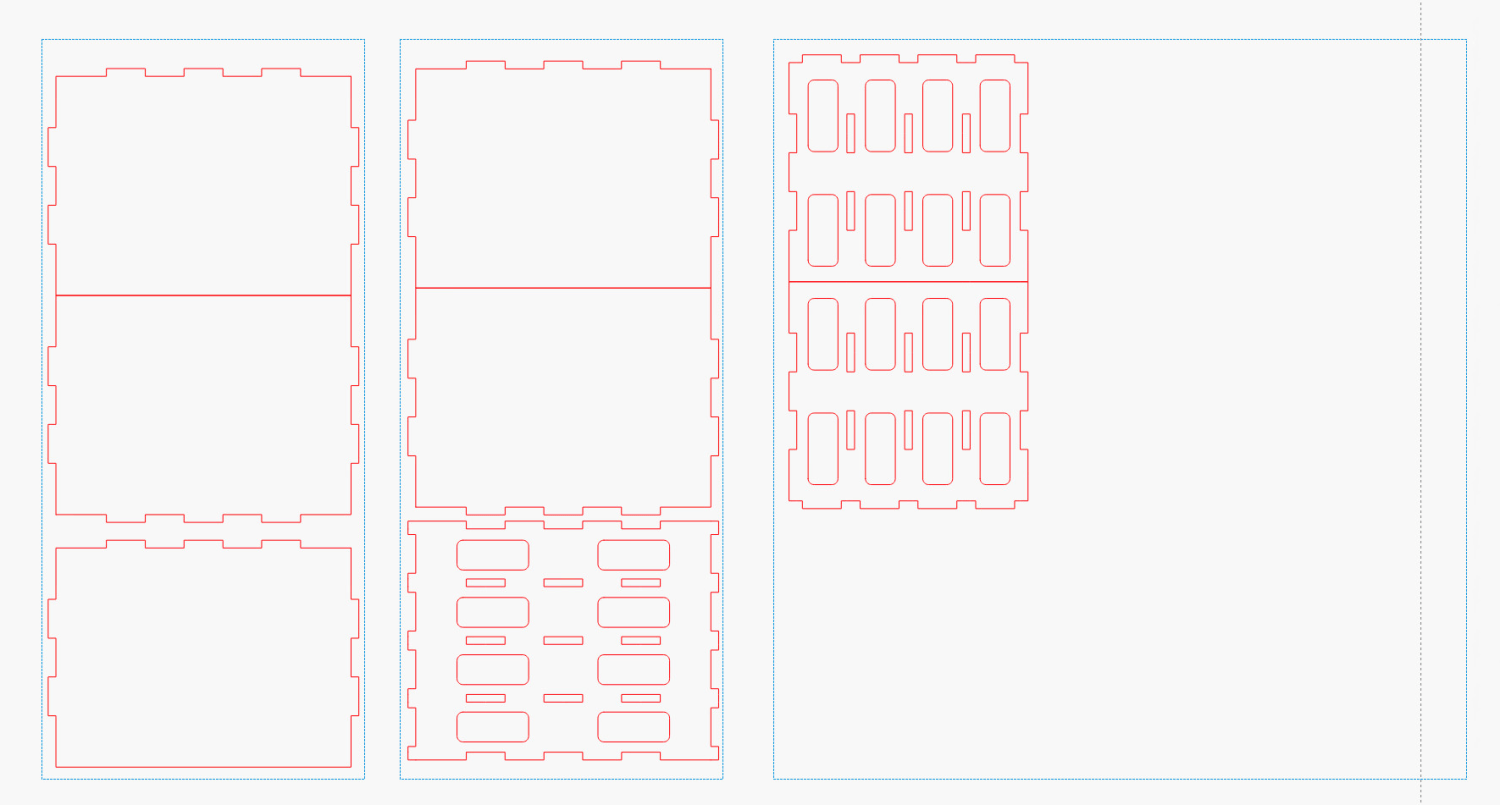
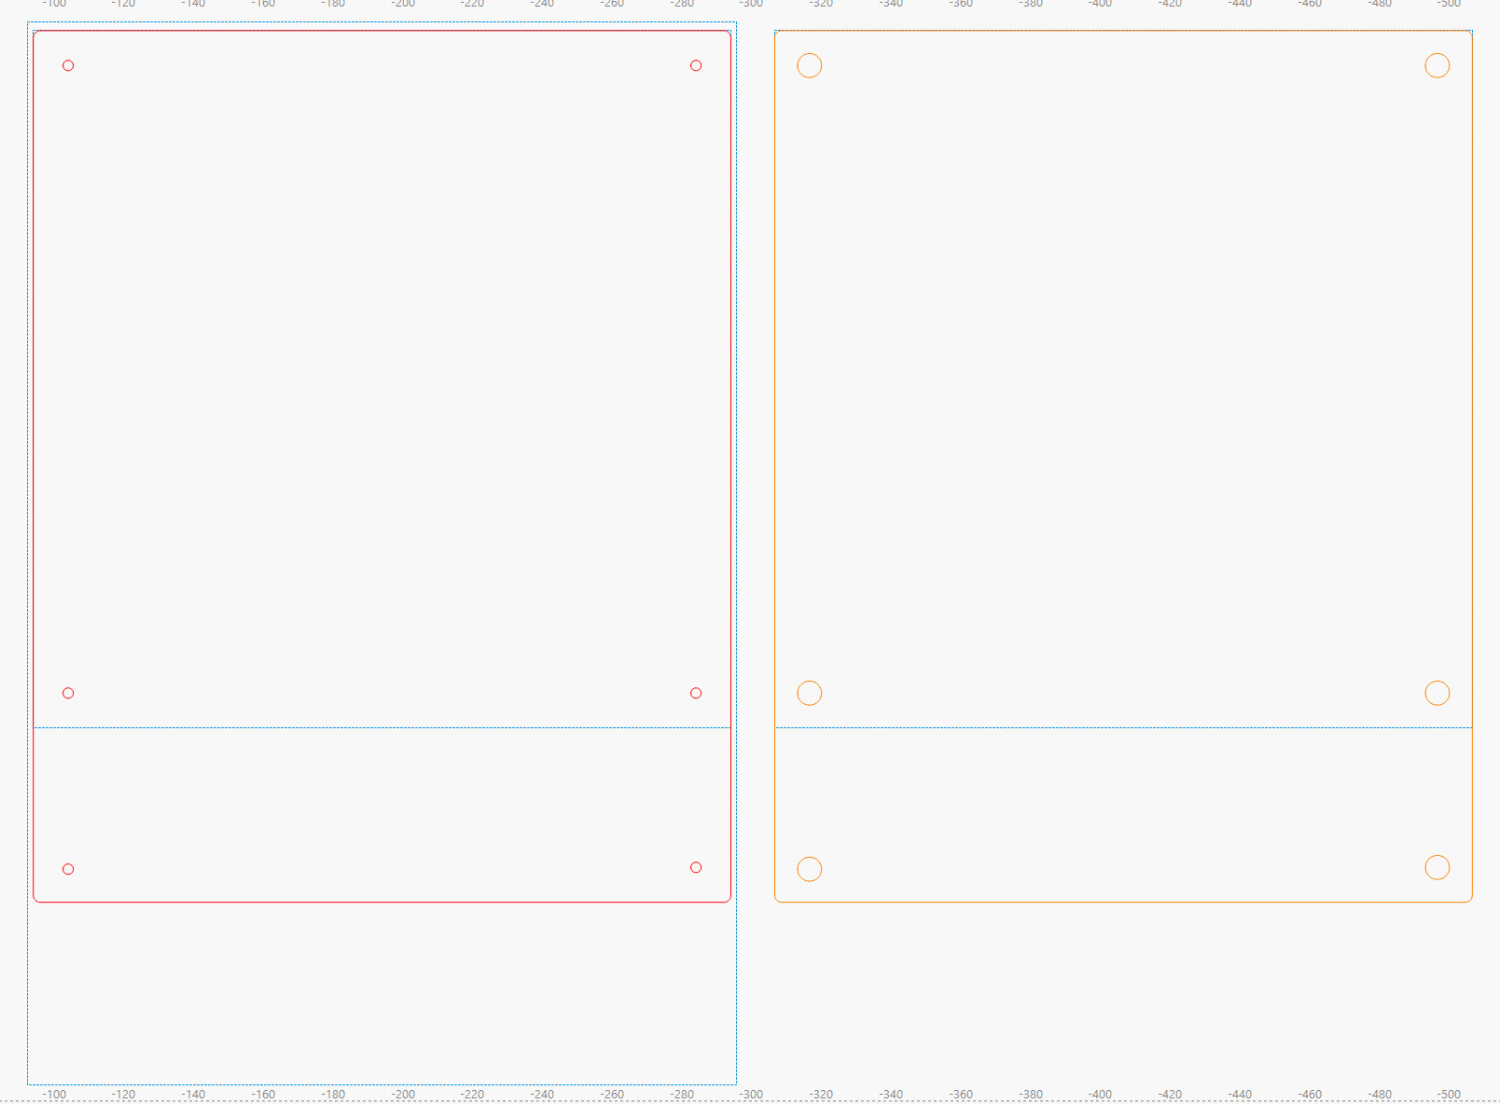
The LightBurn layout arranges the parts in tool-layer rectangles matching a shipping box of 6.5 mm cardboard rugged enough for at least a prototype:
Freezer Tray Rack – LightBurn layout
The jawbreaker boxes.py URL adds 5 mm to the shelf height for a little more clearance. You’ll likely have different cardboard in your stockpile, so tweak as needed, add vent holes in the sides & back, and Fire The Laser.
Slightly modify the OpenSCAD code to suit thinner chipboard:
include <BOSL2/std.scad>

fn = "Printed Fragment Coaster - 5 in Set B - Inkscape paths.svg";

FragmentThick = 0.8;

BaseThick = 2.0;
RimHeight = 0.4;

union() {


  linear_extrude(h=BaseThick)
    import(fn,id="Perimeter");

  color("Green")
    up(BaseThick)
      linear_extrude(h=FragmentThick)
        difference() {
          import(fn,id="Perimeter");
          import(fn,id="Recesses");
        }

  color("Red")
    up(BaseThick + FragmentThick)
    linear_extrude(h=RimHeight)
      difference() {
        import(fn,id="LipOut");
        import(fn,id="LipIn");
        import(fn,id="Island");
      }

}
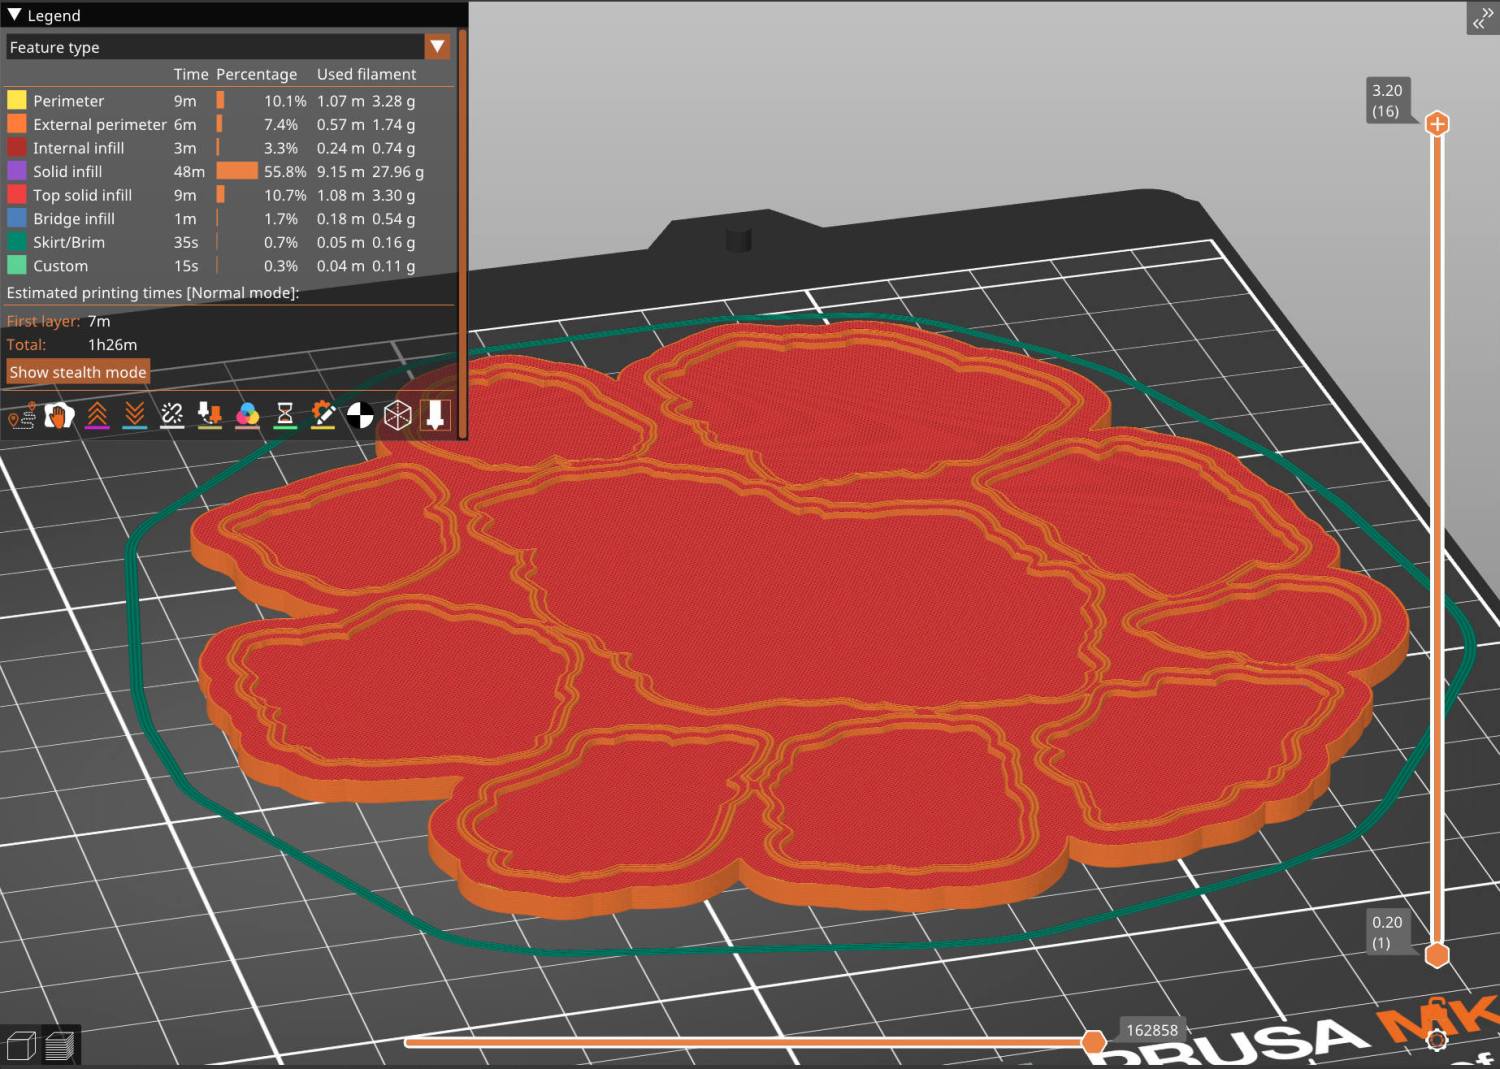
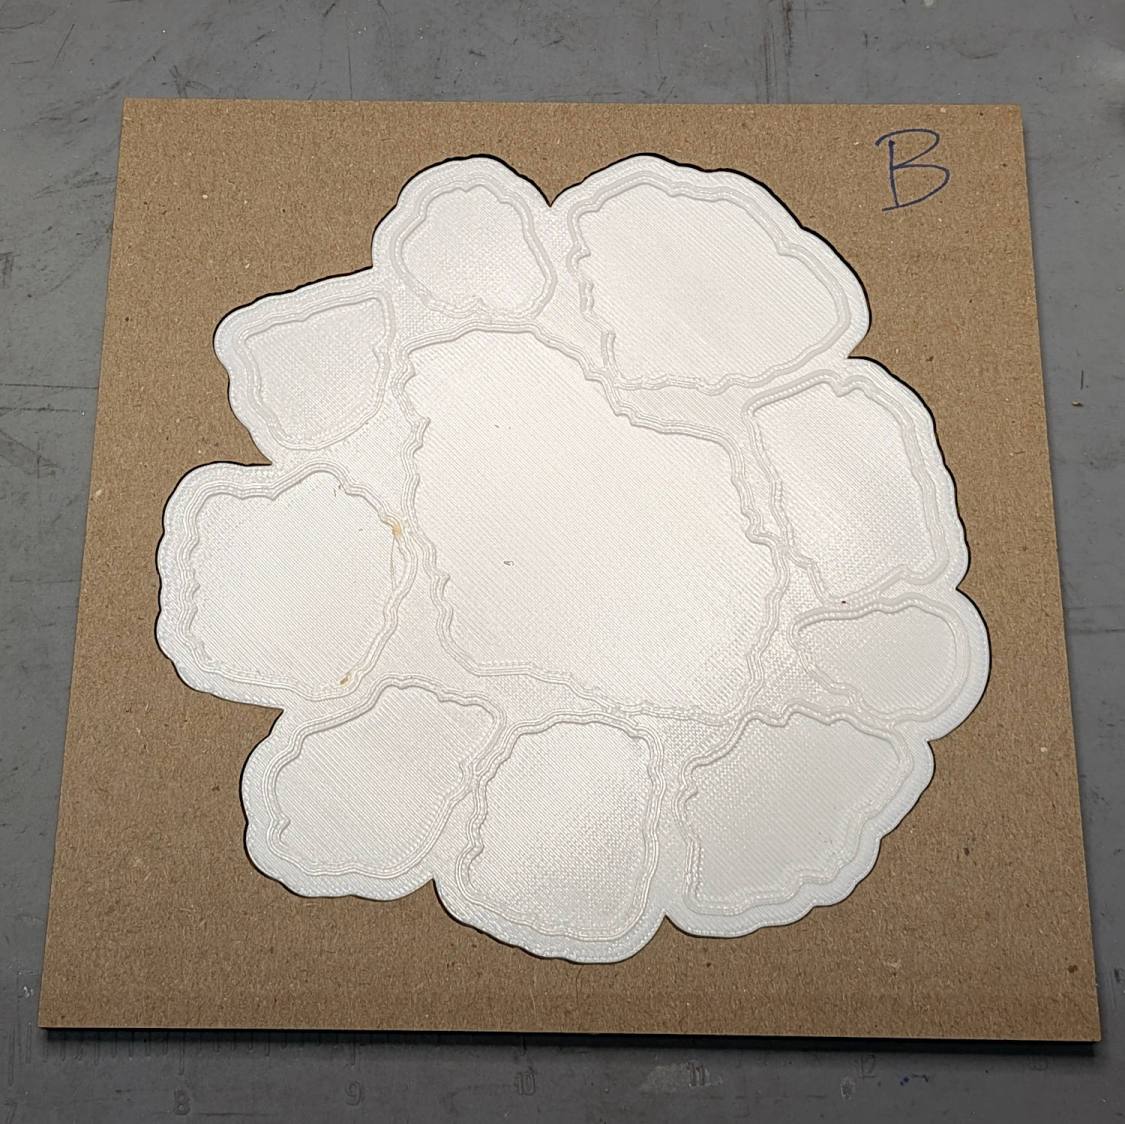
Run the solid model through PrusaSlicer:
Chipboard Fragment Coaster B – slicer preview
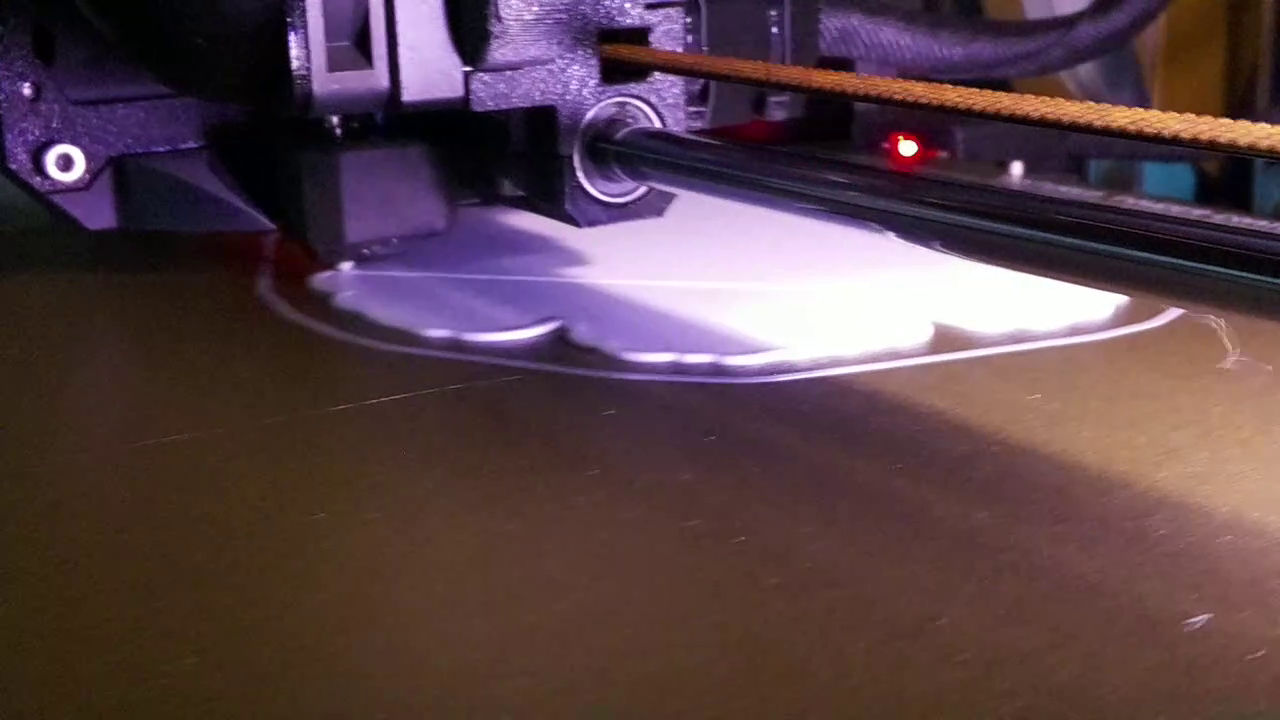
And have a baseplate an hour later:
Coaster Printing – in progress
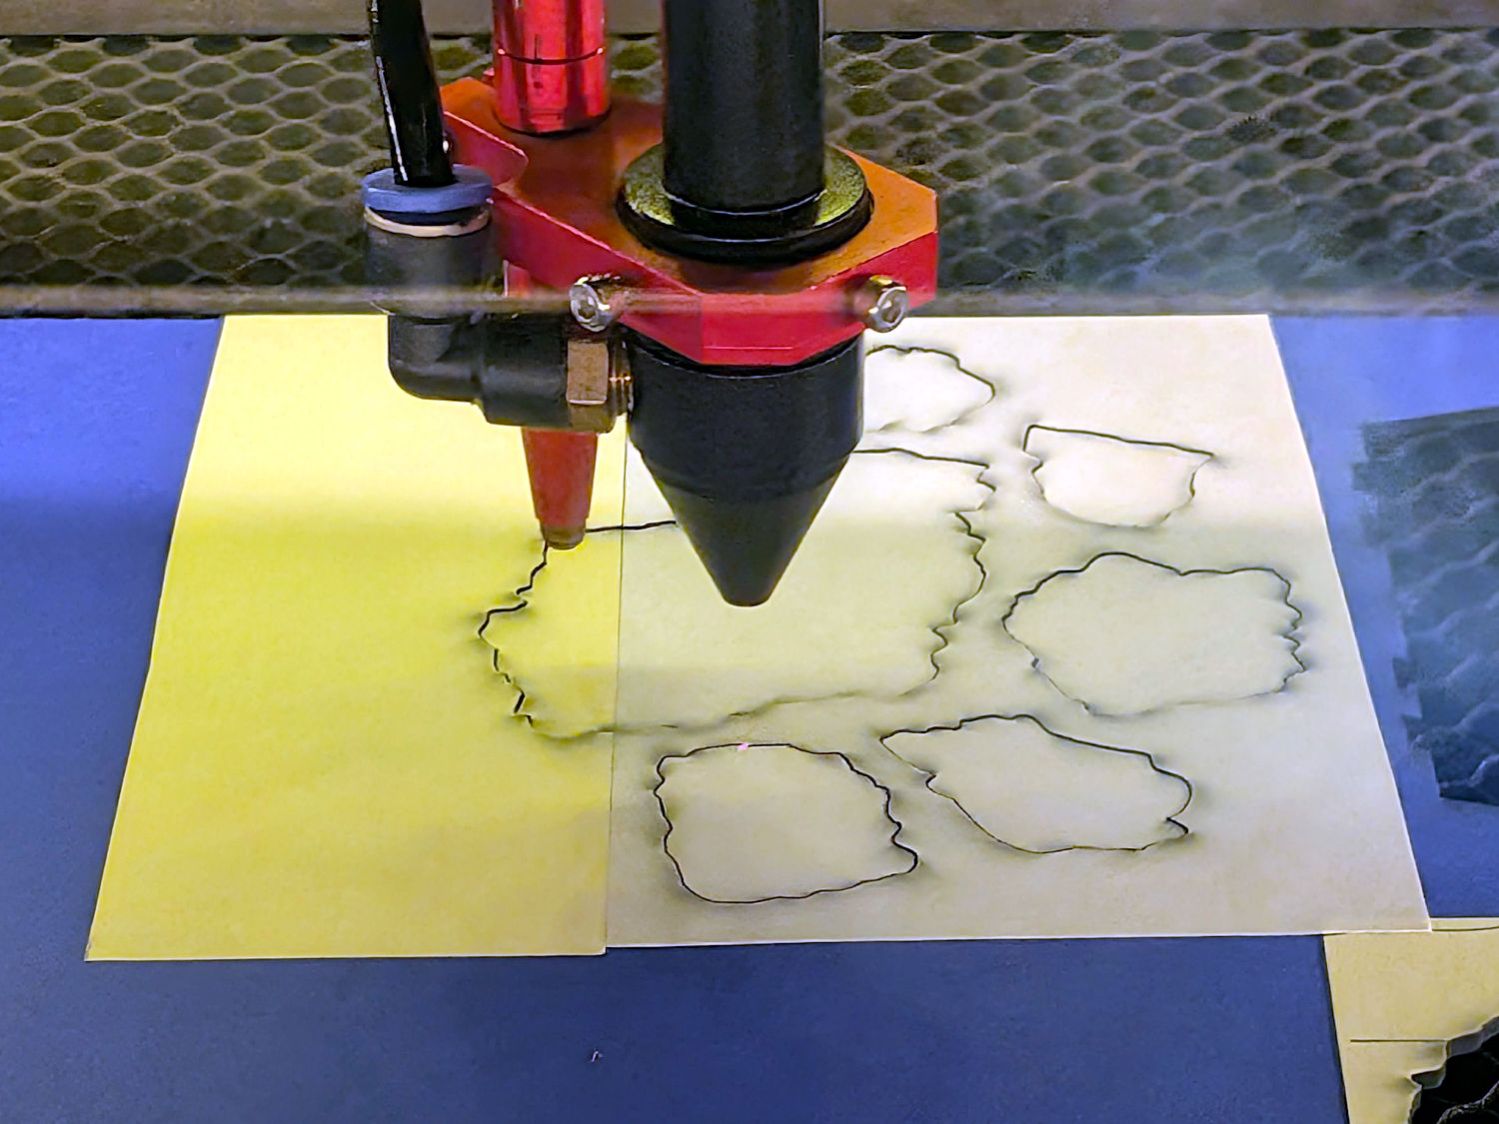
While that’s buzzing away, tell LightBurn to cut chipboard instead of metallized paper, stick some craft adhesive sheet on the chipboard, and Fire The Laser:
Chipboard Fragment Coaster – chipboard cutting
Remember to mirror the fragments, because you’re cutting them bottom-up.
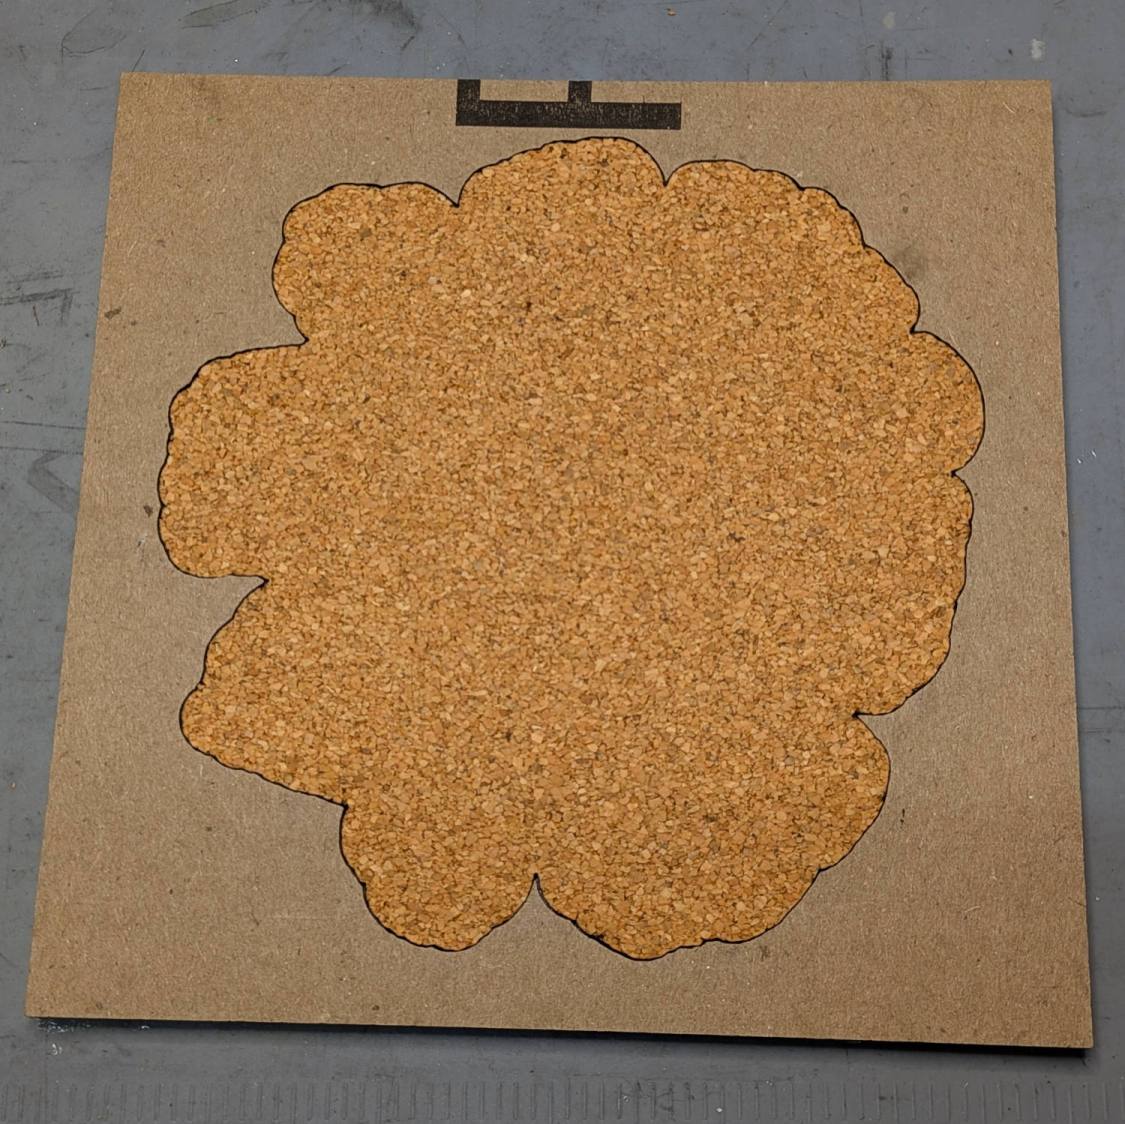
Do the same for the cork sheet going on the bottom, which does not require mirroring.
I tossed the cardboard alignment fixtures I used to stick the cork onto the 3D printed baseplate, so make another one for each coaster.
The top layer holds the baseplate:
Chipboard Fragment Coaster – cork fixture – top
The cork + adhesive sheet is inset 0.5 mm from the edge of the baseplate, so the outline cut in the bottom layer of cardboard is just that much smaller:
Chipboard Fragment Coaster – cork fixture – bottom
Although the time used to make a fixture isn’t deducted from your allotment, I’m not sure about making two identical fixtures, so I’m saving these for the next time.
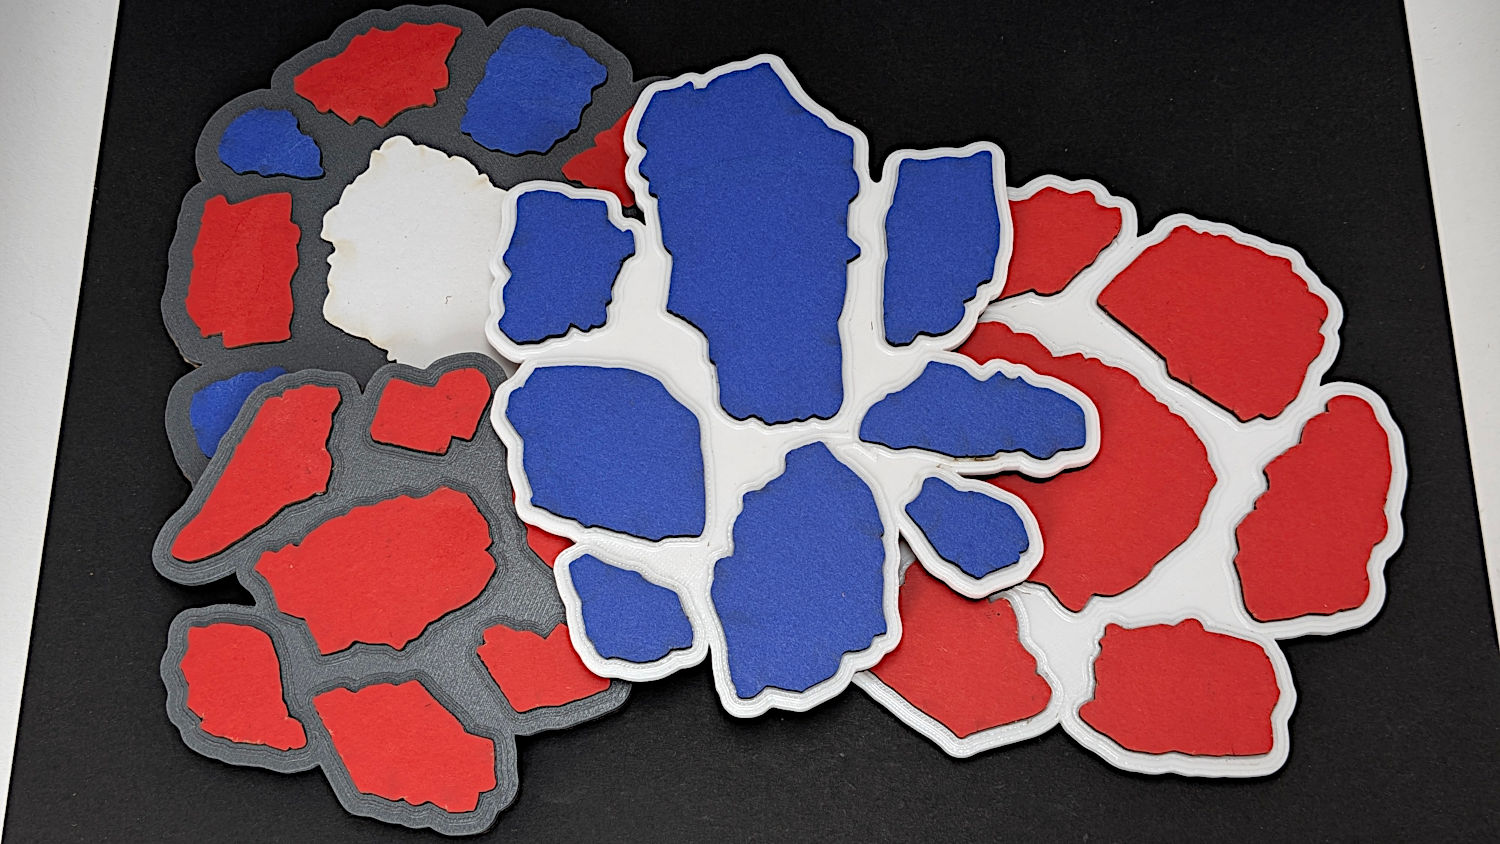
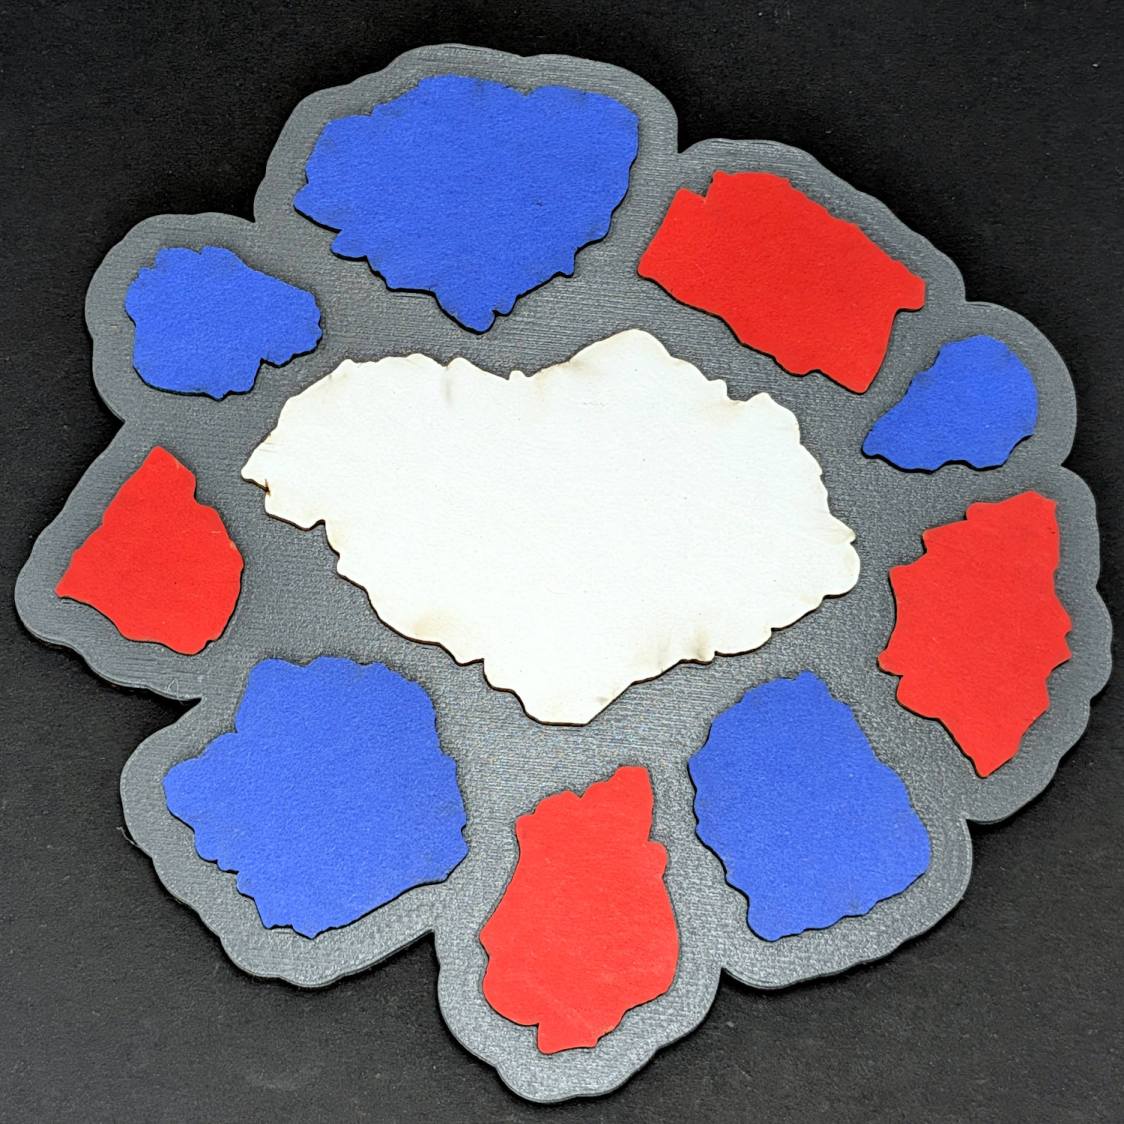
Then peel-n-stick the chipboard fragments in their recesses:
Chipboard Fragment Coaster – variety
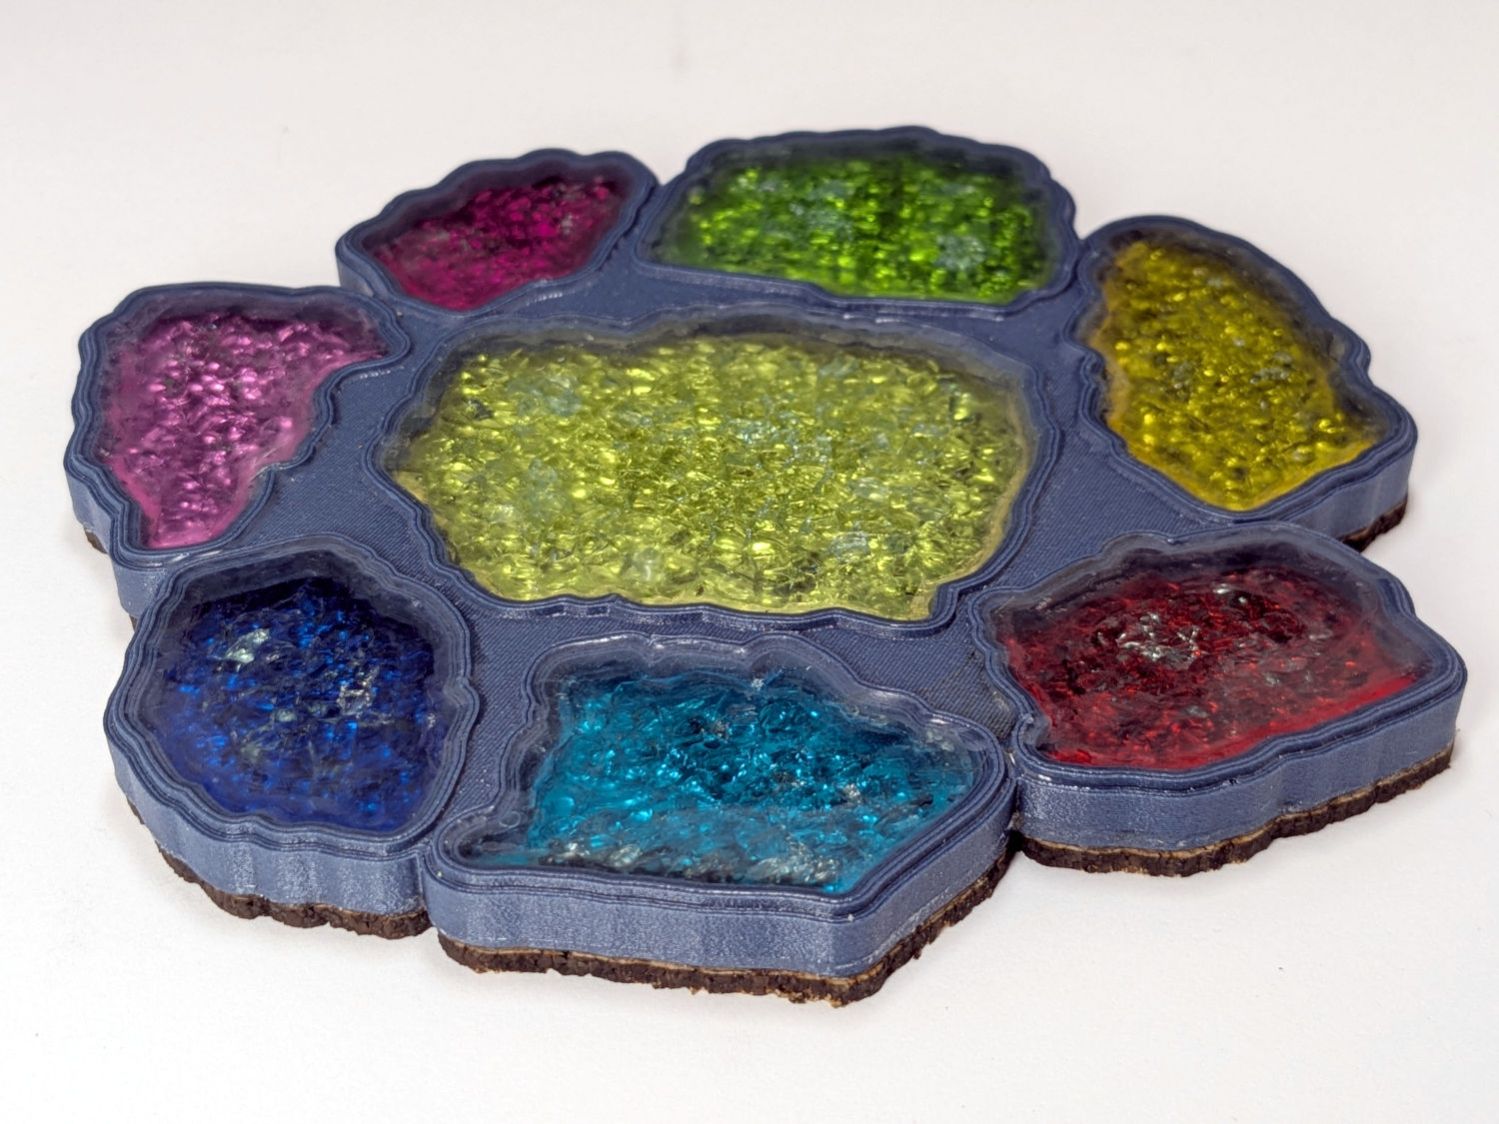
The first baseplate didn’t have raised rims around the fragments (because there’s no need to retain any epoxy), but the result looked kinda … flat:
Chipboard Fragment Coaster – flat top
Fixing that was a matter of not setting the rim height to zero in the OpenSCAD code.
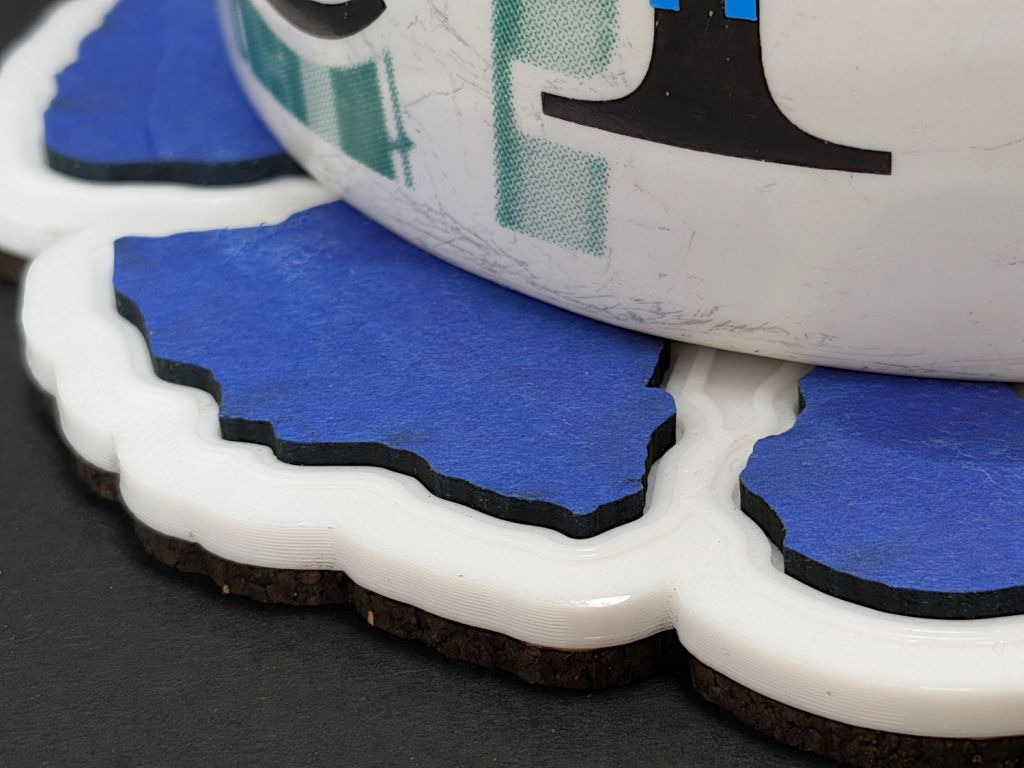
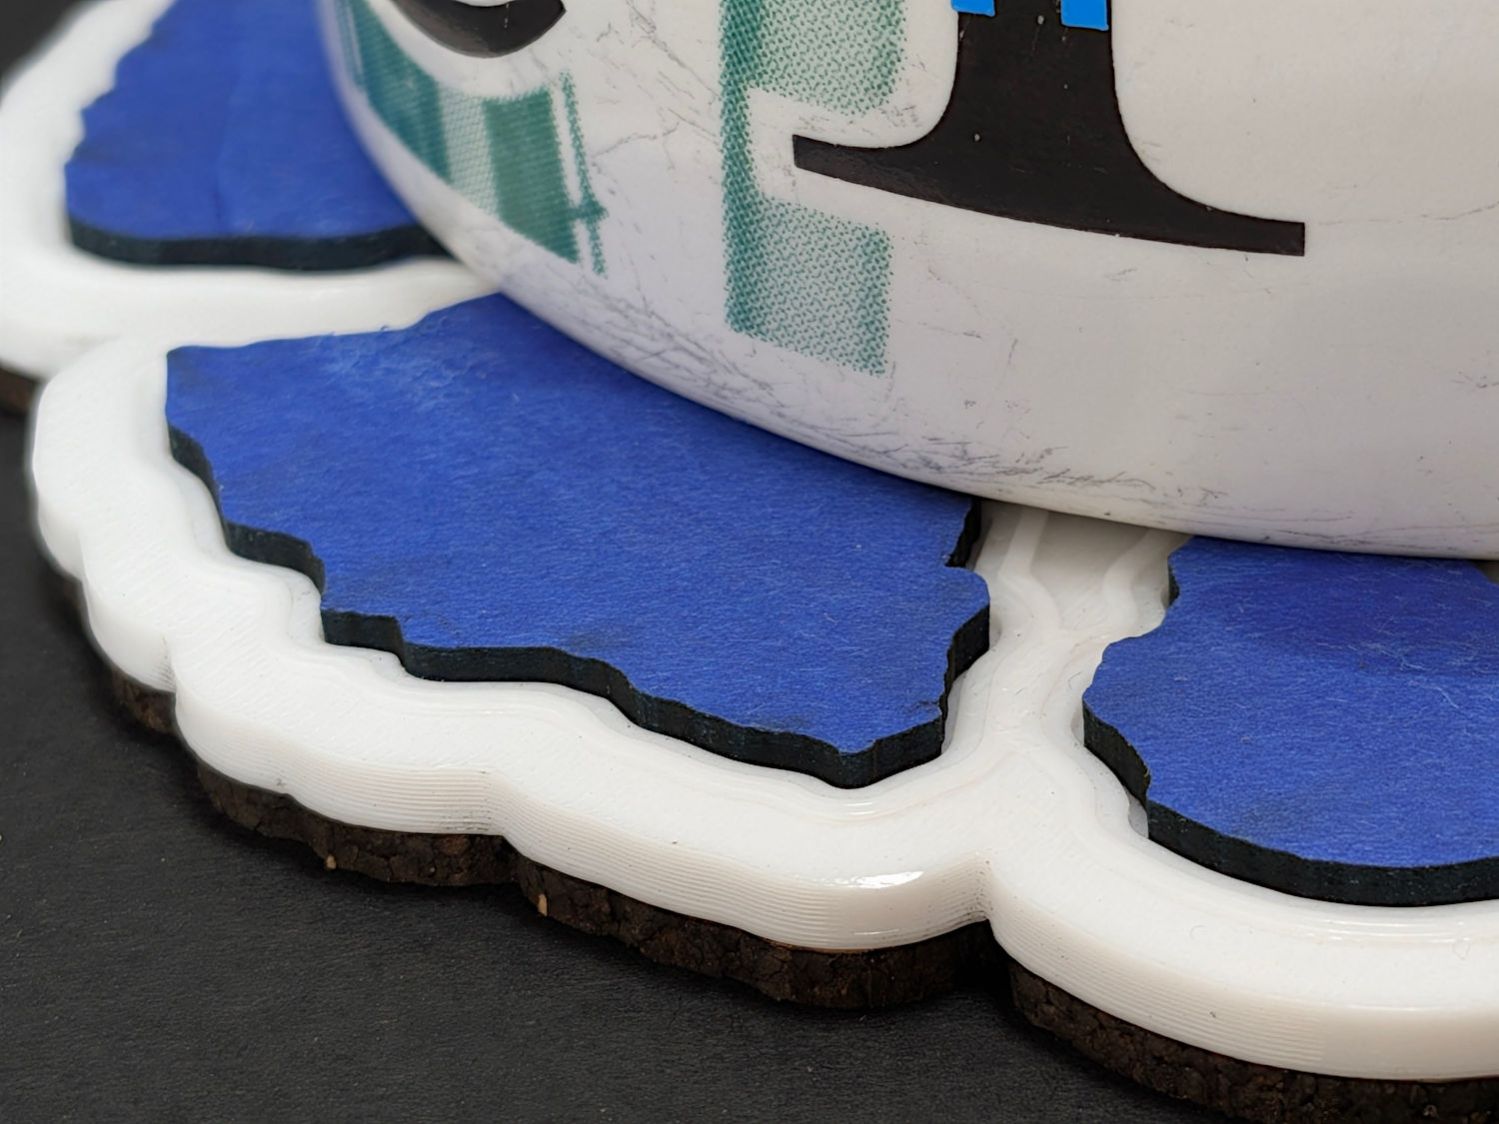
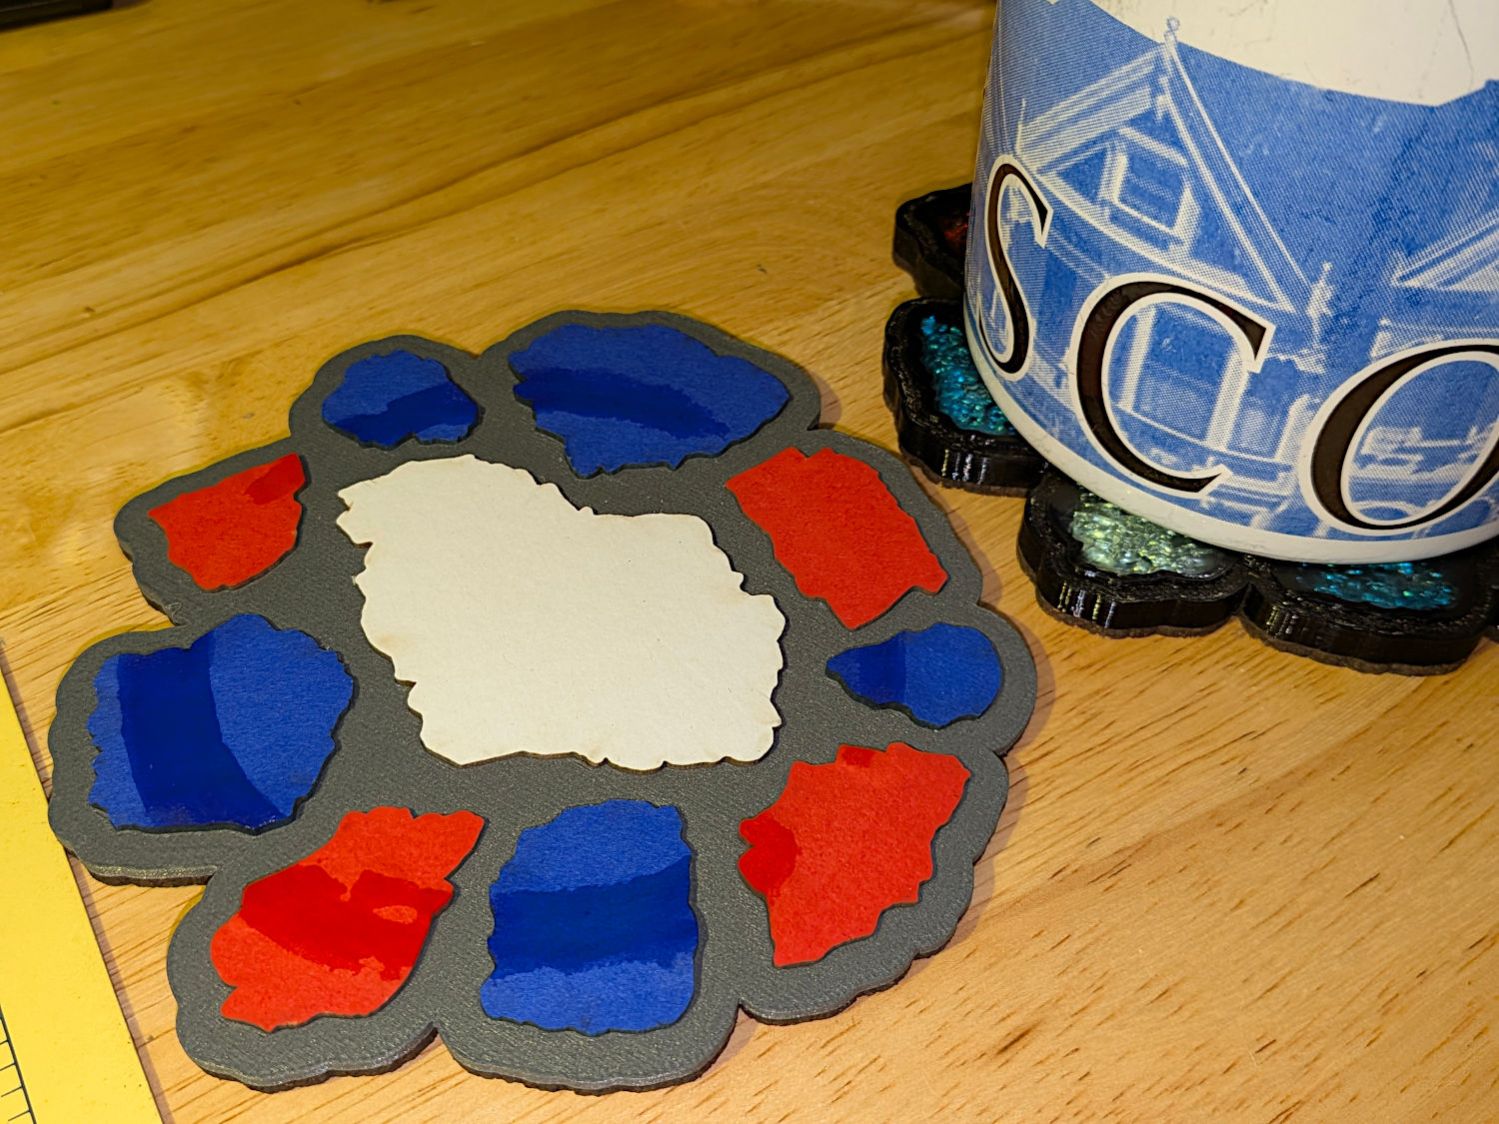
It’s perfectly functional even without a rim:
Printed Coaster – chipboard inserts – sweaty mug
Protip: White chipboard is a Terrible Idea™ in a quick-n-easy laser cuttery project. All the rest have only red or blue fragments for a good reason.
Conversely, white PETG makes a nice contrast to the deep red and blue.
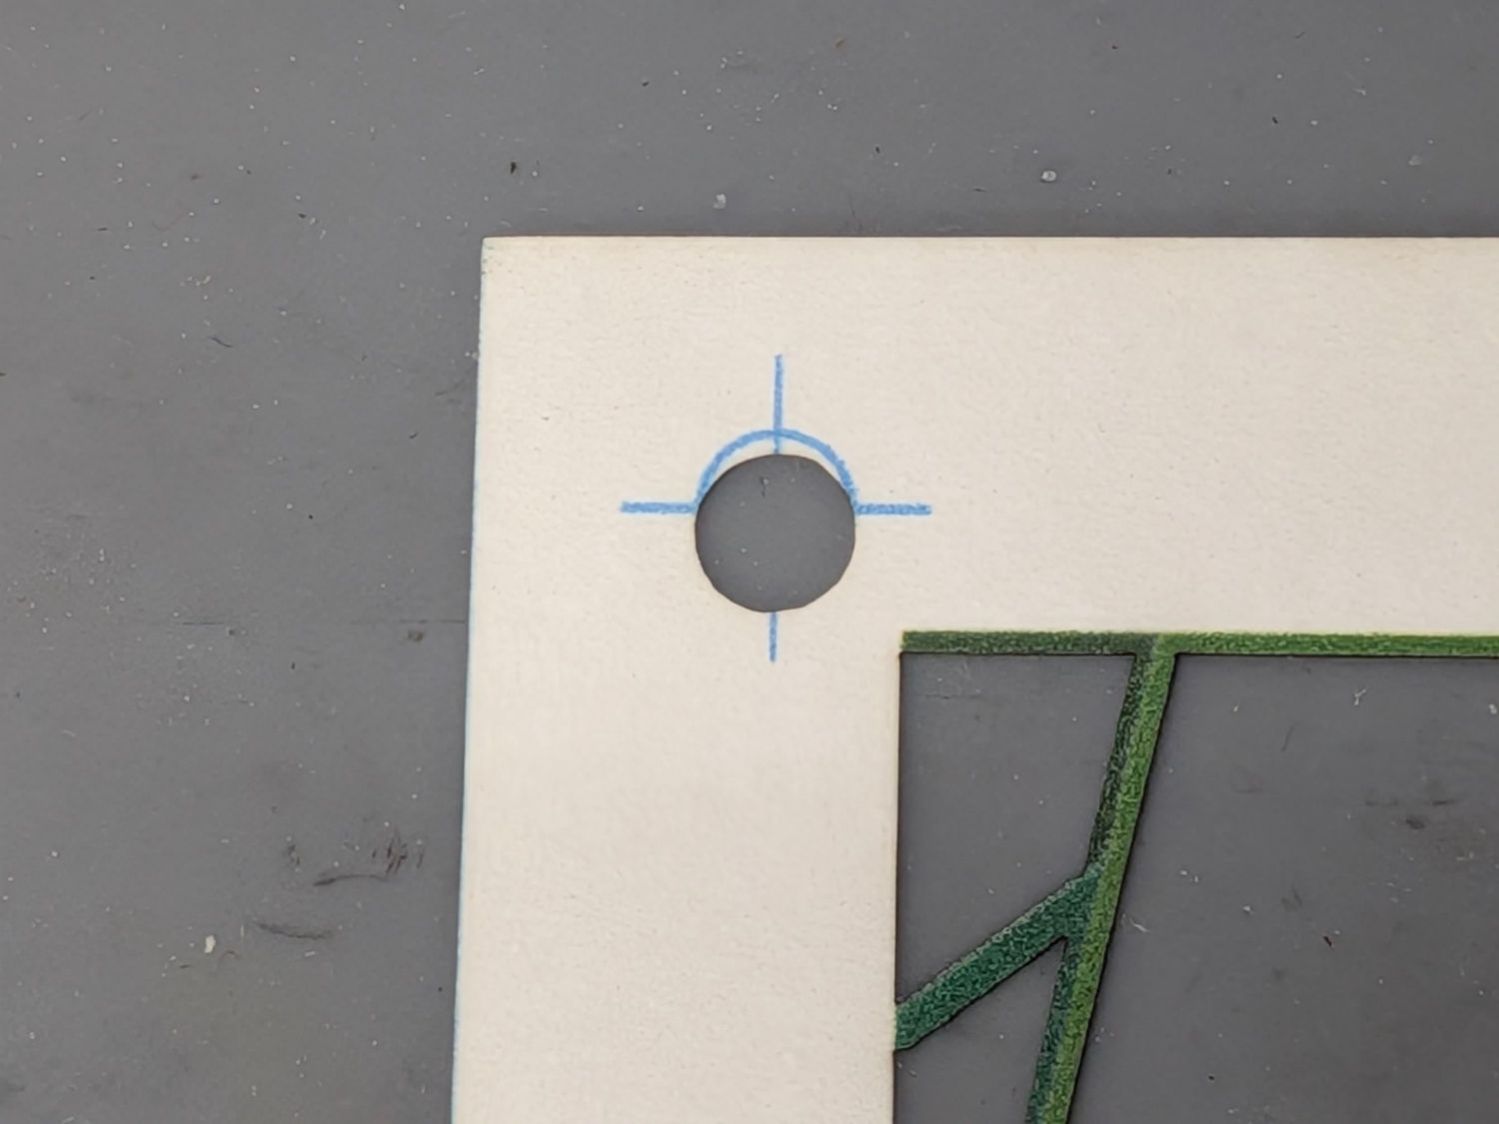
Print that on fancy paper, drop it into the Letter cutting fixture, align the printed targets with the layout using the same technique as with the punched cards:
Position the laser head at the center of a target in the LightBurn workspace
Skootch the fixture to put the corresponding printed target under the red dot pointer
Position the laser head at another target
Skootch the other printed target to match
Iterate until both align properly
I find that’s faster / easier / no less accurate than Print and Cut.
Then Fire The Laser:
Page 5 – Test piece – cutting
That’s cut over honeycomb, rather than empty space, because there’s not much paper left when the cutting is done and the remaining pieces distort the lacework:
Page 5 – Test piece – as cut
That layer (with binary code 0001) goes under the top black mask hiding the remaining colors on the lacework. The wing feathers and details seemed too small for slots cut into paper, so printing them finessed the issue.
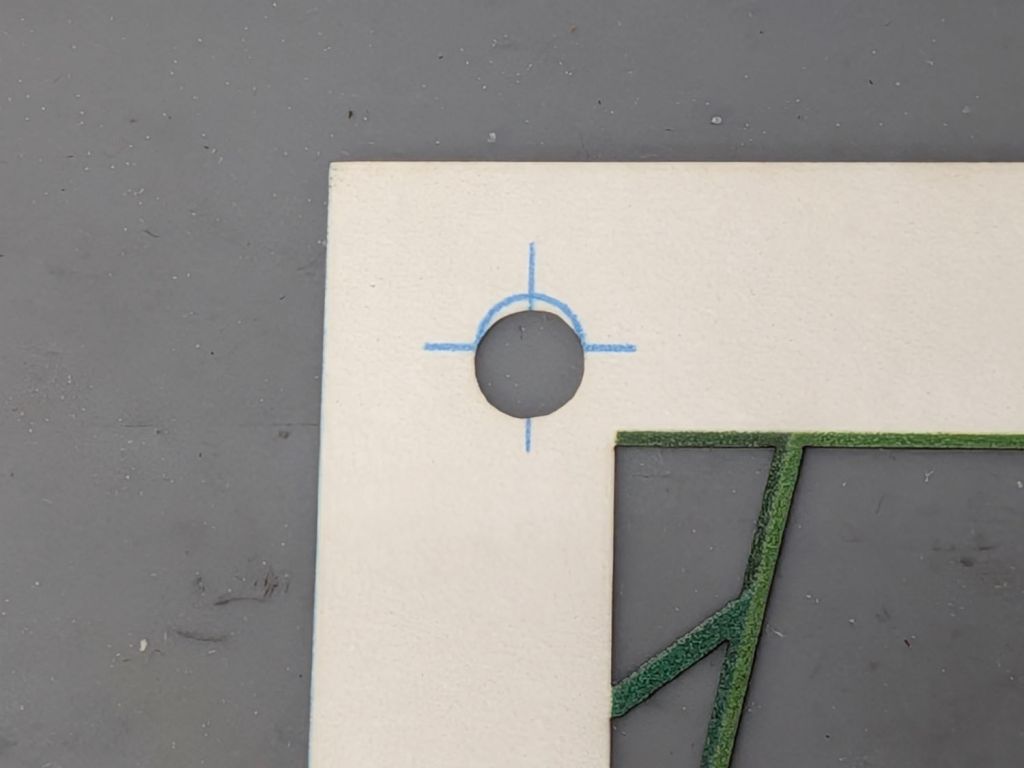
I had aligned the fixture at the upper-right target:
Page 5 – Printed page test piece – cut top-right
And the lower-left target:
Page 5 – Printed page test piece – cut bottom-left
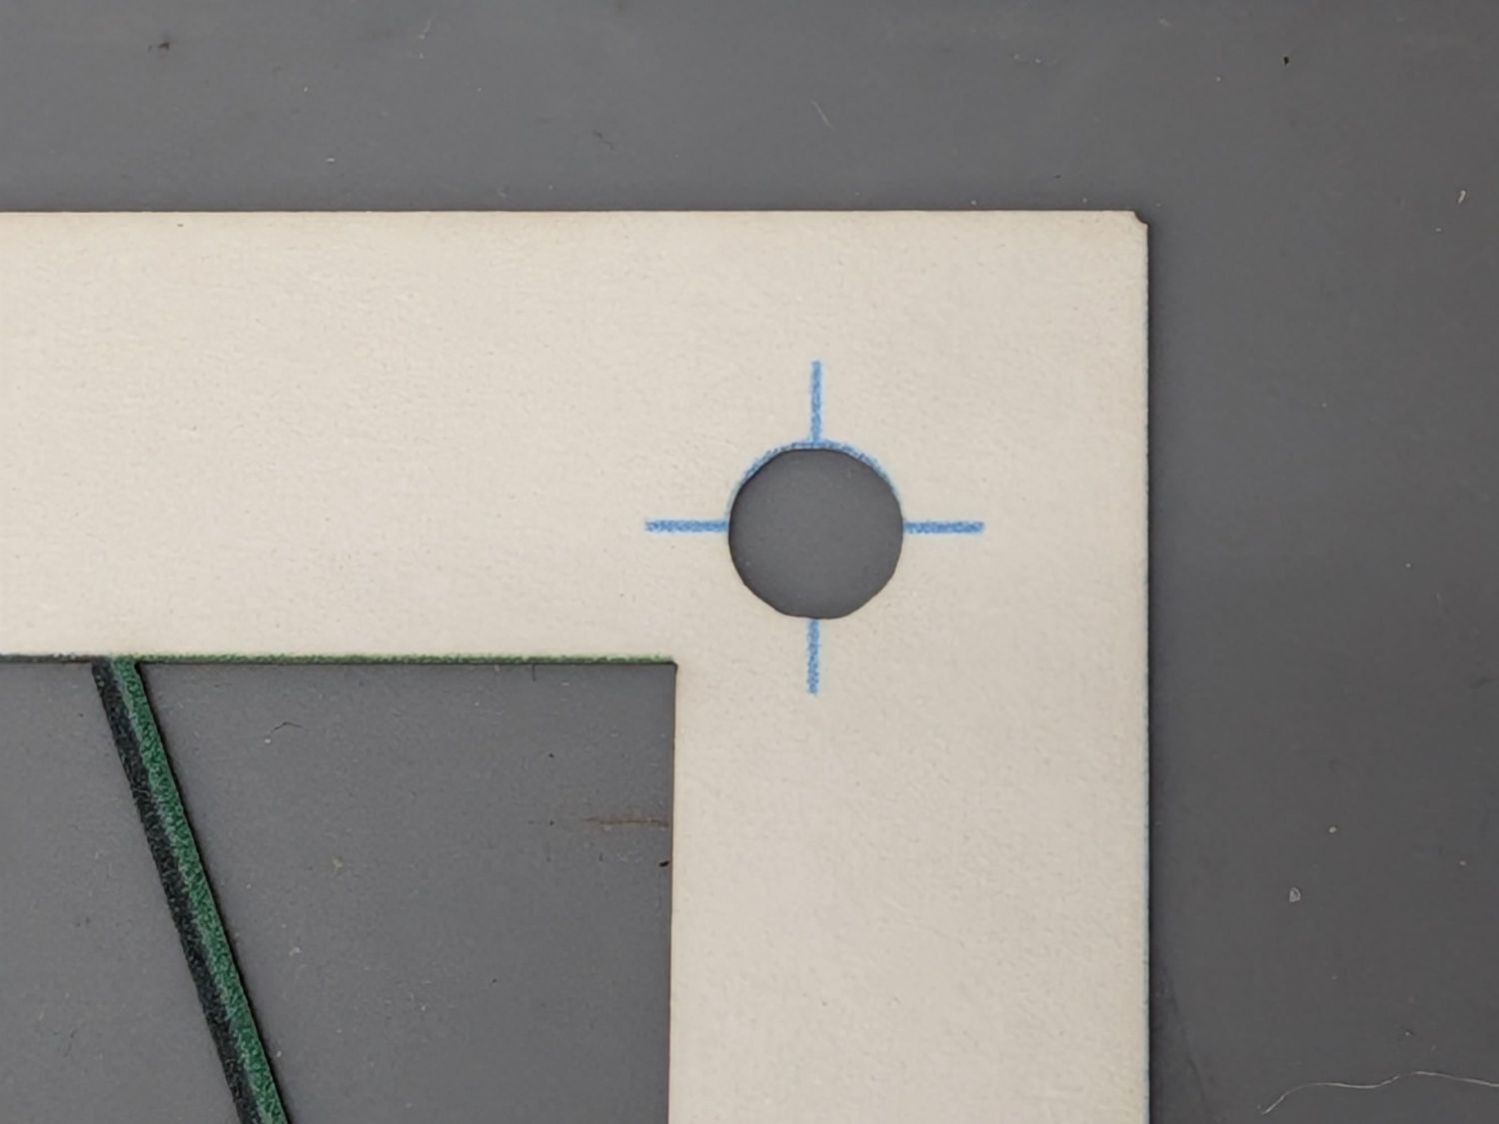
The printed lines are about 0.3 mm wide, so the cut alignment is off by that much in both X and Y.
The lower-right target is spot on:
Page 5 – Printed page test piece – cut bottom-right
But the upper-left target is off by nearly a millimeter in Y:
Page 5 – Printed page test piece – cut top-left
As well as I can measure, the printed image is slightly distorted, perhaps by the printer’s feed rollers skewing the paper slightly on its way through the printer. The laser-cut holes are, again as well as I can measure, dead on.
The punched card process required scaling the composited PNG image by 97%×97.9% so the image matched the laser-evaporated holes. This distortion seems different, but different paper and printer settings surely affect the outcome.
On the whole, though, the first test piece came out OK:
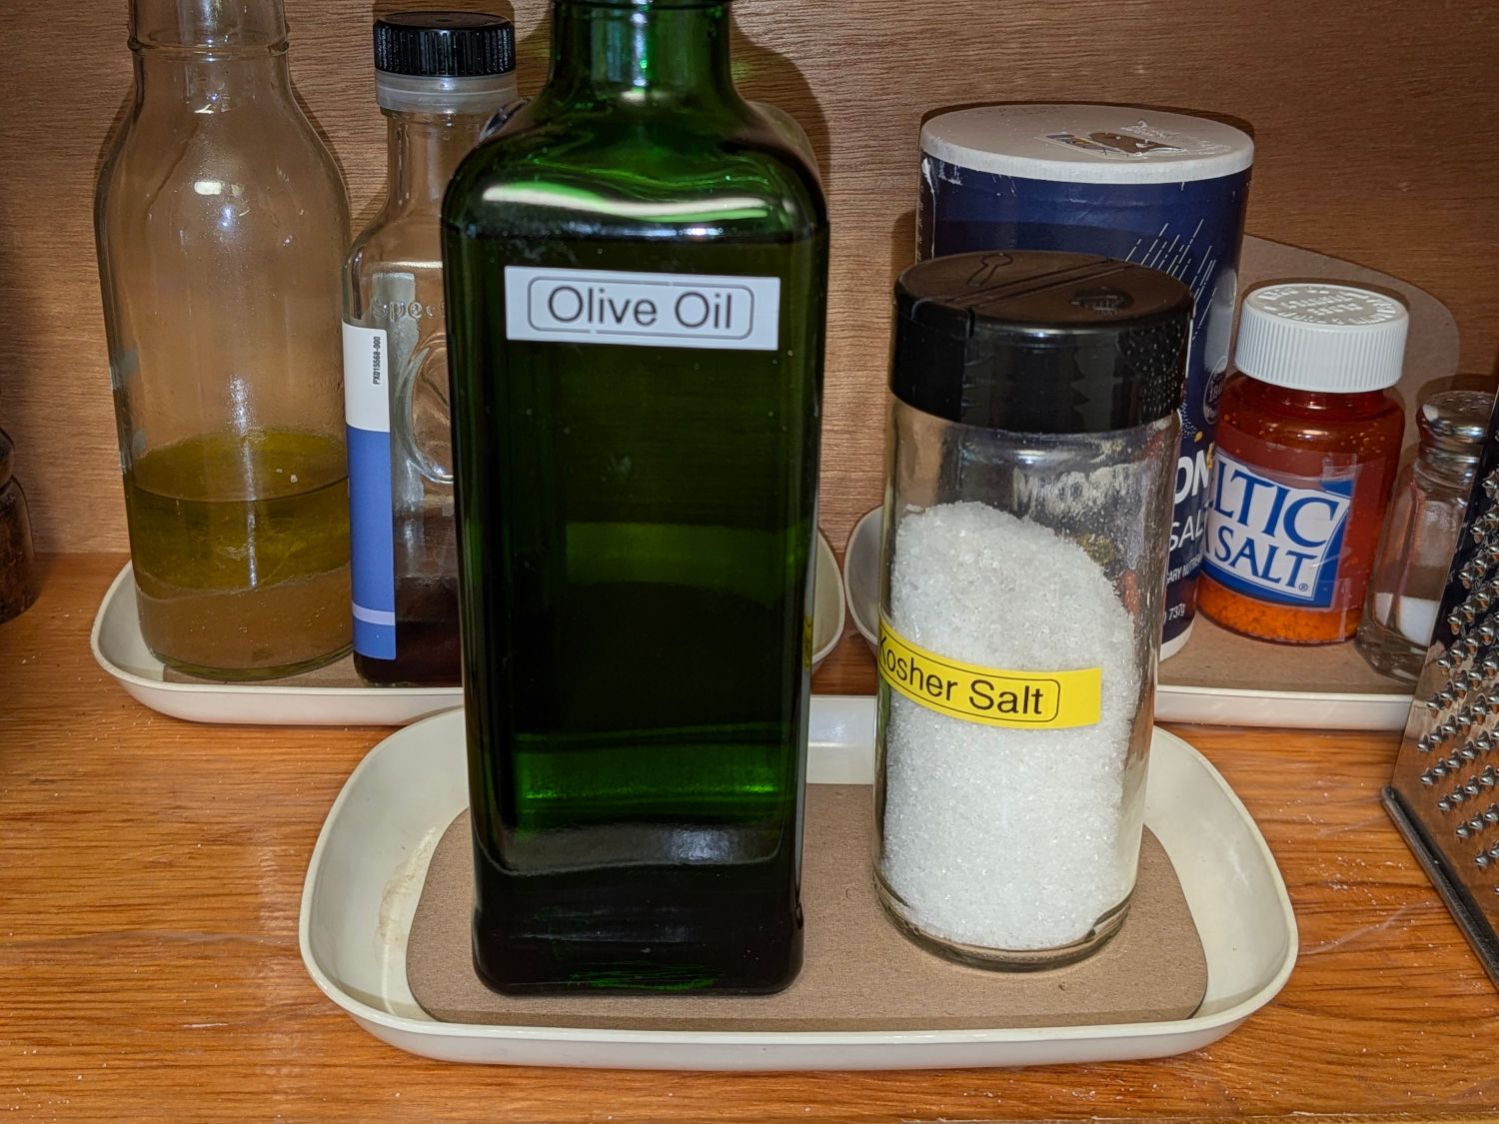
Somewhat absorbent chipboard liners for the small trays / dishes under all the kitchen supplies in daily use:
Cupboard tray liners – installed
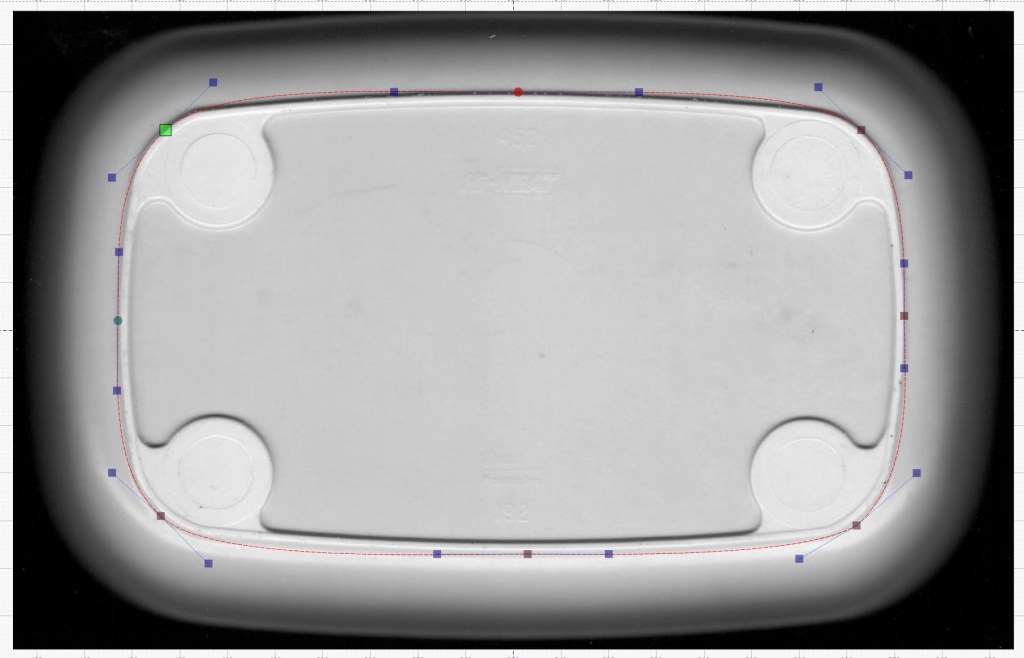
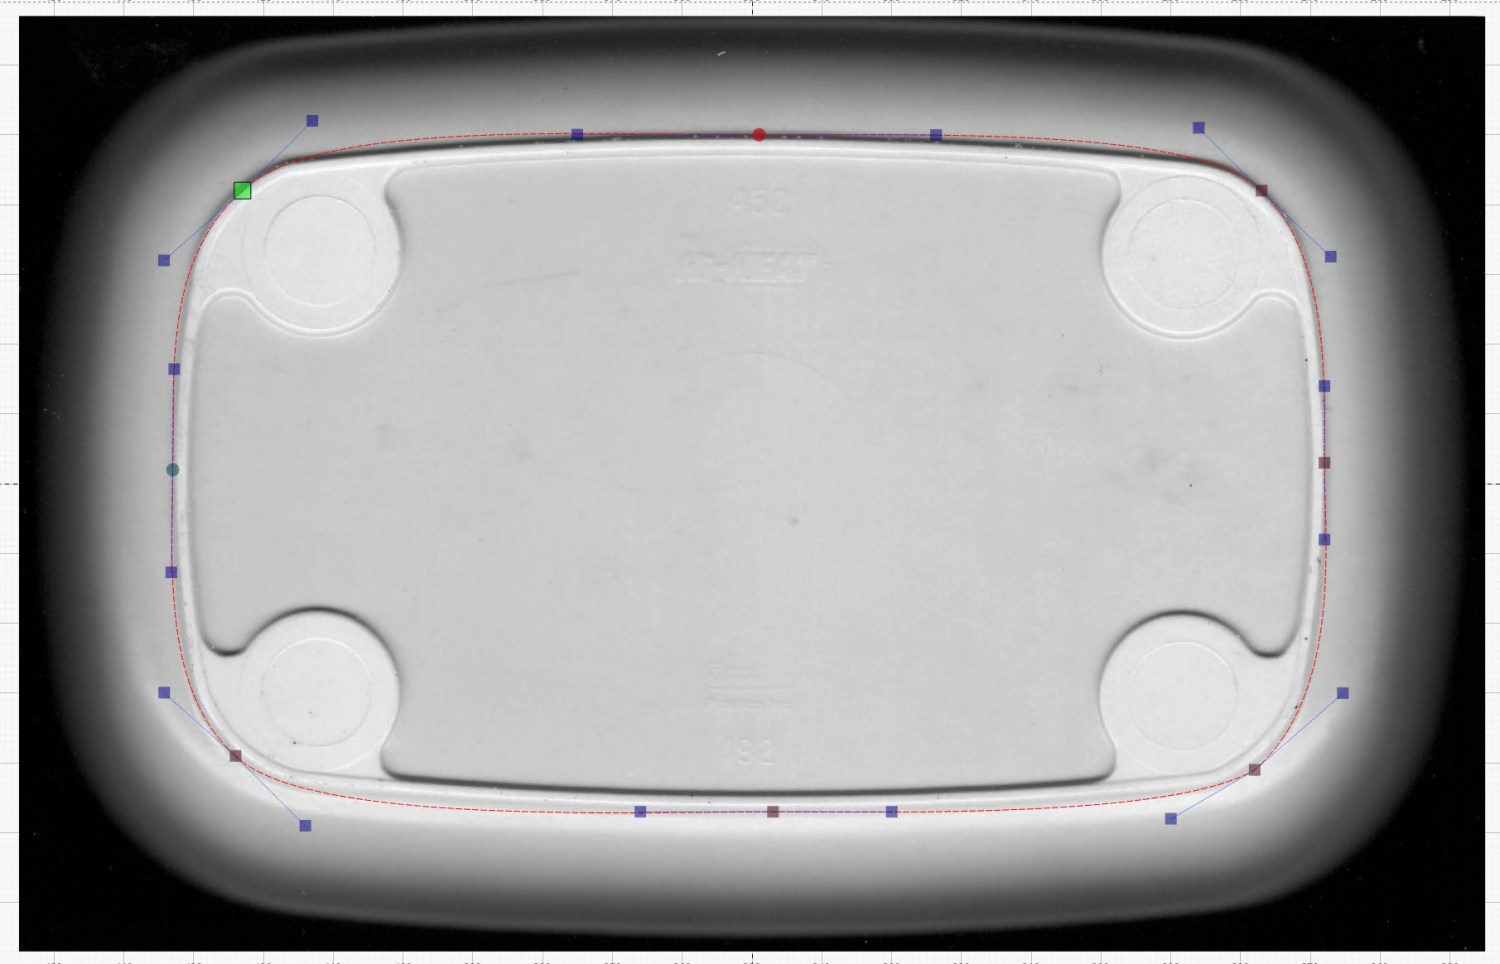
The tray bottom matched the flat surface of the top closely enough to let me lay a curve around the perimeter, with some attention to symmetry:
Cupboard Tray – LightBurn curve fit
Then Fire The Laser and it’s done!
For applications where actual symmetry matters, you’d want to lay a quarter of the curve and duplicate it across the midlines. In this case, however, an eyeballometric fit was entirely Close Enough™.
It being once again time to tweak the mini-lathe’s cross slide and compound backlash …
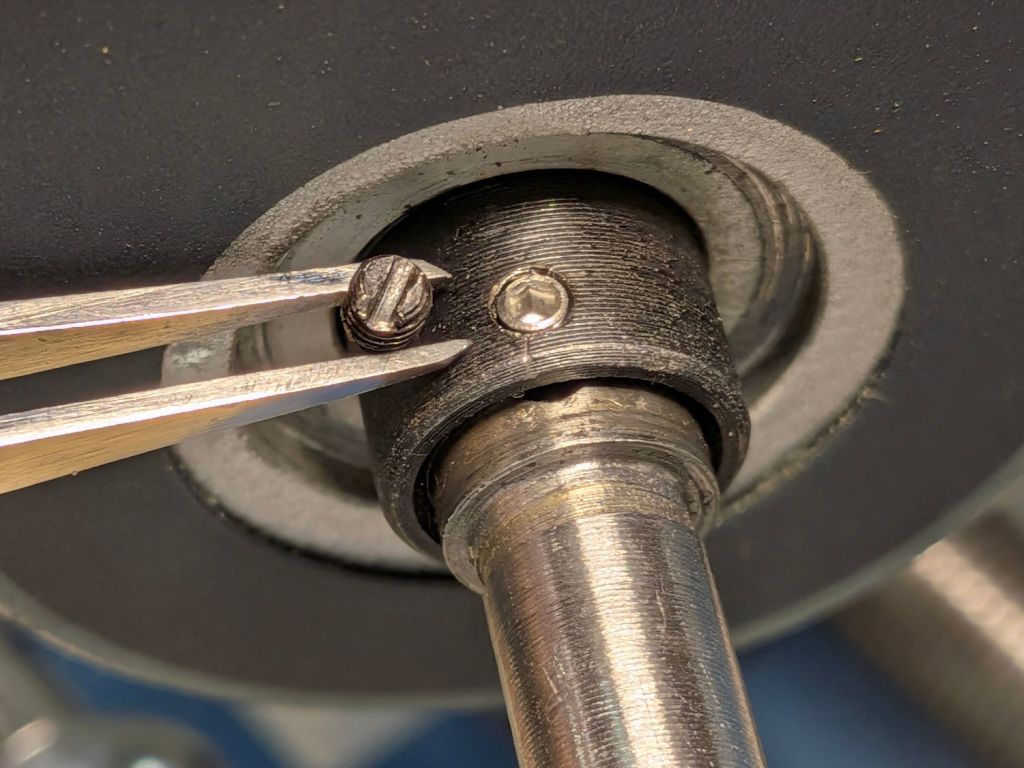
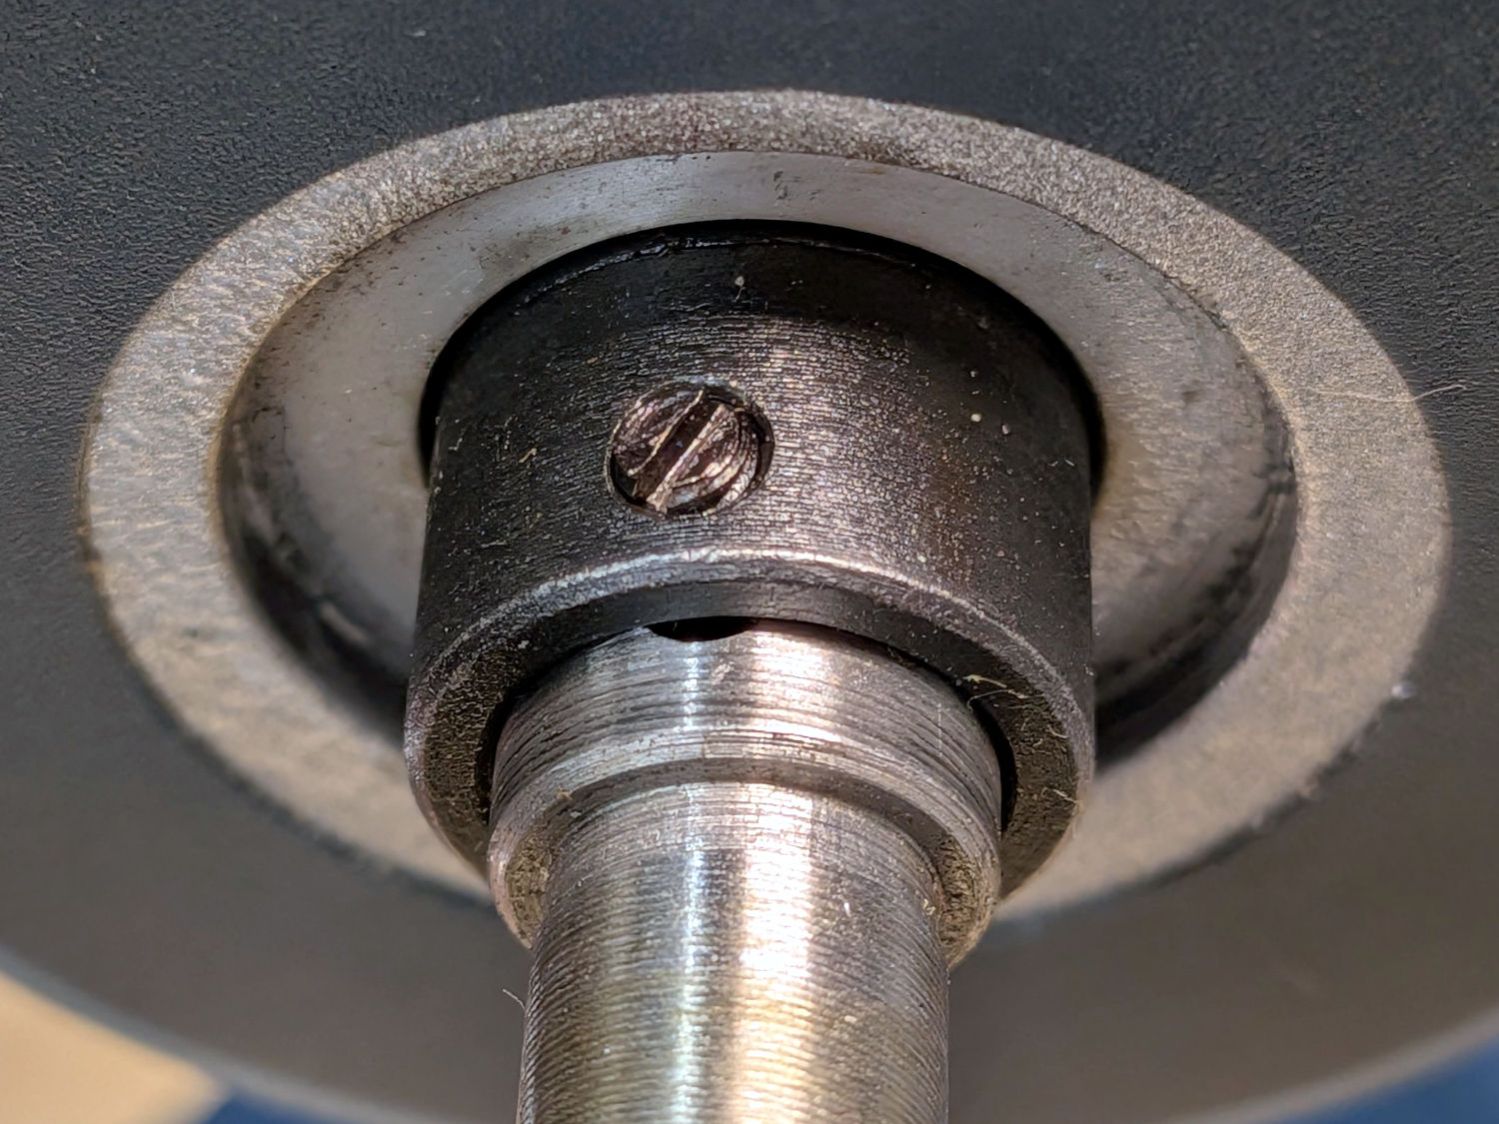
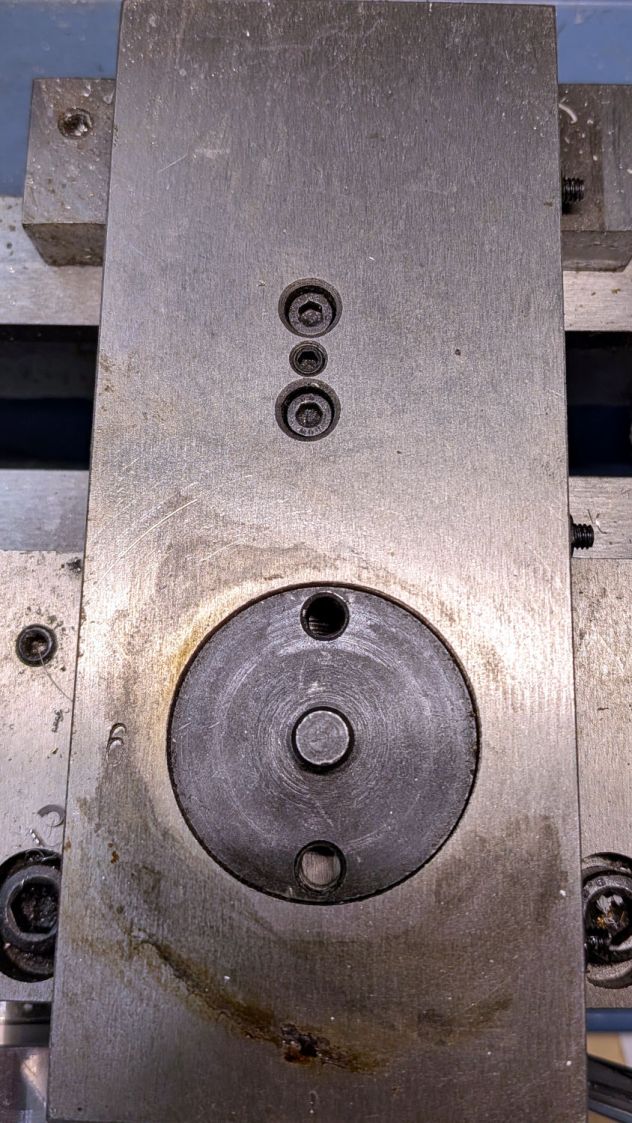
The M3 slotted setscrew locking the cross slide’s DRO collar to the feed screw shaft had come loose:
Mini-lathe – DRO slotted setscrew
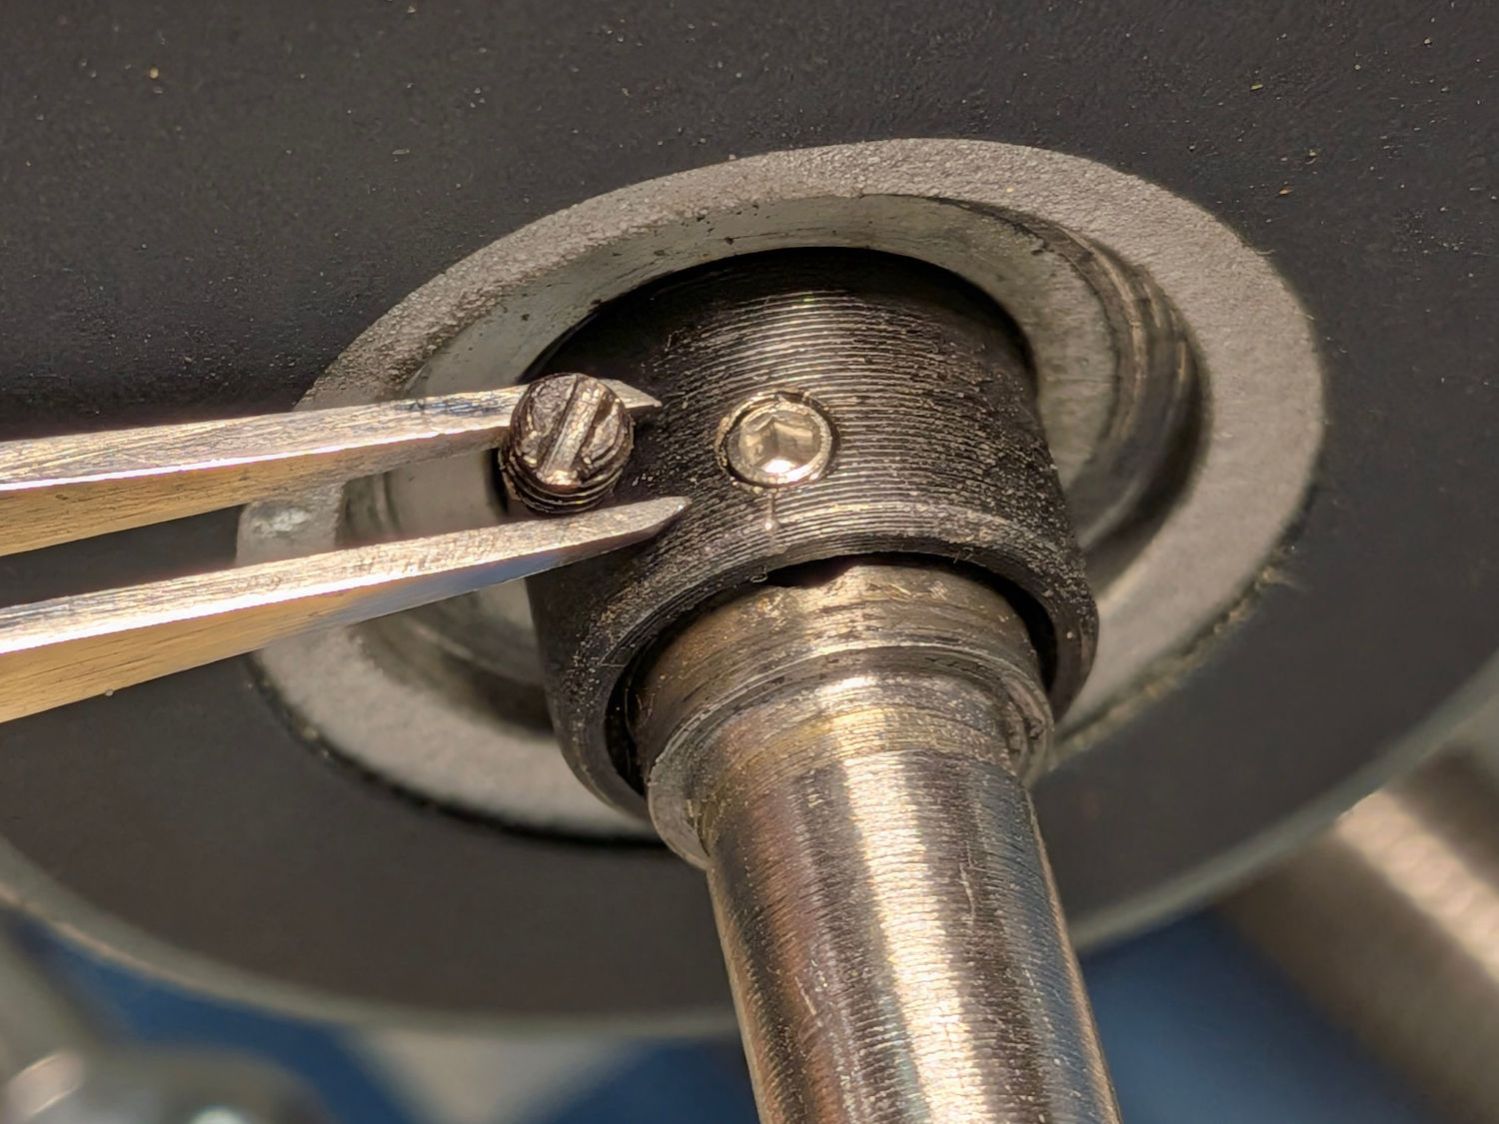
Although it has a cone point, presumably to center the slot in the feed screw, an M3 cup point hex setscrew works just fine:
Mini-lathe – DRO hex setscrew
A hex socket is much easier to tighten securely.
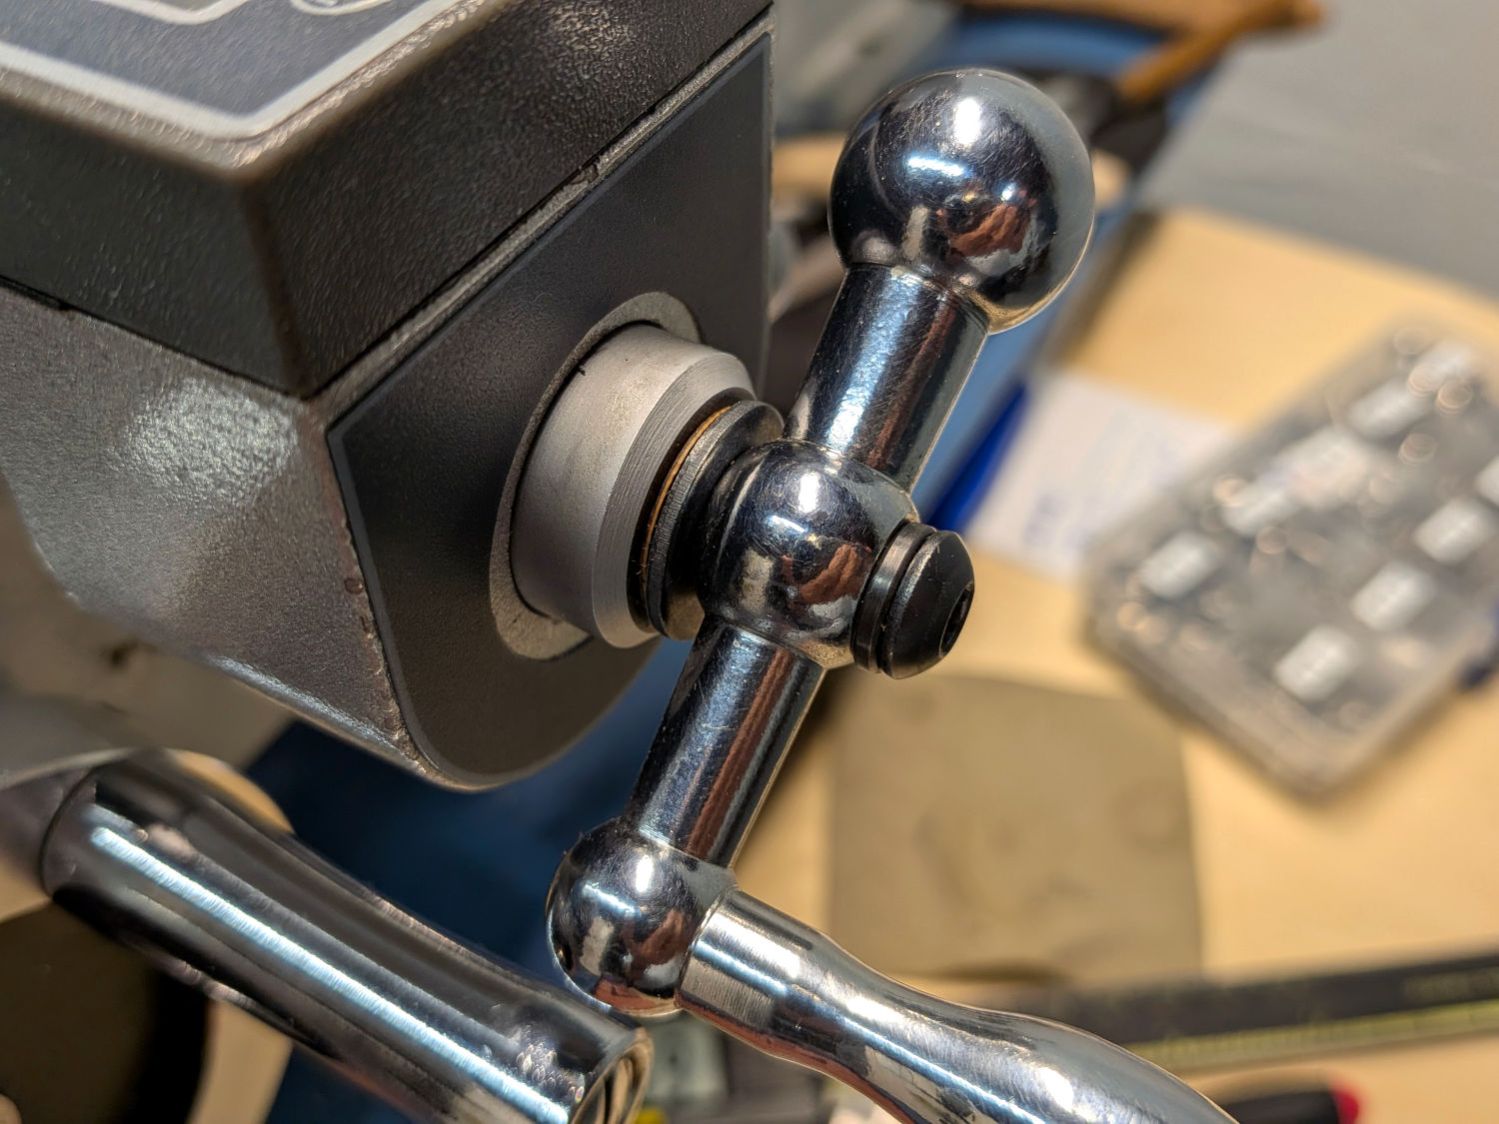
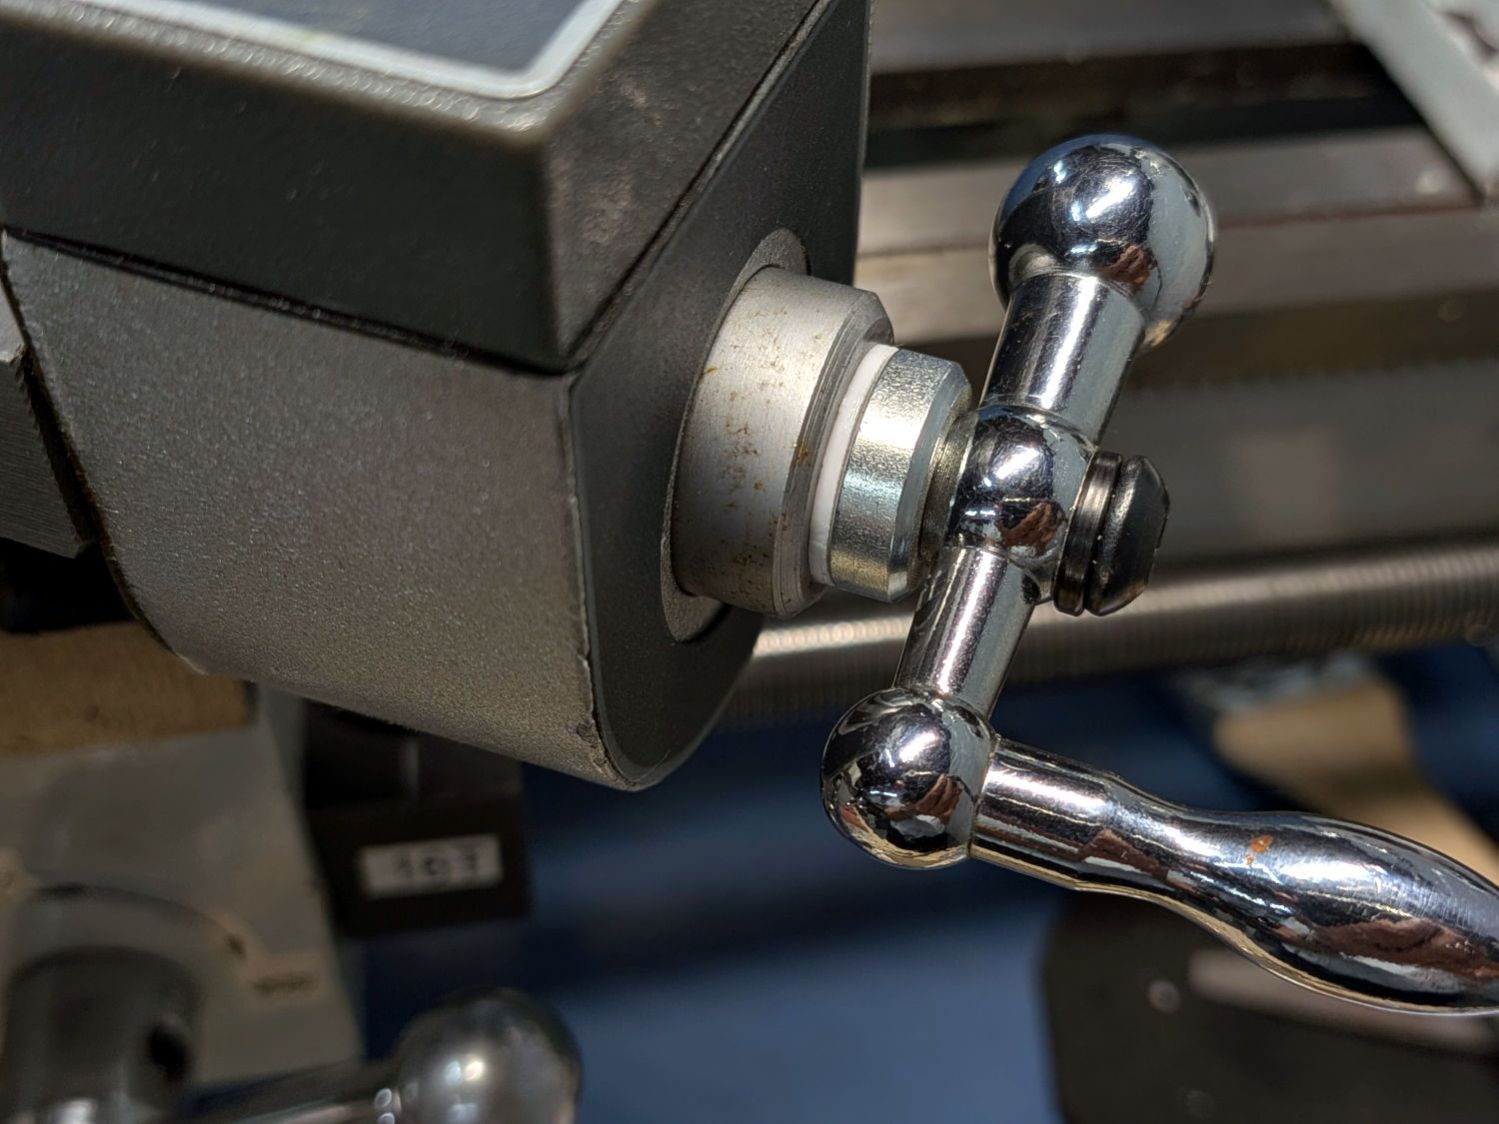
The handle sits against a black washer that looks like it should rest against the aluminum spacer covering the DRO shaft, but it doesn’t. Contrary to what I originally thought, that gap doesn’t contribute to the backlash (given a tight setscrew!), but a filler shim makes it look less like an afterthought:
Mini-lathe – cross slide handle shim
What does contribute to the backlash is a loose adjusting screw holding the follower nut against the feed screw:
Mini-lathe – cross slide backlash screws
The mini-lathe manual (page 17) and online references give the tedious process required to adjust the two cap screws and the setscrew to remove (nearly all of) the backlash. While I had the screws out, I took the opportunity to dribble oil through the cap screw holes onto the feed screw along as much of its length as was reachable.
Adjusting the gib screws is also a good idea, as is renewing the oil along the ways.
With all that done, the cross slide moves easily without slop and the backlash is a tolerable 0.1 mm.
The compound feed screw does not have any backlash adjustment, so fitting a suitable shim between the handle and the DRO spacer is essential:
Mini-lathe – compound handle shim
That one looked nice, but was somewhat too thick.
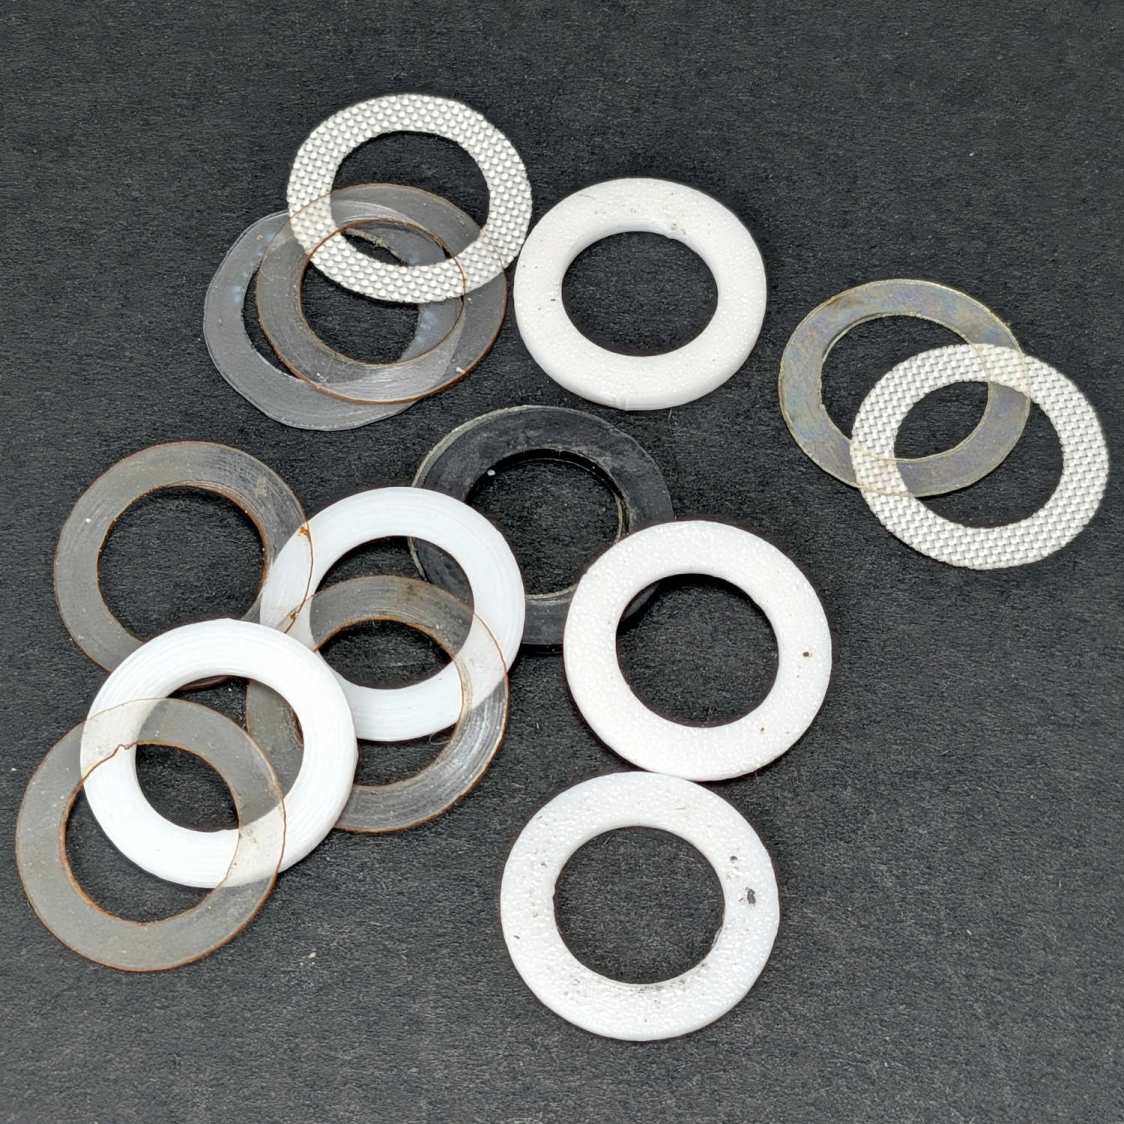
This time around I could laser-cut and 3D print shims (16 mm OD, 10 mm ID) in a variety of thicknesses, some combination of which would surely fill the gap without binding:
Mini-lathe – handle backlash shims
The gnarly clear rings over on the left are the original punched-and-trimmed PETG shims. The fabric-looking ones are PTFE sheets intended for heat-press transfer machines, which Mary has used as a slider sheet to let fabric move easily over her sewing machines. The black one in the middle is 1.5 mm acrylic.
The bright white rings are 3D printed from a few lines of OpenSCAD code:
Washers = [0.5,0.6,0.7,0.8,1.2];

for (i = [0:len(Washers)-1])
  right(i*20.0 - 40.0)
    tube(Washers[i],od=16.0,id=(10.0 + HoleWindage),anchor=BOTTOM);
Print them with 0.1 mm layers in PETG, add a PTFE shim or two, and fiddle about enough to get minimum backlash with reasonable turning force.
The compound feed screw now has 0.16 mm of backlash, which is as good as it’s going to get.
Right now, the only thing preventing the handle from turning on the shaft is the chunky lockwasher gouging both the handle and the cap screw in the end of the shaft, with the side effect of putting far too much pressure on the spacer shims. I want setscrews in the handles bearing on flats filed in the feed screw shafts to put those awful screws + lockwashers out of business, which seems like a good Sherline project.
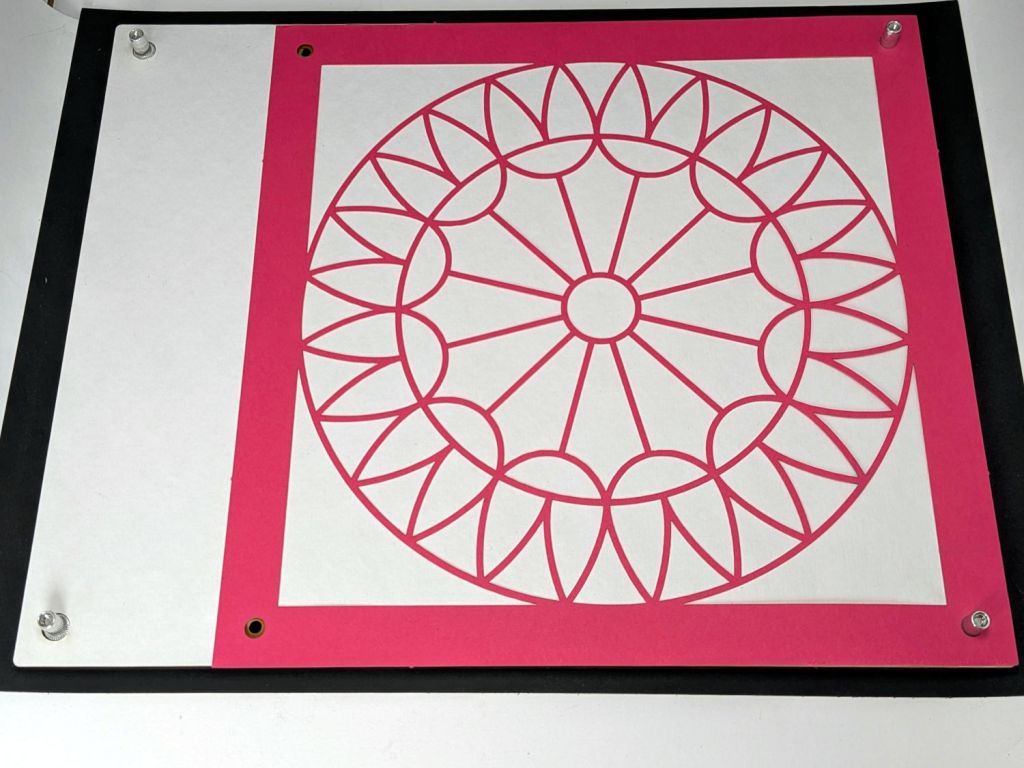
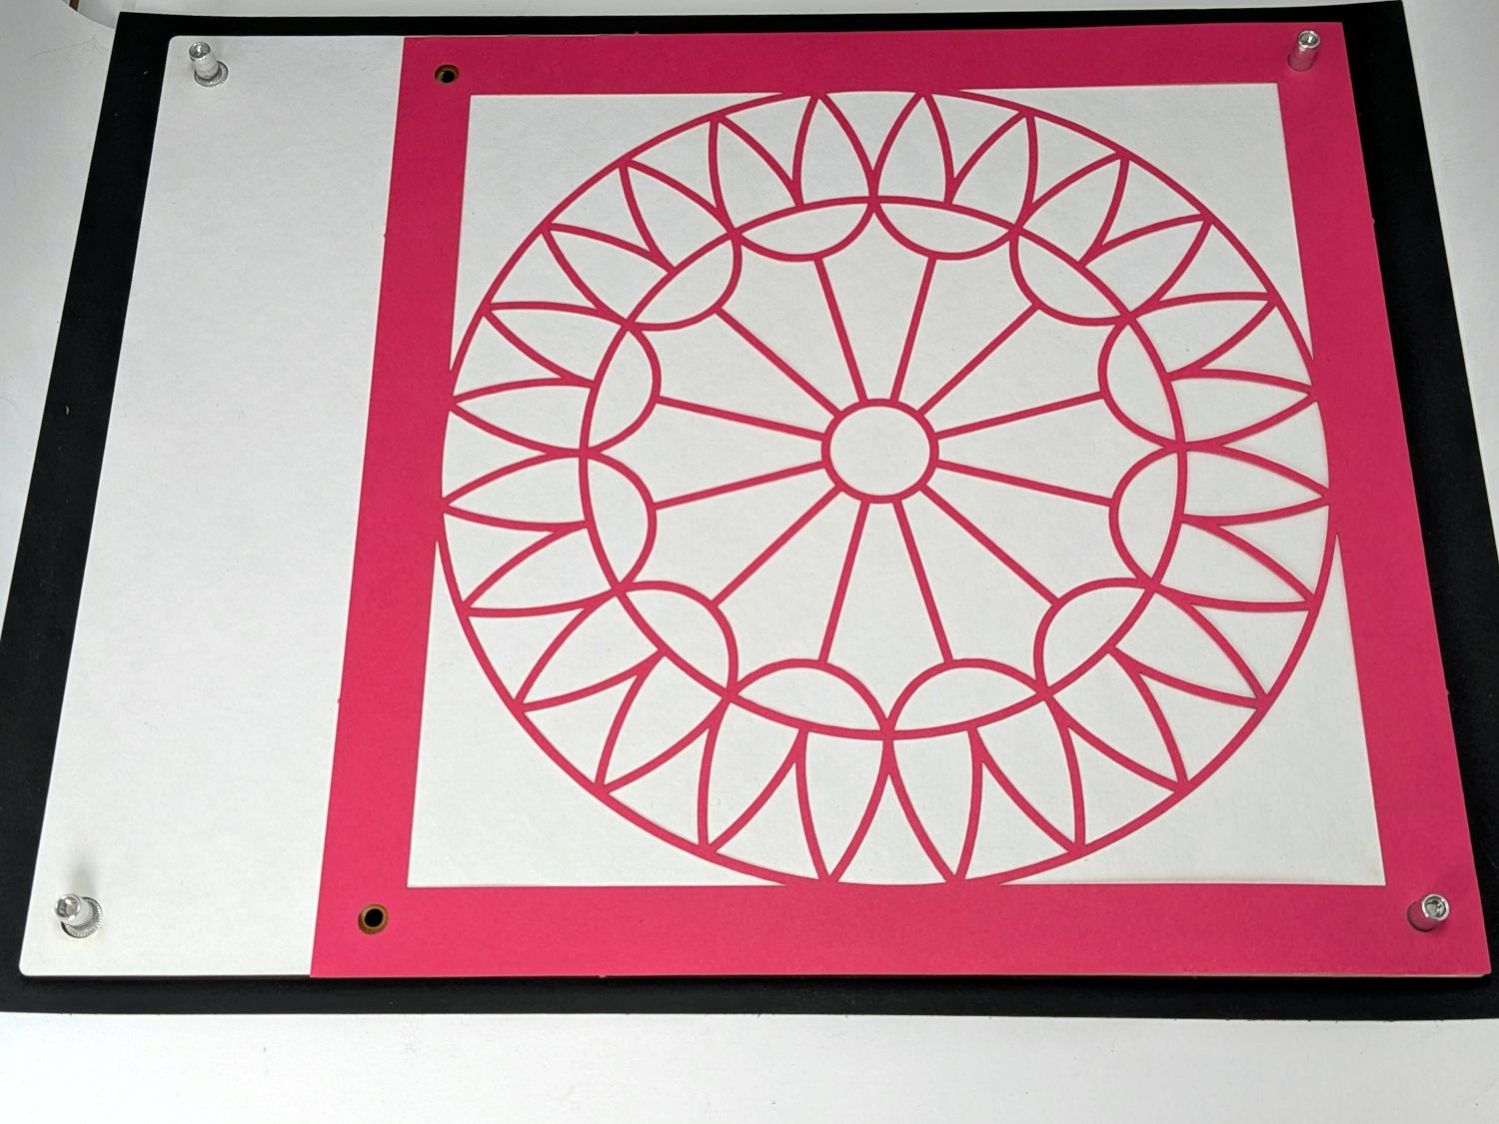
An embiggened version of the 8×8 inch fixture, built with MDF for improved durability & flatness:
Layered Paper 8×10in Gluing Fixture – block
That’s an 8×8 quilt pattern as a quick fit check. Should I cut more of those, I’d install rivnuts in the obvious locations:
Layered Paper 8×10in Gluing Fixture – front overview
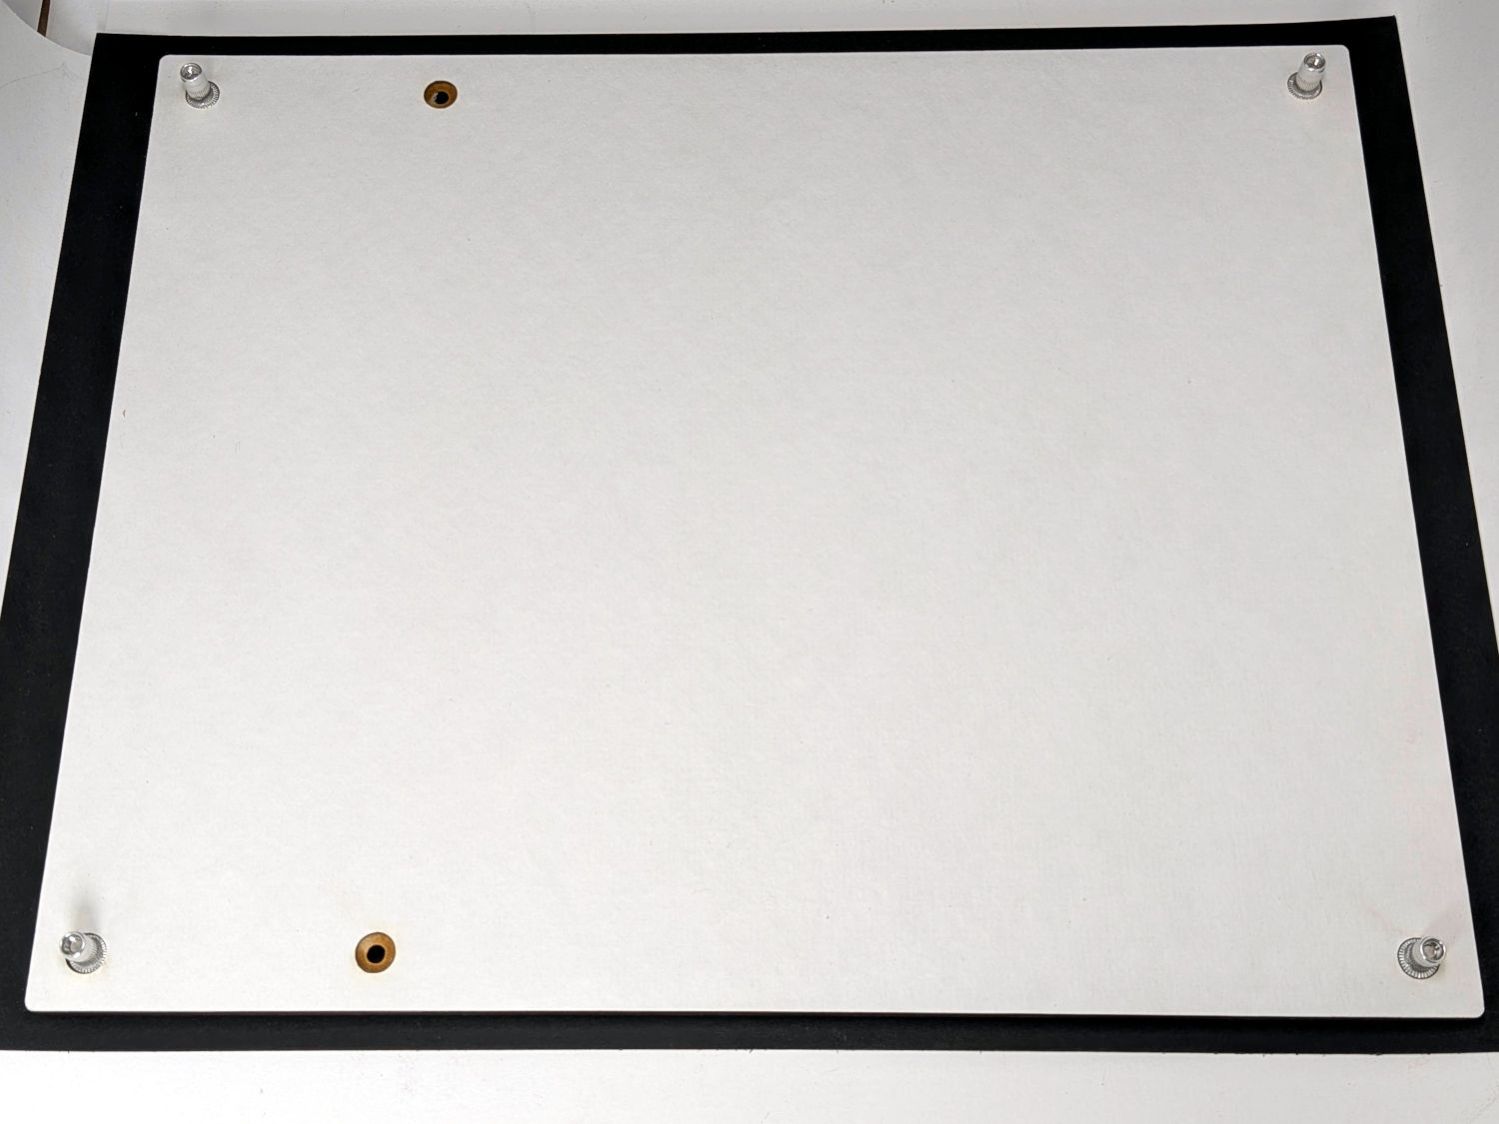
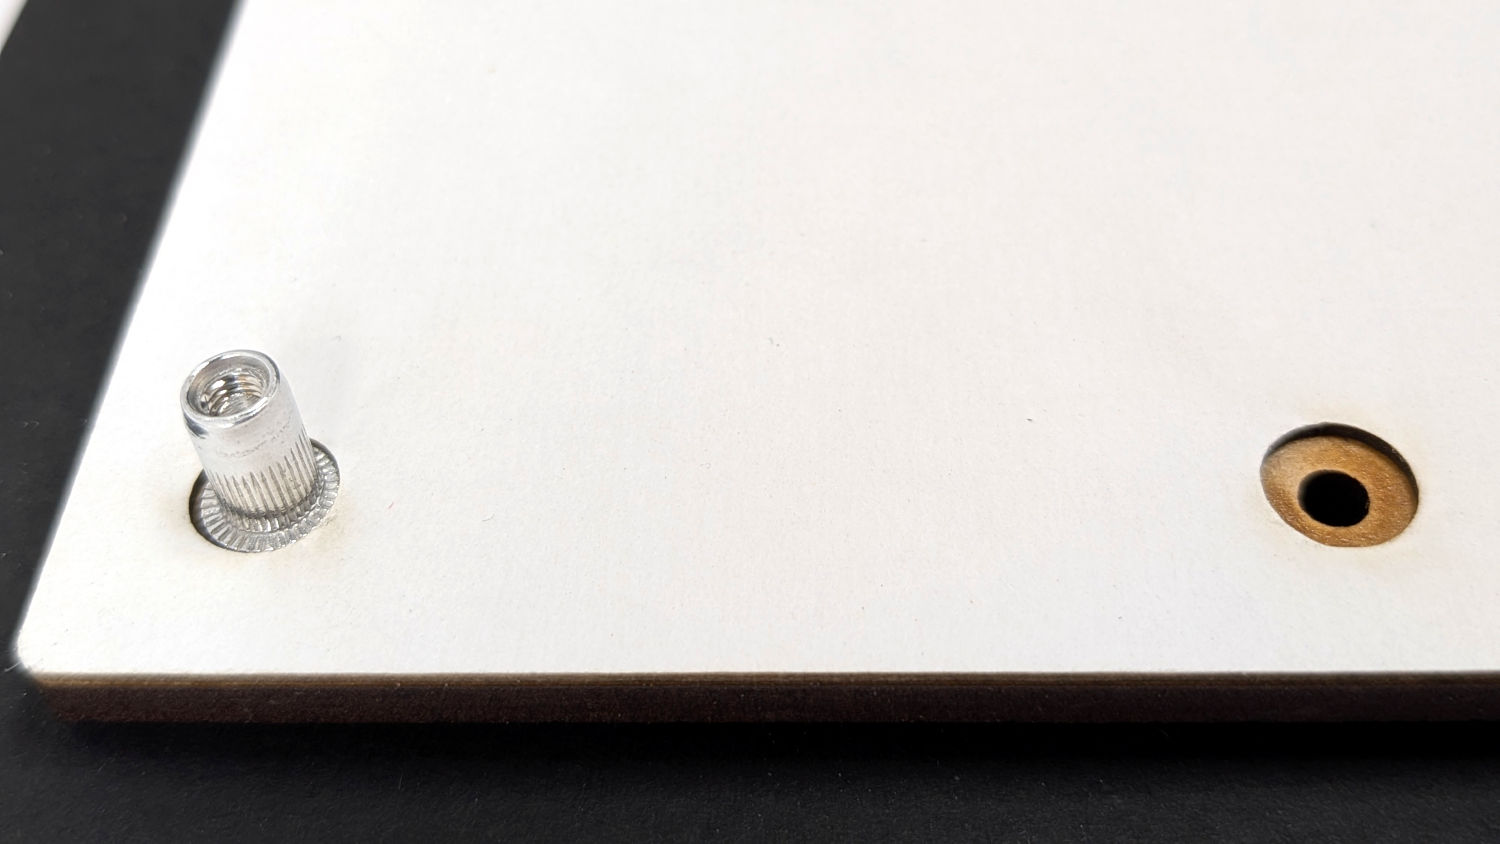
The white layer is 1 mm thick chipboard with the rivnut heads flush at its surface:
Layered Paper 8×10in Gluing Fixture – front detail
The perspective makes the fit look much worse than it is.
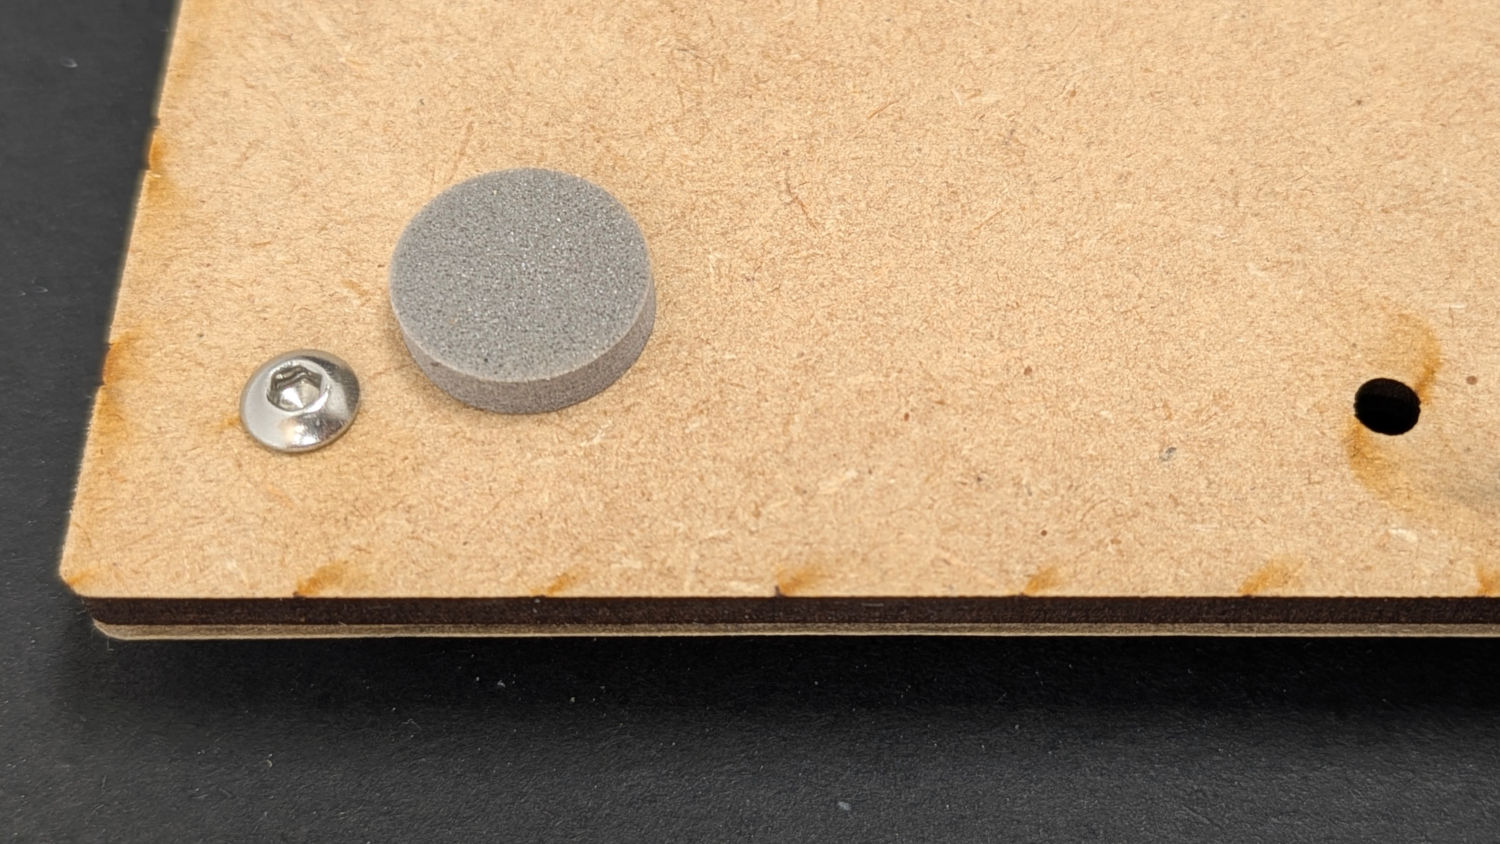
The back side has squishy foam feet keeping the M3 screws off the table:
Layered Paper 8×10in Gluing Fixture – back detail
The large rectangle on the LightBurn tool layer helped align the 8×12 inch MDF stock. The smaller squares show where the 8×8 inch square will fit and confirmed the hole locations:
Gluing Fixture – 200×200-250mm – LightBurn layout
The LightBurn SVG layout is a GitHub Gist, which also includes the template layout for cutting Letter pages to fit the fixture.
The Home Master whole-house water filter setup that Came With The House™ has a sediment filter with a 6 to 12 months lifetime and a “catalytic carbon” filter that need replacing every 95000 gallons. Poughkeepsie City water isn’t particularly challenging and our average use suggests a three-year cycle for the carbon filter, so changing them every 18 months seems reasonable.
The filter headers have fingers to center the cartridges, which works well with the relentlessly cylindrical sediment filter. The header’s outlet orifice produces the indented ring around the central hole:
Sediment water filter – outlet
The water flows downward around the outside of the filter and upward through the central hole.
The carbon filter is about the same diameter, but has a smaller diameter around the outlet that apparently doesn’t engage the centering fingers:
Carbon water filter – off-center outlet
The white crud on the black rubber seal is another example of Nisley’s First Rule of Potable Water Plumbing:
Never ever look inside the pipes supplying your drinking water.
Having seen this happen twice, despite my best efforts to keep the filter housing vertical while tightening its screw threads in the header, I laser-cut four acrylic blocks to hold the filter in the center of the housing:
Carbon water filter – centering blocks
They’re 13 mm wide, 15 mm tall, and 6 mm thick, but the next time around they should be taller to help keep them vertical while sliding them into place.
We’ll know how well they worked in about 18 months.