The Smell of Molten Projects in the Morning

Ed Nisley's Blog: Shop notes, electronics, firmware, machinery, 3D printing, laser cuttery, and curiosities. Contents: 100% human thinking, 0% AI slop.

Tag: Laser Cutter

  • Gridfininty Tape Dispenser

    Gridfininty Tape Dispenser

    A Gridfinity Tape Dispenser holds a roll of book repair tape:

    Gridfinity Tape Dispenser - overview
    Gridfinity Tape Dispenser – overview

    The perspective makes the dispenser look chonkier than it really is.

    A wrap of black silicone tape around the spool embiggens it for a snug fit inside the tape core. A casual inspection of other tapes suggest enlarging the spool by a few percent would help, but it’s Good Enough™ as-is.

    The two end thumbscrews fasten the 4×1 Gridfinity baseplate to the dispenser; both from Gridfinity Refined:

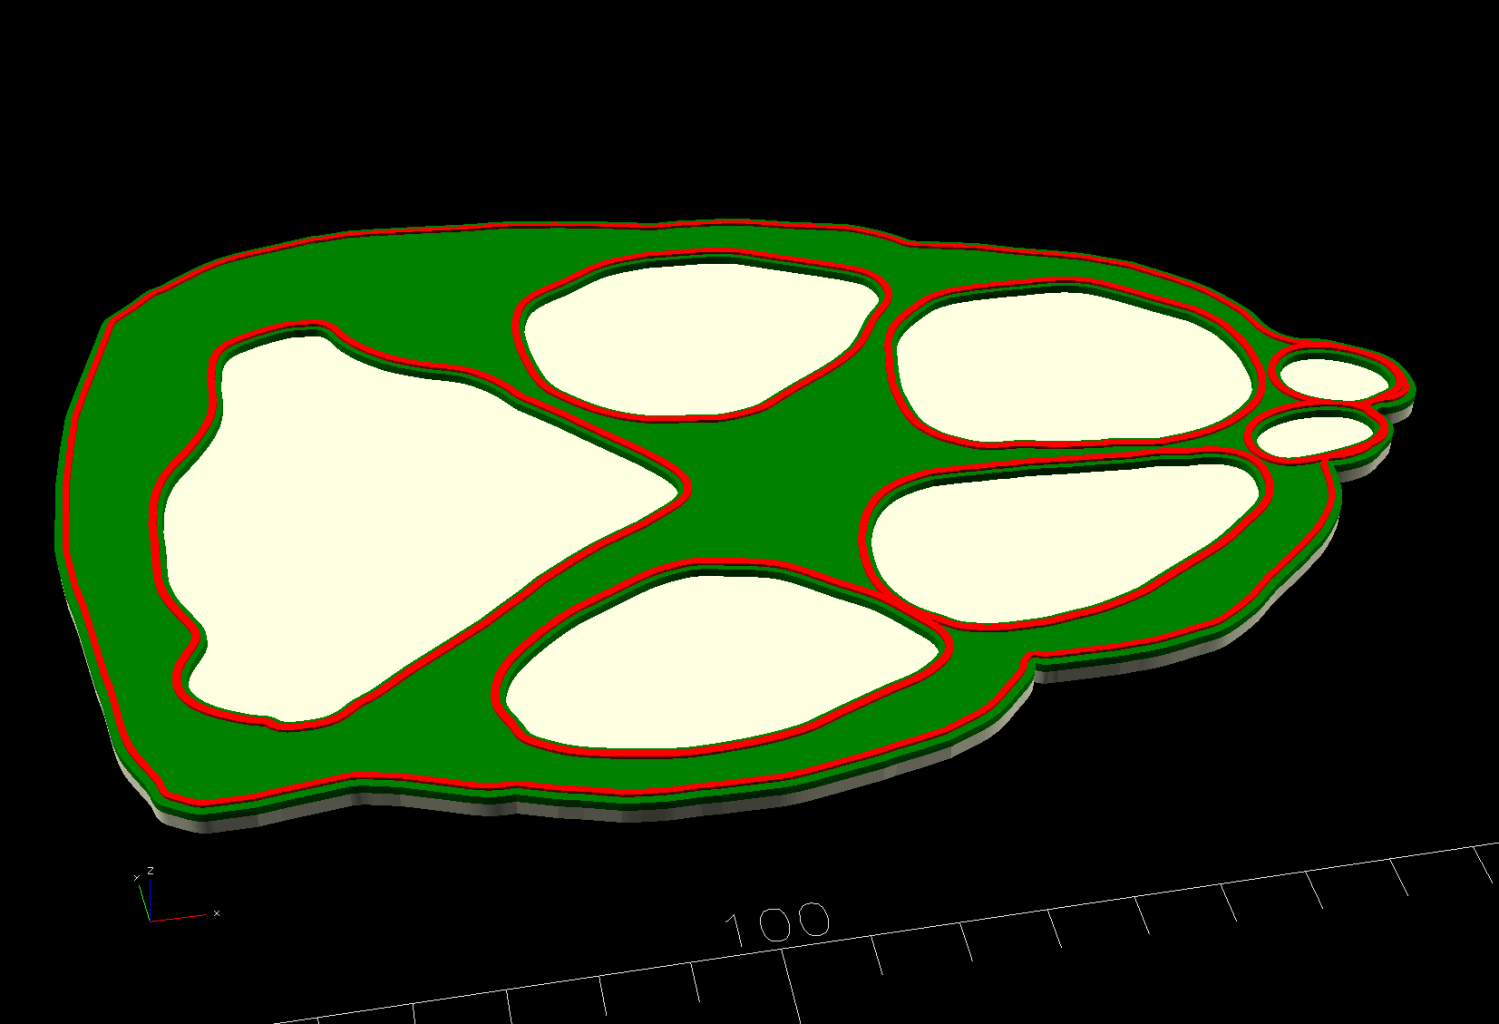
    Gridfinity Tape Dispenser - baseplate
    Gridfinity Tape Dispenser – baseplate

    If I had my wits about me, I’d have used a nicely contrasting color for the baseplate, but it is what it is.

    Although they’re called “thumbscrews”, the slot is sized for a US quarter (or cart coin).

    An OpenSCAD one-liner produces an SVG model of the baseplate:

    projection(cut=true) import("Grid 4x1.stl");
    

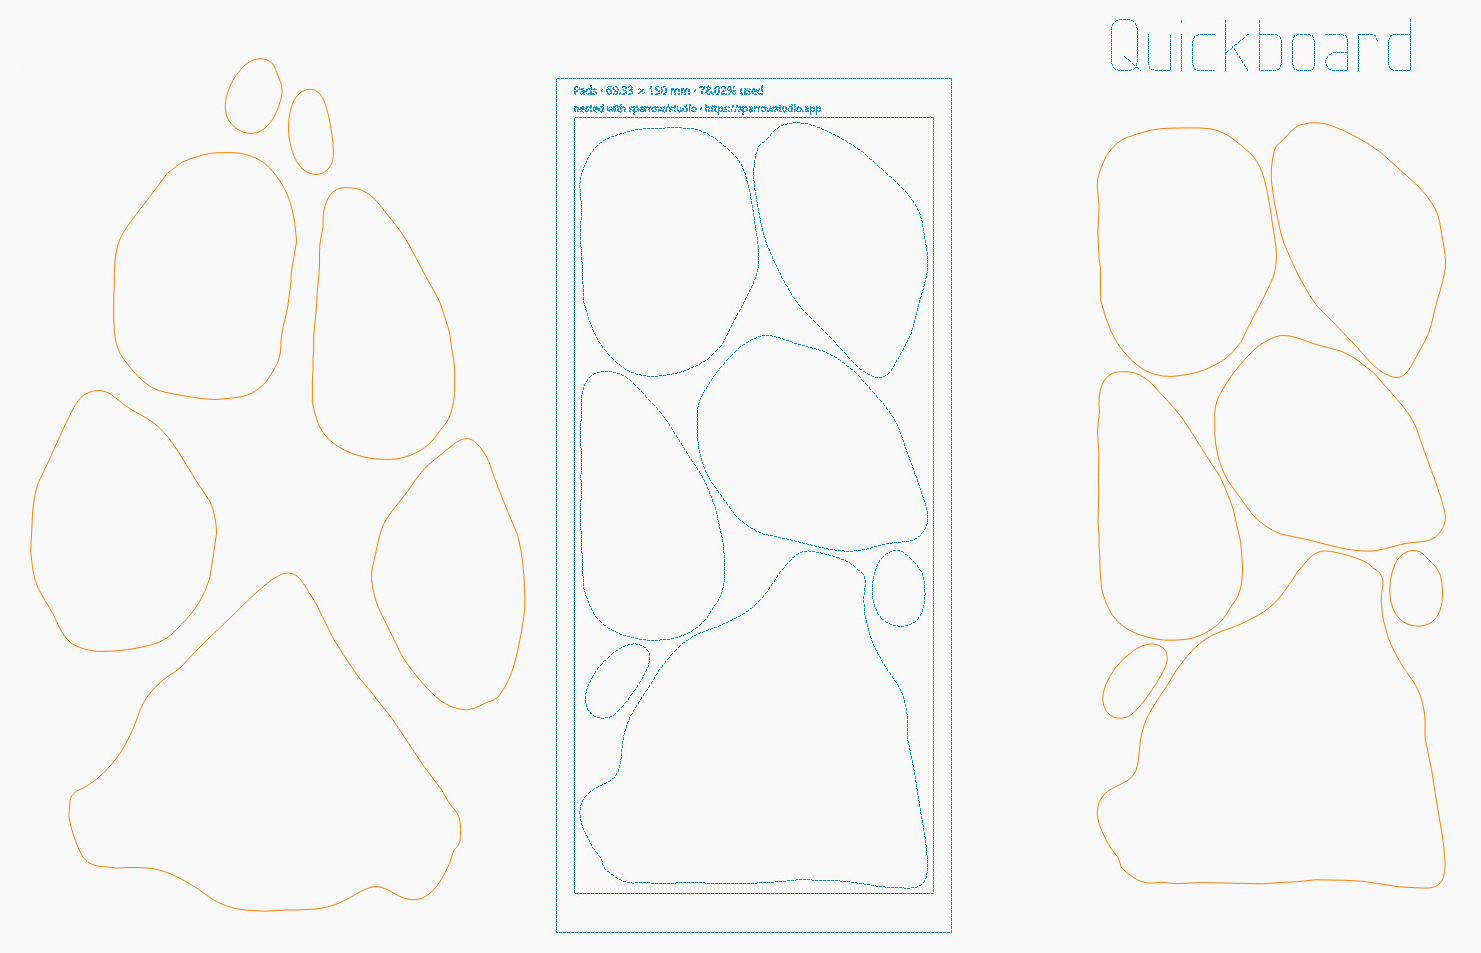
    Import SVG into LightBurn, delete the magnet pockets, and Fire The Laser on some EVA foam:

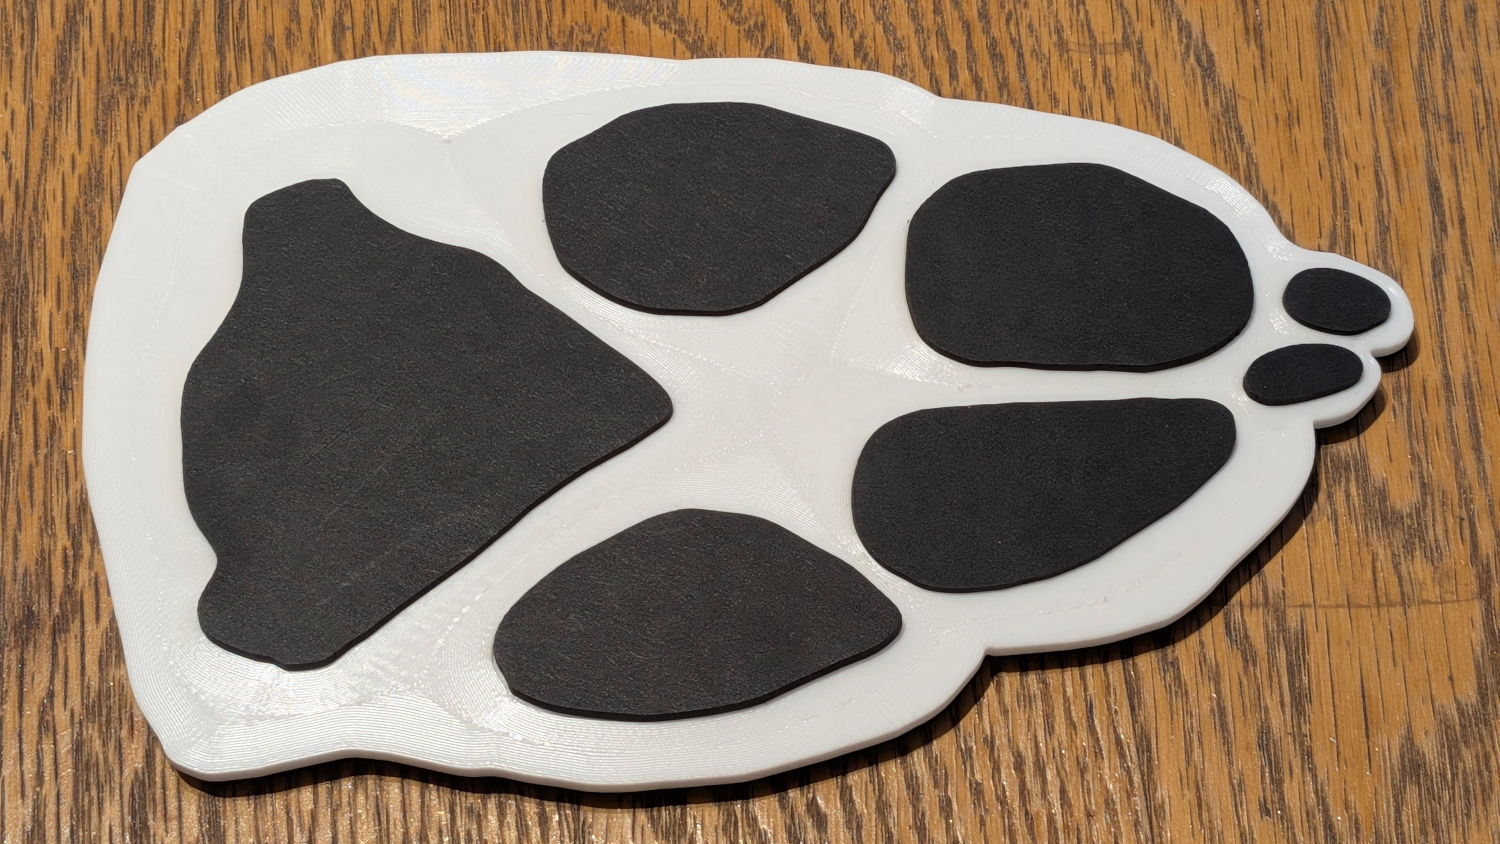
    Gridfinity Tape Dispenser - foam base
    Gridfinity Tape Dispenser – foam base

    A layer of 3M 300LSE tape holds the foam in place, because neither side sticks well to the goo on a craft adhesive sheet due to their low surface energy. I stuck an oversize rectangle to the foam with the thin adhesive side before cutting, which required a second pass at higher speed.

    The thumbscrews also close off the holes in the dispenser bottom through which I poured 275 g = 10 oz of sand for better traction. Steel shot is reputed to be Even Better, although most of the BBs are in the long-arm weight.

    The dispenser model includes a printed serrated blade which works as poorly as the author suggested. A length snapped from an ancient Strombecker 4-I (“four eye”) blade in the Box o’ Big X-Acto Blades fits perfectly, works wonderfully well, and is sufficiently inconspicuous to warrant the warning label. An X-Acto #26 Whittling Blade would probably snap down equally well.

  • Punched Cards: Layout Alignment

    Punched Cards: Layout Alignment

    My initial process of picking punched cards from the top of the stack, taping them together, then cutting a layer of the eagle produced unpredictable results when there weren’t enough holes to be interesting or a card joint appeared in a conspicuous spot:

    Apollo 11 Eagle patch - layer test - tail
    Apollo 11 Eagle patch – layer test – tail

    I now arrange the SVG image of the card’s holes for best effect on each eagle layer:

    Apollo Eagle - V4 Layer 7 card layout
    Apollo Eagle – V4 Layer 7 card layout

    The small squares near the corners of the image appear on every layer to properly register all the eagle outlines.

    Mirroring the layout produces the hole pattern as seen from the back side of the cards, where the tape is applied:

    Apollo Eagle - V4 Layer 7 card layout - mirrored
    Apollo Eagle – V4 Layer 7 card layout – mirrored

    Then it’s (relatively) easy to align the cards while muttering “the rightmost hole in the lower sequence number is just about aligned with the upper card edge, which puts the middle-ish hole in the group of four in the 9 row over the left hole of those two” and so on and so forth. Cut off a strip of tape, carefully lay it along the joint between the cards, and add them to the outgoing pile.

    The top two layers are cut with the back = unprinted = blank side of the card upward to produce the eagle’s white head, with the outlines strategically located to avoid shredding the feathers with holes:

    Apollo Eagle - V4 Layer 8-9 card layout
    Apollo Eagle – V4 Layer 8-9 card layout

    The value of this process becomes more apparent for the nine cards making up the bottom layer:

    Apollo Eagle - V4 Layer 1 cards
    Apollo Eagle – V4 Layer 1 cards

    Most of the white tail comes from the reversed card in the bottom row, inset into the two cards above it. The next layer covers those sections of the legs and olive branch, which is easy to confirm by aligning the layers using their border squares.

    The layout mirrored for easier taping:

    Apollo Eagle - V4 Layer 1 cards - mirrored
    Apollo Eagle – V4 Layer 1 cards – mirrored

    This is from a previous layout, but the improvement is obvious:

    Apollo Eagle - V3 - tail
    Apollo Eagle – V3 – tail

    The trick with all this is to select only the eagle outline for cutting amid all the card details. Although putting the cards on a tool layer would avoid that problem, the holes are much less visible and they’re pretty much the entire point of this process.

    Aligning the taped cards on the platform with the to-be-cut outline follows much the same process as aligning the printed cards for punching:

    • Select the cards and the eagle outline
    • Snap to the middle of the LightBurn workspace with the P key
    • Focus the laser on the cards if you haven’t already done so
    • Move the laser head to one of the card bevels using Ctrl-L and clicking on one end of the bevel
    • Skootch the cards to put that bevel at the red dot pointer location under the laser head
    • Move the laser head to another bevel
    • Skootch the cards as needed
    • Iterate until satisfied
    • Fire The Laser

    Although each card layout has the four targets used to cut it from the printed card stock, those targets no longer exist on the cards because they’ve been cut off.

    You could use Print and Cut to align the LightBurn workspace to the cards, but it’s easier and faster to just skootch the cards around.

    Actually cutting the outline takes a few seconds and is kinda anticlimactic after all that setup.

  • Punched Cards: Layered Apollo Eagle V3

    Punched Cards: Layered Apollo Eagle V3

    Fixing some of the outstanding issues produces another Apollo Eagle from layers of punched cards:

    Apollo Eagle - V3 - overview
    Apollo Eagle – V3 – overview

    Stipulated: nobody ever ran punched cards through a multi-color printing process. A posterized version of the Apollo 11 mission patch eagle just seemed appropriate for cards containing a chunk of the mission source code.

    Putting the tail feathers on two layers of reversed cards definitely improved the outcome:

    Apollo Eagle - V3 - tail
    Apollo Eagle – V3 – tail

    The lines across two of the tail feathers come from inadvertently printing a quilting pattern intended for Letter paper after setting up a stack of 1/3 Letter blanks. Trust me on this: you do not discard any salvageable blooper cards.

    The wing feathers get more definition and have sculptured upper layers:

    Apollo Eagle - V3 - wing
    Apollo Eagle – V3 – wing

    The olive branch improved with fewer layers and contouring the claws makes them less chunky:

    Apollo Eagle - V3 - olive branch
    Apollo Eagle – V3 – olive branch

    The beak and head now have slight contouring, with the neck feathers standing out nicely over the logo below:

    Apollo Eagle - V3 - head
    Apollo Eagle – V3 – head

    Although this is the third almost-ready version, it rests on the wings of many previous attempts:

    Apollo Eagle - layered trials
    Apollo Eagle – layered trials

    The card joints on successive layers are now farther apart, although the long run across the middle of the body stands out more than I expected. The small pieces of cards at the top of the wings need more contrast.

  • Basement Air Filter Box: Ewww!

    Basement Air Filter Box: Ewww!

    Late last year I assembled four air filters and a fan quintet into a box filter:

    Basement Air Filter Box - installed
    Basement Air Filter Box – installed

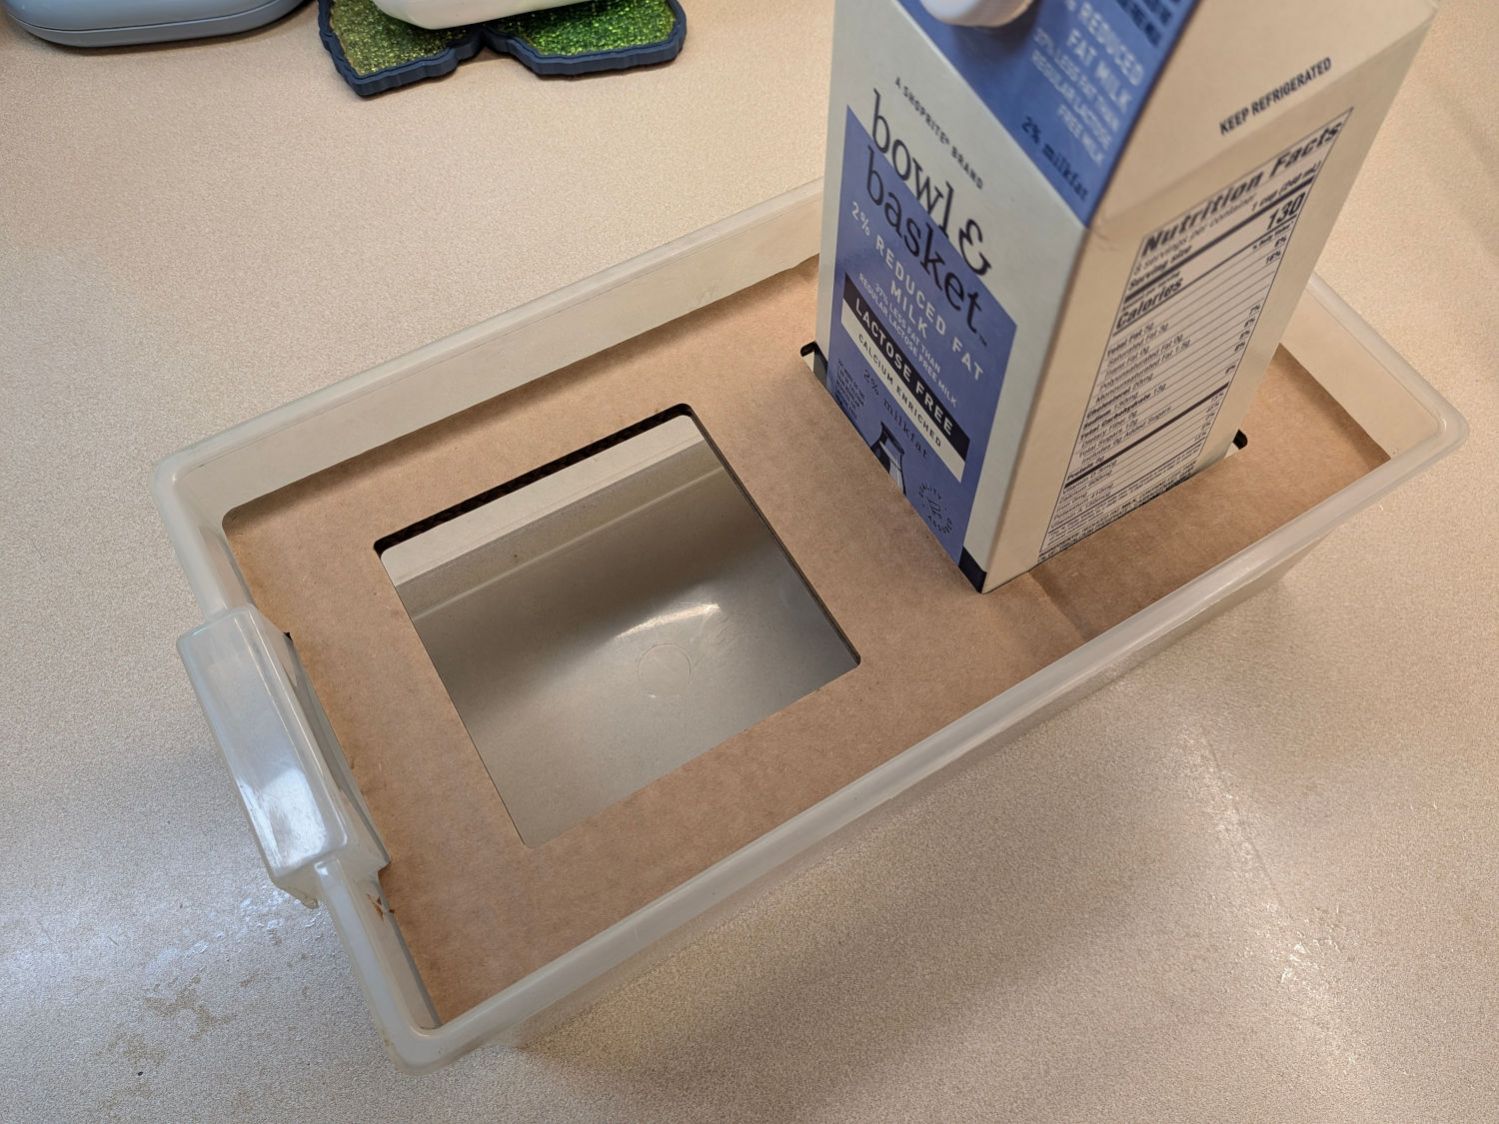
    Running continuously for three months made the air filters look like this (with an unused filter on top for comparison):

    Basement Air Filter Box - 3 months - A
    Basement Air Filter Box – 3 months – A

    I have not stretched the image contrast, so the new filter isn’t the pure white in the top picture, but it’s still about the same white as the cardboard frame. The floor is, indeed, painted gray.

    Looking at the pleats in the other direction to show I’m not making it up:

    Basement Air Filter Box - 3 months - B
    Basement Air Filter Box – 3 months – B

    The inside surface of the filters has the same gray appearance. The fans are, unsurprisingly, immaculate.

    Totally did not expect that!

    The filters sport a MERV 13 rating and snag “most smoke” from the passing air, so they’ve been collecting any fumes not sucked out of the laser cutter, along with whatever arises from other Basement Shop™ activities.

    So I’ll buy another set of filters, build another box, and see what accumulates during the next three months.

  • LED Garage Light: Desk Lamp Upcycling

    LED Garage Light: Desk Lamp Upcycling

    One of the heatsink panels from the defunct LED garage light now casts a uniform warm-white glow on my desk:

    LED Garage Light - desk light
    LED Garage Light – desk light

    A PCB intended as a lithium battery charger serves as a constant-current supply:

    LED Garage Light - constant current driver
    LED Garage Light – constant current driver

    The three trimpots, from left to right:

    • Constant-voltage limit adjustment
    • Full-charge current setpoint (irrelevant here)
    • Constant-current limit adjustment

    The as-received trimpot settings will be wildly inappropriate for a nominal 10 W COB LED array, so:

    • Connect the output to about 10 Ω of power resistors
    • … with an ammeter in series
    • Connect the input to a 12 VDC / 1-ish A wall wart
    • Adjust the output voltage to 10 V
    • Adjust the output current to 900 mA

    As long as the voltage limit is over about 10 V, it will (likely) never matter, as the LED forward drop doesn’t vary much with temperature. Setting it to something sensible keeps it out of the way.

    The middle trimpot apparently sets a voltage for a comparator to light an LED when the battery current drops below that level as it reaches full charge.

    Although the regulator touts its high efficiency, it does run hot and a heatsink seemed in order:

    LED Garage Light - heatsink
    LED Garage Light – heatsink

    Stipulated: the fins run the wrong way and it’s sitting in the updraft from the main heatsink. It’s Good Enough™.

    The switch on the top comes from the collection of flashlight tailcap switches and controls the 12 V input power. It’s buried up to its button in a generous dollop of JB Kwik epoxy, which seemed the least awful way to get that done.

    The solid model looks about like you’d expect:

    LED Lamp Driver case - switch housing - show solid model
    LED Lamp Driver case – switch housing – show solid model

    The OpenSCAD code exports the (transparent) lid as an SVG so I can import it into LightBurn and laser-cut some thin acrylic. Two tape snippets hold the lid in place pending more power-on hours, after which I’ll apply a few dots of cyanoacrylate adhesive and call it done.

    The case builds in two pieces that glue together to avoid absurd support structures:

    LED Lamp Driver case - switch housing - build solid model
    LED Lamp Driver case – switch housing – build solid model

    A 3D printed adapter goes between the desk lamp arm and the lamp heatsink bolt:

    LED Lamp Driver case - arm adapter - solid model
    LED Lamp Driver case – arm adapter – solid model

    The OpenSCAD source code files for the case and adapter arm as a GitHub Gist:

    // LED Lamp arm adapter
    // Ed Nisley – KE4ZNU
    // 2026-03-18
    include <BOSL2/std.scad>
    Layout = "Adapter"; // [Show,Build,ArmClamp,SinkClamp,Adapter]
    /* [Hidden] */
    HoleWindage = 0.2;
    Protrusion = 0.01;
    Gap = 5.0;
    $fn=5*3*4;
    HoleOC = 45.0;
    ArmRad = 7.5;
    ArmWidth = 11.3;
    SinkOD = 11.5;
    SinkThick = 3.2;
    SinkOC = 20.0;
    ClampThick = 5.0; // outside sink, watch thinning due to hull()
    // Define things
    // Screw & bushings in lamp arm bracket
    // … over-long bushings to prevent coincident surfaces
    module ArmClamp() {
    BushingThick = 1.5;
    BushingOD = 9.0;
    union() {
    ycyl(ArmWidth,d=4.0 + HoleWindage); // central M4 screw
    for (j=[-1,1]) {
    back(j*(ArmWidth – BushingThick + Protrusion)/2)
    ycyl(BushingThick + Protrusion,d=BushingOD);
    back(j*(ArmWidth + 10)/2)
    cuboid([2*ArmRad,10,2*ArmRad]);
    }
    }
    }
    module SinkClamp() {
    union() {
    ycyl(2*SinkOC,d=6.0 + HoleWindage); // central M6 screw
    for (j=[-1,1])
    back(j*SinkOC/2) {
    ycyl(SinkThick + Protrusion,d=SinkOD);
    cuboid([SinkOD,SinkThick + Protrusion,2*SinkOD]);
    }
    }
    }
    module Adapter() {
    difference() {
    hull() {
    right(HoleOC)
    ycyl(ArmWidth,r=ArmRad);
    ycyl(SinkOC + SinkThick + 2*ClampThick,d=SinkOD);
    }
    right(HoleOC)
    ArmClamp();
    SinkClamp();
    }
    }
    // Build it
    if (Layout == "ArmClamp")
    ArmClamp();
    if (Layout == "SinkClamp")
    SinkClamp();
    if (Layout == "Adapter")
    Adapter();
    if (Layout == "Build")
    up(SinkOD/2)
    yrot(-atan((ArmRad – SinkOD/2)/HoleOC))
    Adapter();
    // LED Constant-current driver case
    // Ed Nisley – KE4ZNU
    // 2026-03-15
    include <BOSL2/std.scad>
    Layout = "Show"; // [Show,Build,Case,Lid,LidSVG,Switch]
    /* [Hidden] */
    ThreadThick = 0.2;
    HoleWindage = 0.2;
    Protrusion = 0.01;
    Gap = 5.0;
    WallThick = 1.8;
    TapeThick = 1.5;
    DriverOA = [48.5,13.5 + TapeThick,23.5]; // PCB forward Y, pots along top to rear
    SinkOA = [31.5,12.0,15.5]; // fins forward
    SinkOffset = [(DriverOA.x – SinkOA.x)/2,0,2.0]; // from lower left front corner of PCB
    AdjPots = [14,24,34]; // screwdriver adjust offsets
    AdjOD = 3.0; // … access hole dia
    CaseOA = DriverOA + [2*WallThick,2*WallThick,2*WallThick];
    echo(CaseOA=CaseOA);
    LidOA = [CaseOA.x – WallThick,CaseOA.z – WallThick,1.0];
    Cables = [8.0,3.0 + WallThick/2,LidOA.z];
    SwitchWireOC = DriverOA.x – 6.0;
    SwitchCapBase = [DriverOA.x + WallThick,DriverOA.y + WallThick];
    SwitchCapTop = [DriverOA.x,12.0];
    SwitchCavity = [25.0,10.5,5.5];
    // Define things
    module Lid() {
    difference() {
    cuboid(LidOA,anchor=BOTTOM+FWD+LEFT);
    for (i = AdjPots)
    translate([i,LidOA.y – AdjOD/2 – WallThick/2,-Protrusion])
    cyl(LidOA.z + 2*Protrusion,d=AdjOD,anchor=BOTTOM,$fn=8,spin=180/8);
    translate([LidOA.x/2,-Protrusion,-Protrusion])
    cuboid(Cables + [0,Protrusion,2*Protrusion],rounding=1.0,edges=[BACK+LEFT,BACK+RIGHT],anchor=BOTTOM+FWD);
    }
    }
    module SwitchBox() {
    difference() {
    prismoid(SwitchCapBase,SwitchCapTop,SwitchCavity.z,anchor=BOTTOM);
    down(Protrusion)
    cuboid(SwitchCavity + [0,0,2*Protrusion],anchor=BOTTOM);
    hull()
    for (i=[-1,1])
    right(i*SwitchWireOC/2)
    zcyl(CaseOA.z,d=3.0,$fn=8,spin=180/8);
    }
    }
    module Case() {
    difference() {
    cuboid(CaseOA,chamfer=WallThick/2,anchor=BOTTOM+FWD+LEFT);
    translate([WallThick,WallThick + Protrusion,WallThick])
    cuboid(DriverOA + [0,WallThick + Protrusion,0],anchor=BOTTOM+FWD+LEFT);
    translate(SinkOffset + [WallThick,WallThick + 2*Protrusion,WallThick])
    cuboid(SinkOA,anchor=BOTTOM+BACK+LEFT);
    for (i=[-1,1])
    translate([i*SwitchWireOC/2 + CaseOA.x/2,CaseOA.y/2,CaseOA.z/2])
    zcyl(CaseOA.z,d=2.0,anchor=BOTTOM,$fn=8,spin=180/8);
    translate([WallThick/2,(CaseOA.y + LidOA.z),WallThick/2])
    xrot(90)
    scale([1,1,2])
    Lid();
    }
    }
    // Build it
    if (Layout == "Switch")
    SwitchBox();
    if (Layout == "Case")
    Case();
    if (Layout == "Lid")
    Lid();
    if (Layout == "LidSVG")
    projection(cut=true)
    Lid();
    if (Layout == "Show") {
    Case();
    translate(SinkOffset + [WallThick,WallThick + 2*Protrusion,WallThick])
    color("Gray",0.7)
    cuboid(SinkOA,anchor=BOTTOM+BACK+LEFT);
    translate([CaseOA.x/2,CaseOA.y/2,CaseOA.z])
    SwitchBox();
    translate([WallThick/2,CaseOA.y,WallThick/2])
    xrot(90)
    color("Gray",0.7)
    Lid();
    }
    if (Layout == "Build") {
    fwd(Gap)
    xrot(90)
    Case();
    translate([CaseOA.x/2,(Gap + CaseOA.y/2),0])
    SwitchBox();
    }
  • Quilting Ruler Pencil Guides: Acrylic

    Quilting Ruler Pencil Guides: Acrylic

    I cut some transparent acrylic pencil guides to go along with the 45° Triangle Ruler:

    Quilting Ruler Pencil Guides
    Quilting Ruler Pencil Guides

    The guides along the rear are the 3D printed versions from a decade ago.

    The three transparent guides taught us:

    • 4 mm is better than 3 mm
    • Entirely transparent guides vanish on the table

    So the engraved ring on the two in the front row carries a cheerful Sharpie color to make them stand out. I wanted to use fluorescent acrylic, but I don’t have any 4 mm sheets and stacking a pair of 3 mm sheets → 6 mm will be too thick for the pencil tip.

    What looks like dirt on the red guide comes from internal reflections or the lack thereof: it’s perfectly transparent in person, honest.

  • Custom 45° Triangle Quilting Ruler

    Custom 45° Triangle Quilting Ruler

    Mary’s current quilt project has a corner design with an essentially infinite number of 45° triangles, which another custom ruler will simplify:

    45° Quilting Ruler - finished
    45° Quilting Ruler – finished

    That’s the end result of several iterations, proceeding from doodles to sketches to increasingly accurate laser-cut prototypes:

    45° Quilting Ruler - prototypes
    45° Quilting Ruler – prototypes

    A “ruler” in quilting parlance is a thing guiding the sewing machine’s “ruler foot” across the fabric (or, for sit-down machines, the fabric under the foot) in specific directions:

    45° Quilting Ruler - in use
    45° Quilting Ruler – in use

    That’s a practice quilt on scrap fabric: quilters need prototypes, too!

    The foot is 0.5 inch OD, within a reasonable tolerance, which accounts for the slot width in the ruler. It’s also intended to run against 1/4 inch thick rulers, which accounts for the thickness of that slab of acrylic.

    The engraved lines & arcs are on the bottom of the ruler to eliminate parallax errors against the fabric, so the bottom is upward and the text is mirrored for the laser:

    45° Quilting Ruler - cutting
    45° Quilting Ruler – cutting

    Although fluorescent green acrylic may have higher visibility, clear seems adequate for the fabric in question:

    45° Quilting Ruler - colored fabric
    45° Quilting Ruler – colored fabric

    I very carefully trimmed the arcs against the ruler outline using LightBurn’s Cut Shapes, which turned out to be a Bad Idea™, because the high-current pulse as the laser fires causes a visible puncture wound at the still-to-be-cut edge:

    45° Quilting Ruler - edge damage
    45° Quilting Ruler – edge damage

    Those are not straight lines and the plastic isn’t bent!

    A closer look:

    45° Quilting Ruler - edge damage - detail
    45° Quilting Ruler – edge damage – detail

    The arcs without wounds started from their other end and stopped at the edge, which is perfectly fine.

    The wounds are unsightly, not structural, but the next time around I’ll extend the markings a millimeter beyond the edges into the scrap material.

    The overall design looks busier than it is, because I put different features on different layers in case they needed different settings:

    45 Degree Quilting Ruler - LightBurn layout
    45 Degree Quilting Ruler – LightBurn layout

    The LightBurn SVG layout as a GitHub Gist:

    Loading
    Sorry, something went wrong. Reload?
    Sorry, we cannot display this file.
    Sorry, this file is invalid so it cannot be displayed.