Ed Nisley's Blog: Shop notes, electronics, firmware, machinery, 3D printing, laser cuttery, and curiosities. Contents: 100% human thinking, 0% AI slop.
Tag: Improvements
Making the world a better place, one piece at a time
The 12 in. ratchet bar clamp/spreader is a light duty tool that’s perfect for delicate woodwork or scale modeling.
Yeah, right. (*)
It’s an awkward, clunky, heavy steel bar with chunky plastic fittings, not at all suitable for “delicate woodwork”. In my case, I attempted to clamp a 4×4 block against a bonded pair of of 2×4 studs before drilling a pair of bolt holes, whereupon one of the clamps failed. I deployed a spare clamp (always have a backup) and completed the mission.
An autopsy showed the problem:
Harbor Freight Bar Clamp – failed handle pivot
The orange handle magnifies the applied force by the (more or less) 4:1 lever arm and applies it against two hollow plastic bosses on the side plates. The one just below the handle broke free, which is exactly what you’d expect to happen.
The through hole looks like it should pass a pivot, but that’s not the case:
Harbor Freight Bar Clamp – handle detail 1
I drilled out the hole just slightly to fit a snippet of brass tubing:
Harbor Freight Bar Clamp – brass bushing
If the tubing looks slightly off-center, that’s because it is. The two halves of the injection mold weren’t aligned, as you can see along the top edge of the picture, putting the hole off-center. The broken boss took most of the reaction force from the handle: a poor bad design compounded by crappy production QC.
I filled the empty spaces with epoxy, topped it off with a pair of washers, match-drilled holes in the side plates, and ran a stainless 8-32 screw through the brass tubing:
Harbor Freight Bar Clamp – reinforced pivot
The end-on view shows the misaligned handle halves:
Harbor Freight Bar Clamp – repaired – edge view
It’s not nearly as stylish, but the handle pivot won’t fail again. I should preemptively repair the other clamps, but …
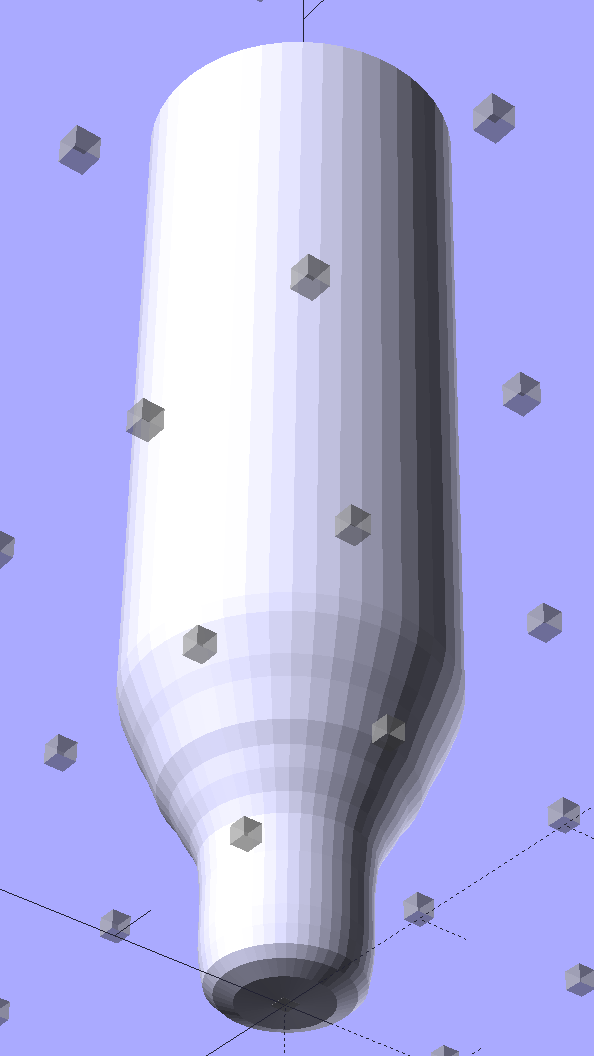
The ends have nice chamfered entrances made from octagons:
Garden Knife Sheath – entrances – solid model
The thing went away so fast I didn’t get a chance to photograph it, but magenta PETG filament should make it much harder to mislay, out there among the greenery…
The OpenSCAD source code:
// Garden Knife Scabbard
// Ed Nisley KE4ZNU - August 2015
//- Extrusion parameters - must match reality!
ThreadThick = 0.25;
ThreadWidth = 0.40;
function IntegerMultiple(Size,Unit) = Unit * ceil(Size / Unit);
Protrusion = 0.1;
HoleWindage = 0.2;
//------
// Dimensions
WallThick = IntegerMultiple(3.0,ThreadWidth);
Blade = [115,1.8,16.0];
Clearance = [10.0,2.0,2.0];
Slot = Blade + Clearance;
Sheath = Slot + [0,2*WallThick,2*WallThick];
//- Build it
translate([0,0,Sheath[2]/2])
difference() {
union() {
for (i=[-1,1])
translate([i*Sheath[0]/2,0,-Sheath[2]/2])
rotate(180/32)
cylinder(d=Sheath[1],h=Sheath[2],$fn=32);
cube(Sheath,center=true);
}
cube(Slot + [Slot[0],0,0],center=true);
for (i=[-1,1])
translate([i*(Sheath[0]/2 + Sheath[1]/2),0,-Slot[2]/2])
rotate(180/8)
cylinder(d=Sheath[1] - 4*ThreadWidth,h=Slot[2],$fn=8);
}
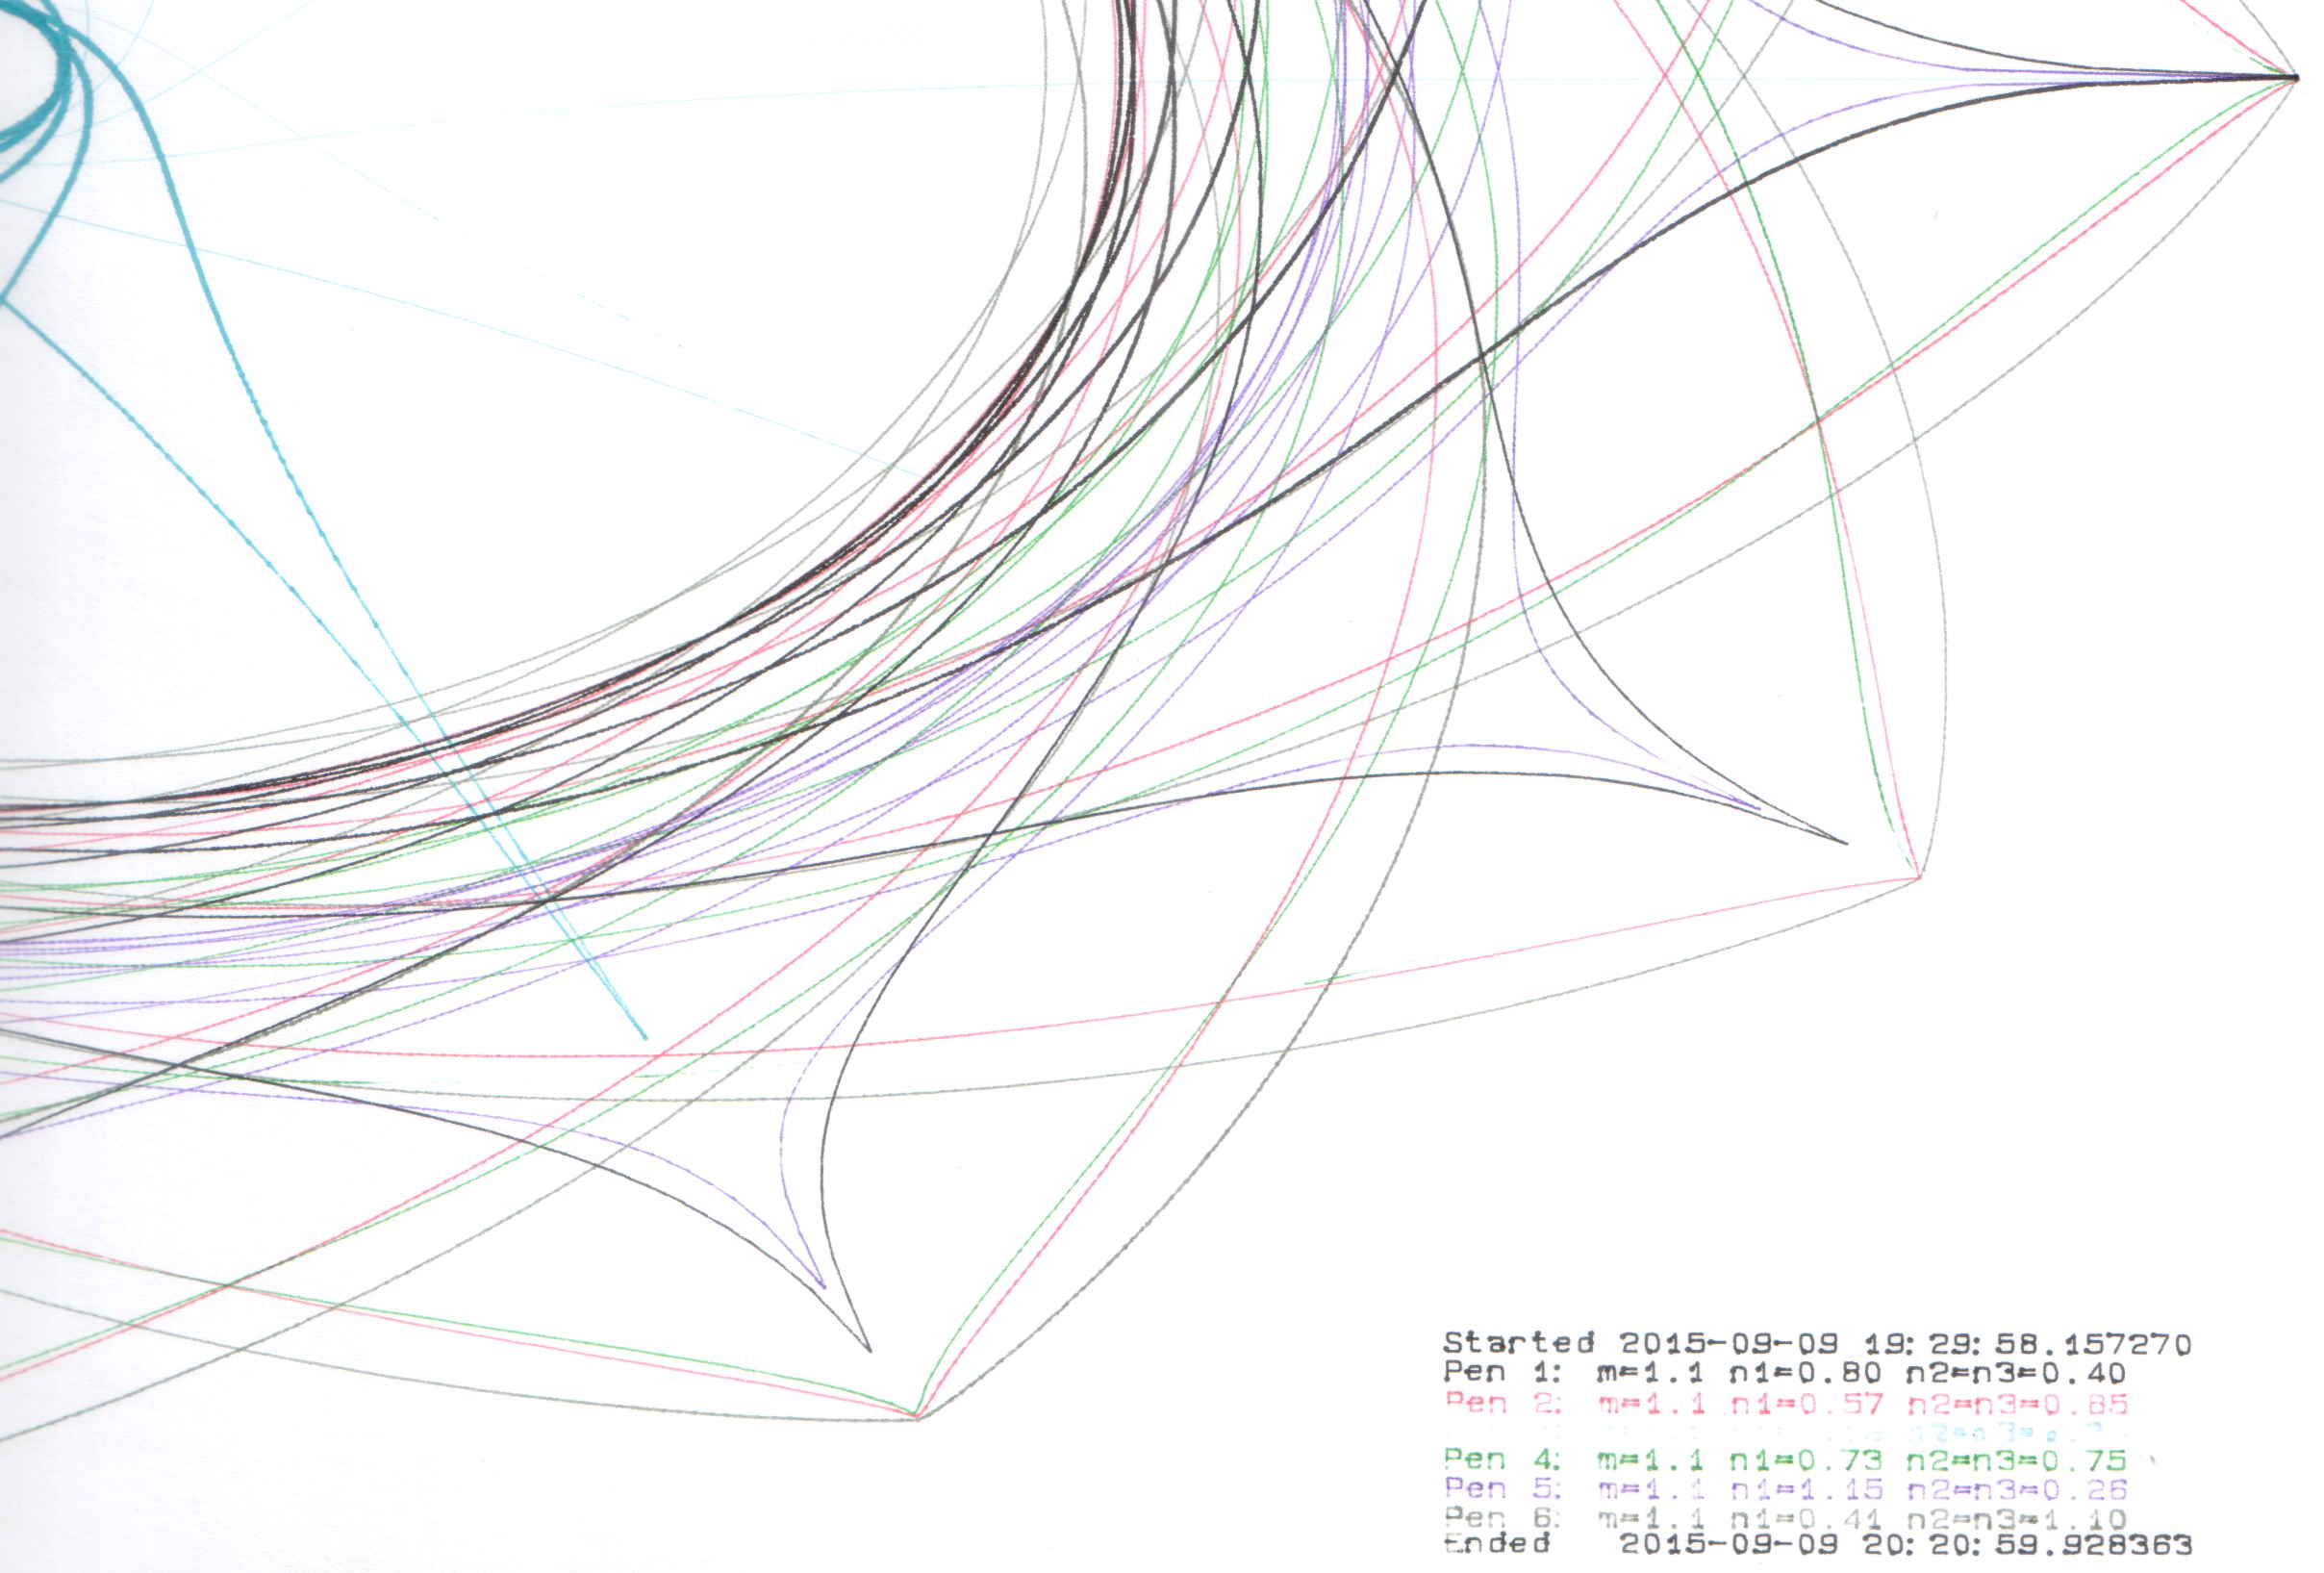
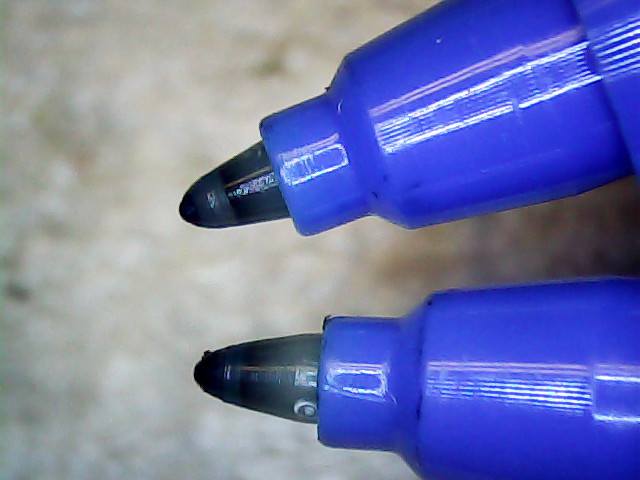
During this plot, an Inmac purple pen (in the Pen 5 slot) pretty much ran out of ink:
HP 7475A – Pen 5 before refill
It printed the legend perfectly and started the trace solidly enough, proceeding upward from the far right, but after ten circuits around the center it returned dragging a very faint line behind it.
Victoreen 710-104 Ionization Chamber Fittings – Show V2
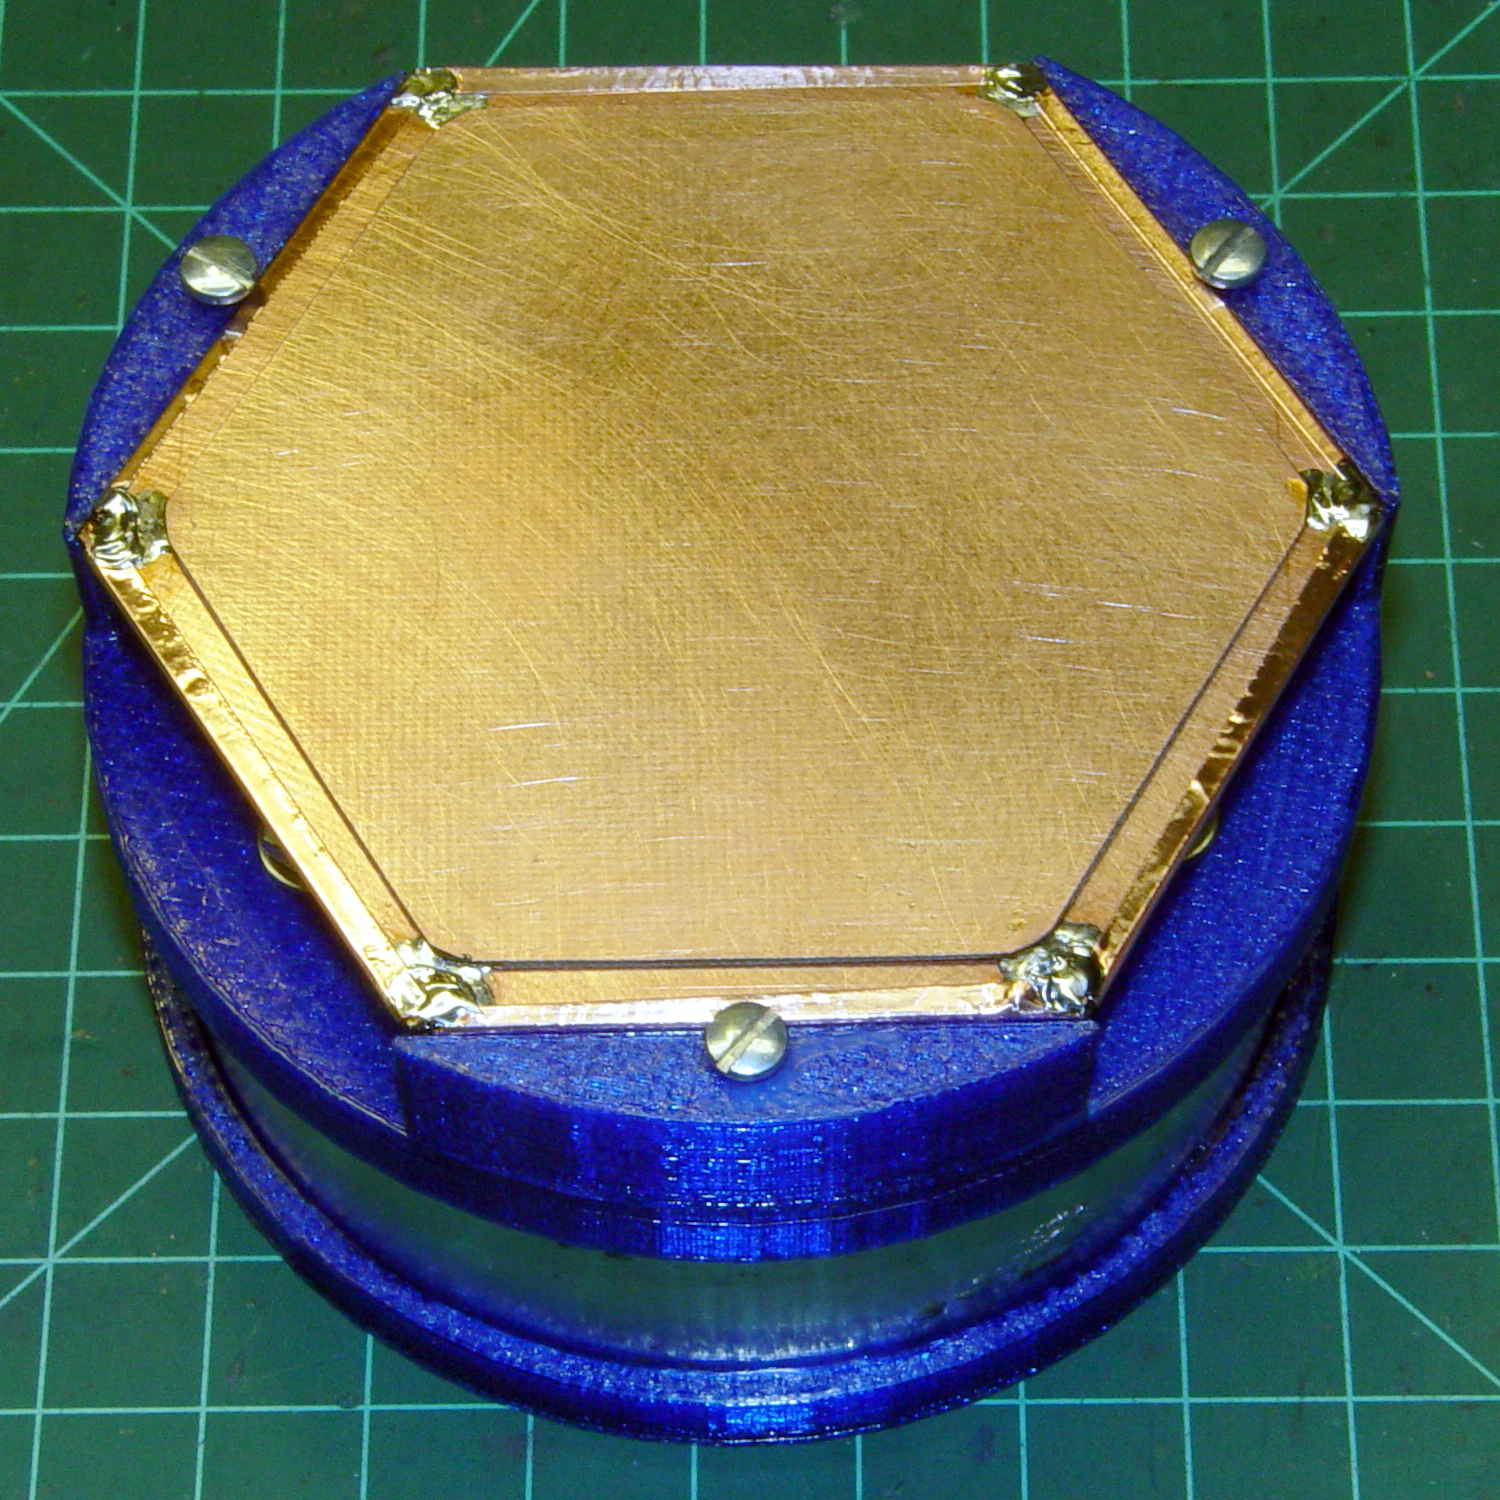
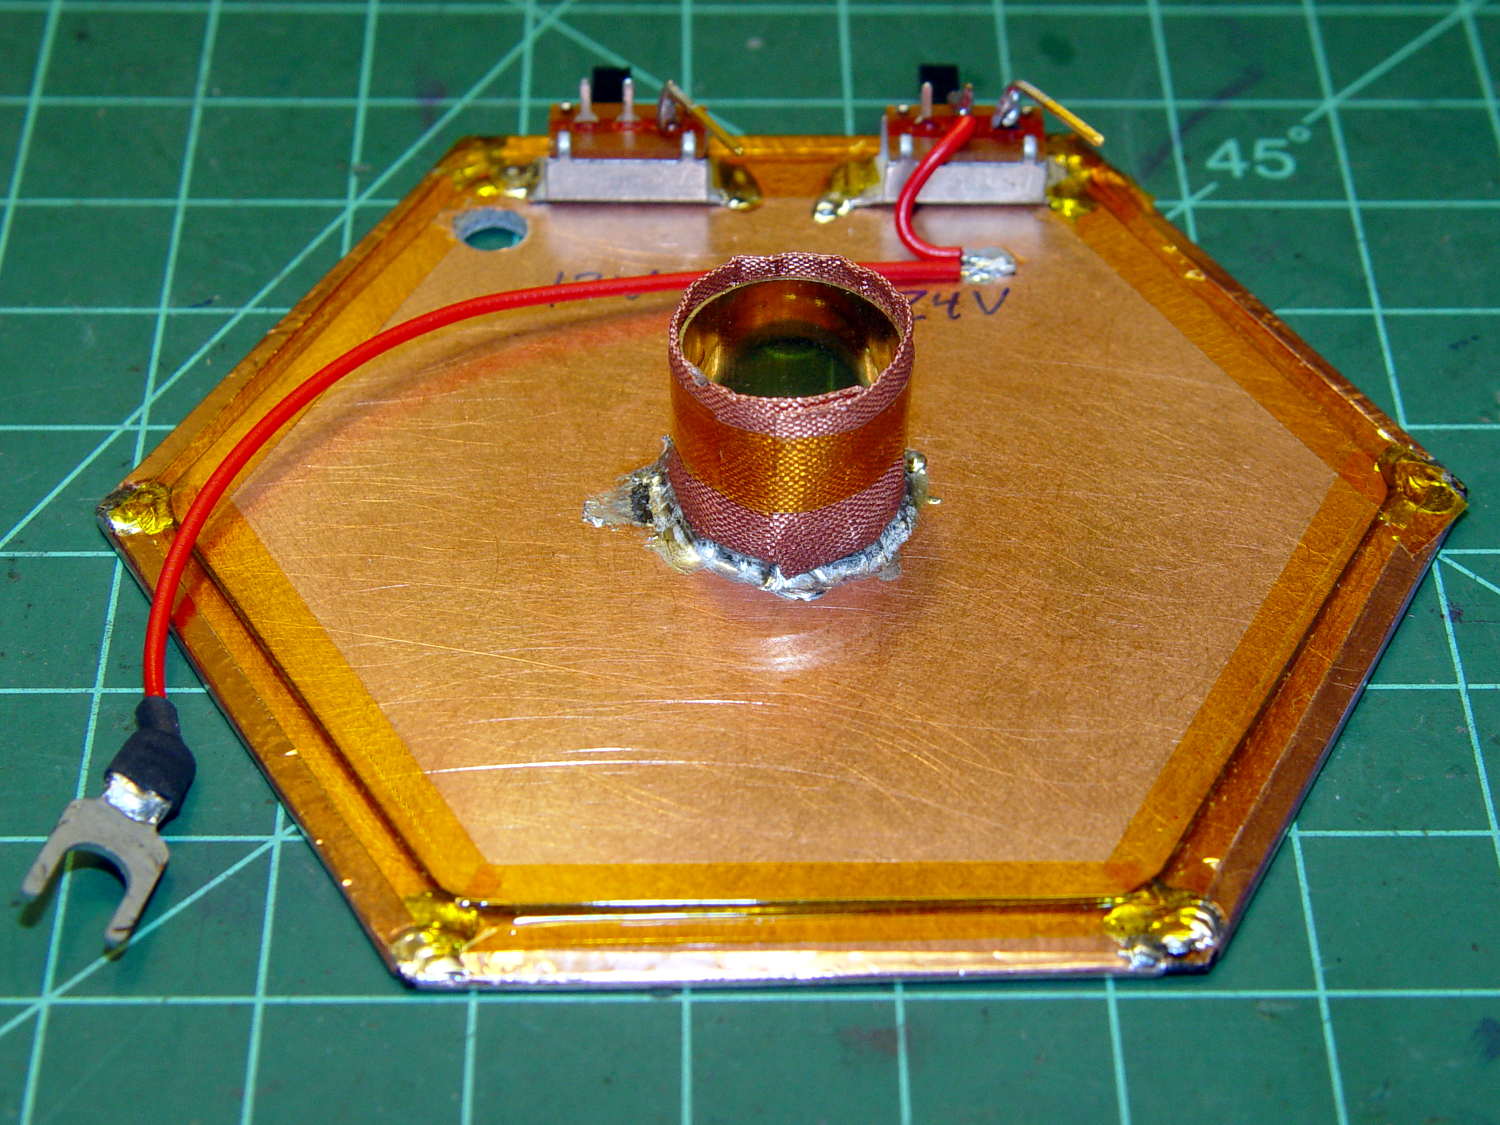
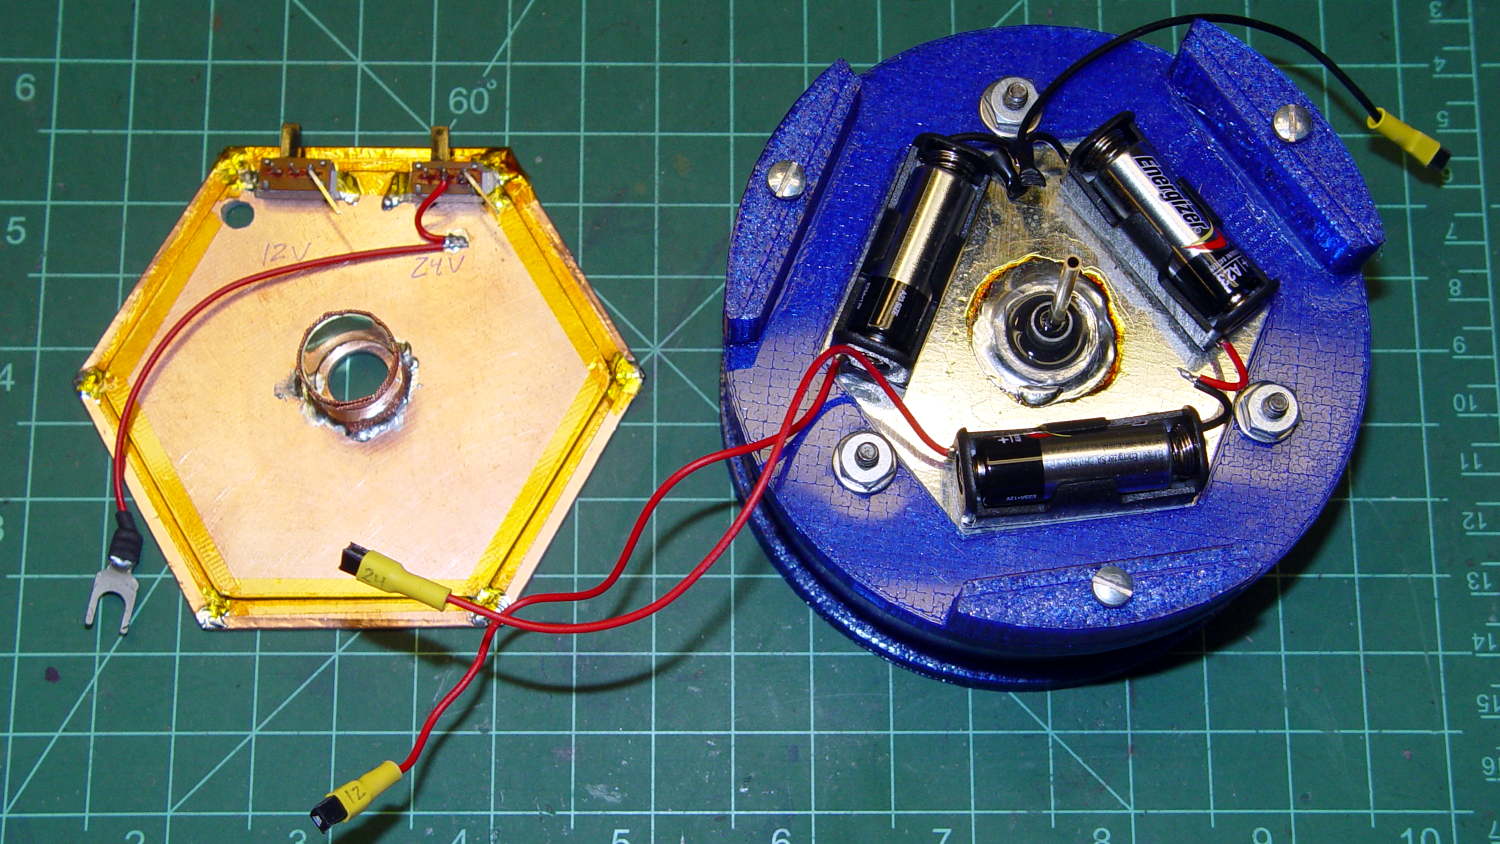
There’s not much difference from the first iteration, apart from a few code cleanups. The engraved text is kinda-sorta gratuitous, but I figured having the circuit board dimensions on all the key parts would avoid heartache & confusion; the code now autosizes the board to the holder OD. Skeletonizing the board template didn’t save nearly as much printing time as I expected, though.
Now I can build a second electrometer amp without dismantling the two-transistor version.
The OpenSCAD source code:
// Victoreen 710-104 Ionization Chamber Fittings
// Ed Nisley KE4ZNU August 2015
Layout = "Show";
// Show - assembled parts
// Build - print can parts + shield
// BuildShield - print just the shield
// BuildHolder - print just the can cap & PCB base
// CanCap - PCB insulator for 6-32 mounting studs
// CanBase - surrounding foot for ionization chamber
// CanRim - generic surround for either end of chamber
// PCB - template for cutting PCB sheet
// PCBBase - holder for PCB atop CanCap
// Shield - electrostatic shield shell
//- Extrusion parameters must match reality!
// Print with 2 shells and 3 solid layers
ThreadThick = 0.25;
ThreadWidth = 0.40;
HoleWindage = 0.2;
Protrusion = 0.1; // make holes end cleanly
AlignPinOD = 1.75; // assembly alignment pins = filament dia
inch = 25.4;
function IntegerMultiple(Size,Unit) = Unit * ceil(Size / Unit);
//- Screw sizes
Tap4_40 = 0.089 * inch;
Clear4_40 = 0.110 * inch;
Head4_40 = 0.211 * inch;
Head4_40Thick = 0.065 * inch;
Nut4_40Dia = 0.228 * inch;
Nut4_40Thick = 0.086 * inch;
Washer4_40OD = 0.270 * inch;
Washer4_40ID = 0.123 * inch;
//----------------------
// Dimensions
OD = 0; // name the subscripts
LENGTH = 1;
Chamber = [91.0,38]; // Victoreen ionization chamber dimensions
Stud = [ // stud welded to ionization chamber lid
[6.5,IntegerMultiple(0.8,ThreadThick)], // flat head -- generous clearance
[4.0,9.5], // 6-32 screw -- ditto
];
NumStuds = 3; // this really isn't much of a variable...
StudAngle = 360/NumStuds;
StudSides = 6; // for hole around stud
BCD = 2.75 * inch; // mounting stud bolt circle diameter
PlateThick = 2.0; // minimum layer atop and below chamber ends
RimHeight = 4.0; // extending along chamber perimeter
WallHeight = RimHeight + PlateThick;
WallThick = 3.0; // thick enough to be sturdy & printable
CapSides = 8*6; // must be multiple of 4 & 3 to make symmetries work out right
RimOD = Chamber[OD] + 2*WallThick;
echo(str("Rim OD: ",RimOD));
//PCBFlatsOD = 82.0; // desired hex dia flat-to-flat
PCBFlatsOD = floor(RimOD*cos(30)) - 2.0; // .. maximum possible
//PCBFlatsOD = floor(Chamber[OD]*cos(30)) - 2.0; // .. chamber fitting
PCBClearance = ThreadWidth; // clearance beyond each flat for mounting
PCBThick = 1.1;
PCBActual = [PCBFlatsOD/cos(30),PCBThick]; // OD = tip-to-tip
PCBCutter = [(PCBFlatsOD + 2*PCBClearance)/cos(30),PCBThick - ThreadThick]; // OD = tip-to-tip dia + clearance
PCBSize = str(PCBFlatsOD, " mm");
echo(str("Actual PCB across flats: ",PCBFlatsOD));
echo(str(" ... tip-to-tip dia: ",PCBActual[OD]));
echo(str(" ... thickness: ",PCBActual[LENGTH]));
HolderHeight = 13.0 + PCBCutter[LENGTH]; // thick enough for PCB to clear studs + batteries
HolderShelf = 2.0; // shelf under PCB edge
HolderTrim = 5.0; // remove end of holder to clear PCB edge solder blobs
echo(str("Holder trim distance: ",HolderTrim));
HolderTrimAngle = StudAngle/2 - 2*atan(HolderTrim*cos(StudAngle/2)/(PCBActual[OD]/2)); // atan is close for small angles
echo(str(" ... angle: ",HolderTrimAngle));
PinAngle = 15; // alignment pin angle on either side of holder screw
echo(str("PCB holder across flats: ",PCBCutter[OD]*cos(30)));
echo(str(" ... height: ",HolderHeight));
ShieldInset = 0.5; // shield inset from actual PCB flat
ShieldWall = 2.0; // wall thickness
ShieldLid = 6*ThreadThick; // top thickness (avoid one infill layer)
Shield = [(PCBFlatsOD - 2*ShieldInset)/ cos(30),40.0]; // electrostatic shield shell dimensions
TextSize = 4;
TextCharSpace = 1.05;
TextLineSpace = TextSize + 2;
TextDepth = 1*ThreadThick;
//----------------------
// Useful routines
module PolyCyl(Dia,Height,ForceSides=0) { // based on nophead's polyholes
Sides = (ForceSides != 0) ? ForceSides : (ceil(Dia) + 2);
FixDia = Dia / cos(180/Sides);
cylinder(r=(FixDia + HoleWindage)/2,
h=Height,
$fn=Sides);
}
//- Locating pin hole with glue recess
// Default length is two pin diameters on each side of the split
module LocatingPin(Dia=AlignPinOD,Len=0.0) {
PinLen = (Len != 0.0) ? Len : (4*Dia);
translate([0,0,-ThreadThick])
PolyCyl((Dia + 2*ThreadWidth),2*ThreadThick,4);
translate([0,0,-2*ThreadThick])
PolyCyl((Dia + 1*ThreadWidth),4*ThreadThick,4);
translate([0,0,-Len/2])
PolyCyl(Dia,Len,4);
}
module ShowPegGrid(Space = 10.0,Size = 1.0) {
RangeX = floor(100 / Space);
RangeY = floor(125 / Space);
for (x=[-RangeX:RangeX])
for (y=[-RangeY:RangeY])
translate([x*Space,y*Space,Size/2])
%cube(Size,center=true);
}
//-----
module CanRim(BaseThick) {
difference() {
cylinder(d=Chamber[OD] + 2*WallThick,h=(WallHeight + BaseThick),$fn=CapSides);
translate([0,0,BaseThick])
PolyCyl(Chamber[OD],Chamber[LENGTH],CapSides);
}
}
module CanCap() {
difference() {
CanRim(PlateThick + Stud[0][LENGTH]);
translate([0,0,-Protrusion]) // central cutout
rotate(180/6)
cylinder(d=BCD,h=Chamber[LENGTH],$fn=6); // ... reasonable size
for (i=[0:(NumStuds - 1)]) // stud clearance holes
rotate(i*StudAngle)
translate([BCD/2,0,0])
rotate(180/StudSides) {
translate([0,0,PlateThick])
PolyCyl(Stud[0][OD],Chamber[LENGTH],StudSides);
translate([0,0,-Protrusion])
PolyCyl(Stud[1][OD],Chamber[LENGTH],StudSides);
}
for (i=[0:(NumStuds - 1)], j=[-1,1]) // PCB holder alignment pins
rotate(i*StudAngle + j*PinAngle + 60)
translate([Chamber[OD]/2,0,0])
rotate(180/4 - j*PinAngle)
LocatingPin(Len=2*(PlateThick + Stud[0][LENGTH]) - 4*ThreadThick);
translate([-(BCD/2),0,-Protrusion])
rotate(90) mirror()
linear_extrude(height=(ThreadThick + Protrusion))
text(PCBSize,size=6,font="Liberation Mono:style=bold",halign="center",valign="center");
}
}
module CanBase() {
difference() {
CanRim(PlateThick);
translate([0,0,-Protrusion])
PolyCyl(Chamber[OD] - 2*RimHeight,Chamber[LENGTH],CapSides);
}
}
module PCBTemplate() {
CutLen = 10*PCBActual[LENGTH];
difference() {
cylinder(d=PCBActual[OD],h=PCBActual[LENGTH],$fn=6); // actual PCB size
translate([0,0,-Protrusion])
cylinder(d=8,h=CutLen,$fn=12);
if (true)
for (i=[0:5]) // empirical cutouts
rotate(i*60 + 30)
translate([PCBFlatsOD/3,0,-Protrusion])
rotate(60)
cylinder(d=0.43*PCBActual[OD],h=CutLen,$fn=3);
translate([PCBActual[OD]/4,0,(PCBActual[LENGTH] - ThreadThick)])
linear_extrude(height=(ThreadThick + Protrusion),convexity=1)
text(PCBSize,size=4,font="Liberation Mono:style=bold",halign="center",valign="center");
}
}
module PCBBase() {
intersection() {
difference() {
cylinder(d=Chamber[OD] + 2*WallThick,h=HolderHeight,$fn=CapSides); // outer rim
rotate(30) {
translate([0,0,-Protrusion]) // central hex
cylinder(d=(PCBActual[OD] - HolderShelf/cos(30) - HolderShelf/cos(30)),h=2*HolderHeight,$fn=6);
translate([0,0,HolderHeight - PCBCutter[LENGTH]]) // hex PCB recess
cylinder(d=PCBCutter[OD],h=HolderHeight,$fn=6);
for (i=[0:NumStuds - 1]) // PCB retaining screws
rotate(i*StudAngle + 180/(2*NumStuds))
translate([(PCBCutter[OD]*cos(30)/2 + Clear4_40/2 + ThreadWidth),0,-Protrusion])
rotate(180/6)
PolyCyl(Tap4_40,2*HolderHeight,6);
for (i=[0:(NumStuds - 1)], j=[-1,1]) // PCB holder alignment pins
rotate(i*StudAngle + j*PinAngle + 180/(2*NumStuds))
translate([Chamber[OD]/2,0,0])
rotate(180/4 - j*PinAngle)
LocatingPin(Len=2*(HolderHeight - 4*ThreadThick));
}
if (false)
for (i=[0:NumStuds - 1])
rotate(i*StudAngle - StudAngle/2) // segment isolation - hex sides
translate([0,0,-Protrusion]) {
linear_extrude(height=2*HolderHeight)
polygon([[0,0],[Chamber[OD],0],[Chamber[OD]*cos(180/NumStuds),Chamber[OD]*sin(180/NumStuds)]]);
}
translate([-(PCBFlatsOD/2 + PCBClearance - HolderShelf),0,HolderHeight/2])
rotate([0,90,0]) rotate(90)
linear_extrude(height=(ThreadWidth + Protrusion))
text(PCBSize,size=6,font="Liberation Mono:style=bold",halign="center",valign="center");
}
for (i=[0:NumStuds - 1])
rotate(i*StudAngle + StudAngle/2 - HolderTrimAngle/2) // trim holder ends
translate([0,0,-Protrusion]) {
linear_extrude(height=2*HolderHeight)
polygon([[0,0],[Chamber[OD],0],[Chamber[OD]*cos(HolderTrimAngle),Chamber[OD]*sin(HolderTrimAngle)]]);
}
}
}
//-- Electrostatic shield
// the cutouts are completely ad-hoc
module ShieldShell() {
CutHeight = 7.0;
difference() {
cylinder(d=Shield[OD],h=Shield[LENGTH],$fn=6); // exterior shape
translate([0,0,-ShieldLid]) // interior
cylinder(d=(Shield[OD] - 2*ShieldWall/cos(30)),h=Shield[LENGTH],$fn=6);
translate([0,0,Shield[LENGTH] - TextDepth])
rotate(180) {
translate([0,0.3*Shield[OD] - 0*TextLineSpace,0])
linear_extrude(height=(TextDepth + Protrusion))
text("Gamma",size=TextSize,spacing=TextCharSpace,font="Liberation:style=bold",halign="center",valign="center");
translate([0,0.3*Shield[OD] - 1*TextLineSpace,0])
linear_extrude(height=(TextDepth + Protrusion))
text("Ionization",size=TextSize,spacing=TextCharSpace,font="Liberation:style=bold",halign="center",valign="center");
translate([0,0.3*Shield[OD] - 2*TextLineSpace,0])
linear_extrude(height=(TextDepth + Protrusion))
text("Amplifier",size=TextSize,spacing=TextCharSpace,font="Liberation:style=bold",halign="center",valign="center");
translate([0,-0.3*Shield[OD] + 1*TextLineSpace,0])
linear_extrude(height=(TextDepth + Protrusion))
text("KE4ZNU",size=TextSize,spacing=TextCharSpace,font="Liberation:style=bold",halign="center",valign="center");
translate([0,-0.3*Shield[OD] + 0*TextLineSpace,0])
linear_extrude(height=(TextDepth + Protrusion))
text("2015-08",size=TextSize,spacing=TextCharSpace,font="Liberation:style=bold",halign="center",valign="center");
}
translate([Shield[OD]/4 - 20/2,Shield[OD]/2,(CutHeight - Protrusion)/2]) // switch
rotate(90)
cube([Shield[OD],20,CutHeight + Protrusion],center=true);
if (false)
translate([-Shield[OD]/4 + 5/2,Shield[OD]/2,(CutHeight - Protrusion)/2]) // front
rotate(90)
cube([Shield[OD],5,CutHeight + Protrusion],center=true);
translate([-Shield[OD]/2,0,(CutHeight - Protrusion)/2]) // right side
cube([Shield[OD],7,CutHeight + Protrusion],center=true);
translate([0,(Shield[OD]*cos(30)/2 - ThreadWidth),0.75*Shield[LENGTH]])
rotate([90,0,180]) rotate(00)
linear_extrude(height=(ThreadWidth + Protrusion))
text(PCBSize,size=5,font="Liberation Mono:style=bold",halign="center",valign="center");
}
}
//----------------------
// Build it
ShowPegGrid();
if (Layout == "CanRim") {
CanRim();
}
if (Layout == "CanCap") {
CanCap();
}
if (Layout == "CanBase") {
CanBase();
}
if (Layout == "PCBBase") {
PCBBase();
}
if (Layout == "PCB") {
PCBTemplate();
}
if (Layout == "Shield") {
ShieldShell();
}
if (Layout == "Show") {
CanBase();
color("Orange",0.5)
translate([0,0,PlateThick + Protrusion])
cylinder(d=Chamber[OD],h=Chamber[LENGTH],$fn=CapSides);
translate([0,0,(2*PlateThick + Chamber[LENGTH] + 2*Protrusion)])
rotate([180,0,0])
CanCap();
translate([0,0,(2*PlateThick + Chamber[LENGTH] + 5.0)])
PCBBase();
color("Green",0.5)
translate([0,0,(2*PlateThick + Chamber[LENGTH] + 7.0 + HolderHeight)])
rotate(30)
PCBTemplate();
translate([0,0,(2*PlateThick + Chamber[LENGTH] + 15.0 + HolderHeight)])
rotate(-30)
ShieldShell();}
if (Layout == "Build") {
translate([-0.50*Chamber[OD],-0.60*Chamber[OD],0])
CanCap();
if (false)
translate([0.55*Chamber[OD],-0.60*Chamber[OD],0])
rotate(30)
translate([0,0,Shield[LENGTH]])
rotate([0,180,0])
ShieldShell();
if (true)
translate([0.55*Chamber[OD],-0.60*Chamber[OD],0])
rotate(30)
PCBTemplate();
if (true)
translate([-0.25*Chamber[OD],0.60*Chamber[OD],0])
CanBase();
translate([0.25*Chamber[OD],0.60*Chamber[OD],0])
PCBBase();
}
if (Layout == "BuildHolder") {
translate([-0.25*Chamber[OD],0,0])
CanCap();
translate([0.25*Chamber[OD],0,0])
PCBBase();
}
if (Layout == "BuildShield") {
translate([0,0,Shield[LENGTH]])
rotate([0,180,0])
ShieldShell();
}
Well, it’s actually not “sensing”, but the demo code now sizes the graph to the paper size reported by the plotter, so you can plot on cheap and readily available A-size paper. The Vulcan Nerve Pinch that switches paper size on the fly is Enter+Size; I leave the DIP switches set for B-size sheets, because they’re more impressive and take longer to plot.
A collection of A-size plots:
Superformula Plots – A-size paper
The perspective foreshortening makes the sheets look square and the plots seem circular; they’re not.
The plots lie in rough time sequence from lower left to upper right, showing that I tweaked the n1 parameter to avoid the sort of tiny middle that gnawed a hole right through the center-bottom sheet. I also removed higher m parameter values, because more than 50-ish points doesn’t work well on smaller sheets.
I figured out how to use the Python ternary “operator” and tweaked the print formatting, but basically it’s a hack job through & through.
The Python source code, including the hacked Chiplotle routines that produce the SuperFormula:
from chiplotle import *
from math import *
from datetime import *
import random
def superformula_polar(a, b, m, n1, n2, n3, phi):
''' Computes the position of the point on a
superformula curve.
Superformula has first been proposed by Johan Gielis
and is a generalization of superellipse.
see: http://en.wikipedia.org/wiki/Superformula
Tweaked to return polar coordinates
'''
t1 = cos(m * phi / 4.0) / a
t1 = abs(t1)
t1 = pow(t1, n2)
t2 = sin(m * phi / 4.0) / b
t2 = abs(t2)
t2 = pow(t2, n3)
t3 = -1 / float(n1)
r = pow(t1 + t2, t3)
if abs(r) == 0:
return (0,0)
else:
# return (r * cos(phi), r * sin(phi))
return (r,phi)
def supershape(width, height, m, n1, n2, n3,
point_count=10*1000, percentage=1.0, a=1.0, b=1.0, travel=None):
'''Supershape, generated using the superformula first proposed
by Johan Gielis.
- `points_count` is the total number of points to compute.
- `travel` is the length of the outline drawn in radians.
3.1416 * 2 is a complete cycle.
'''
travel = travel or (10*2*pi)
## compute points...
phis = [i * travel / point_count
for i in range(1 + int(point_count * percentage))]
points = [superformula_polar(a, b, m, n1, n2, n3, x) for x in phis]
## scale and transpose...
path = [ ]
for r, a in points:
x = width * r * cos(a)
y = height * r * sin(a)
path.append(Coordinate(x, y))
return Path(path)
## RUN DEMO CODE
if __name__ == '__main__':
plt=instantiate_plotters()[0]
# plt.write('IN;')
if plt.margins.soft.width < 11000: # A=10365 B=16640
maxplotx = (plt.margins.soft.width / 2) - 100
maxploty = (plt.margins.soft.height / 2) - 150
legendx = maxplotx - 2600
legendy = -(maxploty - 650)
tscale = 0.45
numpens = 4
m_list = [n/10.0 for n in [11, 13, 17, 19, 23]]; # prime/10 = number of spikes
n1_list = [n/100.0 for n in range(55,75,1) + range(80,120,5) + range(120,200,10)] # ring-ness 0.1 to 2.0, higher is larger
else:
maxplotx = plt.margins.soft.width / 2
maxploty = plt.margins.soft.height / 2
legendx = maxplotx - 3000
legendy = -(maxploty - 700)
tscale = 0.45
numpens = 6
m_list = [n/10.0 for n in [11, 13, 17, 19, 23, 29, 31, 37, 41, 43, 47, 53, 59]]; # prime/10 = number of spikes
n1_list = [n/100.0 for n in range(15,75,1) + range(80,120,5) + range(120,200,10)] # ring-ness 0.1 to 2.0, higher is larger
print "Max: ({},{})".format(maxplotx,maxploty)
n2_list = [n/100.0 for n in range(10,50,1) + range(55,100,5) + range(110,200,10)] # spike-ness 0.1 to 2.0, lower is spiky
plt.write(chr(27) + '.H200:') # set hardware handshake block size
plt.set_origin_center()
plt.write(hpgl.SI(tscale*0.285,tscale*0.375)) # scale based on B size characters
plt.write(hpgl.VS(10)) # slow speed for those abrupt spikes
plt.select_pen(1) # standard loadout has pen 1 = black
plt.write(hpgl.PA([(legendx,legendy)]))
plt.write(hpgl.LB("Started " + str(datetime.today())))
m = random.choice(m_list)
pen = 1
for n1, n2 in zip(random.sample(n1_list,numpens),random.sample(n2_list,numpens)):
n3 = n2
print "{0} - m: {1:.1f}, n1: {2:.2f}, n2=n3: {3:.2f}".format(pen,m,n1,n2)
plt.select_pen(pen)
plt.write(hpgl.PA([(legendx, legendy - 100*pen)]))
plt.write(hpgl.LB("Pen {0}: m={1:.1f} n1={2:.2f} n2=n3={3:.2f}".format(pen,m,n1,n2)))
e = supershape(maxplotx, maxploty, m, n1, n2, n3)
plt.write(e)
pen = pen + 1 if (pen % numpens) else 1
plt.select_pen(1)
plt.write(hpgl.PA([(legendx, legendy - 100*(numpens + 1))]))
plt.write(hpgl.LB("Ended " + str(datetime.today())))
plt.select_pen(0)
Last month’s basement safe log showed the humidity (blue trace) relentlessly rising:
Basement Safe – 2015-08-09
Replacing that bag emptied the dried silica gel stash, so I piled six saturated bags in the oven for an overnight regeneration with the oven set to “Warm”, which the IR thermometer reported as 140 °F or so at the bag surface. They sat on cooling racks atop cookie sheets that pretty much filled two oven shelves, with good air flow across their tops and minimal flow between bags and cookie sheet.
The last time around, I spread the beads directly on the cookie sheets. That seemed like a lot of effort, so I wanted to see how the low-labor alternative worked.
The two upper-left bags in each group had a pair of bulldog clips holding them closed. The larger bags hold 500 g of “dry” silica gel and the center bag in the lower row was a smaller mesh bag:
Silica Gel drying – 2015-08-12
The big bags lost a bit under 130 g during 10 hours, call it 12 g/h, and felt slightly damp on their lower surface.
I cranked the oven to 230 °F, the lowest actual heat setting, for 210 °F on the bag surface. That got rid of the last 30 g in three hours; another hour brought them to pretty nearly their dry weight of 507 g (gross, with bag / staples / clips).
Drying being an exponential process, it looks like an overnight bake at “230 °F” will do the trick without melting the bags; the lower temperature doesn’t quite get the job done.
Thinwall open boxes – side detail – 4.98 4.85 measured
Alas, the shutter failed after that image, leaving me with pictures untaken and naught to take them with.
The least-awful alternative seems to be gimmicking up an adapter for a small USB camera from the usual eBay source:
Fashion USB video – case vs camera
The camera’s 640×480 VGA resolution is marginally Good Enough for the purpose, as I can zoom the microscope to completely fill all those pixels. The optics aren’t up to the standard set by the microscope, but we can cope with that for a while.
A bit of doodling & OpenSCAD tinkering produced a suitable adapter:
USB Camera Microscope Mount – solid model
To which Slic3r applied the usual finishing touches:
USB Camera Microscope Mount – Slic3r preview
A bit of silicone tape holds the sloppy focusing thread in place:
USB Camera Microscope Mount – cap with camera
Those are 2-56 screws that will hold the cap onto the tube. I drilled out the clearance holes in the cap and tapped the holes in the eyepiece adapter by hand, grabbing the bits with a pin vise.
Focus the lens at infinity, which in this case meant an old DDJ cover poster on the far wall of the Basement Laboratory, and then it’ll be just as happy with the image coming out of the eyepiece as a human eyeball would be.
I put a few snippets of black electrical tape atop the PCB locating tabs before screwing the tube in place. The tube ID is 1 mm smaller than the PCB OD, in order to hold the PCB perpendicular to the optical axis and clamp it firmly in place. Come to find out that the optical axis of the lens isn’t perfectly perpendicular to the PCB, but it’s close enough for my simple needs.
And then it fits just like you’d expect:
USB Camera Microscope Mount – on eyepiece
Actually, that’s the second version. The distance from the camera lens (equivalently: the PCB below the optical block, which I used as the datum plane) to the eyepiece is a critical dimension that determines whether the image fills the entrance pupil. I guesstimated the first version by hand-holding the camera and measuring with a caliper, tried it out, then iteratively whacked 2 mm off the tube until the image lit up properly:
USB Camera Microscope Mount – adjusting tube length
Minus 4 mm made it slightly too short, but then I could measure the correct position, tweak that dimension in the code, and get another adapter, just like the first one (plus a few other minor changes), except that it worked:
USB Camera Microscope Mount – first light
That’s a screen capture from VLC, which plays from /dev/video0 perfectly. Some manual exposure & color balance adjustment may be in order, but it’s pretty good for First Light.
It turns out that removing the eyepiece and holding the bare sensor over the opening also works fine. The real image from the objective fills much more area than the camera’s tiny sensor: the video image covers about one digit in that picture, but gimmicking up a bare-sensor adapter might be useful.