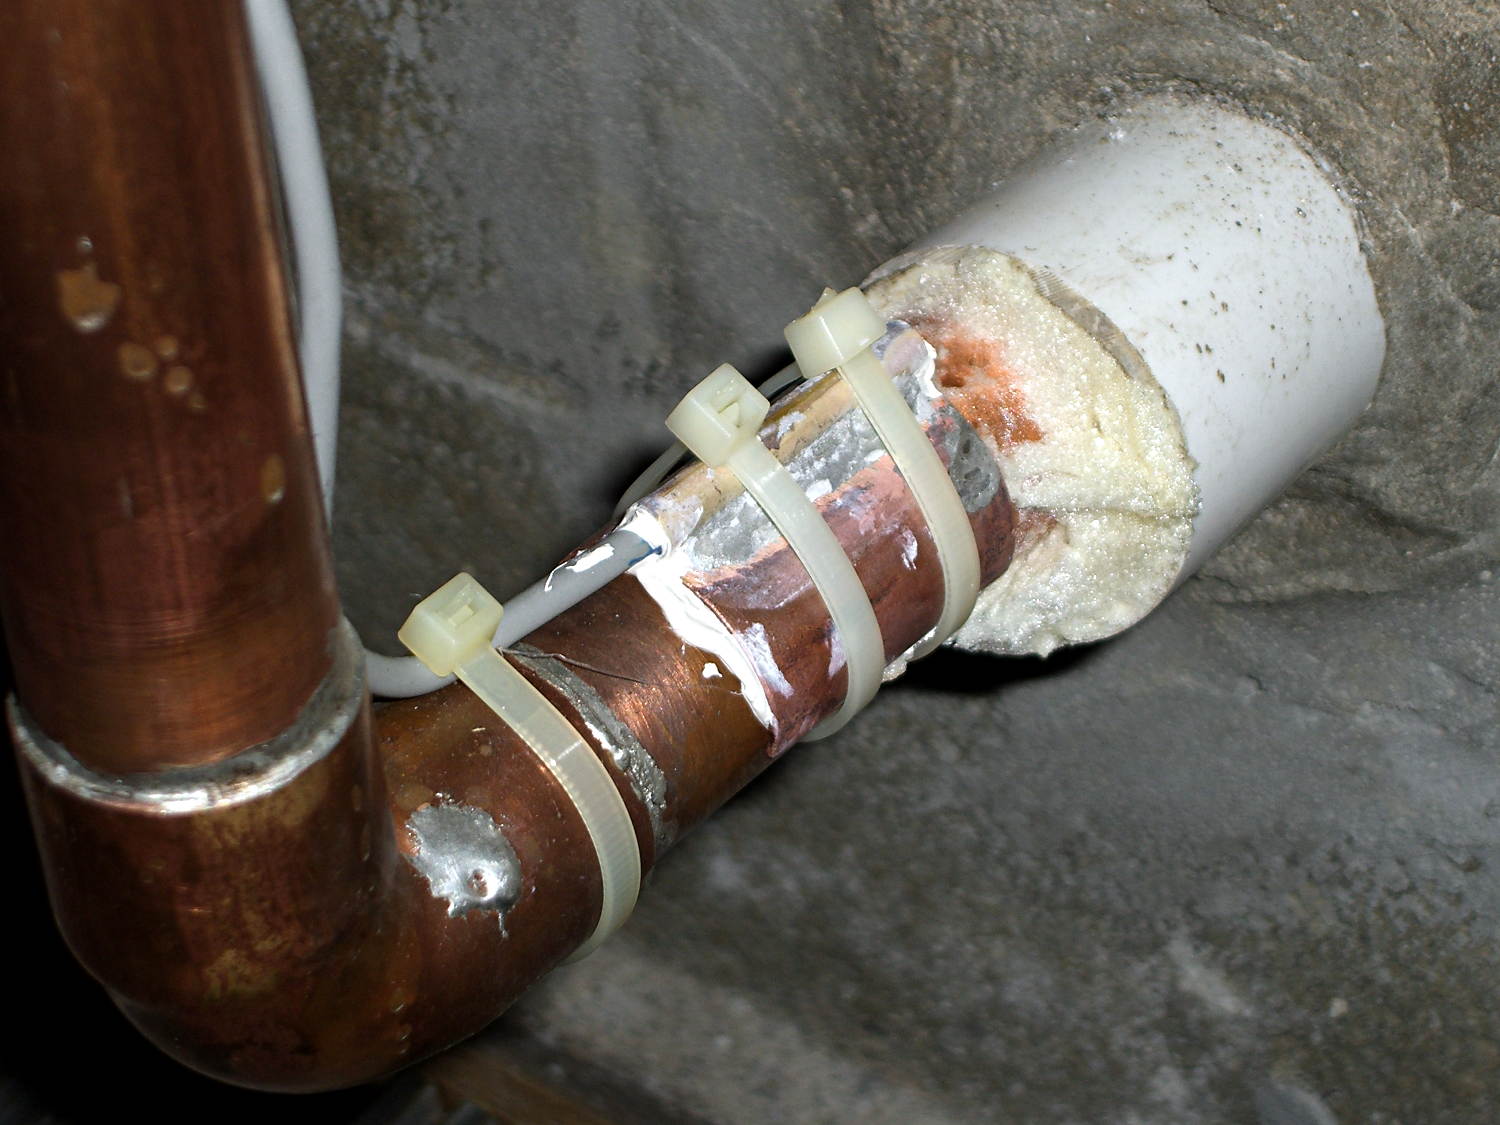
Ed Nisley's Blog: Shop notes, electronics, firmware, machinery, 3D printing, laser cuttery, and curiosities. Contents: 100% human thinking, 0% AI slop.
Category: Science
If you measure something often enough, it becomes science
This chart, shamelessly ripped from the Interwebs because the links keep rotting out, may prove useful in the future:
Desiccant absorption vs humidity
In round numbers: between 10% and 40%RH, silica gel equilibrates at 1.8%RH for each percent of weight gain. If you toss 100 g of dry silica gel into a container with some filament, when it weighs 120 g (20% weight gain) the air inside the container will be at about 36%RH.
Removing the camera’s front cover (stick the screws to a length of masking tape!) reveals the backup battery hasn’t magically healed itself:
Casio EX-Z850 backup battery – corrosion
The main battery applies 3.2 V with the top terminal negative; it’s marked to help me remember that fact.
I snipped both legs of the top contact bracket, which promptly fell off, and then pushed the battery off its bottom contact. The condition of those two pads suggests a pair of cold solder joints (clicky for more dots):
Casio EX-Z850 backup battery – contact pads
I wanted to replace it with a polyacene supercap, but there’s just not enough room in there. The biggest cap that fit was a 33 μF 16 V SMD electrolytic cap, so I soldered one in place:
I had to flip the camera around to get the soldering iron in between the cap and what looks to be an intrusion monitoring switch just to its left. No lie, that shiny metal thing seems to be a tab that presses against the front cover; it could be a static discharge / grounding point, but the base looks more complex than that.
Now, a capacitor isn’t a battery, but memory backup doesn’t require much of a battery, either. I guesstimated the memory (or whatever) would draw a few microamps, at most, giving me a few seconds, at least, to swap batteries. A quick measurement shows that I’ll have plenty of time:
Casio EX-X850 backup capacitor – voltage vs time
The camera started up fine after that adventure, so the memory stays valid with the backup voltage down around 1 V.
The cap measured 34 μF, so a voltage decline of 24 mV/s works out to:
IC = C (dV/dT) = 34 μF x 24 mV/s = 820 nA
So, at least at room temperature, the memory draws less than a microamp.
I love it when a plan comes together!
With any luck, that capacitor should outlast the rest of the camera. It’ll definitely outlast a lithium battery, even if I could find one to fit in that spot.
I did those measurements by sampling the capacitor, rather than holding the meter probes in place, because the300 nA of current drawn by a 10 MΩ input resistance would cause a pretty large measurement error…
My trusty Radio Shack Sound Level Meter recently began misbehaving: switching to the most sensitive two ranges (-60 and -70 dB) caused it to turn off. Finessing the switch got it back in operation, so I completed the mission (a string quartet in Vassar’s Skinner Recital Hall topped out around 90 dB) and laid it out for repair:
Radio Shack Sound Level Meter – PCB solder side
After cleaning the already pristine gold-plated (!) contact pads and putting it back together, the switch failed the same way.
A bit more poking & prodding revealed that slightly loosening the upper case screw (in the boss just left of the switch pads) made it work perfectly.
Ah-ha!
Come to find out that the rear case presses on the PCB to hold it in place, which moves it slightly toward the front of the case. The switch rotor, being firmly attached to the stem in the middle of the pads, doesn’t move, which suggested that the bifurcated spring contacts on the rotor had take a bit of a set.
Un-bending them very, very gently to add a millimeter of springiness solved the problem.
A piano solo topped out in the high 80s…
Update: Another meter owner shows how to cure the problem, rather than treat the symptom:
I found your older note about the switch problem on the digital R.S. SLM to be helpful, in that mine had a similar problem, but only on the 60 dB scale, not both the 60 and 70 dB scales. Your diagnosis about the back putting pressure on the board seems to be right on. However, for me, re-bending the switch contacts didn’t help.
What did fix it was filing ~2mm off the back case boss around the upper screw hole. That was the source of the pressure on the board. 1 mm didn’t quite fix it, but 2mm off did.
The discharge tests run at 250 mA, which is probably a bit low, as the HDR-AS30V camera can capture video for about two hours on a single battery. Given the Sony’s nominal 1.24 A·h (love that precision!) capacity and derating the Wasabi’s ambitious 1.6 A·h, two hours suggests a current around 500 mA would be more appropriate, but we’ll go with a lower current for now.
Oddly, the two Wasabi batteries (green & blue traces) outperform the Sony OEM battery (red and purple) in terms of voltage:
Sony NP-BX1 – OEM Wasabi – 2014-01-28
I can’t explain the small kink just before the big dropoff for both Wasabi batteries. Perhaps the protection circuitry behind the battery terminals has a slight peculiarity?
Looking at the total energy delivered, however:
Sony NP-BX1 – OEM Wasabi – Wh – 2014-01-28
The Sony battery says it’ll deliver 4.5 W·h and actually produces 4.8 W·h. The Wasabi batteries claim 5.7 W·h and don’t even come close at 4.25 W·h.
I cross-checked those results by importing the CSV data into a spreadsheet, computing the point-by-point power, finding the average, and then multiplying by the total test time in hours. Doing it a couple different ways says you can eyeball a reasonable value by multiplying the median voltage by the test current to get average wattage, then multiplying by the total test time to get W·h. That’s within a few percent, which is good enough for me.
The camera’s power supply undoubtedly has a low-voltage cutoff, but it’s a single-cell battery and they might just run it down around 2.8 V; in that case, the Sony batteries will last longer. If the voltage cutout is 3.5 V, similar to the Canon camera, then the Wasabi batteries win.
I don’t have enough experience with the camera or the batteries to predict anything based on actual use.
This collects the temperature data points from the Hobo data loggers for the last month:
Temperatures
Things to ponder:
The carrot buckets sat under the patio at the start of the month and moved indoors twice, marked by the humps. The early part of their curve doesn’t track the patio ground temperature nearly as well as it did during the three days at 18 Jan. We’re not sure why.
The water temperature sensor clamps to the copper pipe just inside the wall, so the low points measure outdoor water on its way past. The high points rise toward the basement air temperature (measured a few feet away), but the wall / earth around the pipe holds it below the air.
The basement safe looks like a good proxy for the average daily air temperature.
The attic insulation I added long ago seems to be working hard & doing swell.
I cleaned up the data files manually, using those sed pipes, because of inadequate Bash-fu; I can’t figure out how to escape-quote the input file names and make temporary files work inside a Bash for;do;end construct that would rip through all the CSV files in one shot.
On the other paw, the chart came out pretty well; I can now specify X-axis date ranges with some assurance of getting the right results.
The Bash / Gnuplot script that made it happen:
#!/bin/sh
#-- overhead
export GDFONTPATH="/usr/share/fonts/truetype/"
ofile=Temperatures.png
echo Output file: ${ofile}
#-- do it
gnuplot << EOF
#set term x11
set term png font "arialbd.ttf" 18 size 950,600
set output "${ofile}"
set title "House Temperatures"
set key noautotitles left bottom
unset mouse
set bmargin 4
set grid xtics ytics
set timefmt "%m/%d/%Y %H:%M:%S"
set xdata time
set xlabel "Date"
set format x "%Y-%m-%d"
set xrange ["01/03/2014":]
set xtics font "arial,12"
#set mxtics 2
#set logscale y
#set ytics nomirror autofreq
set ylabel "Temperature - F"
#set format y "%4.0f"
#set yrange [30:90]
#set mytics 2
#set y2label "right side variable"
#set y2tics nomirror autofreq 2
#set format y2 "%3.0f"
#set y2range [0:200]
#set y2tics 32
#set rmargin 9
set datafile separator ","
set label 1 "Attic pack" at "01/31/2014",25 left font "arialbd,10" tc lt 3
set label 2 "Attic air" at "01/31/2014",28 left font "arialbd,10" tc lt 2
set label 3 "Safe" at "01/31/2014",55 left font "arialbd,10" tc lt 4
set label 4 "Carrot" at "01/31/2014",47 left font "arialbd,10" tc lt 1
set label 5 "Ground" at "01/31/2014",31 left font "arialbd,10" tc lt 6
set label 6 "Bsmt air" at "01/31/2014",51 left font "arialbd,10" tc lt 7
set label 7 "Water" at "01/31/2014",42 left font "arialbd,10" tc lt 8
#set arrow from 2.100,110 to 2.105,103 lt 1 lw 2 lc 0
plot \
"Attic.csv" using 2:3 with lines lt 3 lw 1,\
"Attic.csv" using 2:4 with lines lt 2 lw 1,\
"Safe.csv" using 2:3 with lines lt 4 lw 1,\
"Carrot.csv" using 2:3 with lines lt 1 lw 1,\
"Patio.csv" using 2:3 with lines lt 6 lw 1,\
"Water.csv" using 2:3 with lines lt 7 lw 1,\
"Water.csv" using 2:5 with lines lt 8 lw 1
EOF
Shortly after replacing the battery, the dreaded Malfunction Indicator Lamp popped on with a P0420 error code that, according to the Nice Man at Autozone, translates into “low catalytic converter efficiency”. A bit of diagnostic sleuthing reported that the most likely cause was an exhaust leak, followed by an out-of-calibration downstream oxygen sensor, followed by a bad converter. Internet lore has it that replacing the cat cracker is a dealer-only event (here in New York State, with a van sporting the California emissions package) that costs upwards of $2 k, which seems excessive for a 14-year-old van.
Actually, the most probable cause was replacing the battery: the brief power outage wipes out the stored performance data for the emissions control machinery. Because we make only short trips and it’s been bitterly cold, the algorithms may conclude the converter’s dead when it’s just a matter of measuring the variables under suboptimal conditions.
With all that in mind, after a peek under the van ruled out the exhaust leak, I decided to replace the oxygen sensor. All this happened during a week when the outdoor temperature hovered around 10 °F = -12 °C, but the forecast called for an atypical January day with a high of 55 °F = 13 °C; I might not get a second chance before the annual inspection came due in February.
The sensor is relatively cheap (about $70 at the local Autozone) and, entirely unlike Bank 1 Sensor 1, readily accessible on the tailpipe downstream of the cat cracker:
Sienna Bank 1 Sensor 2 – in place
The OEM sensor cable runs in a sheath held to the chassis with a plastic clamp:
Sienna Bank 1 Sensor 2 – cable clamp
Jamming a small screwdriver into the clamp released the tongue and the sheath. The sheath vanishes into the van’s interior through a squishy rubber boot, with a crimped metal band joining the two:
Sienna Bank 1 Sensor 2 – floor boot
Internet lore would have you believe you can replace the sensor without removing the front passenger seat, but it’s much easier if you remove the four bolts, disconnect the seat sensor, and lay the seat on its back:
Sienna Bank 1 Sensor 2 – interior connector
More fiddly-diddly with the screwdriver under the van wrecked the band enough to separate sheath from boot, at which point deploying the BFW with the magic oxygen sensor socket showed that the anti-seize compound on the sensor’s thread worked as intended: after one oomph the sensor turned out by hand.
Then you just punch the boot through the floor and bring it all inside to splice new sensor onto OEM connector. Standardization is a wonderful thing; the sensor cable may use any one of eight color codes. The Toyota OEM sensor was a “Type B” that matches up with the Bosch replacement sensor thusly:
Heater = two black leads ↔ two white leads
Signal = blue lead ↔ black lead
Ground = white lead ↔ gray lead
Although the splice block has water-resistant seals, I figured putting it inside the van couldn’t possibly be a Bad Idea, so there it is, nestled snugly into the recess in the floor:
Sienna Bank 1 Sensor 2 – splice block
Picked up a nice new Autel AL519OBD Code Scanner from the usual Amazon vendor, reset the trouble code, drove to-and-from Squidwrench (across the river, just barely far enough to reset the performance data), and so far it’s All Good. The motivation for getting my very own scanner, rather than returning to Autozone, is that the AL519 can do real-time graphing and data capture from various sensors, so I can perform Science! should the spirit move me.
The AL519 has a USB connection that appears as a USB serial device but, alas, the relentlessly Windows-centric host program won’t run under Wine.