Ed Nisley's Blog: Shop notes, electronics, firmware, machinery, 3D printing, laser cuttery, and curiosities. Contents: 100% human thinking, 0% AI slop.
Category: Science
If you measure something often enough, it becomes science
The nose bridge of my “computer glasses” snapped in the exact center, thus confirming my dislike of the springy head-clamping design. These never leave my desk, so I filled a small brass tube with epoxy, shimmed the lenses on a surface plate, tweaked the bridge into alignment with a surface gauge scribe, and let it cure overnight:
Crude nose bridge repair
That layout deliberately reduces the springiness by aligning the lenses to be parallel across the bridge, rather than being a bit side-eyed. They’re an un-bendable alloy that provides no way to tweak the alignment; they emerged just about perfect, but it’s time for a new pair later this year.
FWIW, they’re DIY “computer glasses”: +1 diopter to the far (“infinity”) correction and -1 diopter from the reading adder, producing a pair of glasses with the far point at about 1 meter and an unchanged reading-distance correction. That worked well, but next time I’ll use +0.75 diopter so I can sit back a bit further from those big monitors.
Also: the rust on that lovely surface gauge scribe base came from the previous owner and looks much worse in the picture than in real life. I should run it through an Evaporust bath the next time I have some out. It’s probably a Starrett Model 257, but with absolutely no maker marks whatsoever.
Having experimentally determined that tempering molten chocolate is not optional (i.e., chocolate doesn’t behave just like butter), I tried a cheat discussed in the comments following that helpful post. Basically, because all retail chocolate is already tempered, you can get good results by carefully heating it to the proper temperature, then pouring it into the molds… the proper crystals remain in their places, the cooled chocolate has good snap, and you avoid a huge amount of fuffing and fawing.
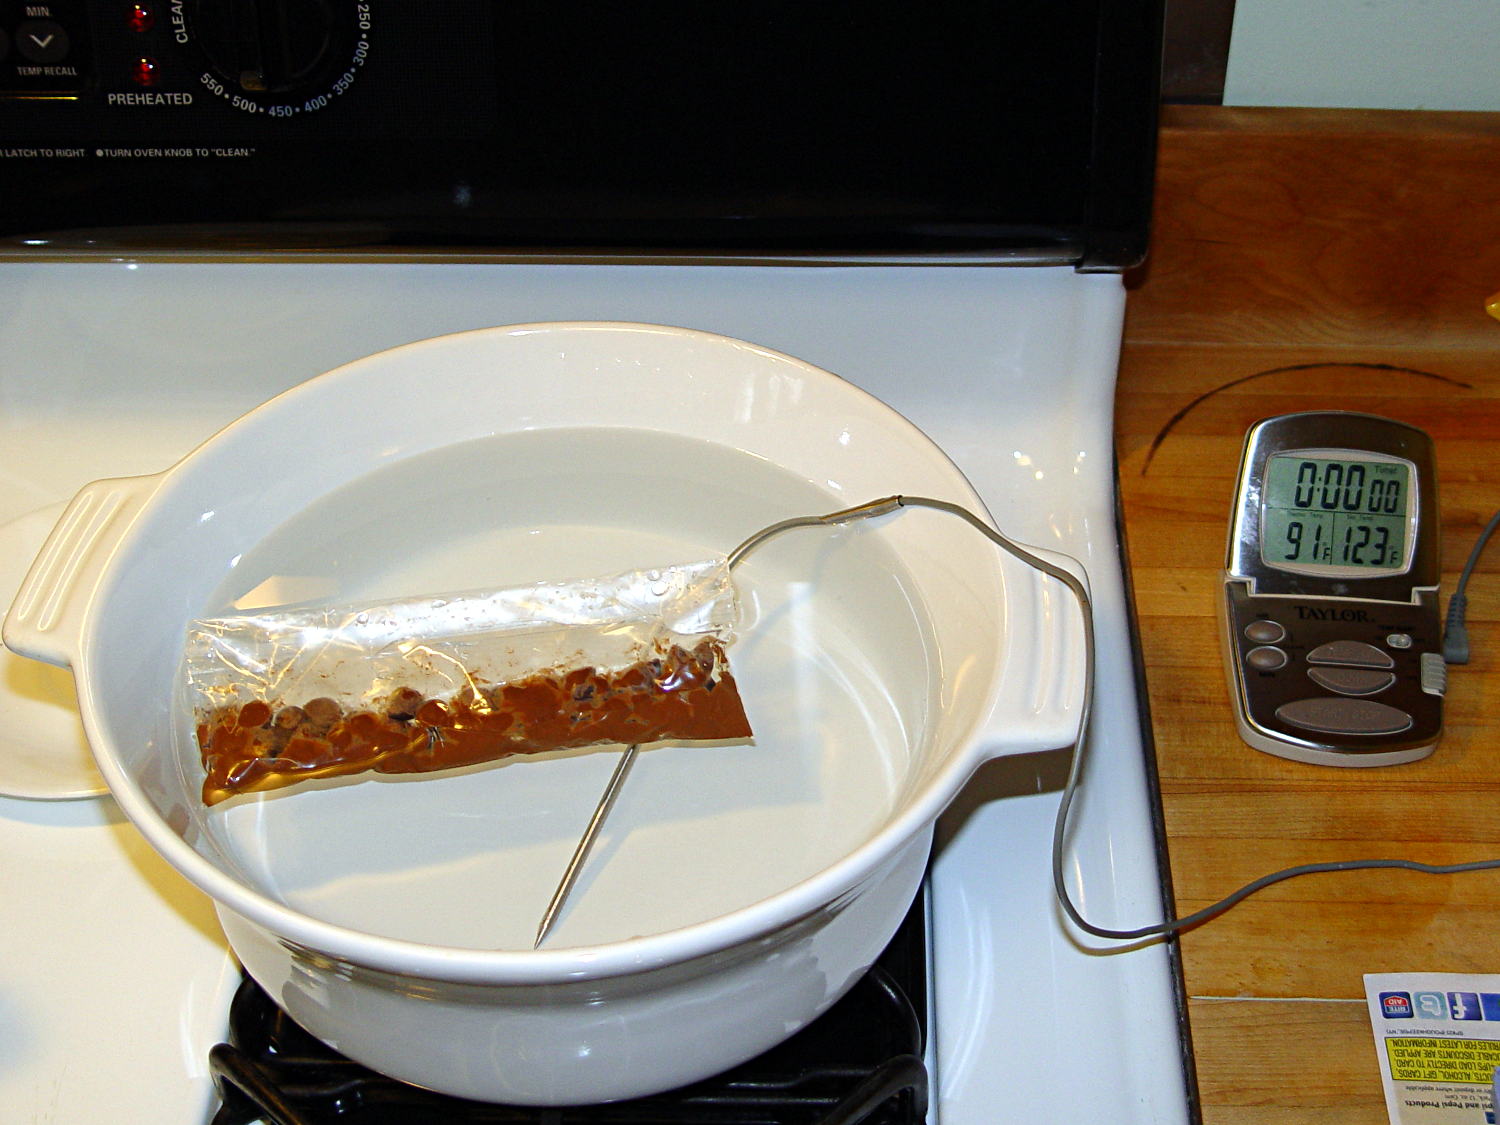
Not having a sous vide setup, but also not working with giant chocolate blocks, I simply filled a big ceramic pot with tepid water:
Chocolate tempering – water bath
Note that the gas burner under the pot is off: the pot’s on the stove because it fit nicely next to the countertop.
A small metal pot sits out of sight on the burner to the left. Goosed with low heat as needed, that pot provided warm water: I moved a cup of tepid water to the metal pot, moved a cup of slightly warmer water back to the ceramic pot, and repeated as needed. As it turned out, the big pot held its heat quite well and the whole process went swimmingly, with the water temperature at 90±1°F, tops.
The Official Tempering Numbers seem to be:
Dark chocolate: 88 – 90°F
Milk chocolate: 86 – 88°F
I suppose I should have used slightly cooler water for the milk chocolate shown in the picture, but it came out Just Fine.
I used Nestlé Toll House Chocolate Morsels for lack of anything better. As nearly as I can tell, cheaper chocolate isn’t really chocolate and fancier chocolate seemed like a Bad Idea until I’ve made a few more mistakes. One bag each of Milk, Dark, and Semi-Sweet sufficed for my simple needs.
The ziplock baggie holds 50 g of chocolate chunks / morsels / whatever, which turned out to be exactly the right amount to fill 16 Tux mold cavities with a 5 mm maximum depth, plus a little bit for the inevitable mess. Sometimes, I just get lucky…
Put chocolate chunks into bag, squeeze out as much air as possible, seal, drop in the pot. Wait a few minutes until it’s not quite completely melted, remove, dry the bag, squeeze out the rest of the air, then knead until it’s all mooshy.
Then cut off one corner of the bag, squeeze chocolate into mold cavities, and flatten the back. I started by easing it into the beak and eyes, filling the tummy, then piling enough to cover everything else. This worked surprisingly well, although the ziplock can unlock if you squeeze hard enough; cut the corner a little bit larger than seems necessary.
Memo to Self: tape the ziplock part of the bag closed to prevent bloopers.
I used a plastic scraper (well, an unused credit card, if you must know) to moosh the chocolate into the cavity and level the back. There doesn’t seem to be much to choose between doing one cavity at a time or a whole row in one pass, although filling more than one row lets the first lump get too cool.
I worried about the chocolate in the bag getting too cool, until I realized that my fingers are hotter than the tempering bath, so, if anything, it would get too hot.
The result came out surprisingly tidy:
Tux Gradient 4×4 – milk chocolate in mold
The silicone block sits atop an aluminum pizza pan, which I transported to the basement for cooling while filling and melting the next bag; the chocolate popped right out of the cavities at about 70°F.
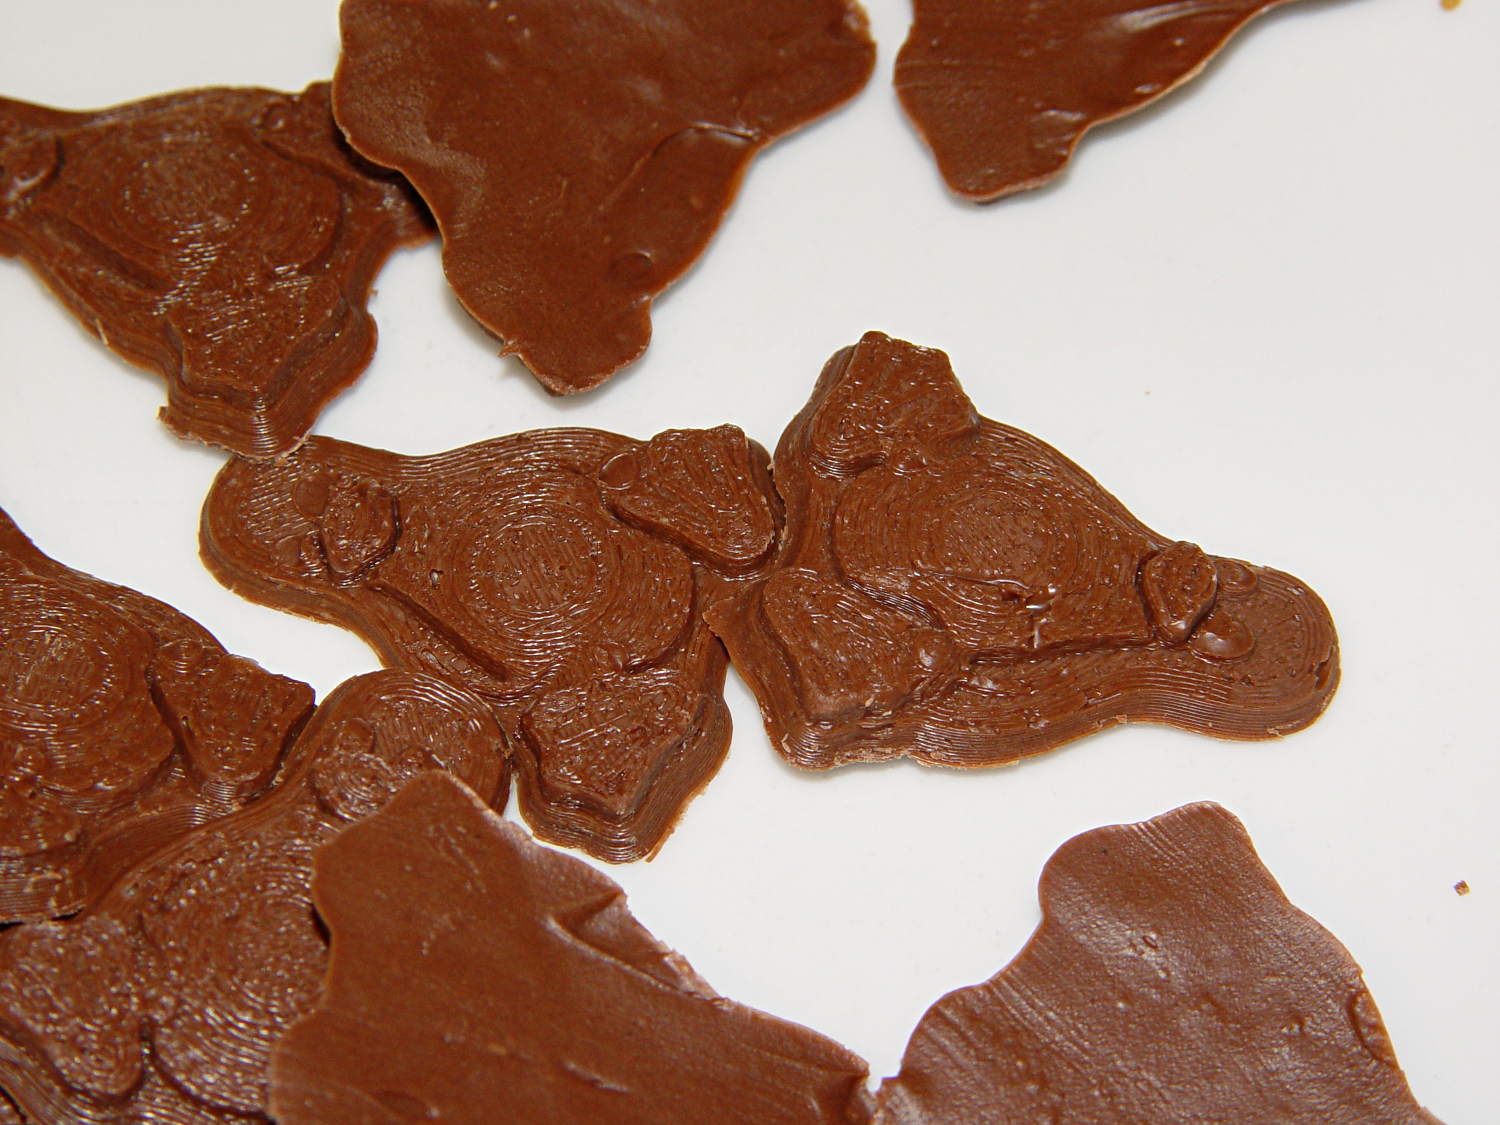
The result looked pretty good to me:
Tux Gradient 4×4 – milk chocolate detail
The detail come out fine and if anybody kvetches about a few bubbles, they don’t get any more.
From left to right, Tux in milk, semi-sweet, and dark chocolate:
Tux Gradient – milk semi-sweet dark lineup
The semi-sweet Tuxes began to bloom almost instantly. I had heated the silicone mold to about 90°F in an attempt to keep the chocolate melty enough to fill 16 cavities before leveling them all at once, but I think it was too hot on the bottom; the four center pieces bloomed right out of the mold and a few others bloomed shortly thereafter.
The bloom highlights the mold detail, though:
Tux Gradient – semi-sweet chocolate bloom
I quickly destroyed all the evidence…
Each Tux weighs 2.5 to 3 g. You do the calorie count yourself, OK?
This is the simple height-map Tux image I’d been using for the chocolate molds:
Tux_Hi_Profile
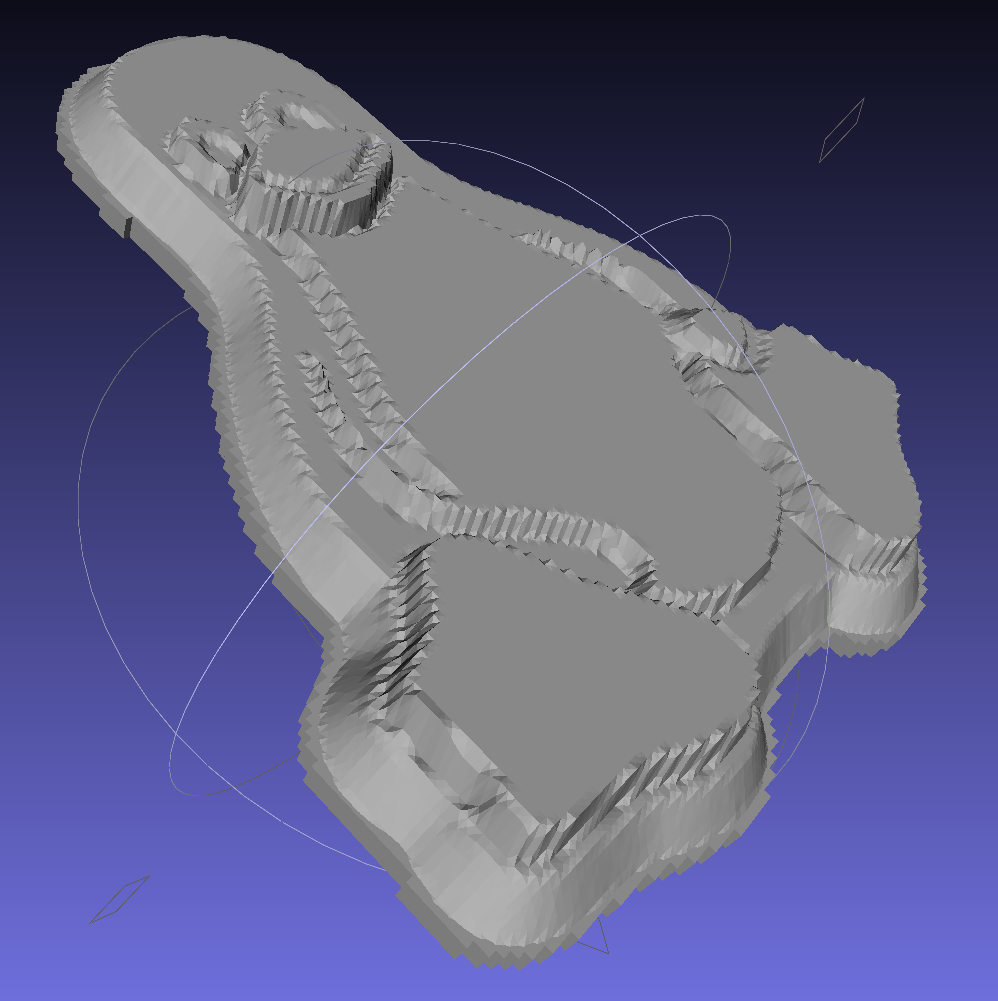
But the poor critter looks a bit flattened:
Tux_Hi_Profile – solid model
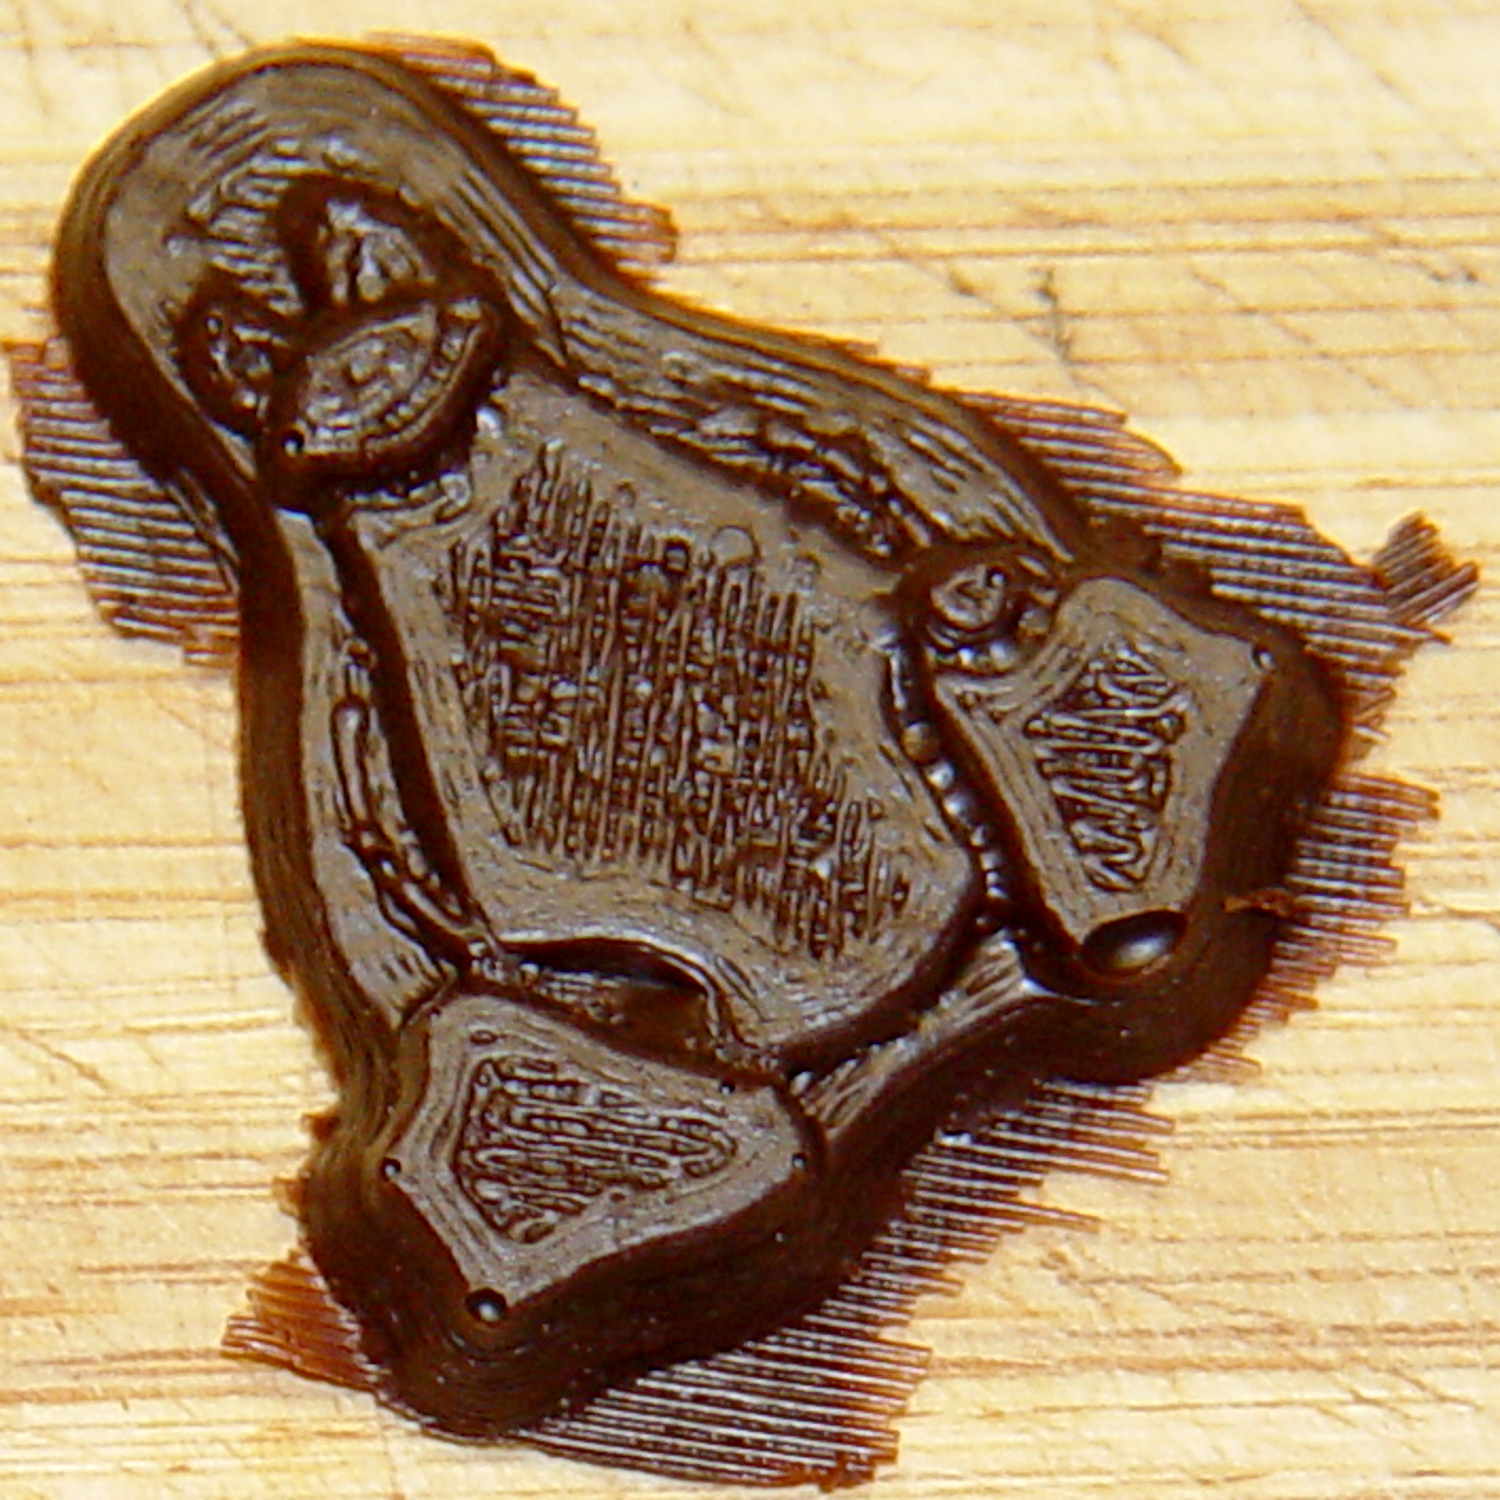
The final result is tastier, but gives off a roadkill vibe:
Tux chocolates – detail
After a few tweaks to the image, now he has a radial gradient on his tummy, his right flipper extends forward, his feet have webs, and his smile looks radiant. The gray levels now extend over a larger range with a bit more separation, with the intent that he’ll now be 5 mm thick:
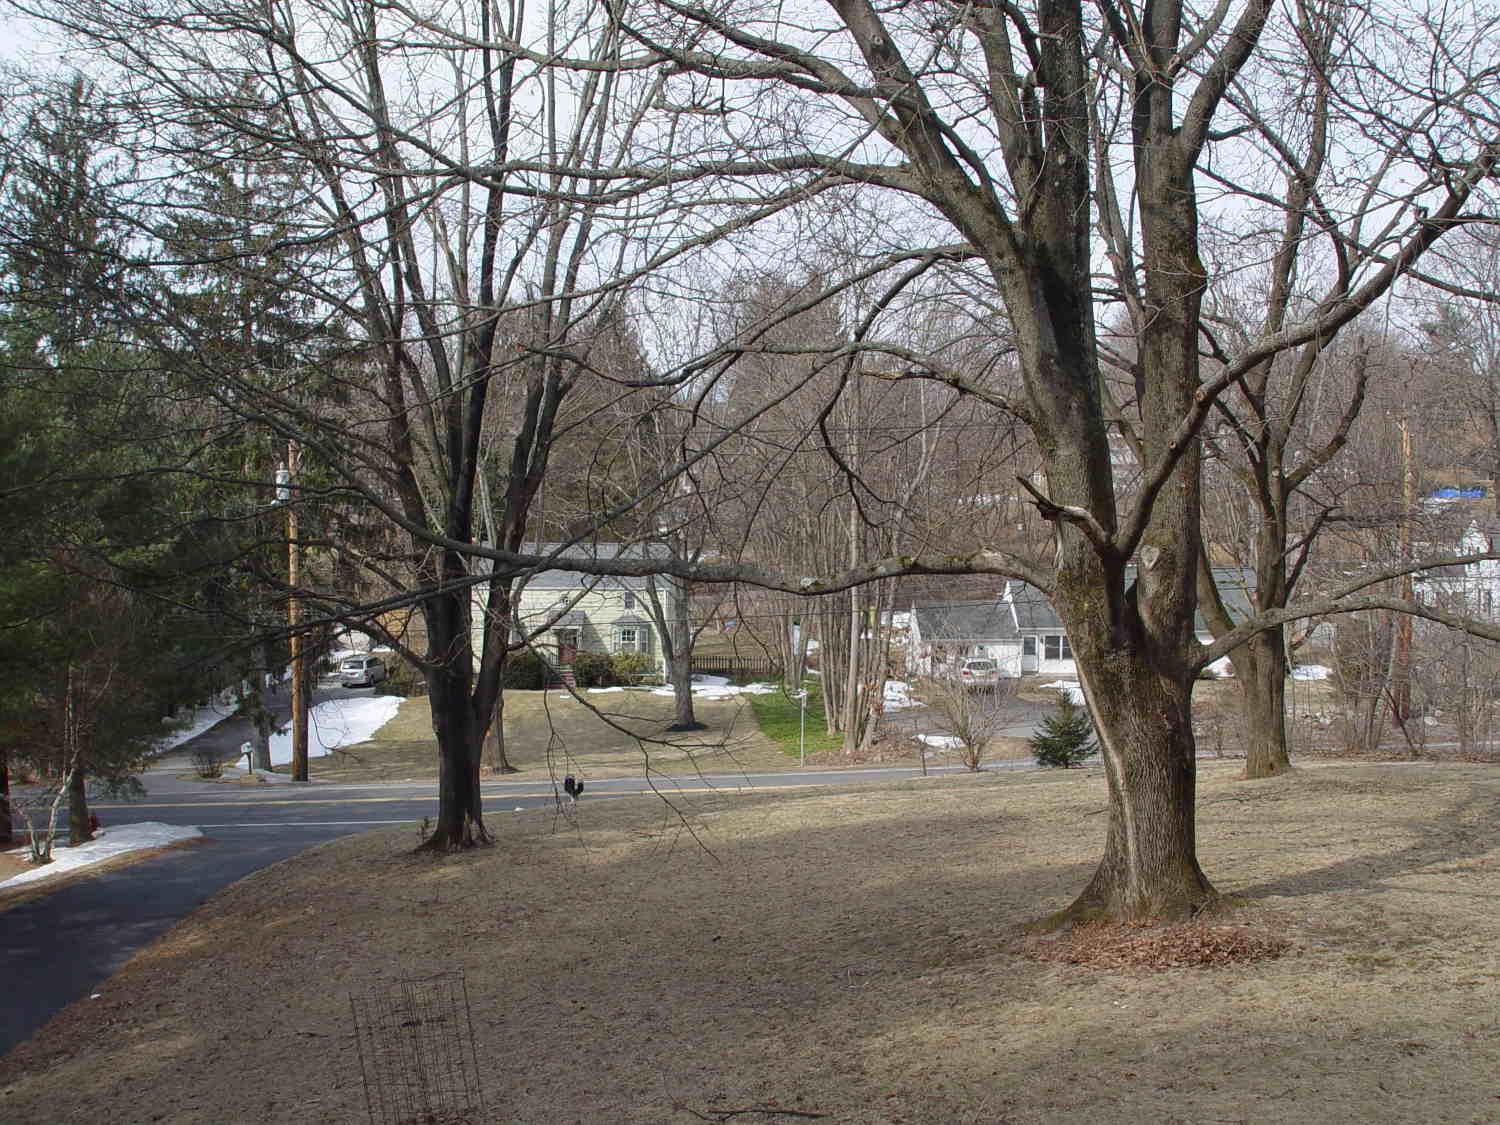
The view through the front window (1950-vintage glass + storm window) at 1/500 s, f/4, ISO 100, auto-exposed to EV 0:
Front yard – normal exposure
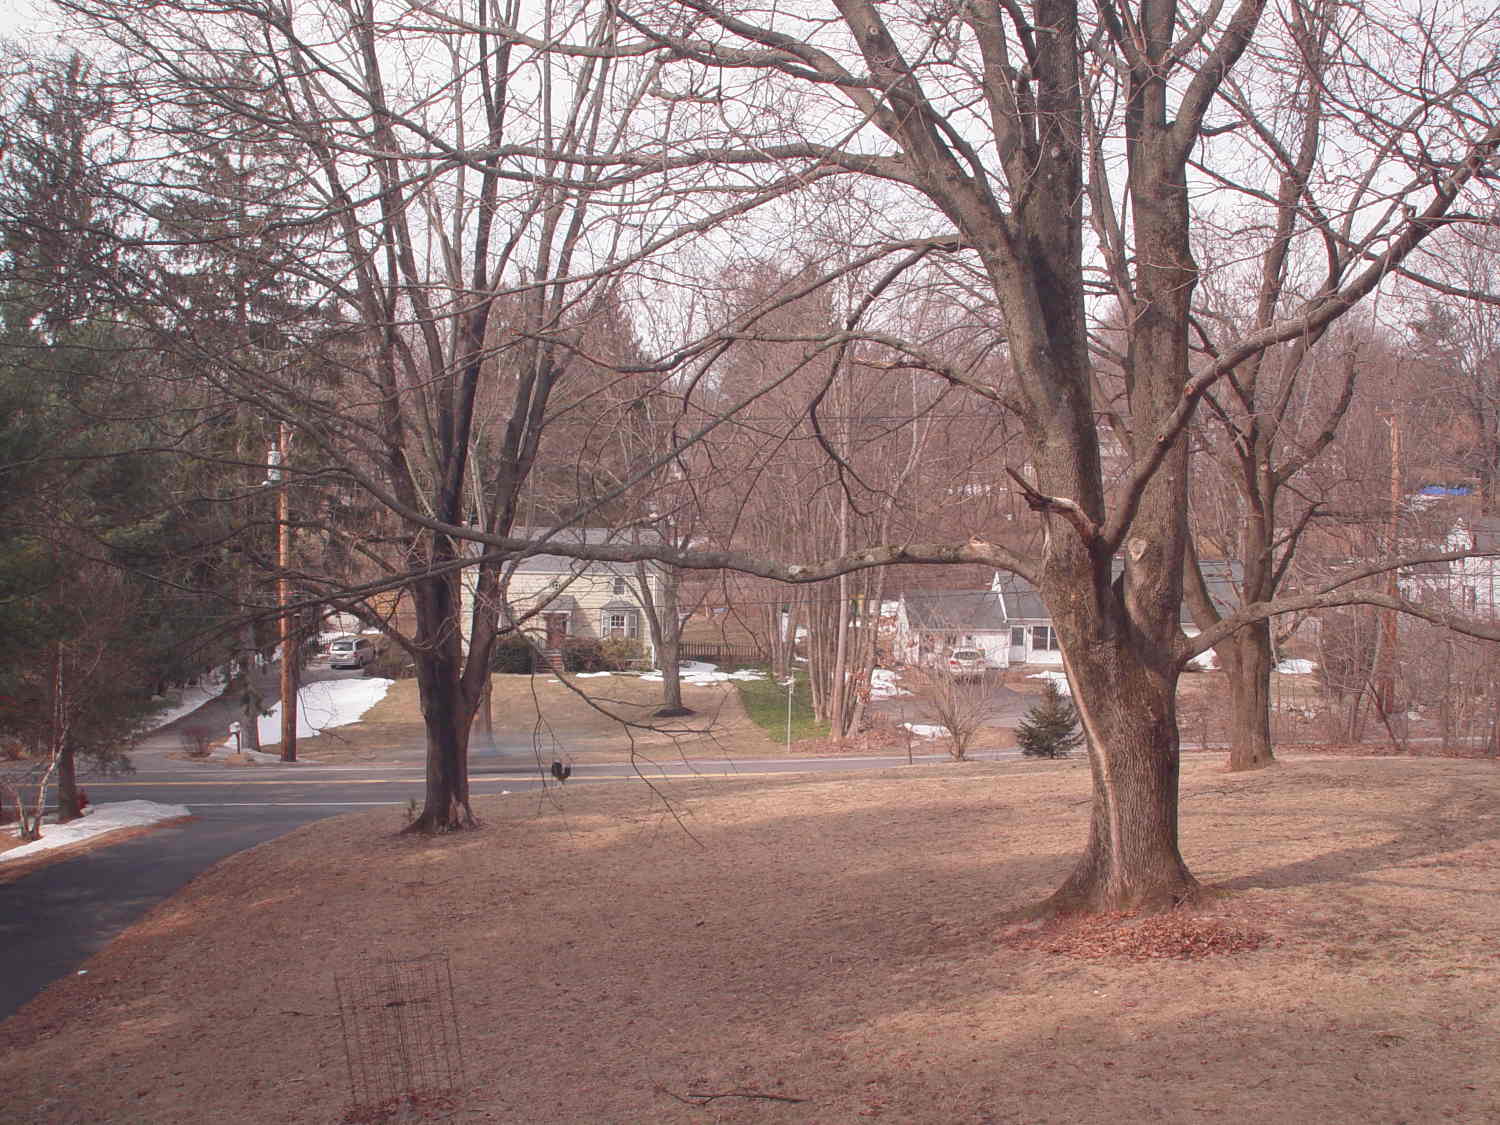
The same view, using stacked 2 + 4 + 8 ND filters, at 1/3 s, f/4, ISO 100, auto-exposed to EV 0:
Front yard – ND2-4-8 filters
That blur to the left of the mailbox is a passing car, which is the whole point of heavy ND filtering: you can use absurdly long shutter times and still get a decent exposure.
I cannot explain the fact that the ND filters allegedly reduce the light by 14 stops, but the actual (auto) exposure increases by about 7 stops. They’re cheap non-coated K&F Concept Digital filters, of course, but …
There’s an obvious color shift toward red / magenta.
This is a placeholder so I can pick up the thought later on…
During my monthly data logging, I replace any weak CR2032 cells in the Hobo data loggers and, being that type of guy, I write the current date and the elapsed time since the last replacement on the top of the cells. This month I had to replace two cells:
Energizer CR2023 – early failures
Huh.
It seems the previous Energizer CR2023 cells in those loggers lasted for more than the usual year, but these cells from the same lot with the same date code failed in two weeks (my last monthly science was unusually late, because distraction). The YA date code (printed on the other side of the cell) isn’t helpful (that Q&A list shows the problem), but they’re supposed to have an eight year shelf life. As nearly as I can tell, these are getting on toward five years on my shelf, so maybe they spent a bit more time on somebody else’s shelf than the seller claimed.
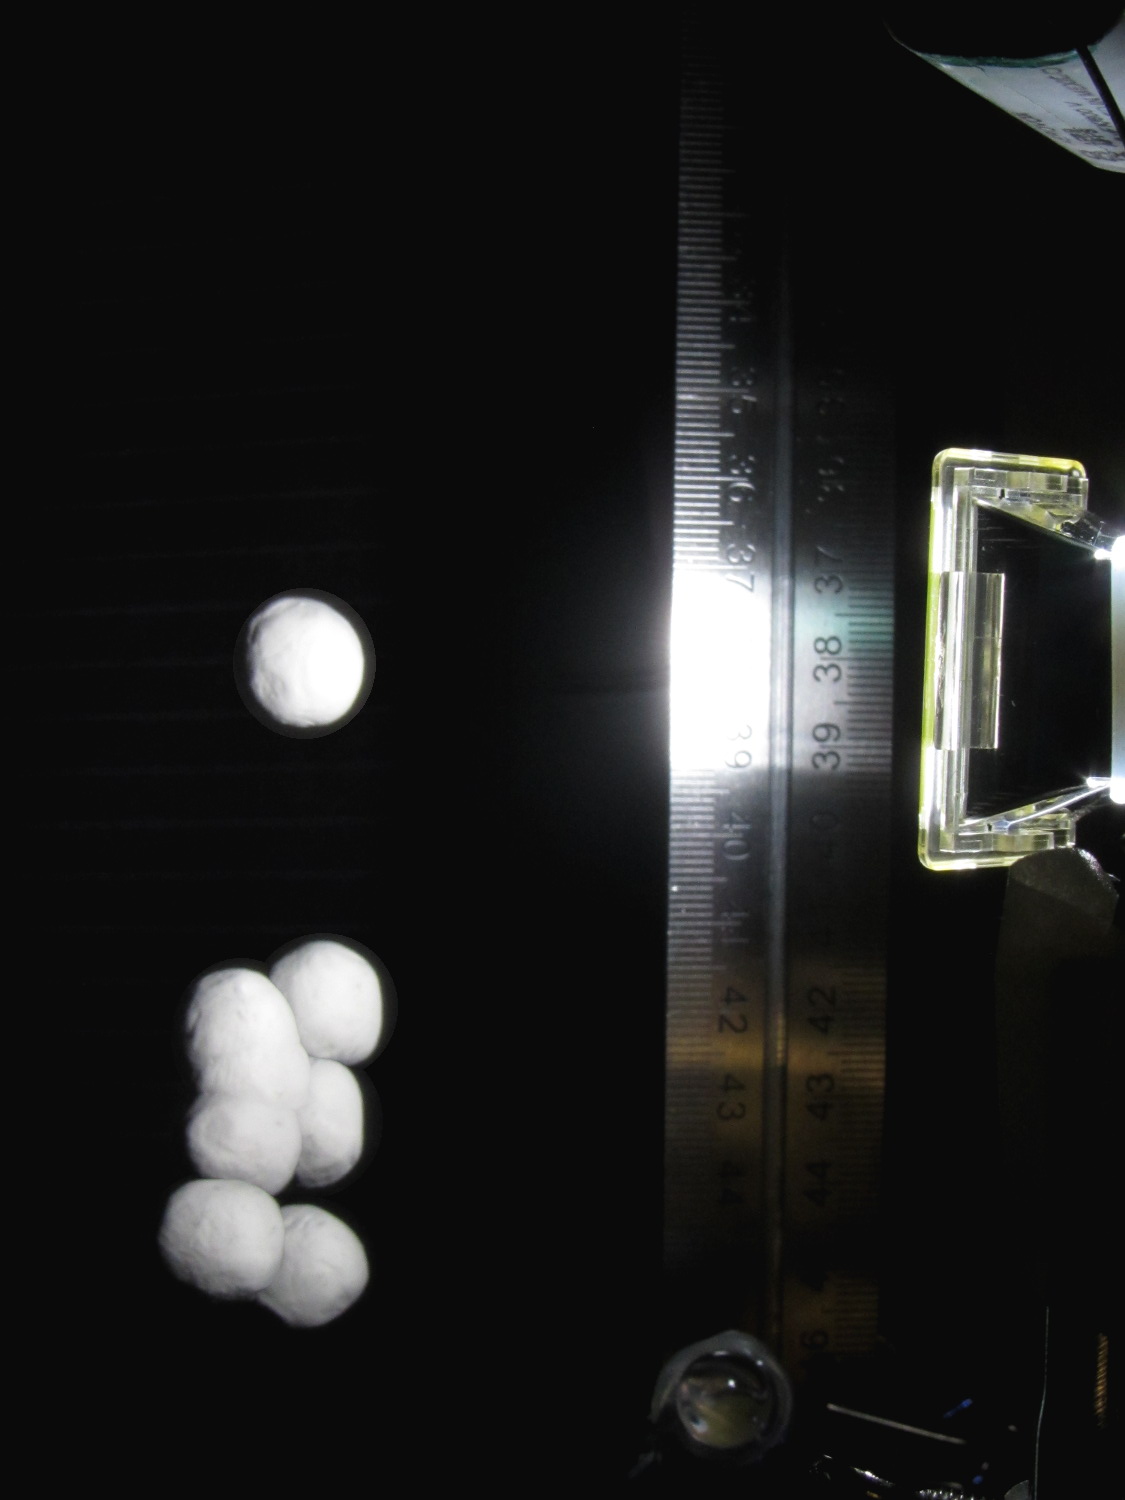
Small balls of modeling clay (2.2 g each, if you’re keeping score) make more tractable photographic targets than random benchtop clutter. The camera setup remains ISO 800, 1/10 s = 100 ms, f/8. The white LED blinks for 50 ms, starting 1 ms after the ball breaks the laser detector, and the Xenon strobe has a 1 µF capacitor.
Firing the Xenon flash 125 ms after the beam breaks produces intermittent results, with most shots being completely dark. That suggests the motion detection + shutter lag is roughly what I estimated based on the falling stars. Firing the flash earlier than 125 ms produces uniformly black images, so the lower numbers probably came from variations in my freehand release.
The ball at 125 ms:
Ball at 125 ms
With the shutter set to 1/10 s = 100 ms, the shutter will close at about 220 ms and, indeed the results become intermittent at that time.
The ball at 200 ms:
Ball at 220 ms
The 10 mm white LED that trips the CHDK motion detection script is just to the right of the ball in that picture. The orange glow to the right of the flash reflector comes from the unit’s neon “ready” indicator, which remains on until the flash happens.
Dropping the ball by hand introduces considerable position jitter, mostly due to position error, early beam breaking, and general clumsiness. For example, here’s a composite view of eight successive drops captured at 200 ms after the beam break:
Ball at 200 ms – composite 47-54
The lower seven images cover a range of 30 mm, with the outlier (most likely due to sticky clay on my fingers) 40 mm above the top of the cluster. That’s measured at the bottom of the balls, because that’s what breaks the beam.
At 200 mm below the beam, the balls are traveling about 2 mm/ms (from v2 = 2ax), so the timing variation in the cluster is 15 ms and the top one is 20 ms off.
Switching the camera to ISO 1600 produced black images; evidently that changes the shutter delay time by far more than I expected. I suspect the only way to be sure involves more drop tests with good light and that meter stick; I’m not that motivated right now.
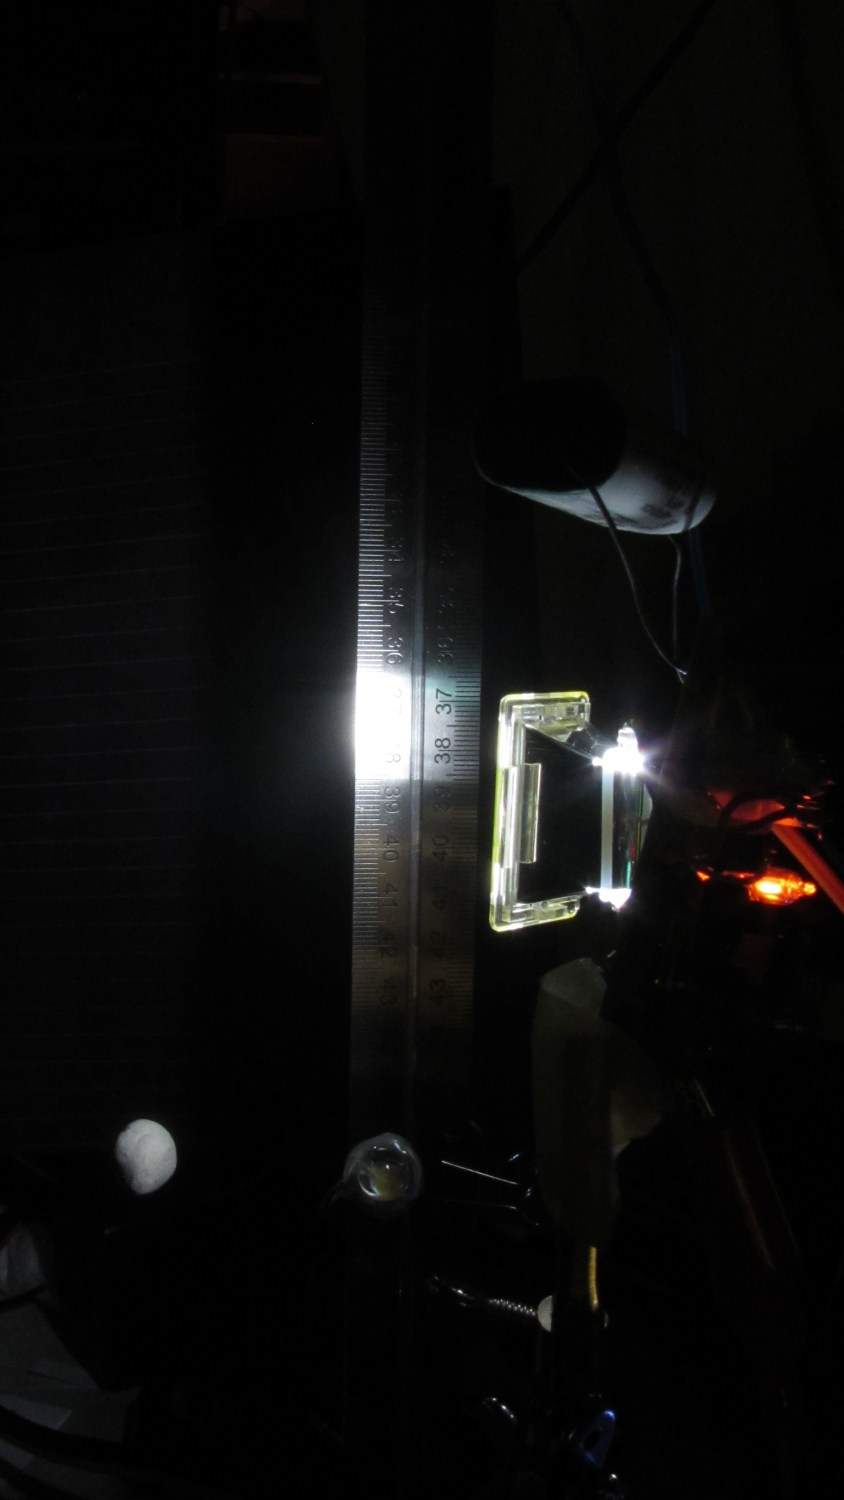
For what it’s worth, here’s a picture of the light output from the LED and Xenon flash, as captured by the 10AP photodiode aimed at the LED, with a card reflecting the flash toward the sensor:
Flash Timing – 10AP photodiode
The top trace is the beam break signal from the transconductance amp going into the Arduino. The bottom trace is the photovoltaic output of the 10AP photodiode, showing the LED and strobe flashes. The strobe delay is at 180 ms with 4 ms of relay delay compensation; dialing it back to 3 ms wouldn’t change things very much at all.
A black background does wonders to improve the presentation:
Clay slab – 180 ms
That’s ISO 800, 1/10 s, f/8, 30 cm manual focus, with the flash about 20 cm away in the right foreground. The Xenon flash has a 1 µF capacitor giving a pulse width of about 100 µs. The LED visible on the lower right flashed 1 ms after the lump broke the laser beam.
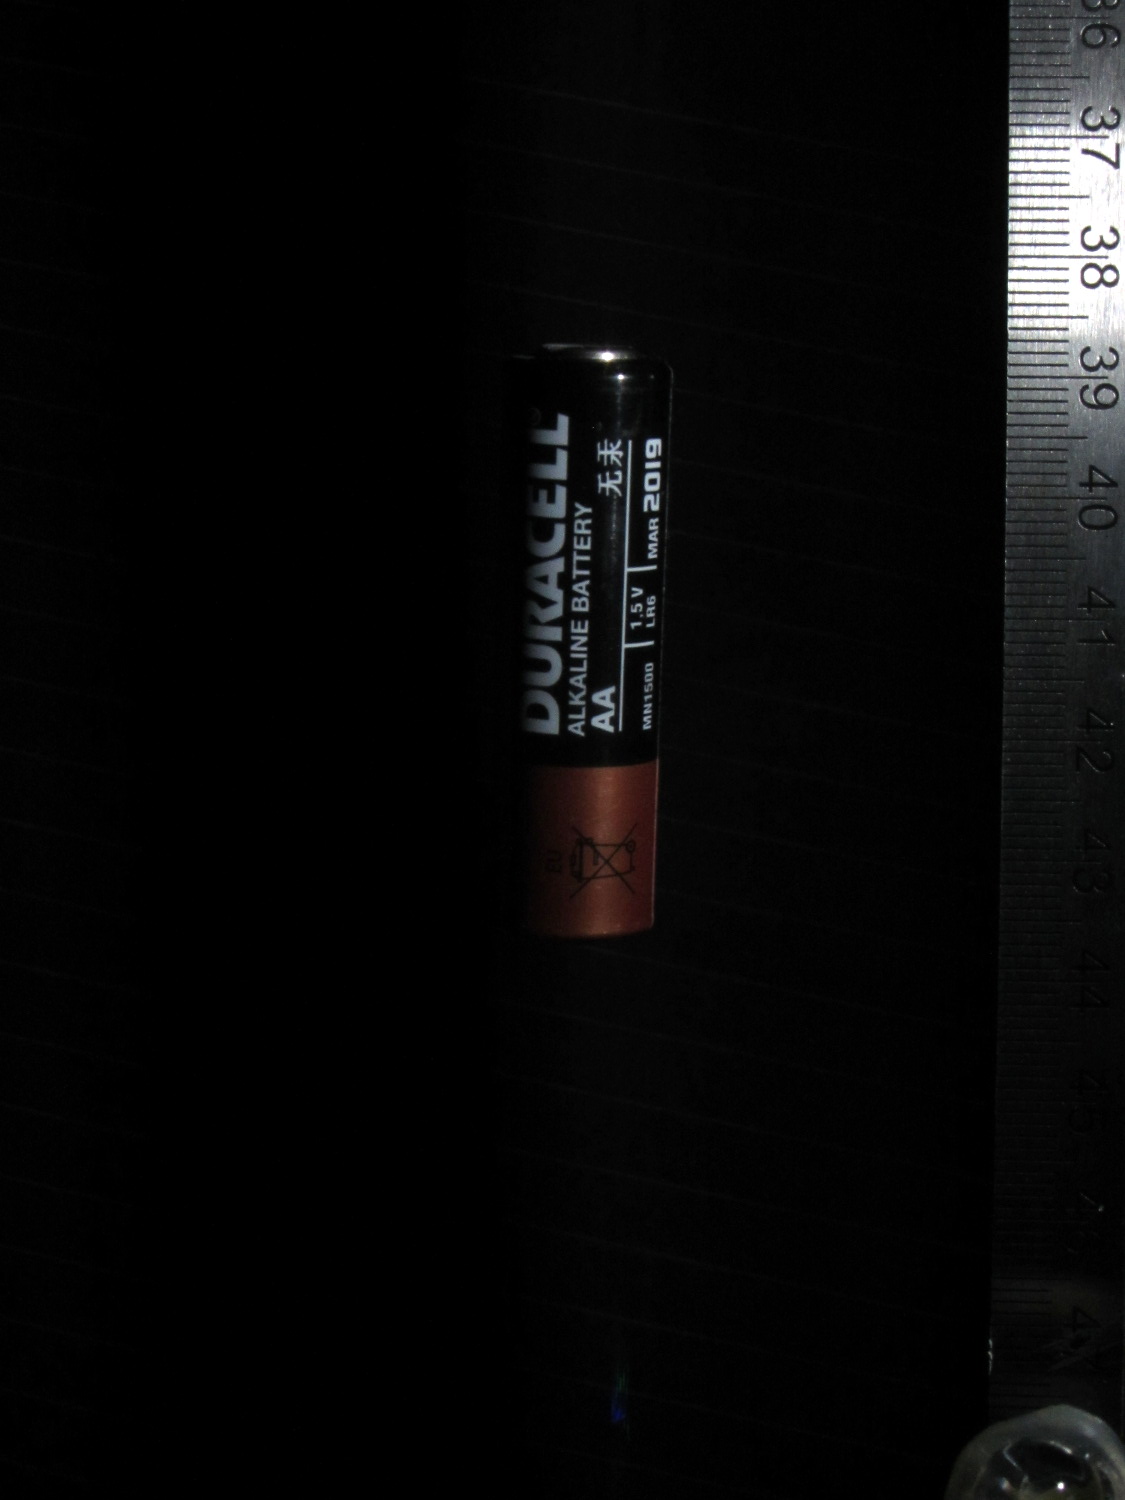
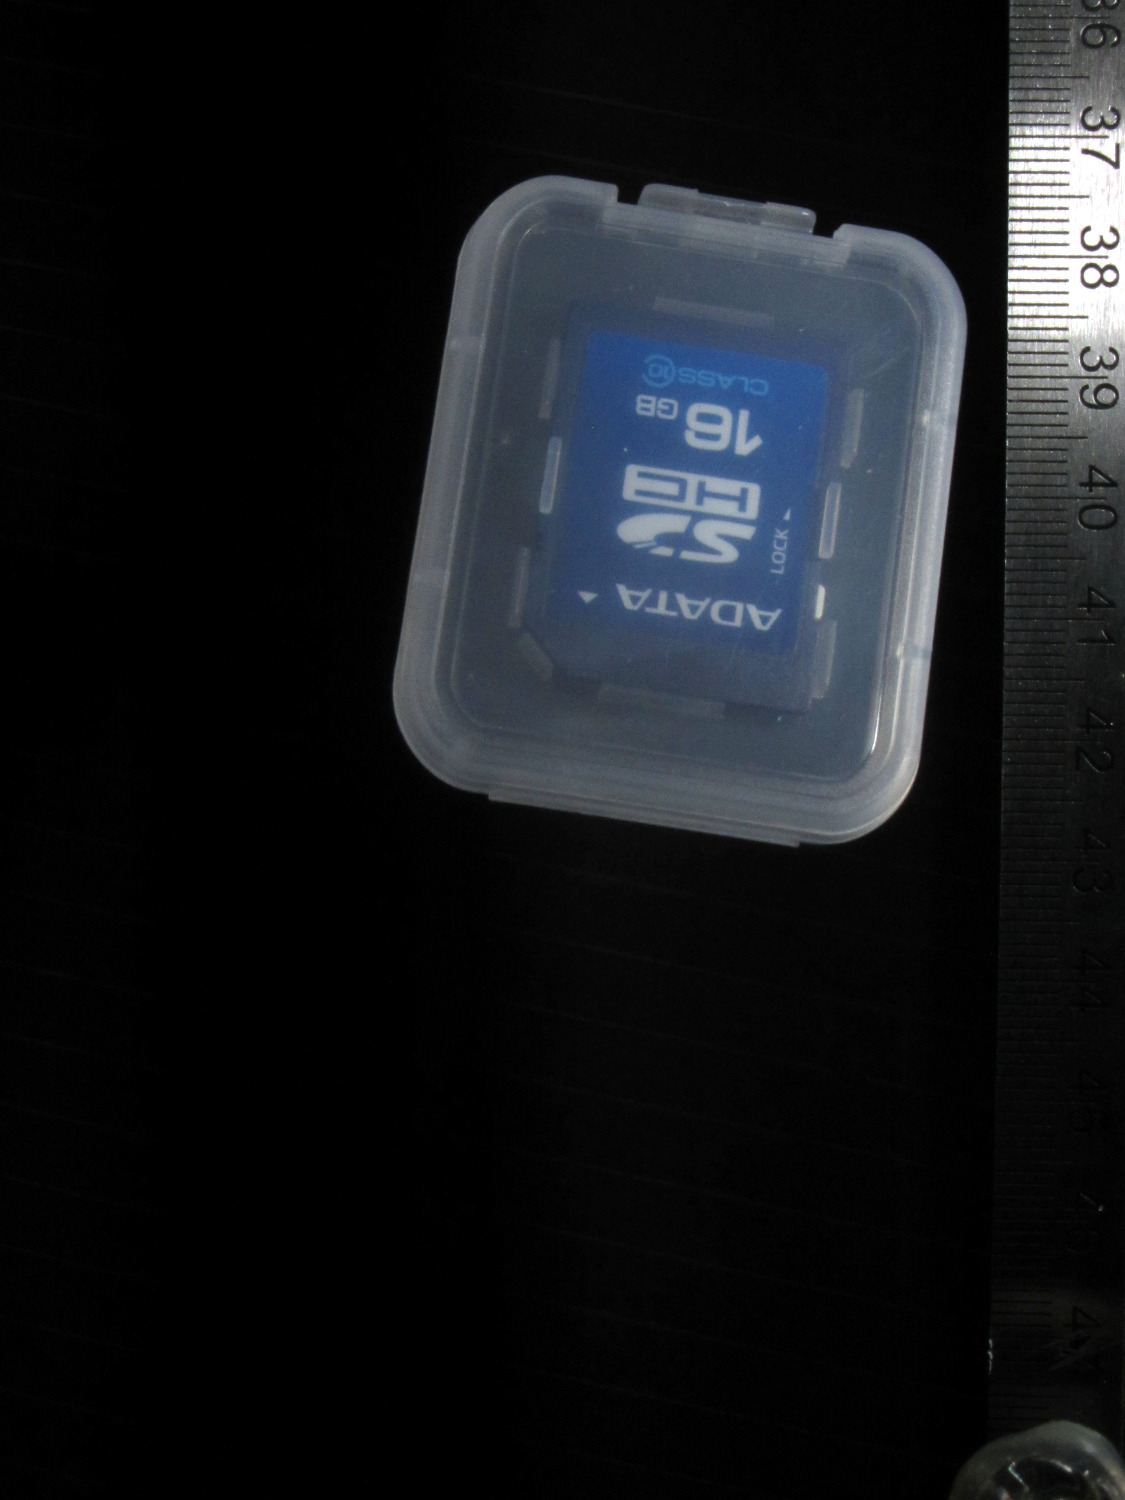
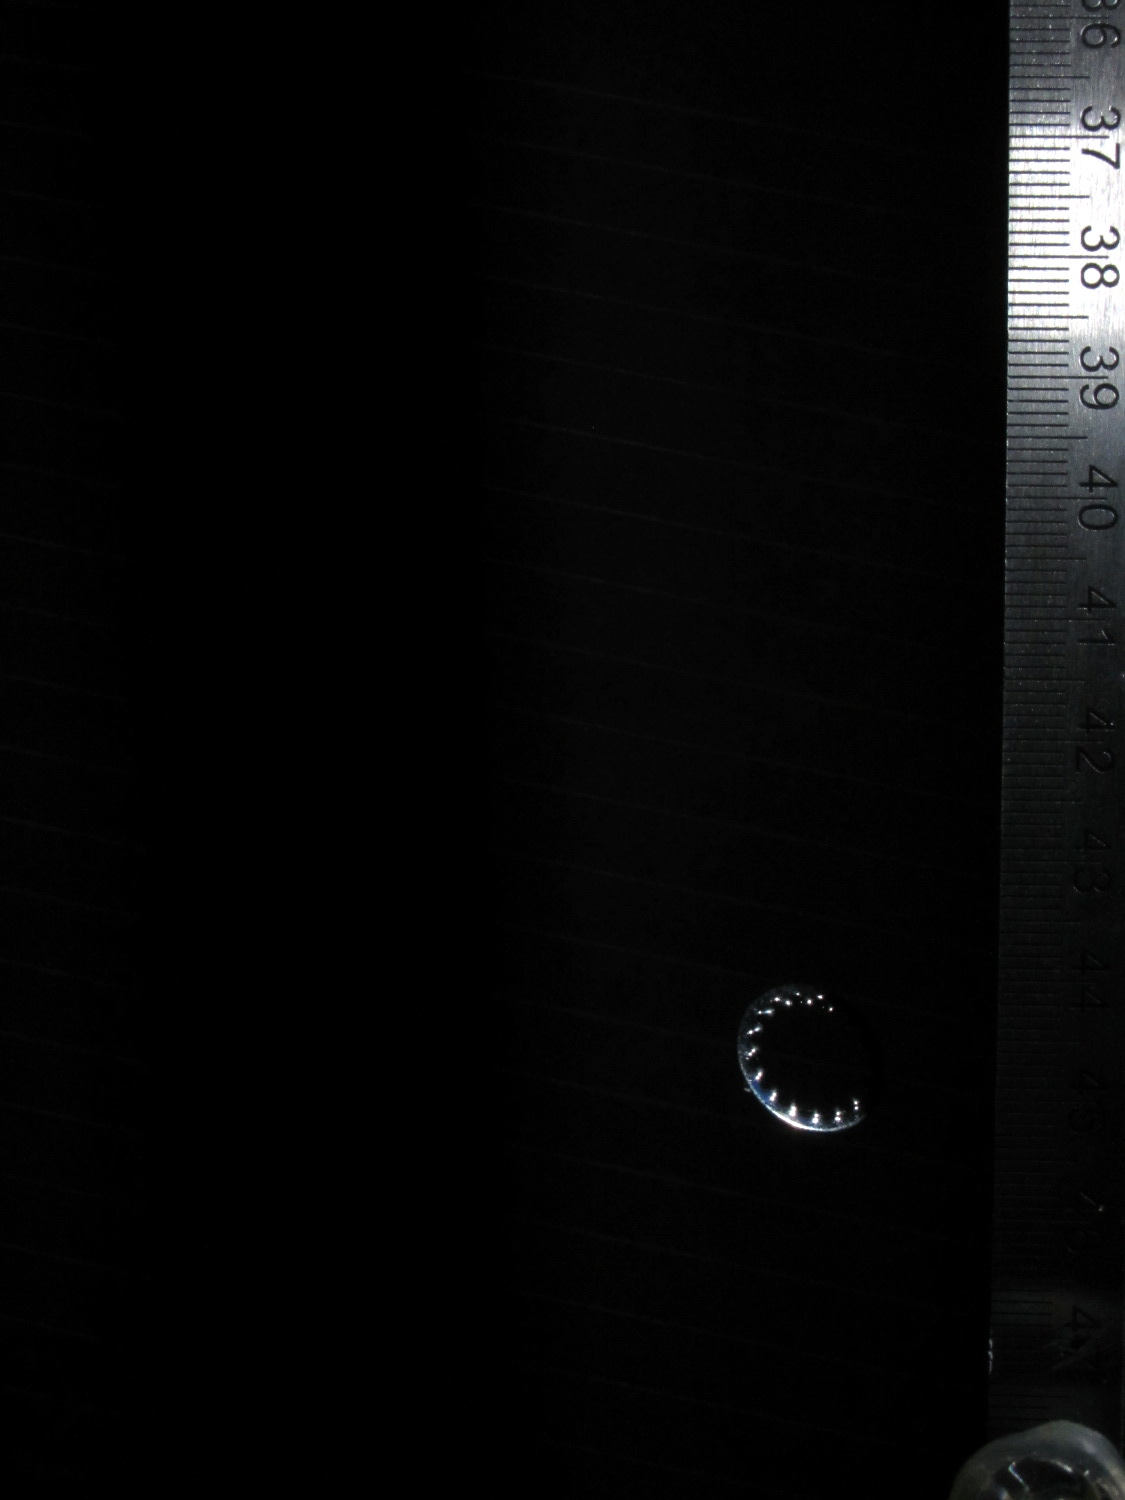
Rather than do science, I shoveled small objects through the aperture…
Falling LED striplightFalling Sierpinski gasketFalling clay blockFalling cotton swabFalling AA cellFalling SDHC CardFalling lock washer