Ed Nisley's Blog: Shop notes, electronics, firmware, machinery, 3D printing, laser cuttery, and curiosities. Contents: 100% human thinking, 0% AI slop.
Category: Science
If you measure something often enough, it becomes science
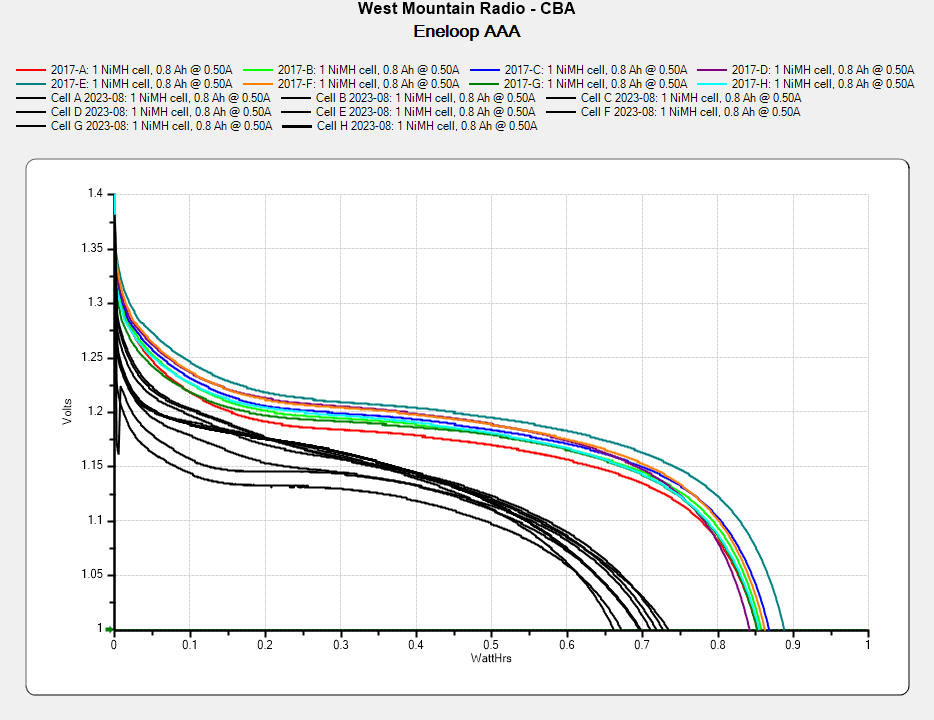
For the last six years, a set of eight Panasonic Eneloop AAA cells have been marching in pairs through the Superflashes in lockstep alphabetic order. We ride several times a week, less in the winter, and I changed the batteries once a week whether they need it or not, so they’ve gone through maybe 200 charge cycles. With four pairs and two bikes, that’s 100 cycles each.
They’re not dead yet, but they’re showing signs of age:
Eneloop AAA – final – 2023-08
In round numbers, the capacity is down 20% from their original 850 mW·hr. The 50 to 75 mV depression is probably more significant for an LED power supply intended for alkaline cells, as the light was running from 2.3 V instead of 3 V.
They worked surprisingly well, all things considered.
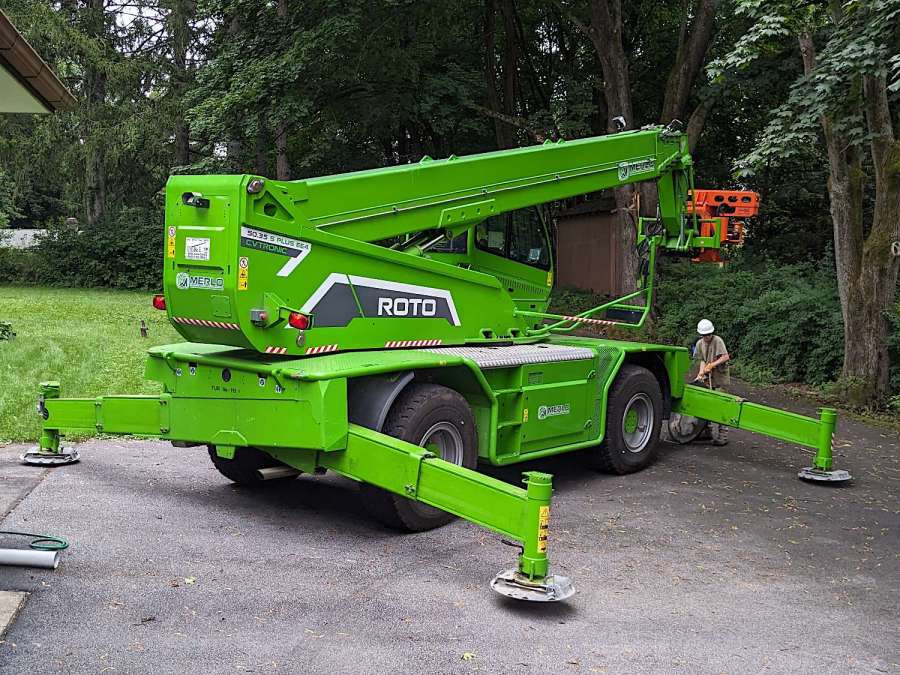
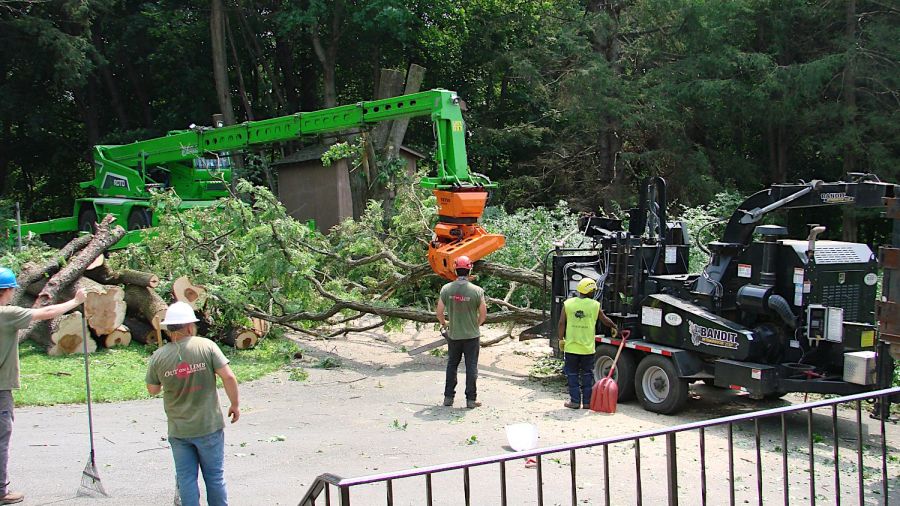
The best bid on a recent tree removal project replaced most of the usual crew with a Merlo Roto telehandler:
Tree Work – Merlo setup
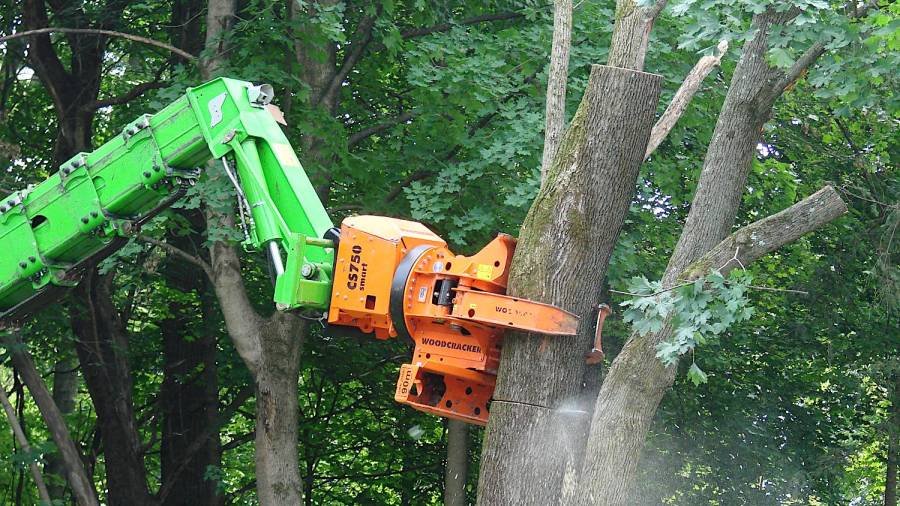
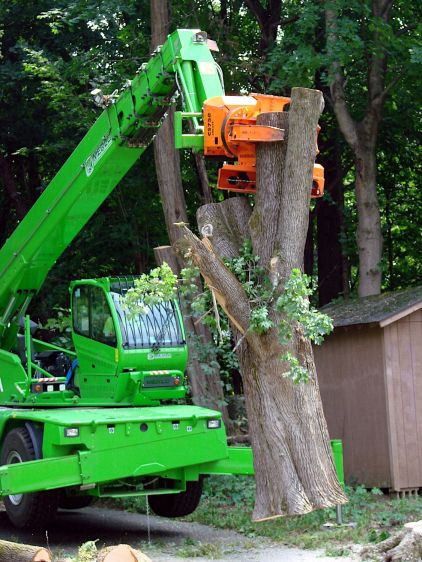
The orange gadget on the end of the boom is a Woodcracker manipulator with a terrifying switchblade chainsaw:
Tree Work – Merlo Woodcracker – rear
The saw has hydraulic motors, so you can hear the blade ripping through the wood.
The jaws above the saw hold the piece during the cut:
Tree Work – Merlo Woodcracker – side
Then lift it away:
Tree Work – Merlo Woodcracker – cut lift
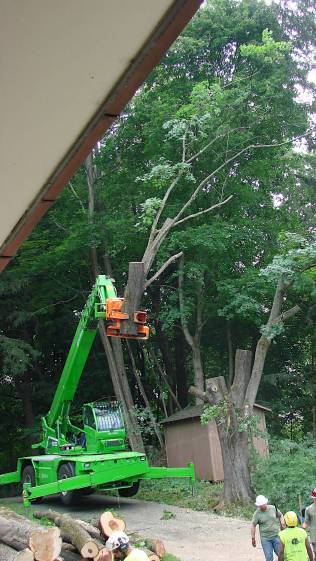
The boom has a 115 foot vertical reach, so it can remove entire treetops:
Tree Work – Merlo Woodcracker – align
Then align the branch with the chipper’s gullet and ram it into the feed rollers, with no intervention from the ground crew:
Tree Work – Merlo – chipper feeding
The Woodcracker chainsaw isn’t quite long enough for the trunk, so the jaws stabilize the trunk during a manual cut:
Tree Work – Merlo Woodcracker – trunk support
Then haul the whole thing away:
Tree Work – Merlo Woodcracker – trunk lift
The Merlo can lift 11,000 pounds near the middle of its range, with a 1600 pound limit at the maximum horizontal reach and 5500 pounds at 115 feet vertically. As far as I can tell, nothing about this project came anywhere close to the machine’s limits.
The day arrived with a severe thunderstorm watch, but the main part of the storm passed far north of us. The local power company keeps this company on speed dial and called them for emergency work in the wake of the storm, so the Merlo left early and the remaining crew used a bucket truck to take down the last tree in old-school style.
The Merlo is staggeringly expensive, but lets one operator take down an entire tree without any climbers or riggers. I suspect the reduction in crew size (and insurance premiums) pays for the machine in short order; the crew was less than half the size involved in a neighbor’s project with another contractor.
Highly recommended!
Merlo’s promotional video has comparisons with similar machines and I’m sure you could waste an entire afternoon on such things. For sure, I didn’t get anything else done that day.
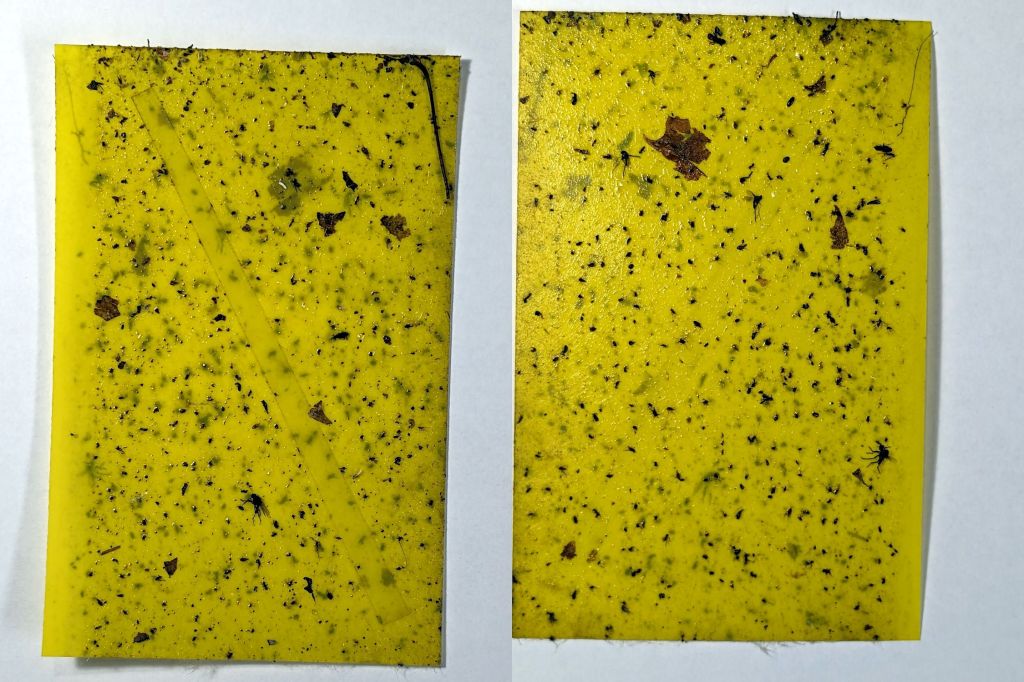
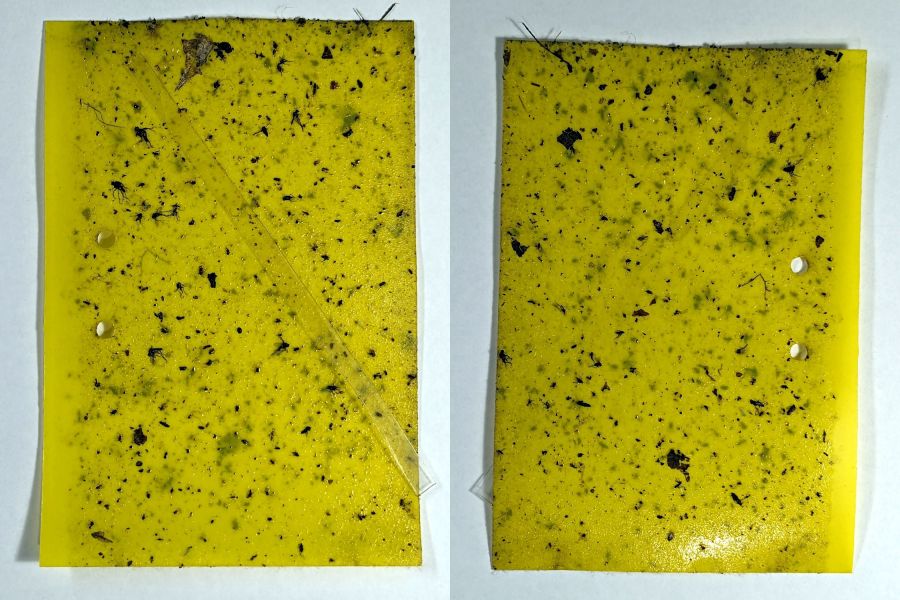
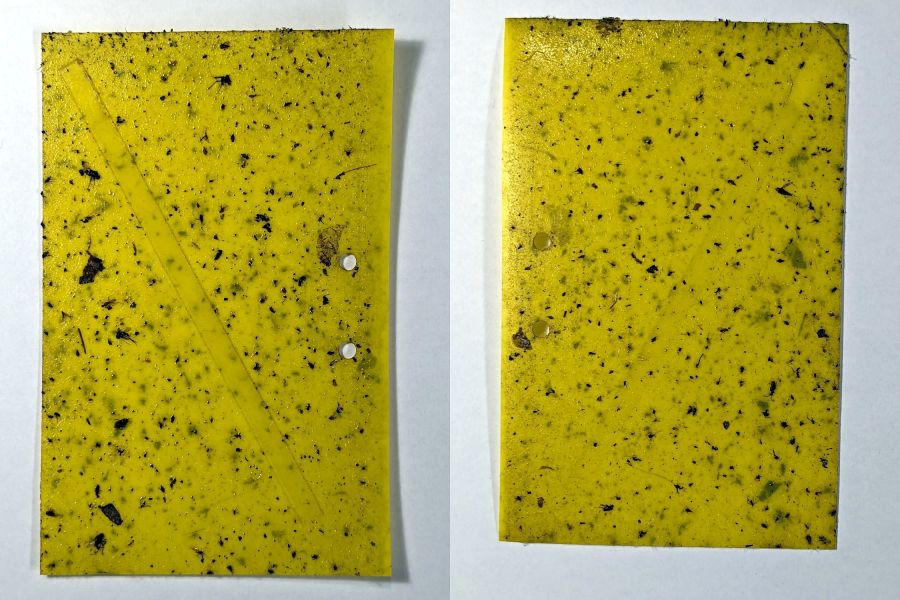
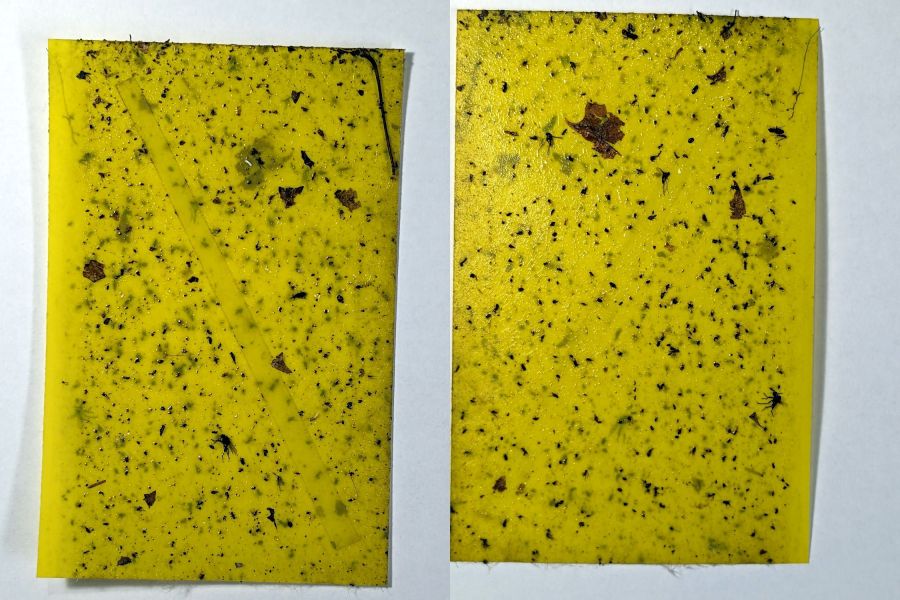
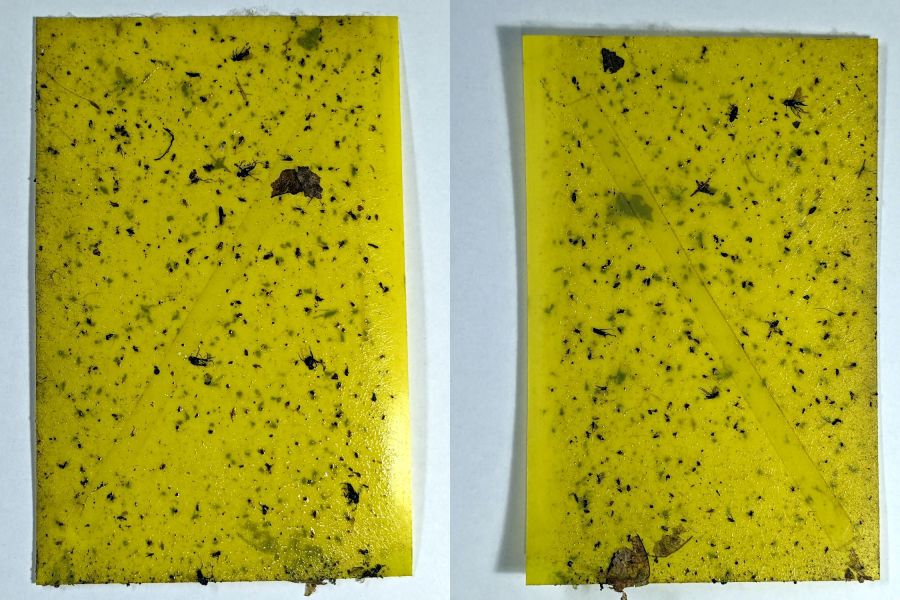
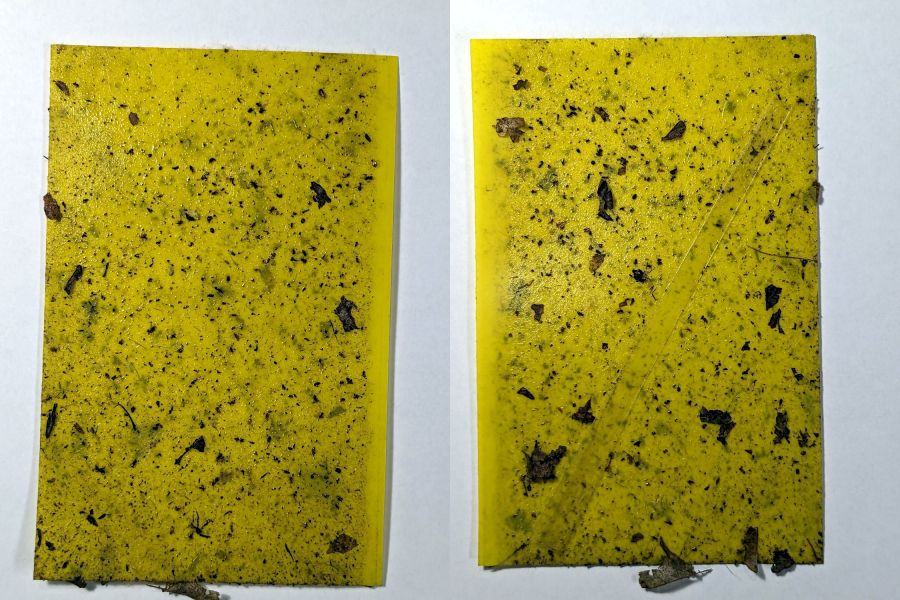
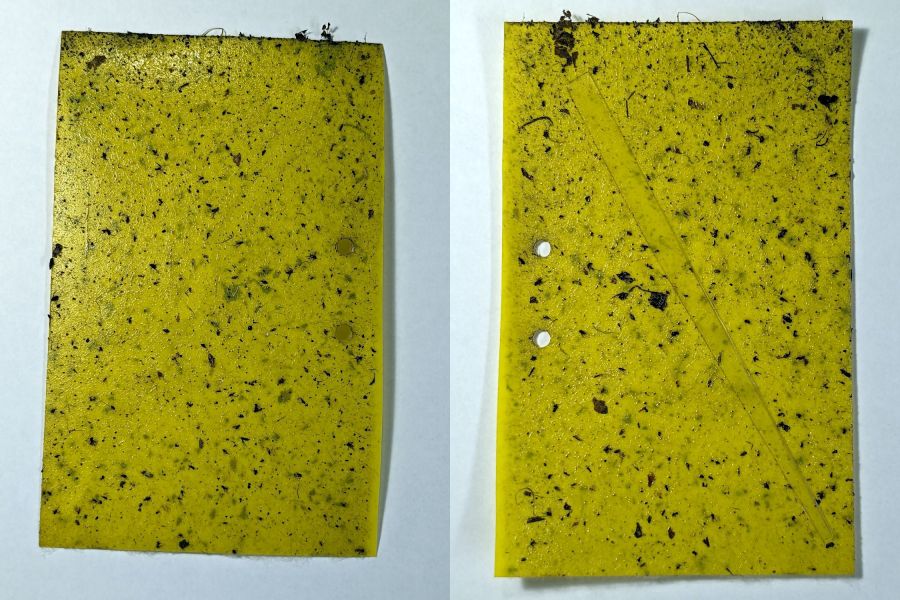
Six sticky traps have been out in Mary’s Vassar Farm onion bed from mid-April through mid-July, collecting onion maggot flies, other flying insects, and a bunch of shredded leaf mulch. Having just replaced all the sticky sheets, these are the results so far:
PXL_20230711_215255180 – VCCG Onion Maggot Trap F
PXL_20230711_215229538 – VCCG Onion Maggot Trap E
PXL_20230711_215159950 – VCCG Onion Maggot Trap D
PXL_20230711_215129817 – VCCG Onion Maggot Trap C
PXL_20230711_215041012 – VCCG Onion Maggot Trap B
PXL_20230711_215002214 – VCCG Onion Maggot Trap A
Each image is the front and back of a single sticky sheet flipped over left-to-right; I did not keep track of the original trap locations.
If you need the original camera images to get enough pixels for itemizing the smaller dots, let me know.
CO₂ laser power meters seem to depend on a flat-black absorbing surface to soak up a (typically unfocused) beam pulse, backed by a known metal mass with a thermocouple to measure the temperature rise above ambient. Knowing the pulse width, the temperature rise, the absorber mass and specific heat capacity, you can compute the pulse energy and average power during the pulse.
Previous tinkering with an old Gentec ED-200 showed this works well, although the absorber surface took something of a beating because it was definitely not rated for the OMTech’s 60 W (claimed) beam power.
Rather than using a spendy absorber surface with a durable coating, perhaps a geometric absorber using reflective surfaces arranged to channel the energy into the material, rather than away from it, might suffice.
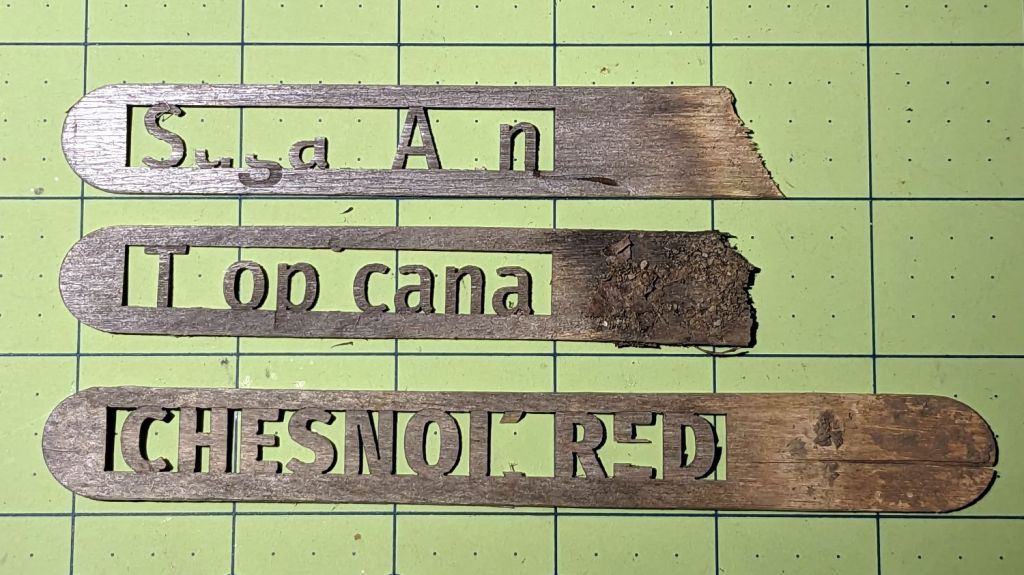
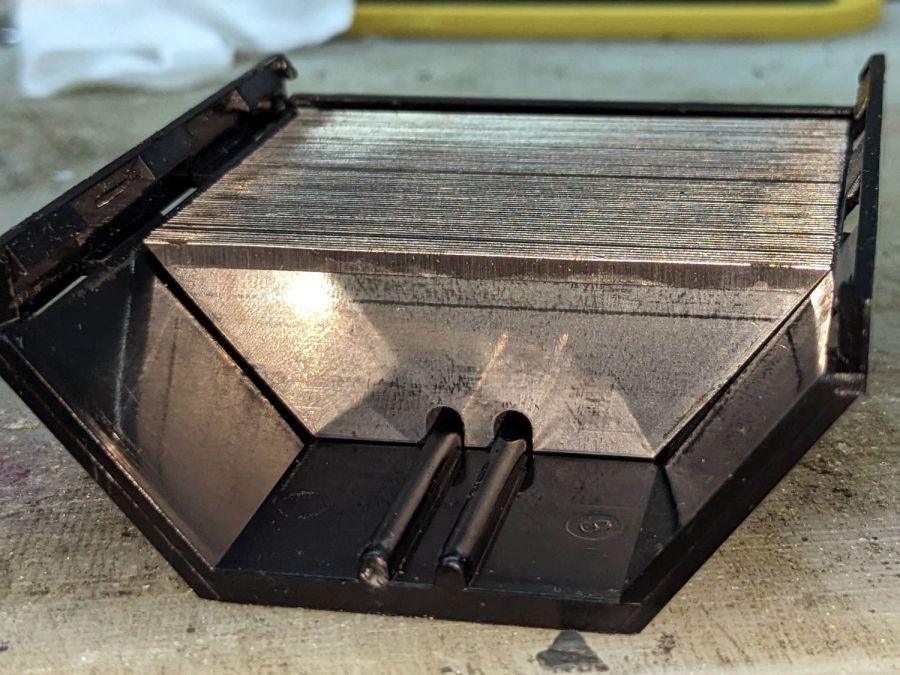
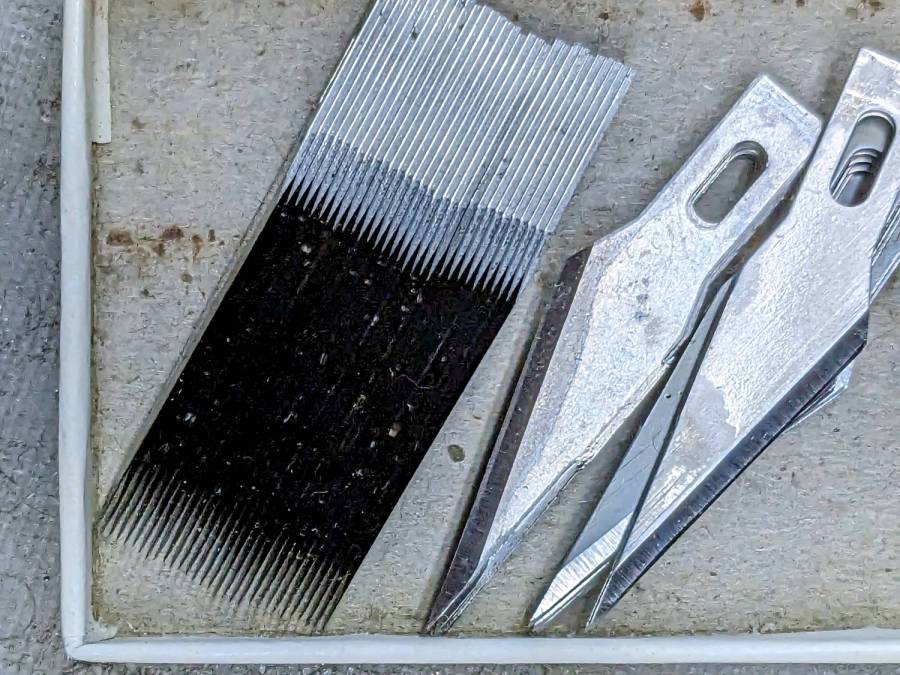
Consider a pack of ordinary utility knife blades:
Beam absorber – utility blades – overview
Seen kinda-sorta perpendicular to the sharpened side of the blade edge, they’re wonderfully reflective:
Beam absorber – utility blades – edge flat
Seen perpendicular to the edge itself, they’re dead black:
Beam absorber – utility blades – edge-on
Well, pretty close to dead black. It’s darker in real life, with glimmers along the edge and the rest of it a deep black. The edges are sharp, but utility knife blades will lead a rough life and they don’t start out Scary Sharp.
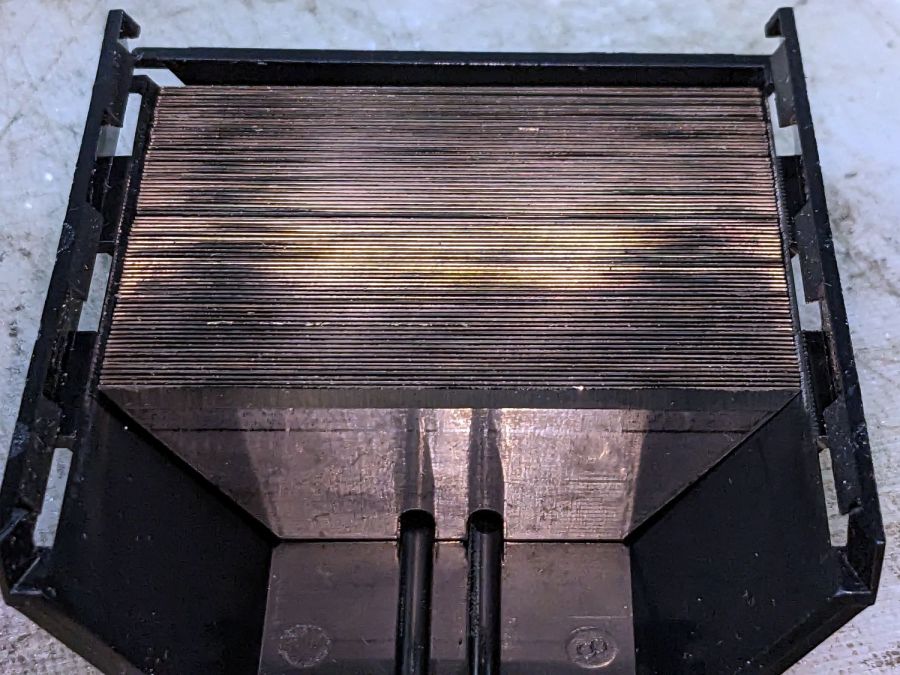
Xacto blades come closer to an ideal razor edge:
Beam absorber – Xacto 11 blades – edge-on
The only things you (well, I) see is dust on the edges. The rest is dead black, because light hitting any shiny surface is reflected deeper into the notch between two blades and eventually absorbed.
Double-edge razor blades are sharper and would likely be even blacker, particularly cheap ones without fancy lubricating coatings.
Bonus: the wavelength of CO₂ laser IR light is 10-20× that of visible light, which makes the surfaces that much more reflective. The geometry still channels the reflections into the block and nothing comes out.
There are some fairly obvious reasons why nobody uses a stack of razor blades as a beam absorber in real life:
Lethally sharp cutting hazard
Impossible to clean without wrecking the edge
But for personal use, why not?
Some doodles:
Steel has a specific heat around 0.47 J/g·K and a stack of utility blades weighing 140 g is 23 mm across. Soaking up a 60 W beam will raise the temperature of the stack by:
0.91 K/s = 60 J/s / (0.47 J/g·K × 140 g)
Which seems reasonable: fire a 10 s burst, measure the temperature rise, and multiply by 0.91.
Similarly, a stack of Xacto #11 weighing 15 g is 11 mm across and the temperature will rise 8.5 °C/s. You’d use that for lower power beams.
You could clamp the blades into a larger heatsink, perhaps with a thermocouple / thermistor in a hole drilled into the block.
Calibrate the stack / heatsink with an embedded cartridge heater: voltage × current × pulse width gives the power dumped into the block, so measuring the temperature rise gives you the temperature-power relation.
This feels like a great Arduino project, although it’s nowhere near getting started.
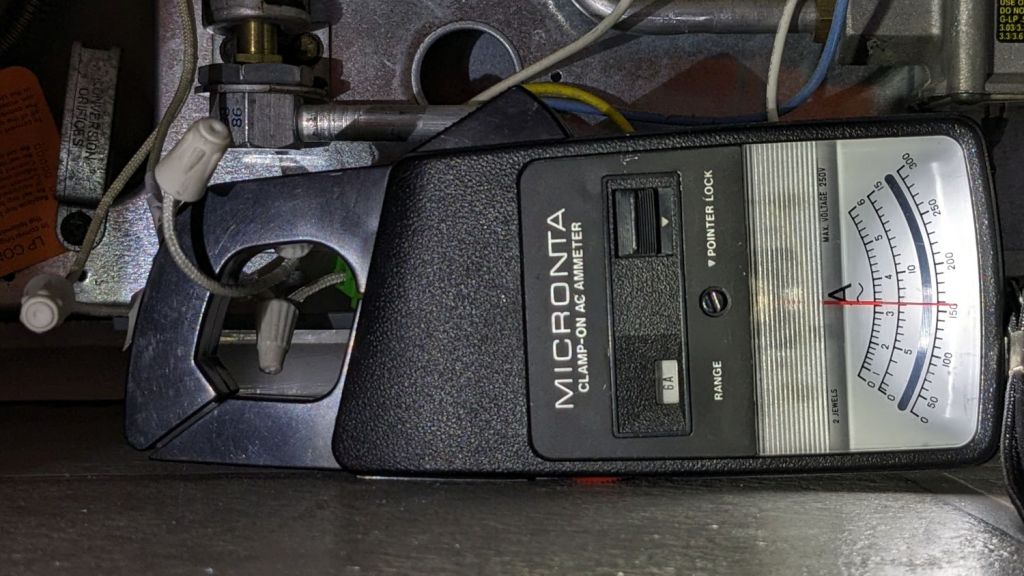
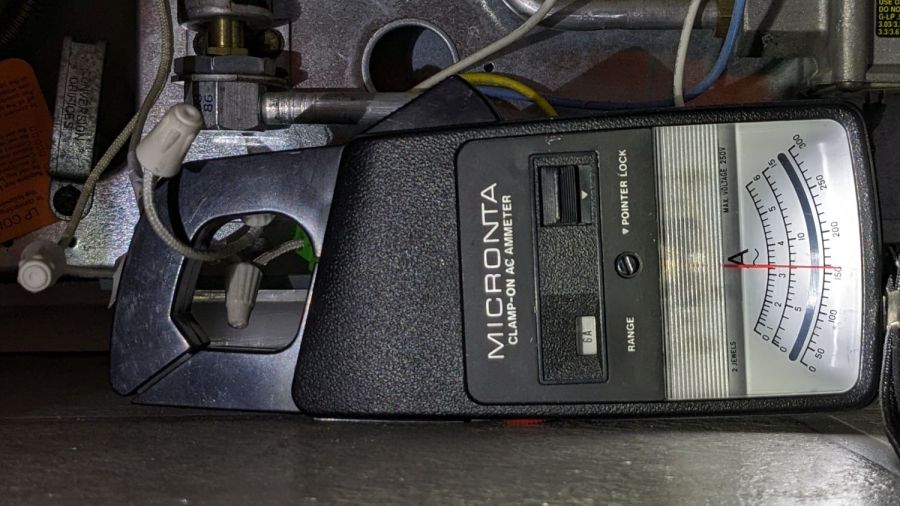
Although the oven igniter I just installed worked, its 3.0 A current fell below the gas valve’s minimum 3.3 A, which, based on past experience, suggested it would fail in short order. Just to see what happened, I sent a note to the seller, who offered a warranty swap and, after a bit of fiddling, the replacement arrived:
Oven Igniter B – 3.3 A initial current
This one draws exactly 3.3 A, so it just barely meets both its product description and the gas valve’s minimum current.