Ed Nisley's Blog: Shop notes, electronics, firmware, machinery, 3D printing, laser cuttery, and curiosities. Contents: 100% human thinking, 0% AI slop.
Category: Science
If you measure something often enough, it becomes science
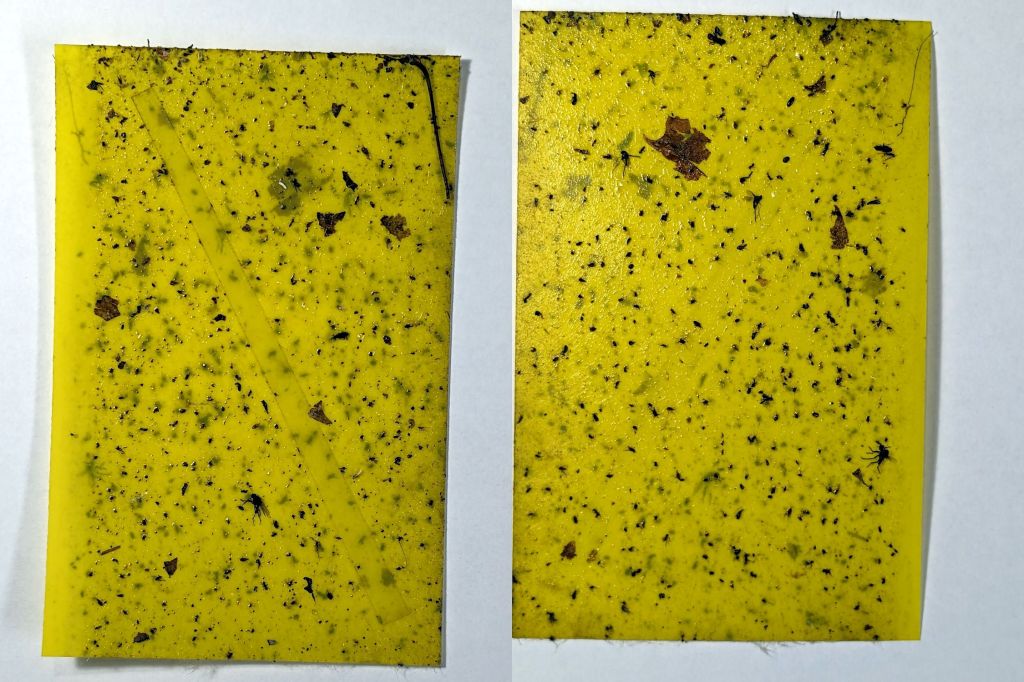
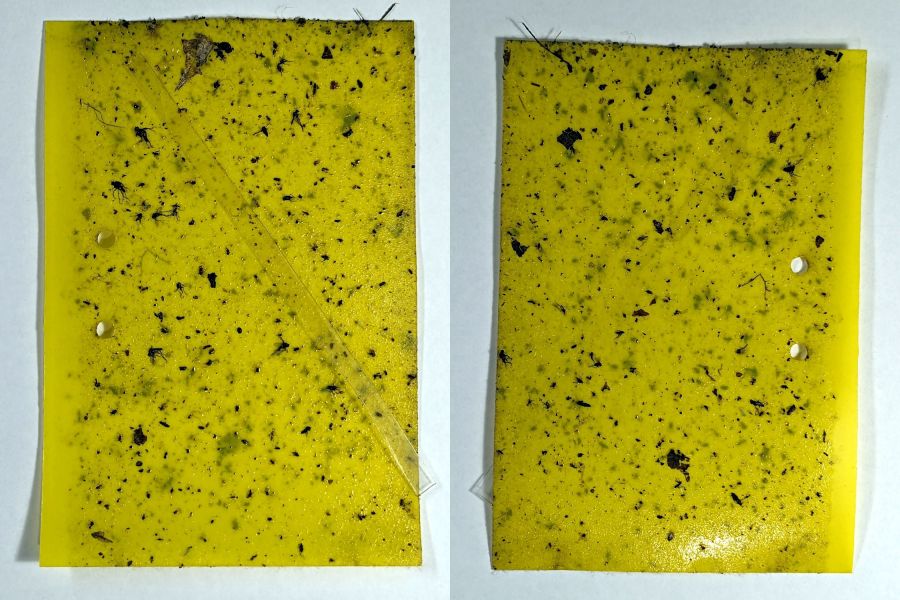
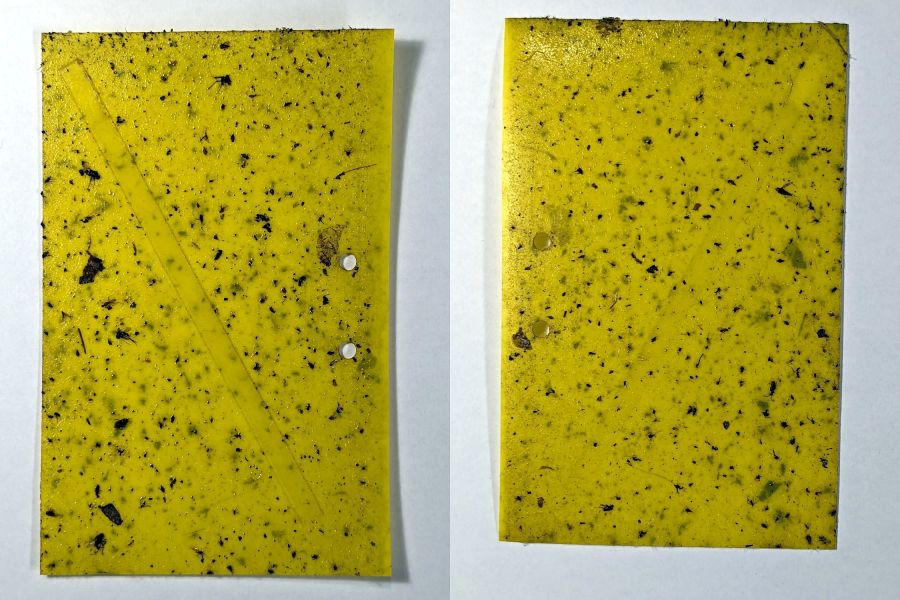
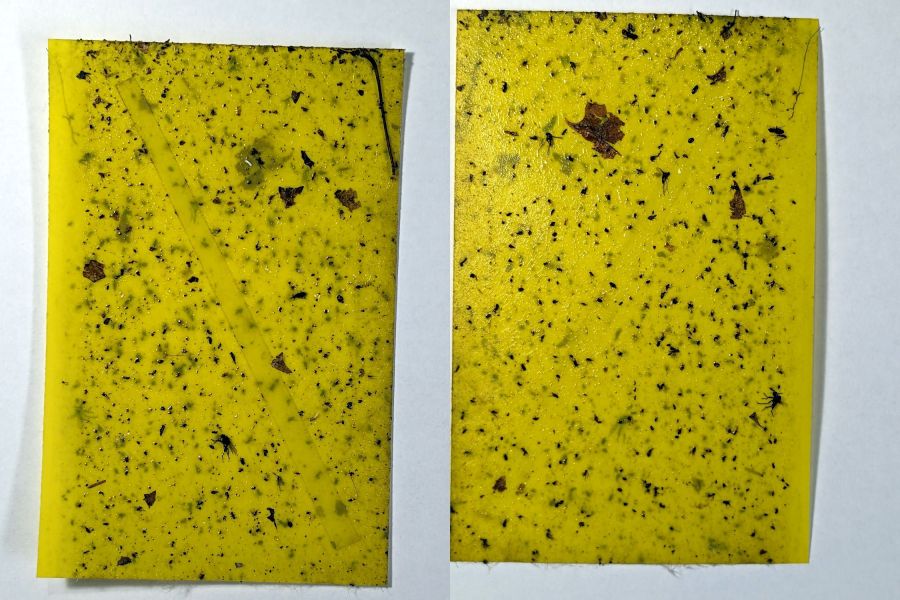
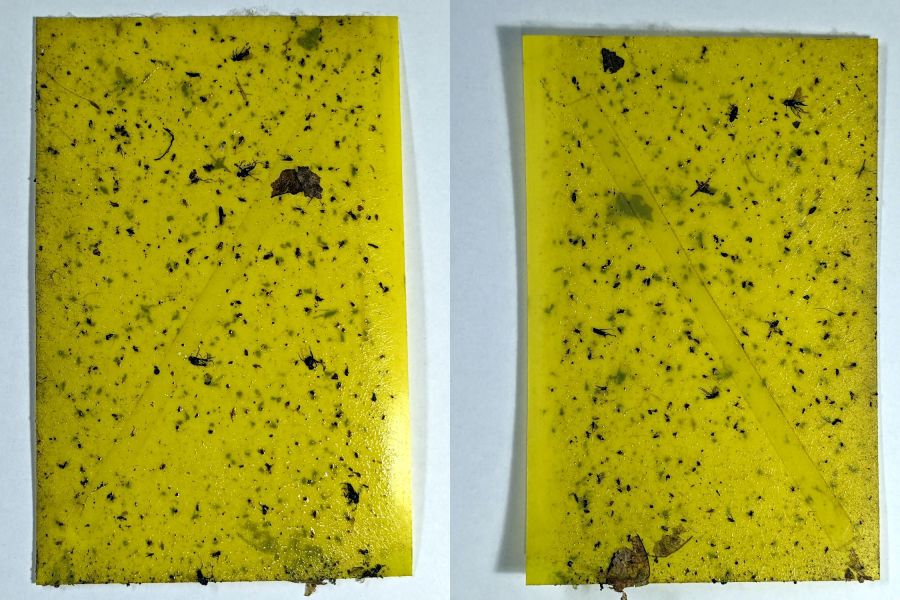
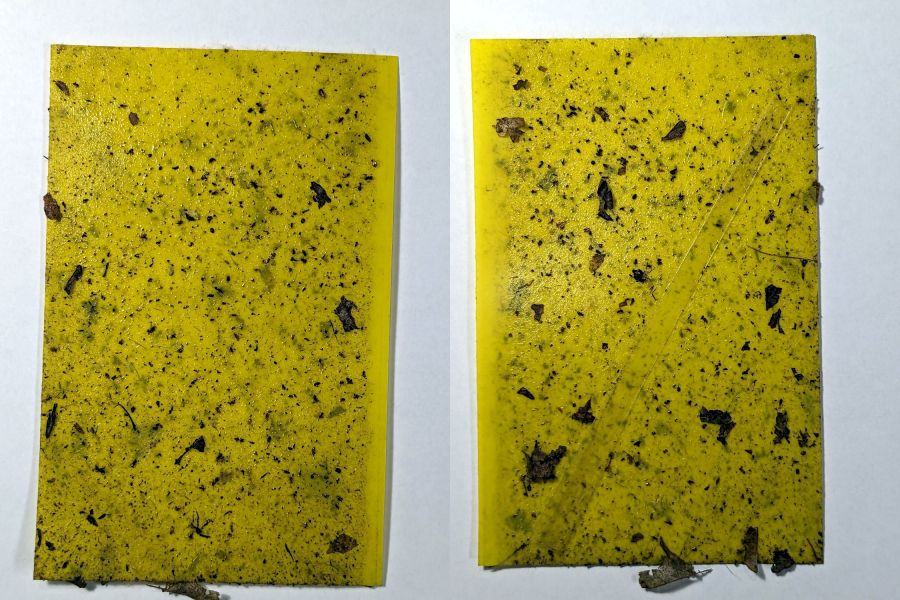
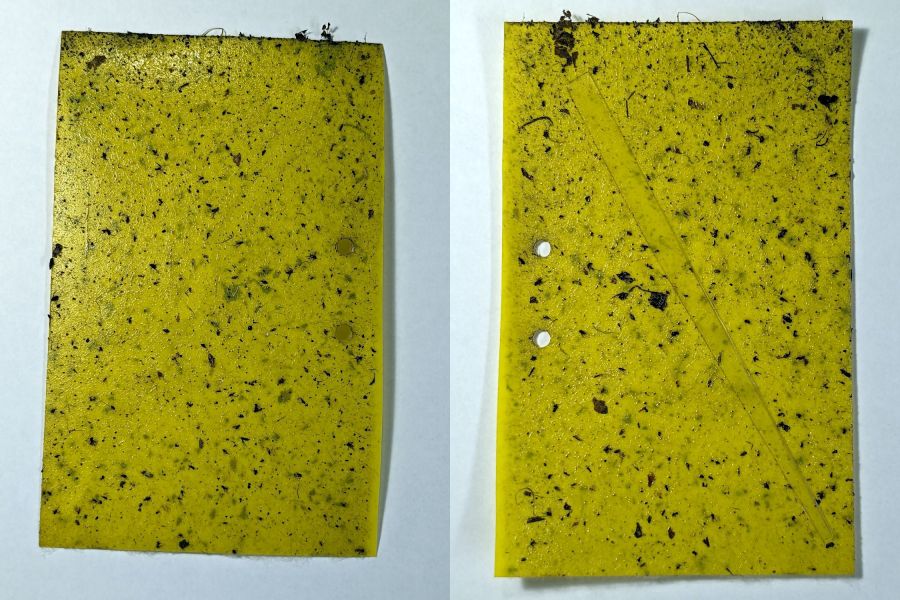
Six sticky traps have been out in Mary’s Vassar Farm onion bed from mid-April through mid-July, collecting onion maggot flies, other flying insects, and a bunch of shredded leaf mulch. Having just replaced all the sticky sheets, these are the results so far:
PXL_20230711_215255180 – VCCG Onion Maggot Trap F
PXL_20230711_215229538 – VCCG Onion Maggot Trap E
PXL_20230711_215159950 – VCCG Onion Maggot Trap D
PXL_20230711_215129817 – VCCG Onion Maggot Trap C
PXL_20230711_215041012 – VCCG Onion Maggot Trap B
PXL_20230711_215002214 – VCCG Onion Maggot Trap A
Each image is the front and back of a single sticky sheet flipped over left-to-right; I did not keep track of the original trap locations.
If you need the original camera images to get enough pixels for itemizing the smaller dots, let me know.
CO₂ laser power meters seem to depend on a flat-black absorbing surface to soak up a (typically unfocused) beam pulse, backed by a known metal mass with a thermocouple to measure the temperature rise above ambient. Knowing the pulse width, the temperature rise, the absorber mass and specific heat capacity, you can compute the pulse energy and average power during the pulse.
Previous tinkering with an old Gentec ED-200 showed this works well, although the absorber surface took something of a beating because it was definitely not rated for the OMTech’s 60 W (claimed) beam power.
Rather than using a spendy absorber surface with a durable coating, perhaps a geometric absorber using reflective surfaces arranged to channel the energy into the material, rather than away from it, might suffice.
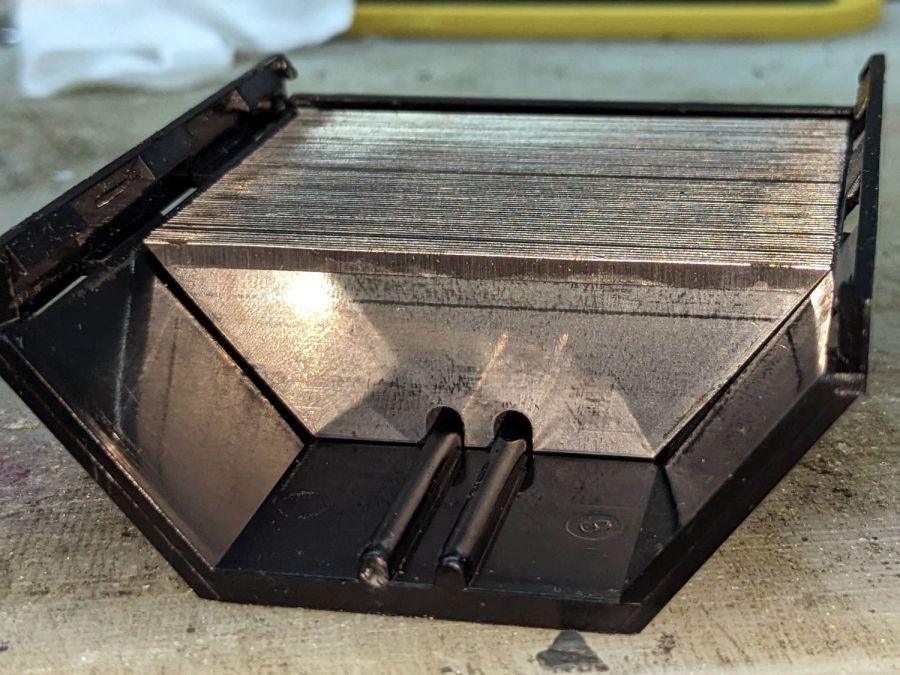
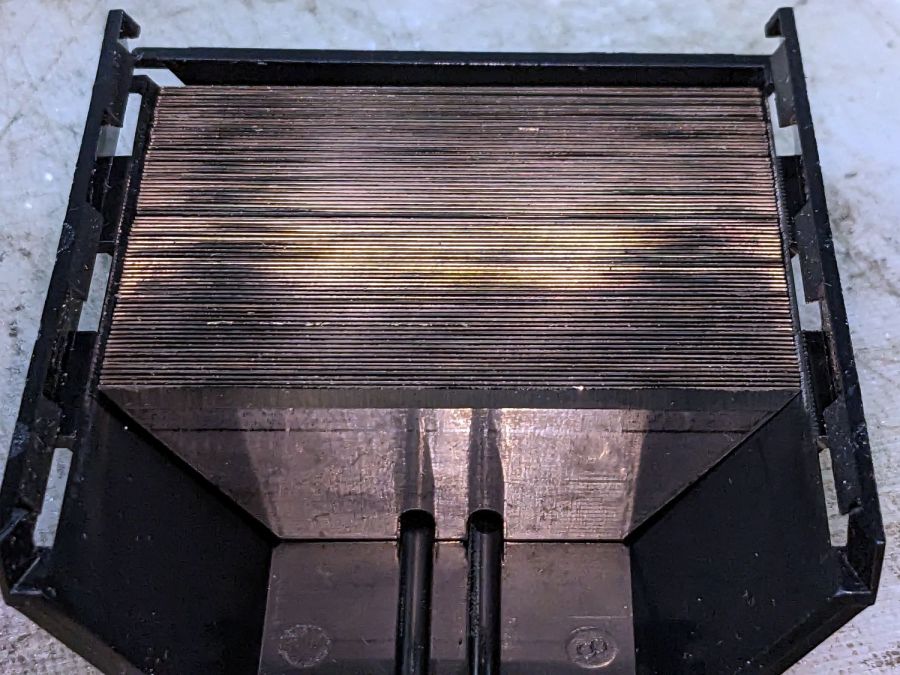
Consider a pack of ordinary utility knife blades:
Beam absorber – utility blades – overview
Seen kinda-sorta perpendicular to the sharpened side of the blade edge, they’re wonderfully reflective:
Beam absorber – utility blades – edge flat
Seen perpendicular to the edge itself, they’re dead black:
Beam absorber – utility blades – edge-on
Well, pretty close to dead black. It’s darker in real life, with glimmers along the edge and the rest of it a deep black. The edges are sharp, but utility knife blades will lead a rough life and they don’t start out Scary Sharp.
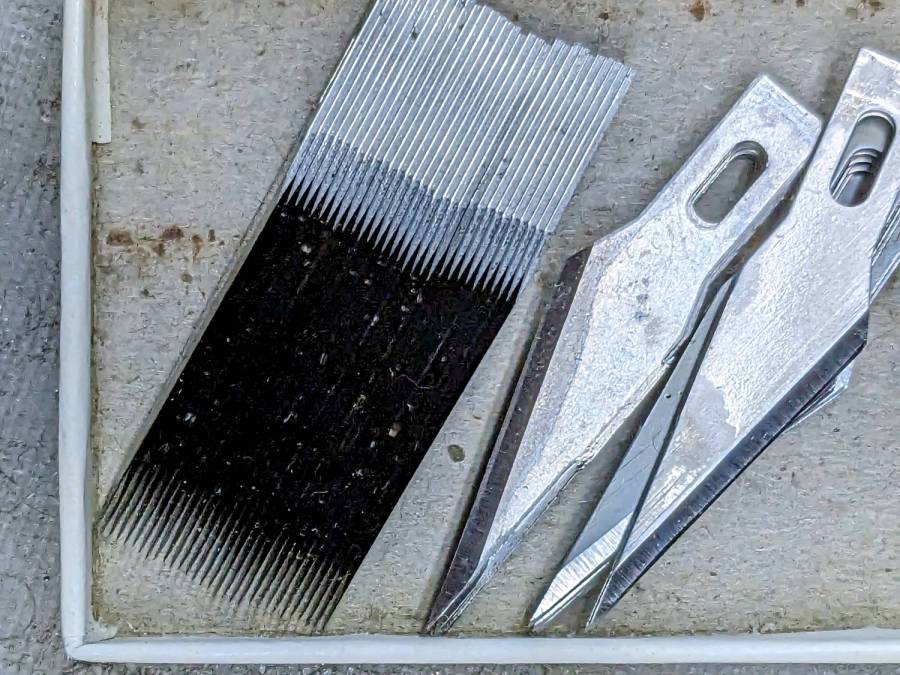
Xacto blades come closer to an ideal razor edge:
Beam absorber – Xacto 11 blades – edge-on
The only things you (well, I) see is dust on the edges. The rest is dead black, because light hitting any shiny surface is reflected deeper into the notch between two blades and eventually absorbed.
Double-edge razor blades are sharper and would likely be even blacker, particularly cheap ones without fancy lubricating coatings.
Bonus: the wavelength of CO₂ laser IR light is 10-20× that of visible light, which makes the surfaces that much more reflective. The geometry still channels the reflections into the block and nothing comes out.
There are some fairly obvious reasons why nobody uses a stack of razor blades as a beam absorber in real life:
Lethally sharp cutting hazard
Impossible to clean without wrecking the edge
But for personal use, why not?
Some doodles:
Steel has a specific heat around 0.47 J/g·K and a stack of utility blades weighing 140 g is 23 mm across. Soaking up a 60 W beam will raise the temperature of the stack by:
0.91 K/s = 60 J/s / (0.47 J/g·K × 140 g)
Which seems reasonable: fire a 10 s burst, measure the temperature rise, and multiply by 0.91.
Similarly, a stack of Xacto #11 weighing 15 g is 11 mm across and the temperature will rise 8.5 °C/s. You’d use that for lower power beams.
You could clamp the blades into a larger heatsink, perhaps with a thermocouple / thermistor in a hole drilled into the block.
Calibrate the stack / heatsink with an embedded cartridge heater: voltage × current × pulse width gives the power dumped into the block, so measuring the temperature rise gives you the temperature-power relation.
This feels like a great Arduino project, although it’s nowhere near getting started.
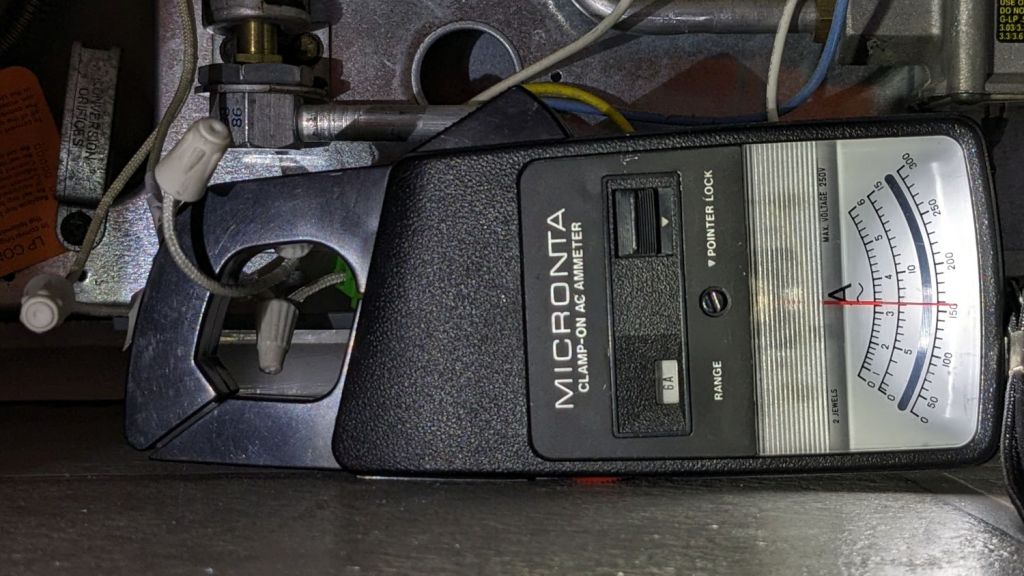
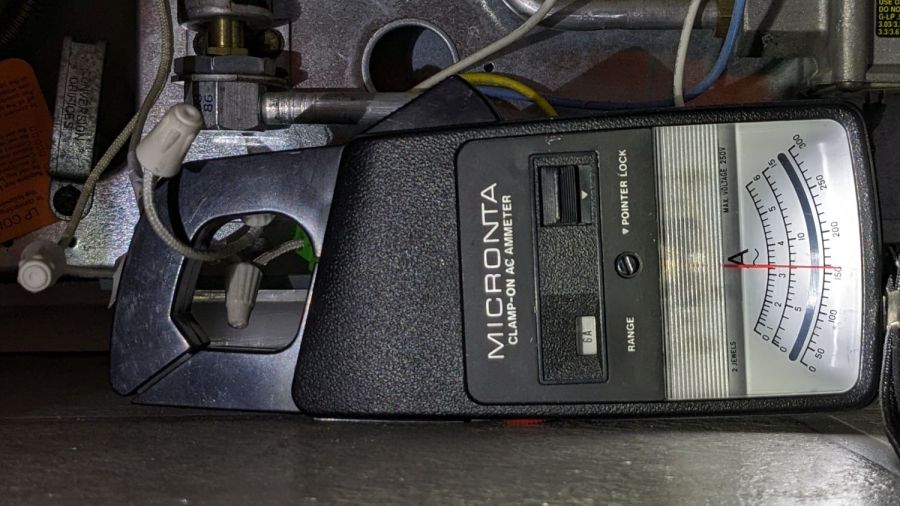
Although the oven igniter I just installed worked, its 3.0 A current fell below the gas valve’s minimum 3.3 A, which, based on past experience, suggested it would fail in short order. Just to see what happened, I sent a note to the seller, who offered a warranty swap and, after a bit of fiddling, the replacement arrived:
Oven Igniter B – 3.3 A initial current
This one draws exactly 3.3 A, so it just barely meets both its product description and the gas valve’s minimum current.
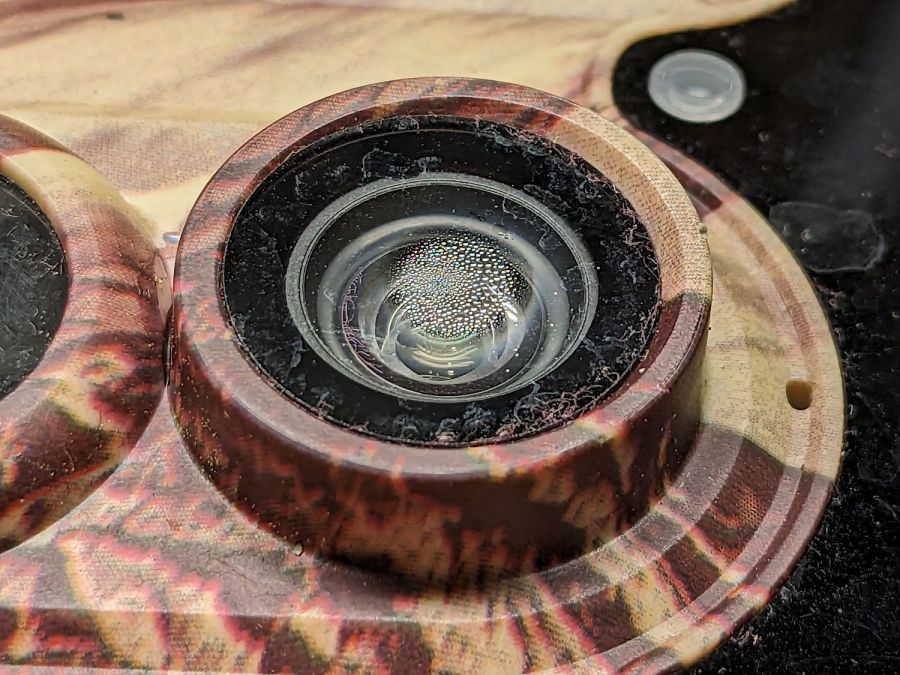
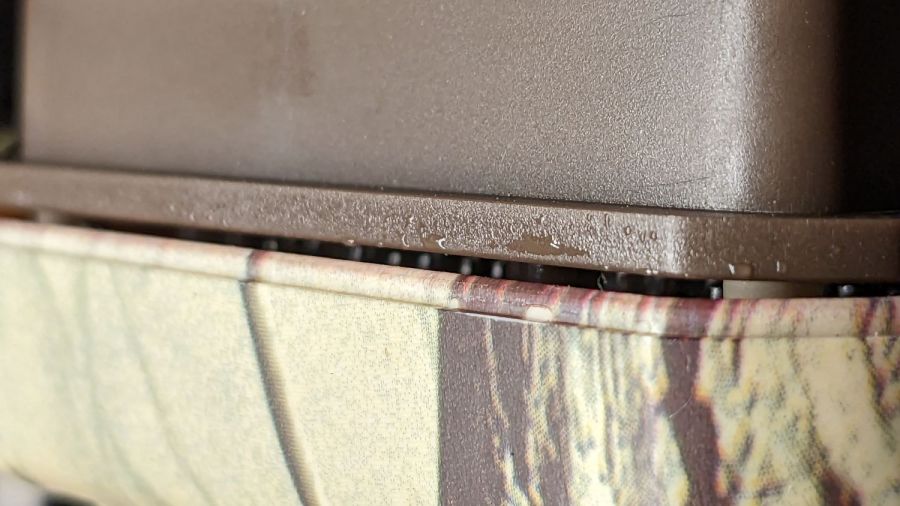
It turns out the camera’s case seal isn’t quite up to the task:
SJCam M50 camera condensation – detail
The lip around the front half of the case presses against a rubber gasket around the rear half, which means the water on the electronics chassis is inside the camera case:
SJCam M50 camera condensation – case edge
Fortunately, the water condensed on the inside of the glass lens protector, rather than on the camera itself:
SJCam M50 camera condensation – interior
I let the whole thing dry out on the bench for a few days and all seems right again.
The leak does make me think leaving it out in the rain is a Bad Idea™, which isn’t the sort of thought one should have about a trail camera.
An unfortunate confluence of weather, schedule, and enthusiasm led to mowing all the yard in one session:
Mowing pattern – 2023-05-27
I managed to remember to pause the tracker during a break in the middle, so it’s really just shy of three wall-clock hours from start to finish. It’s amazing how much work you (well, I) can get out of 100 mg of caffeine.
Despite what you see here, the path on what’s euphemistically called “our lawn” show a much more organized solution to the problem of covering our property with non-overlapping foot-and-a-half stripes. As with my leaf-shredding track, I neither venture into the road nor mow the neighboring yards.
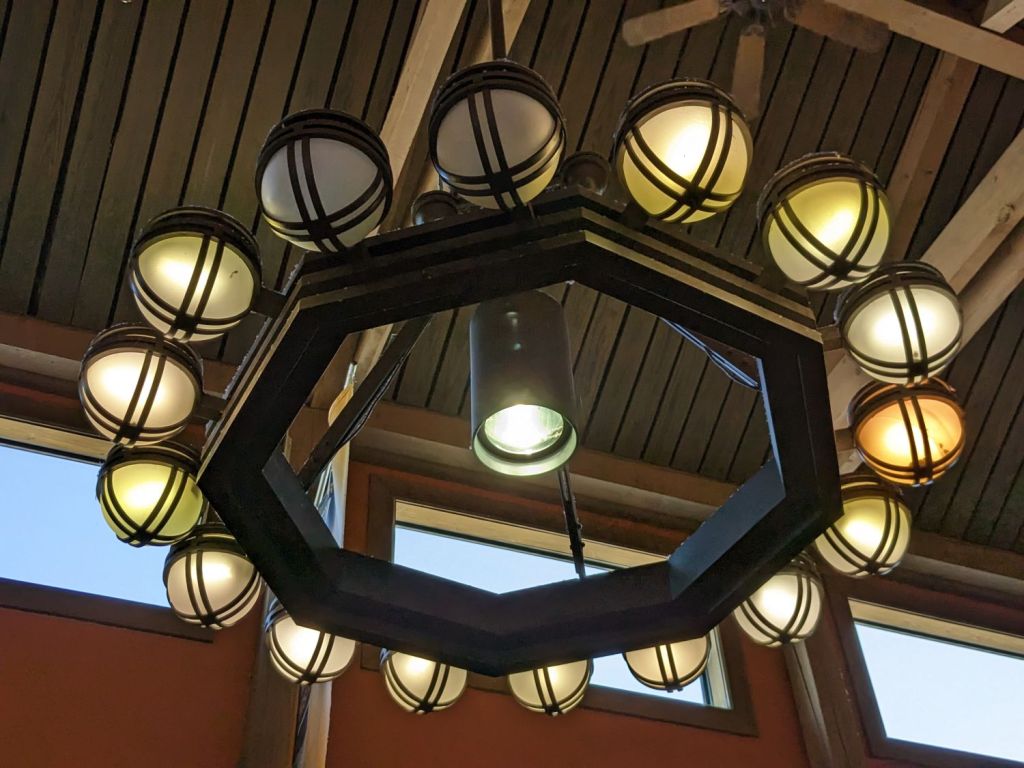
Spotted in a soon-to-be-rebuilt rest area on I-87 north of Kingston NY, a chandelier stuffed with old-school CFL bulbs of various vintages:
NYS I-87 Rest Area – CFL chandelier
The yellowish dome on the far right might still house an incandescent bulb, but I can’t tell from here.
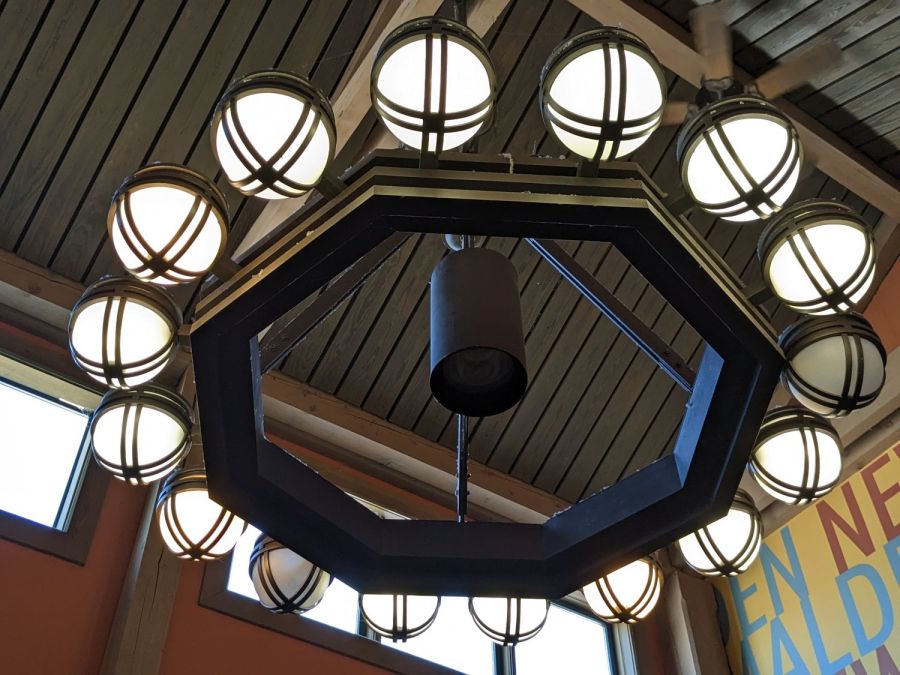
Judging from the high color temperature and even illumination, the chandelier next to it has 16 newish LED bulbs:
NYS I-87 Rest Area – LED chandelier
What’s of interest: both chandeliers have two dead bulbs and, perhaps, the center floodlight of the LED fixture had died, too. We don’t know how long they’ve been in place, other than that the LEDs are certainly more recent, but a 6% failure rate is nothing to brag about.
From what I’ve seen, the reliability of both CFL and LED bulbs is greatly overstated and certainly do not justify preemptive replacement of a working bulb of any vintage.