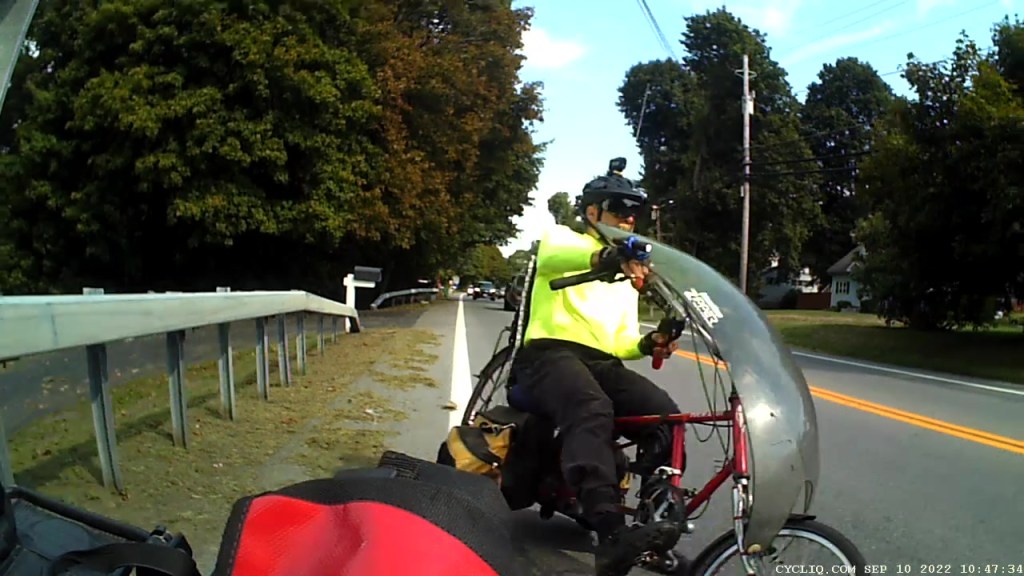
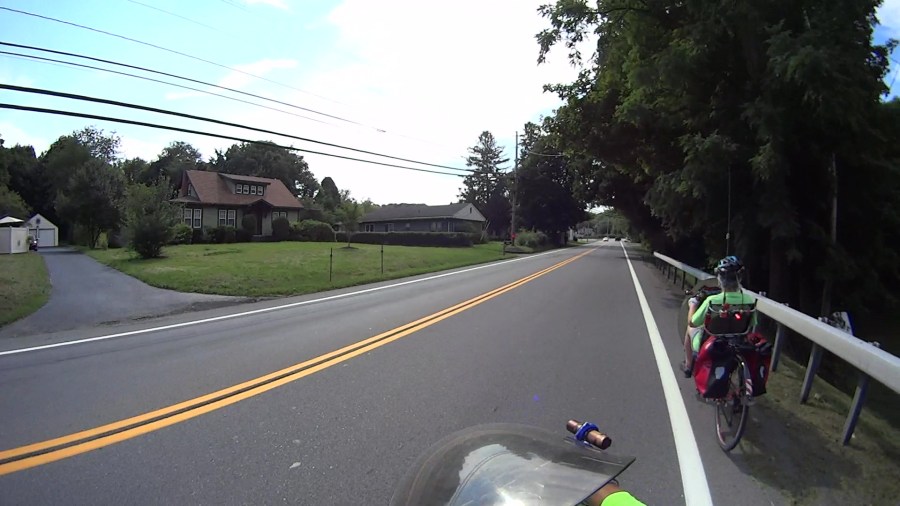
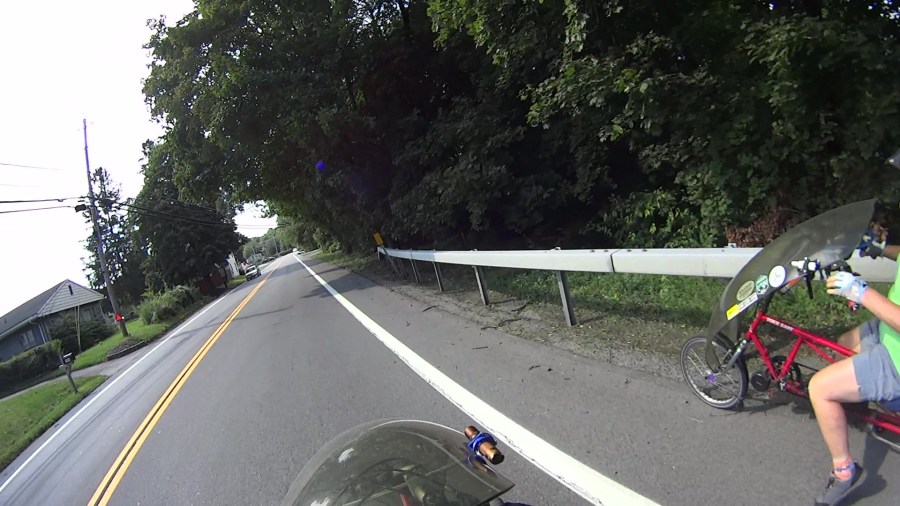
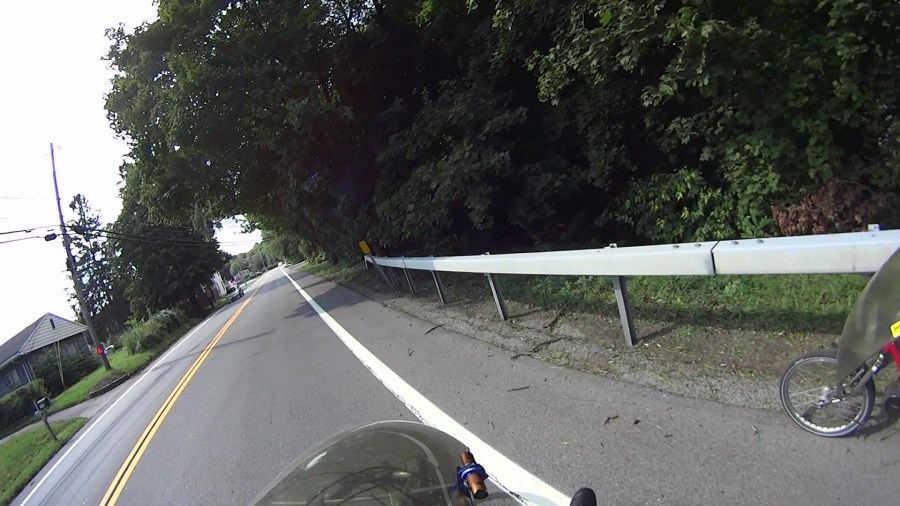
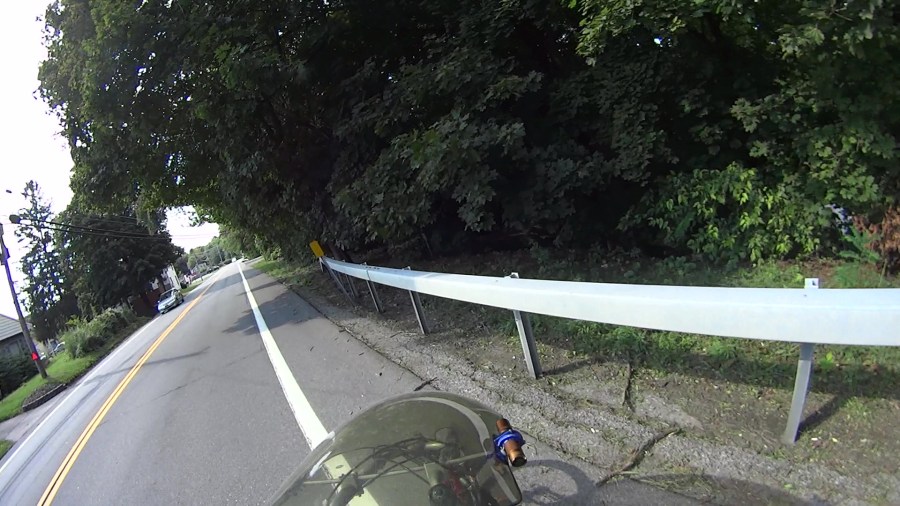
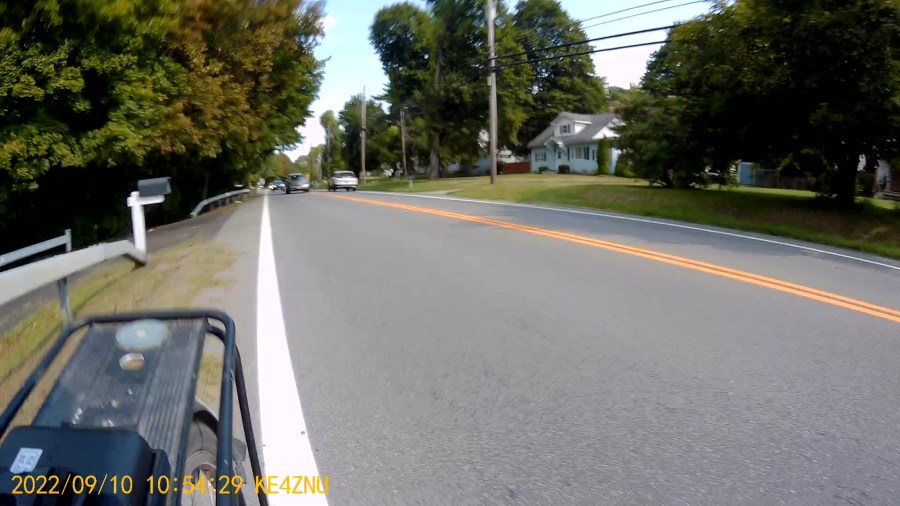
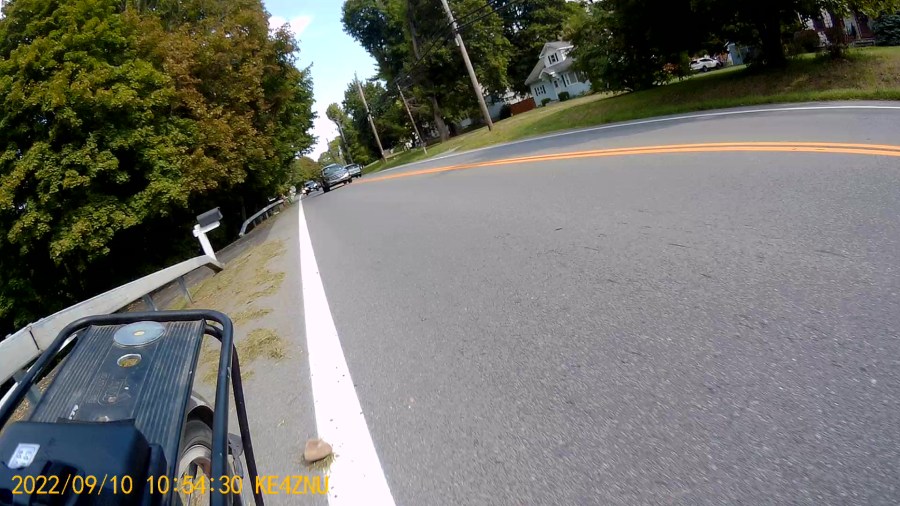
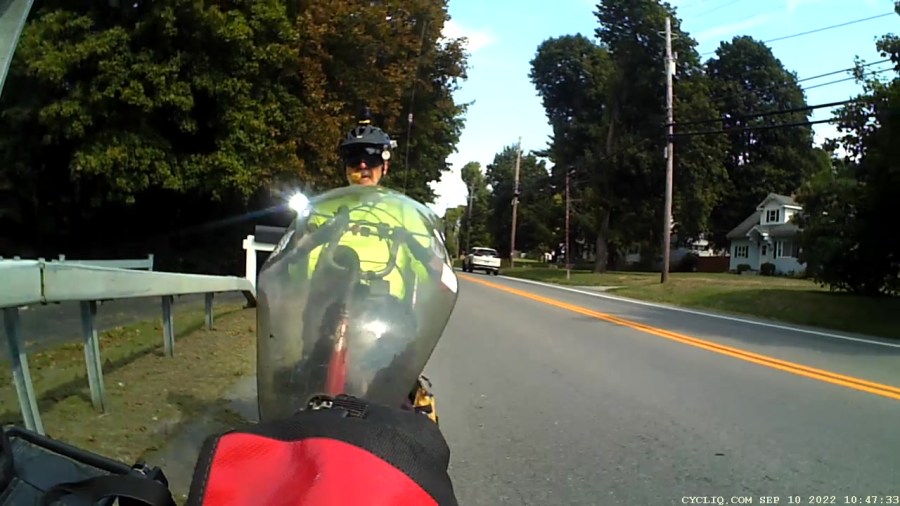
We’re southbound on Rt 376, ticking along at about 15 mph, with fresh string-trimmer debris littering the shoulder:
Did you notice the rock? I didn’t.
The fairing ripples as my front tire hits the left side of the rock:
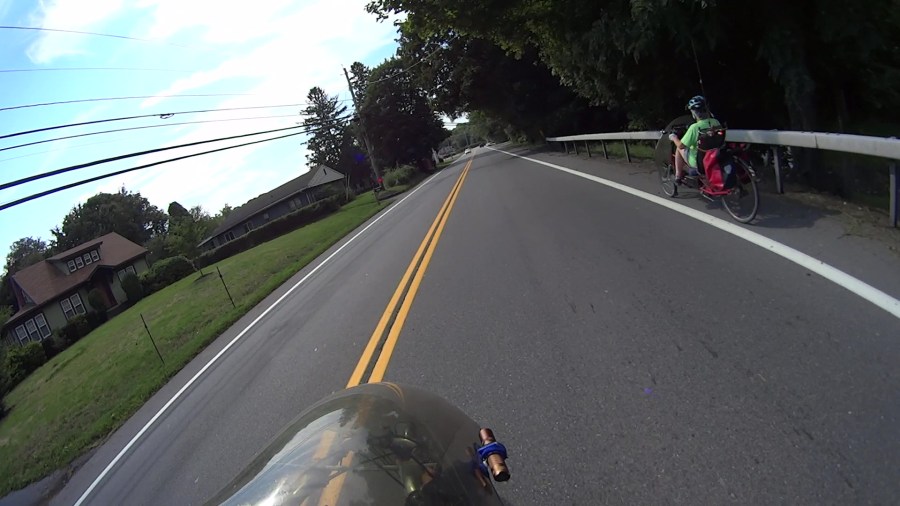
I have no memory of the next two seconds.
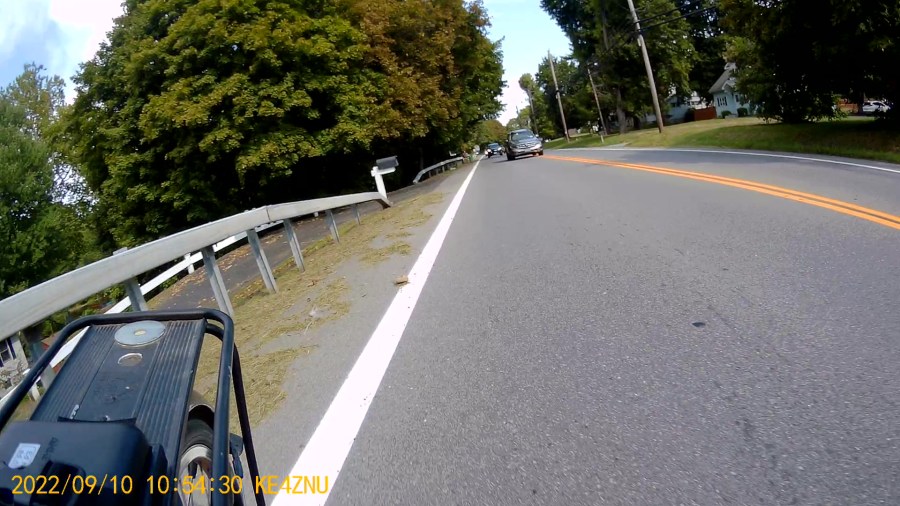
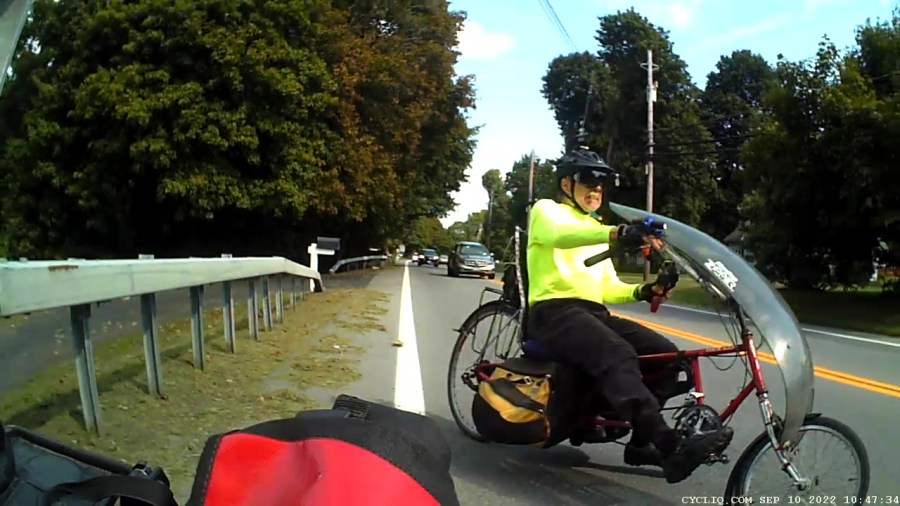
The offset impact turns the front wheel to the left, so the bike steers out from underneath my weight:
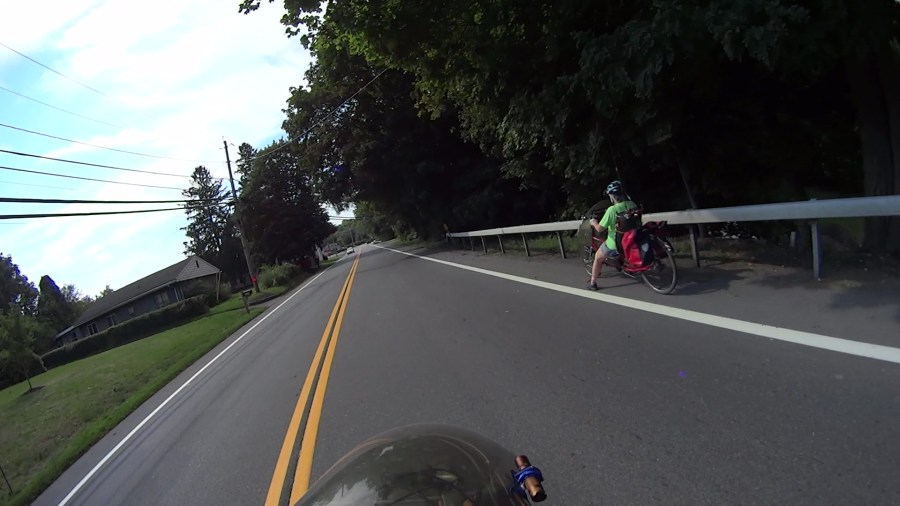
Because the bike frame was still aimed straight ahead, the wheel is steering further to the left and putting me even more off-balance. I am somehow trying to lean left far enough to get my weight lined up with the bike:
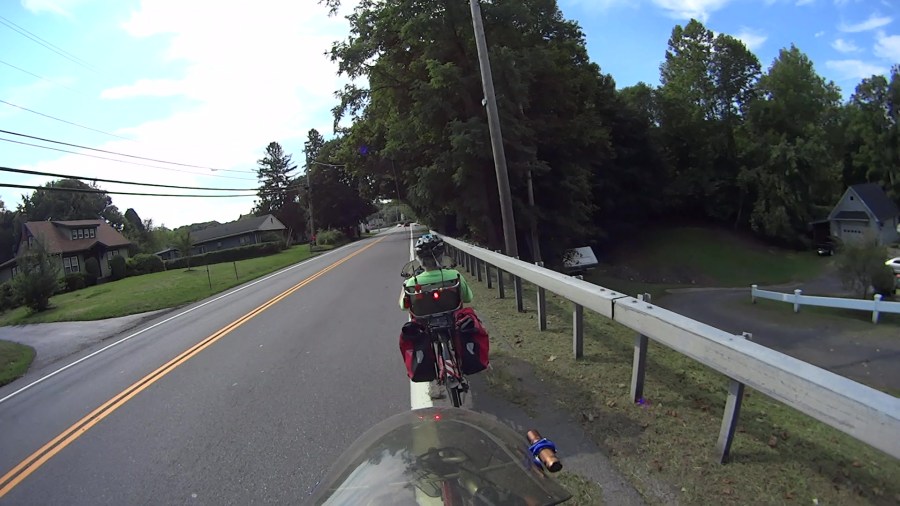
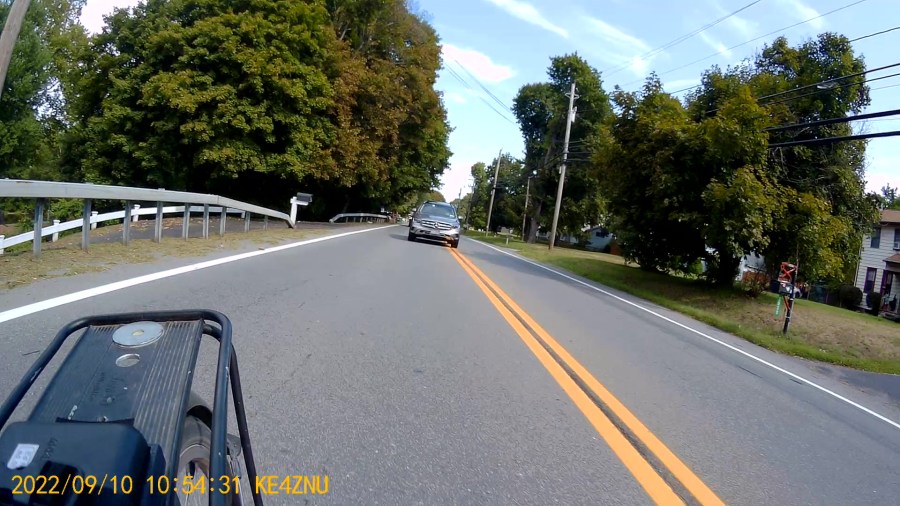
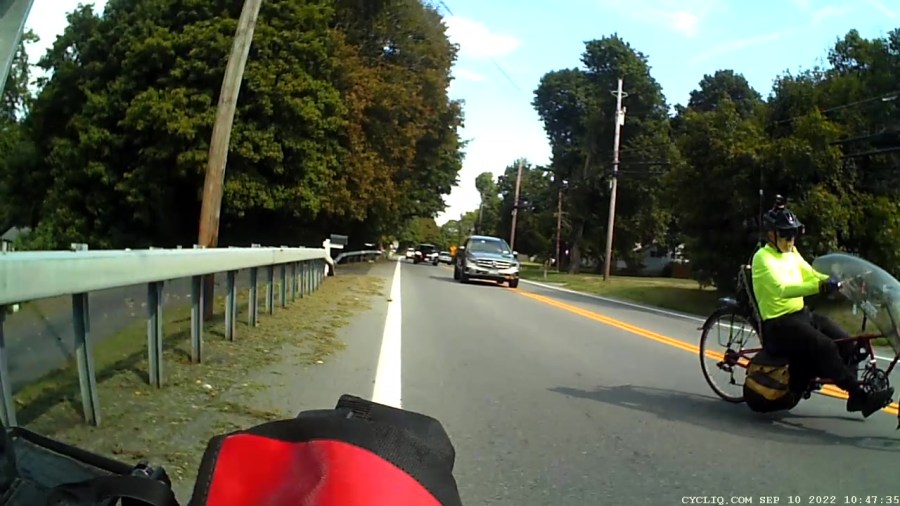
One second into the event, Mary has no idea what’s going on behind her.
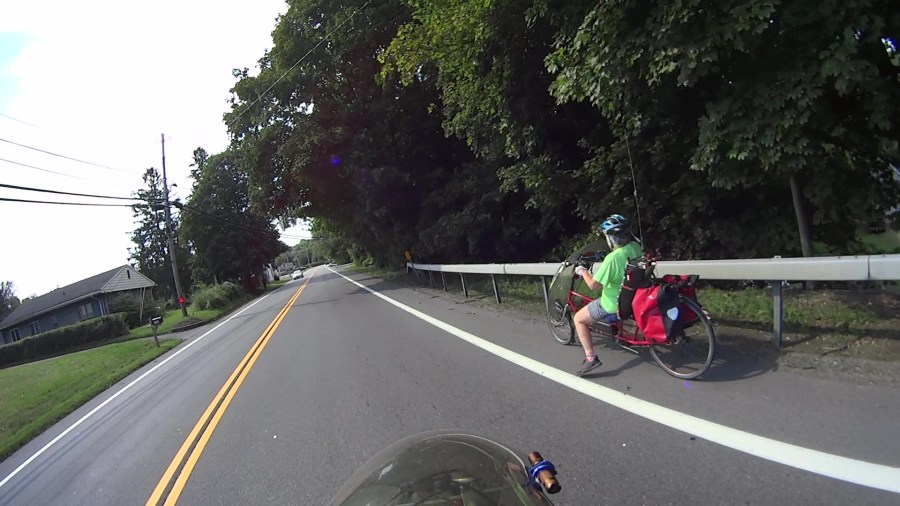
My memory resumes with an image of the yellow midline just beyond my left foot:
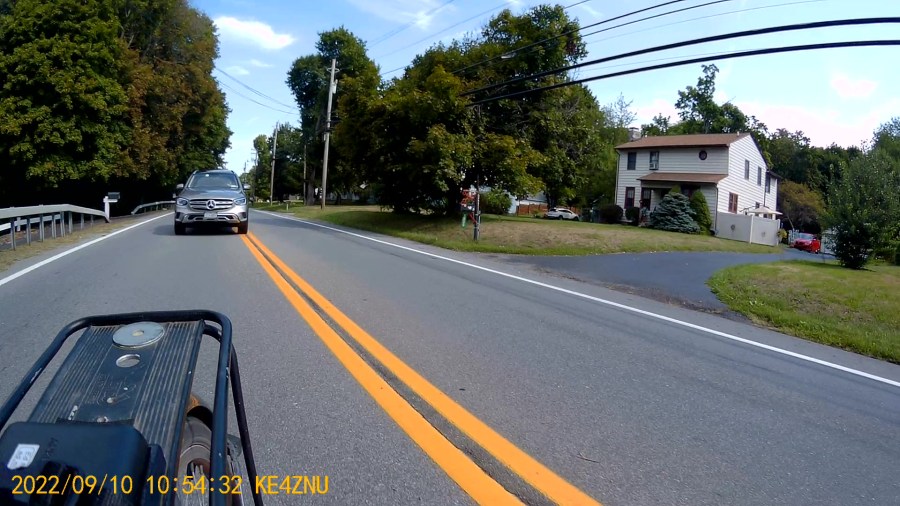
Mary heard an odd sound and asks (over the radio) “Are you all right?”
I’m approximately balanced, turning toward the shoulder, and manage to shout “NO!”:
I’m coasting toward the shoulder with my feet off the pedals:
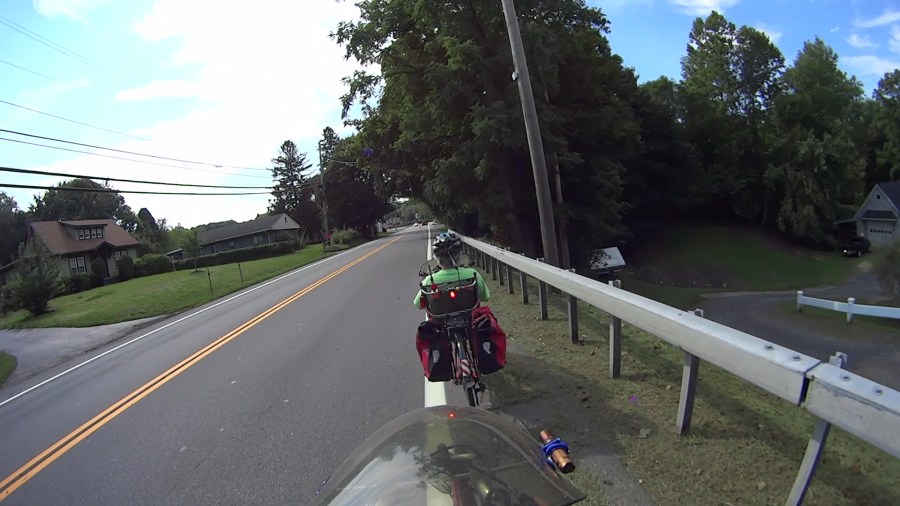
Mary is stopping and I coast past her:
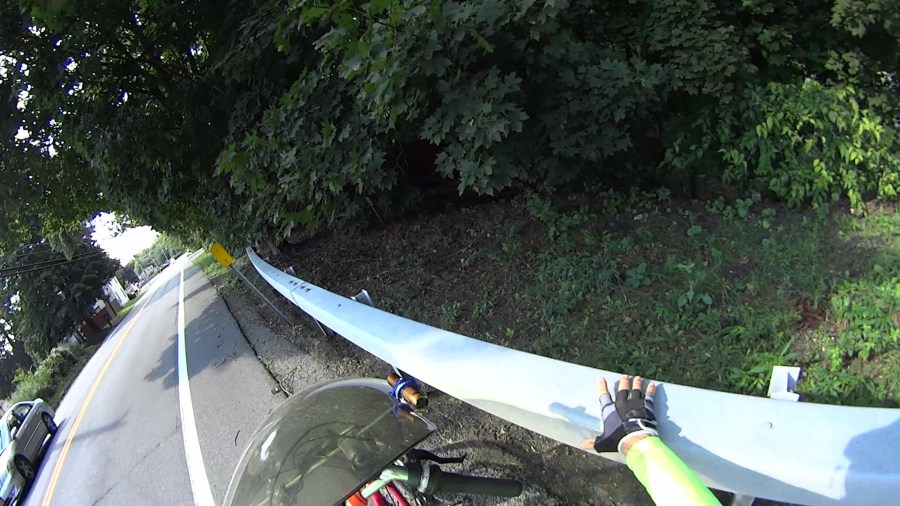
Landing gear out:
Back on the shoulder, lining up with the guide rail:
Dead slow:
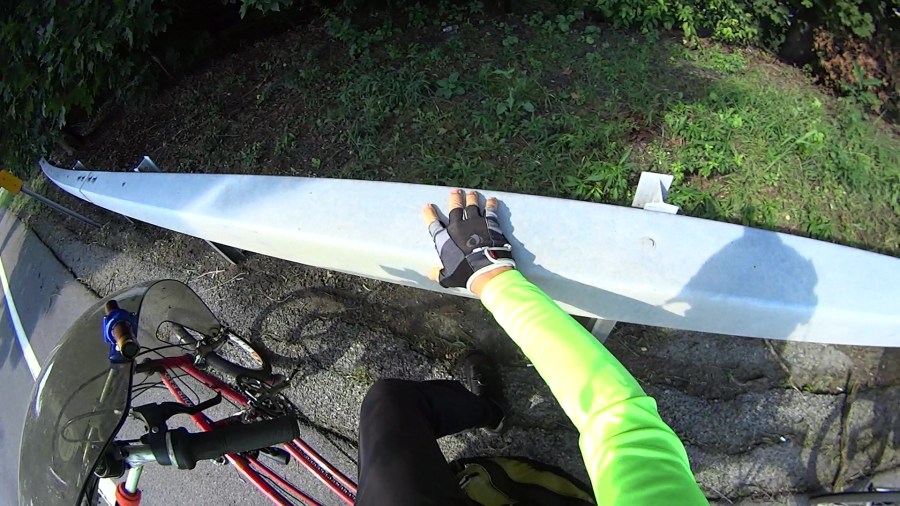
Docking adapter deployed:
And stopped:
I sat in that exact position for nearly four minutes.
A slideshow view of the same images so you can watch it unfold:
Doesn’t look like much, does it?
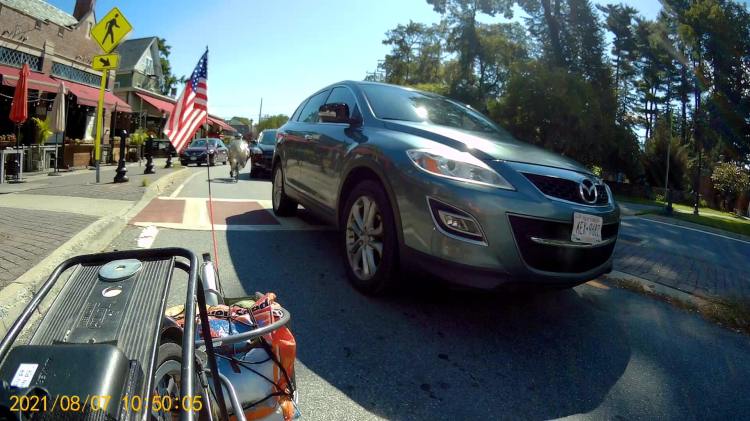
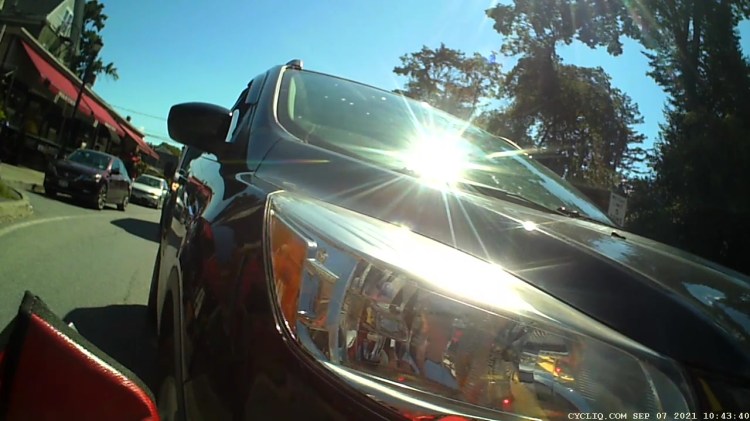
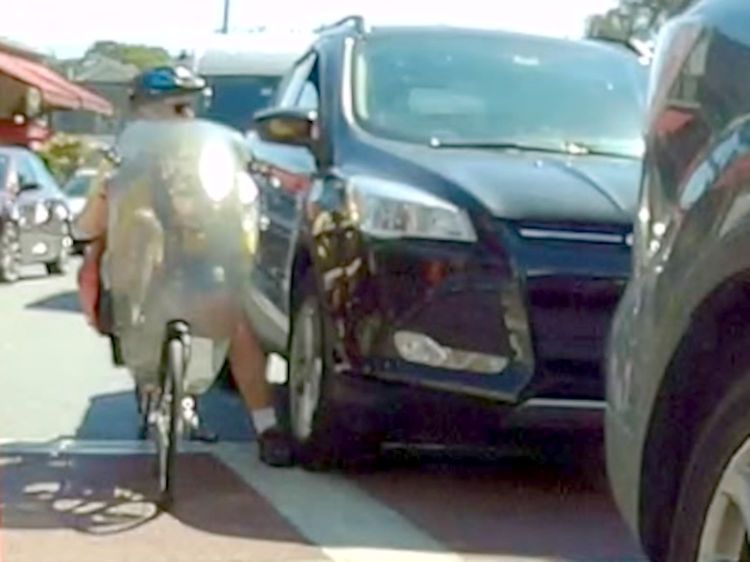
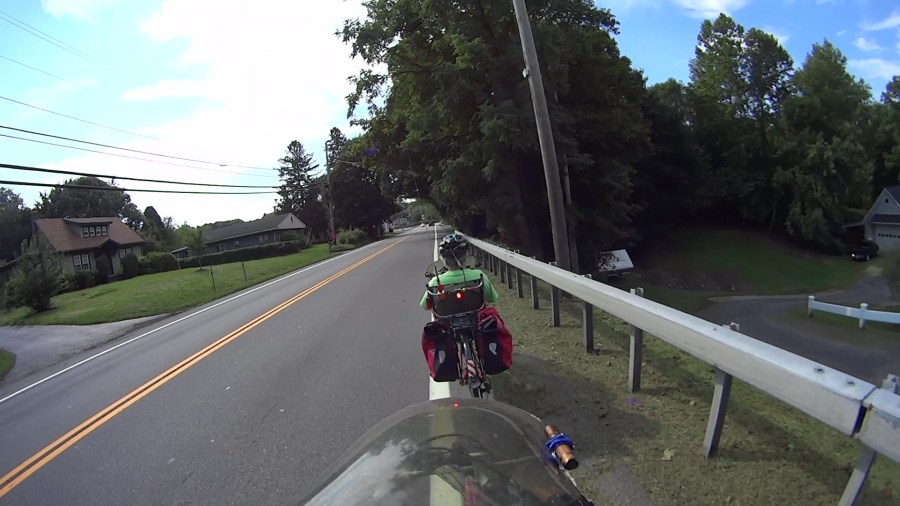
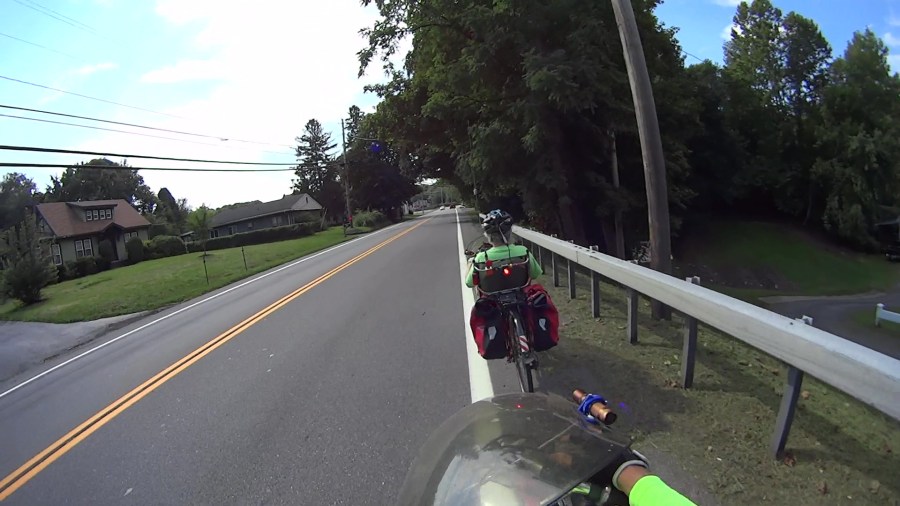
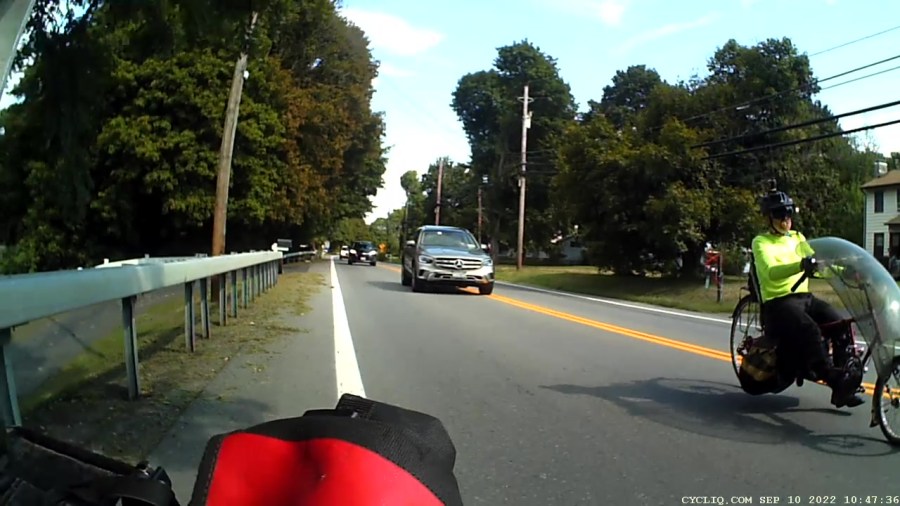
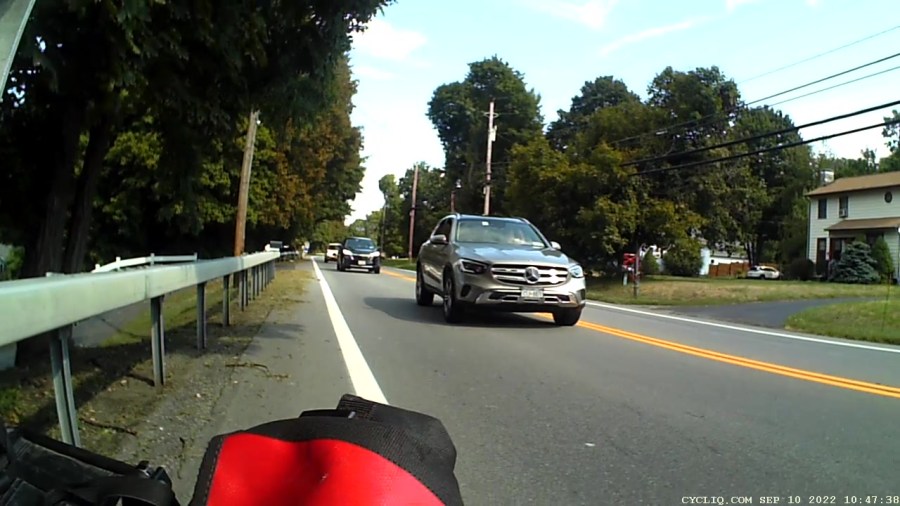
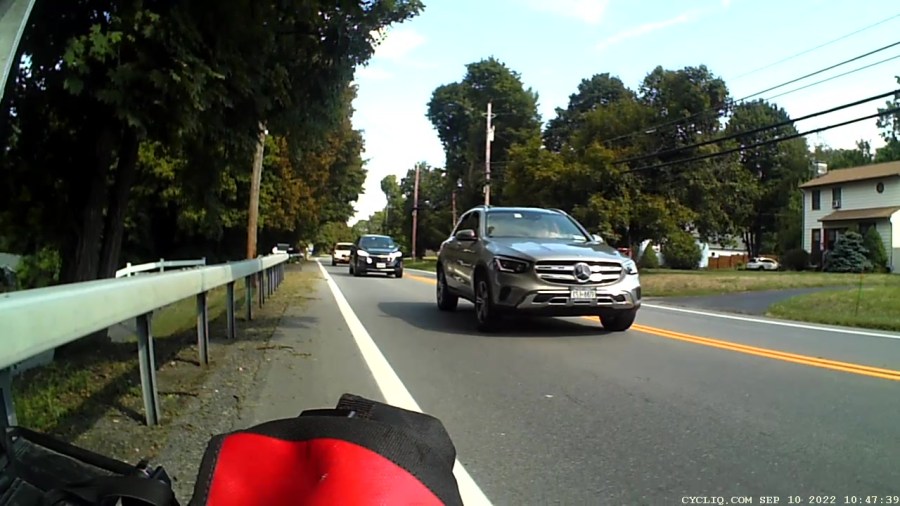
If I could have looked over my shoulder, this is what I would have seen, starting at T = 0 with the rock impact blurring the image:
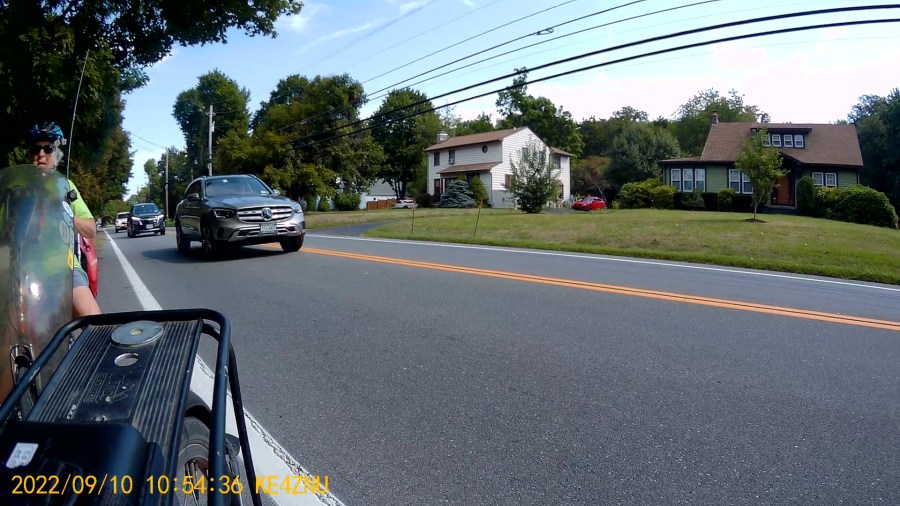
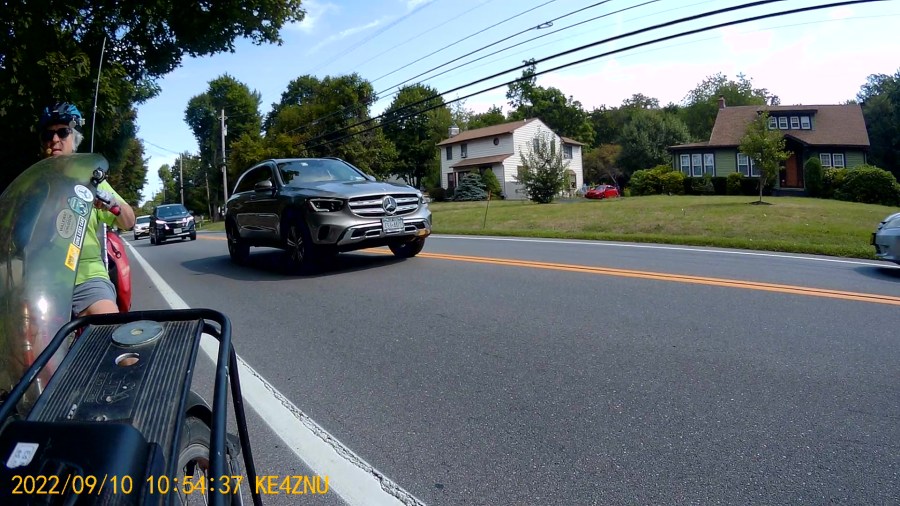

Surely scared the daylights out of that driver, perhaps confirming all the usual expectations of crazy bicyclist behavior.
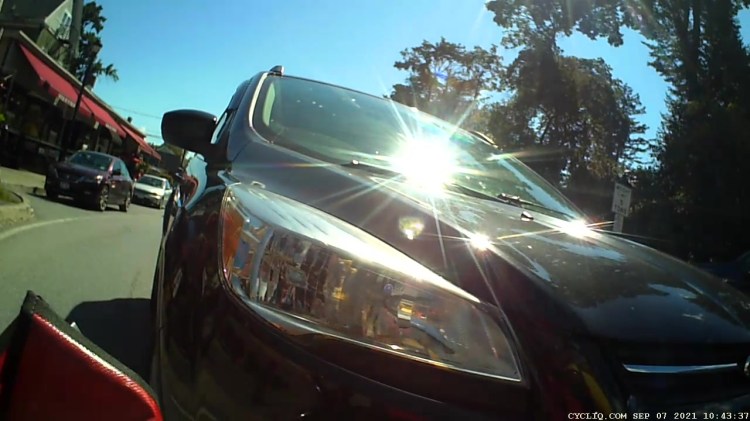
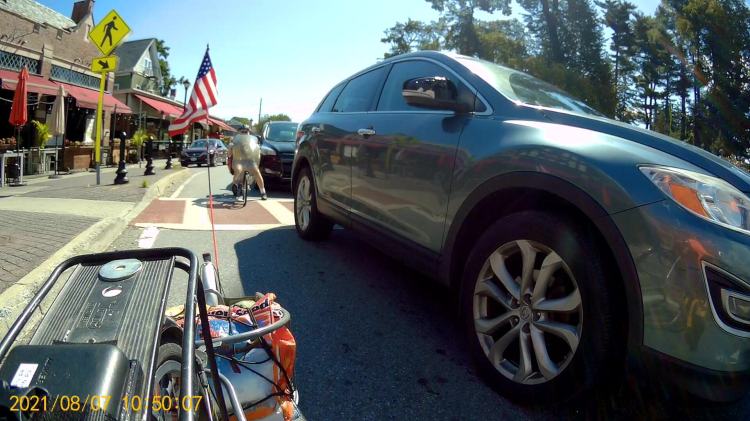
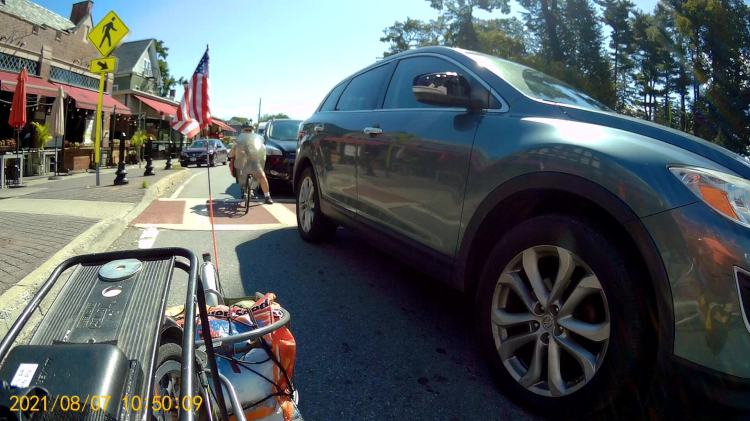
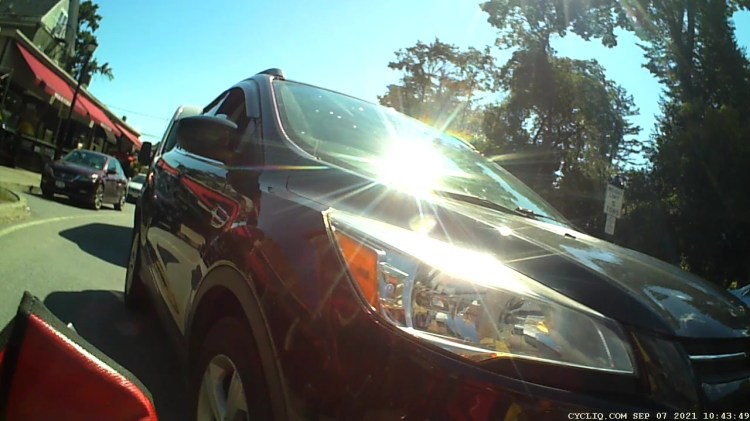
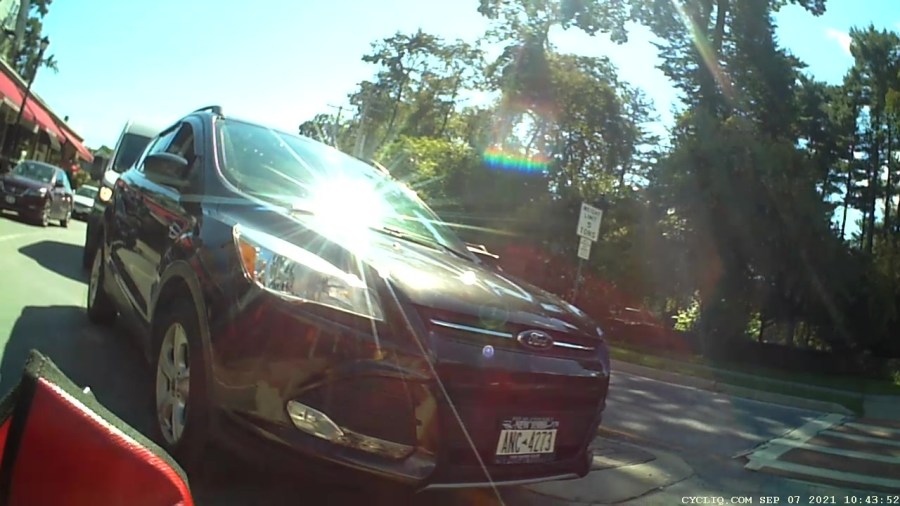
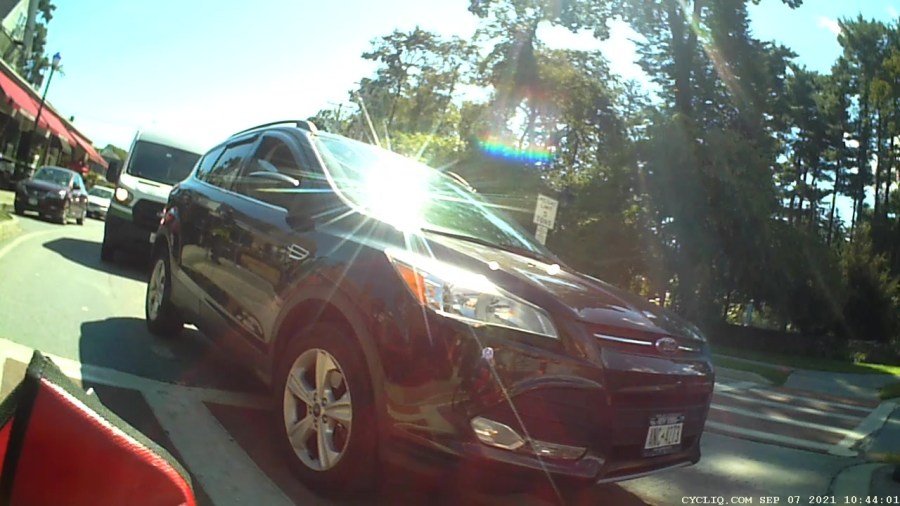
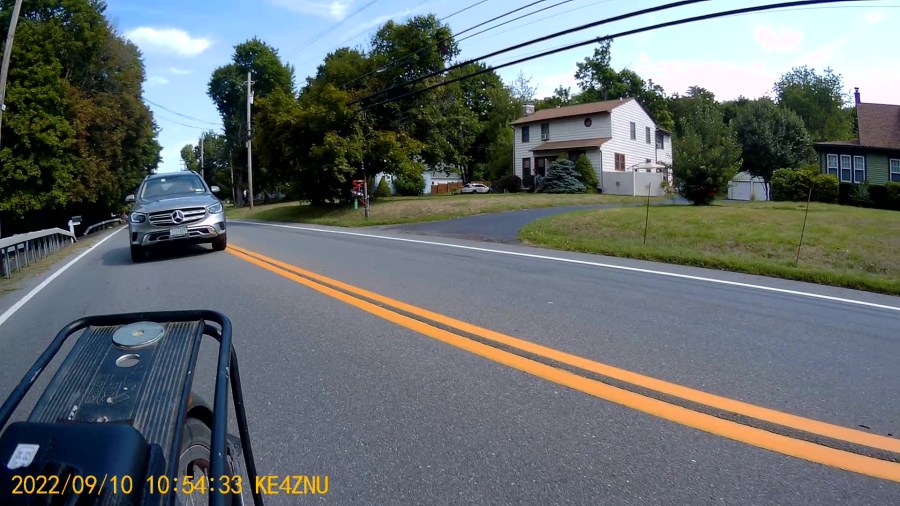
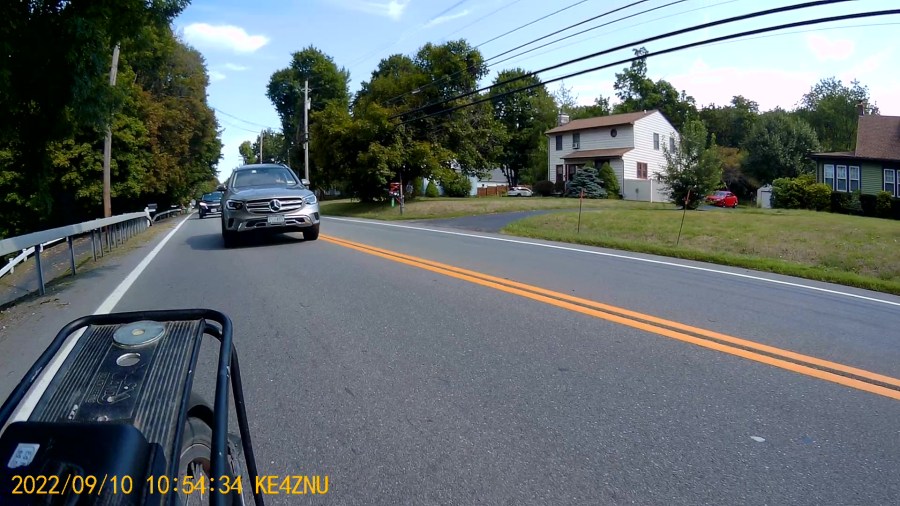
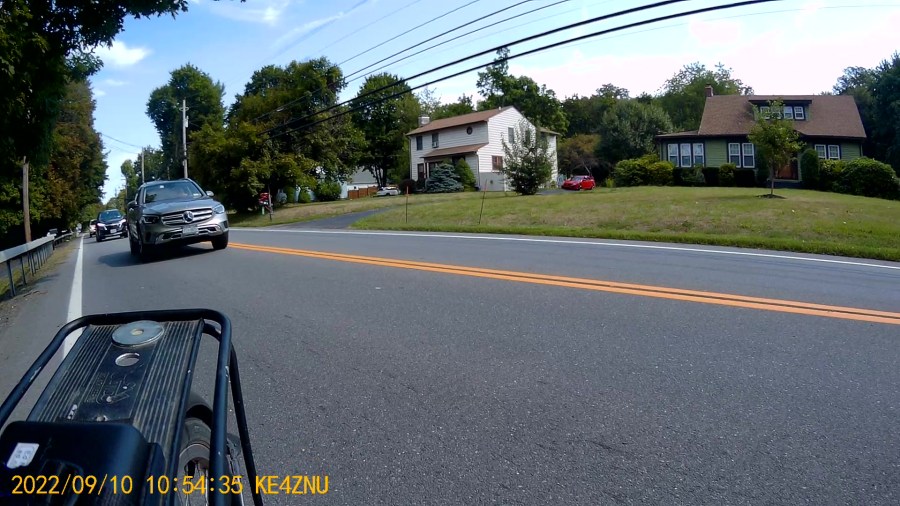
Here’s what Mary would have seen over her shoulder, again starting at T = 0 with the fairing bulging from the impact:


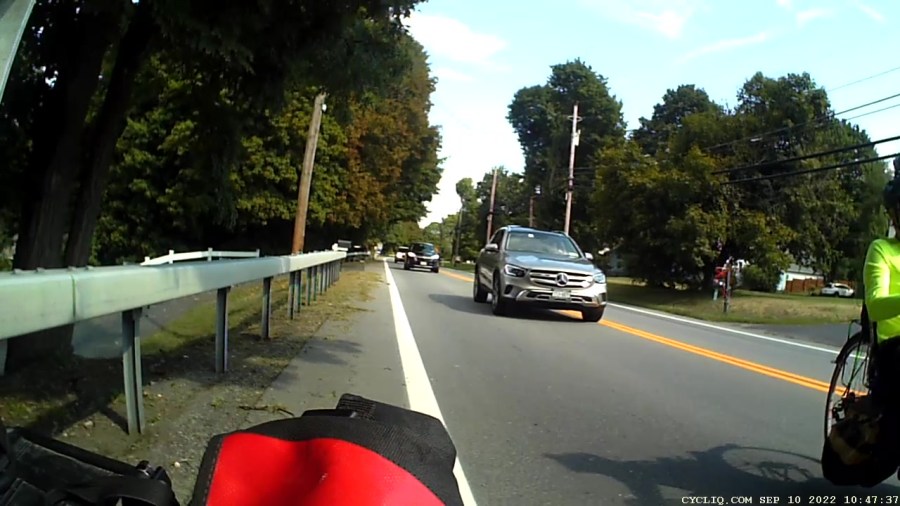
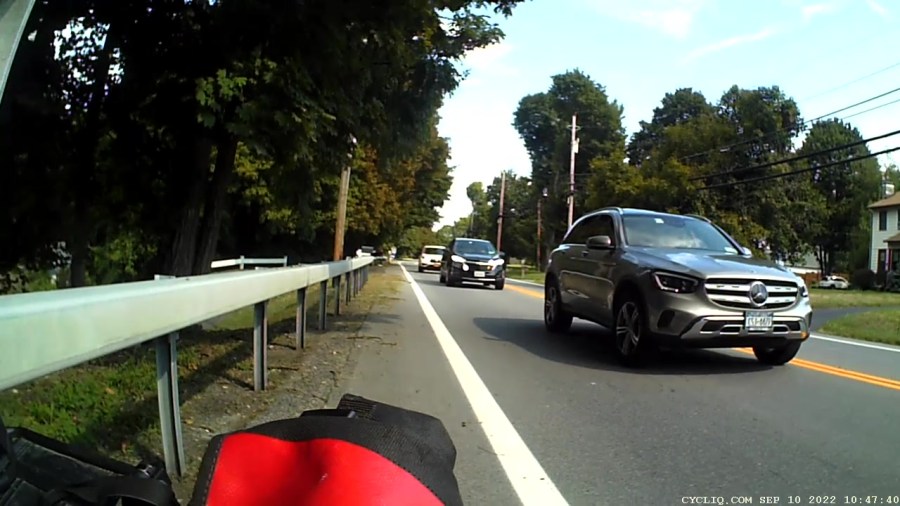
Timing is everything.
That Benz is new enough to have automatic emergency braking, as it slowed pretty dramatically while I was busy getting out of the way, but it’s not clear whether AEB knows about small / lightweight targets like pedestrians and bicyclists.
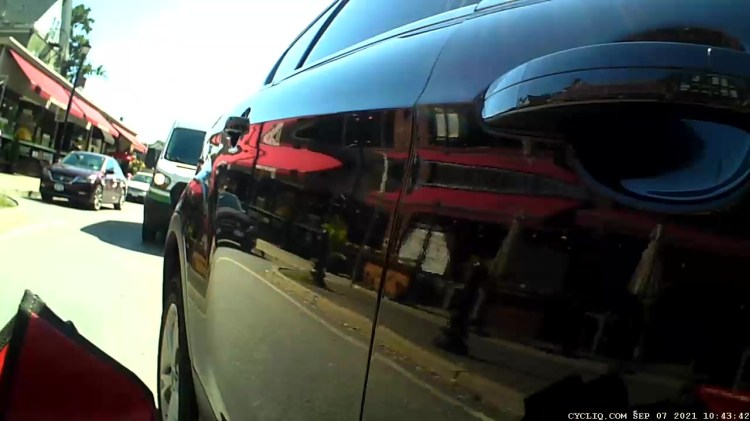
We completed the ride as planned, although I finally realized the front fender bracket had broken a few miles later.
Every adult human male has at least one story beginning “But for that millisecond or inch, I wouldn’t be here.” Now I have one more.
I must not fear. Fear is the mind-killer. Fear is the little-death that brings total obliteration. I will face my fear. I will permit it to pass over me and through me. And when it has gone past I will turn the inner eye to see its path. Where the fear has gone there will be nothing. Only I will remain.
Frank Herbert, Dune