Ed Nisley's Blog: Shop notes, electronics, firmware, machinery, 3D printing, laser cuttery, and curiosities. Contents: 100% human thinking, 0% AI slop.
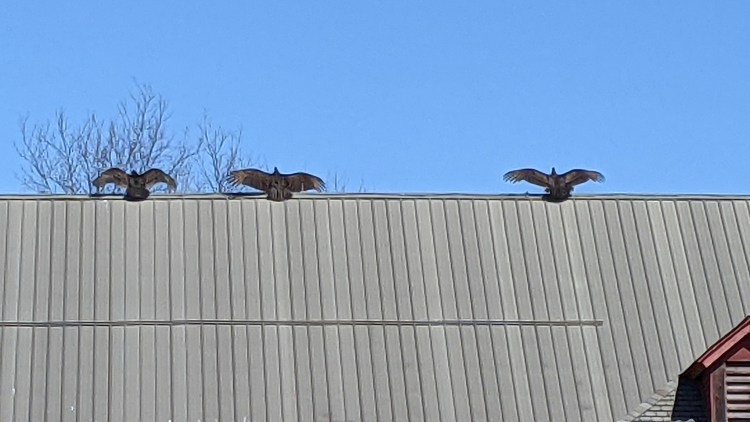
Spotted after pre-season prep at Mary’s Vassar Farms garden:
Vultures sunning
It must feel really good up there atop the old barn, even if they’re sunning themselves to kill off parasites.
Taken with the Pixel 3a zoomed all the way in at 7× from a bit over 200 feet:
Vultures sunning – photo range
Then cropped and sharpened just a smidge. Not a great picture, but good enough for practical purposes; the Good Camera + Big Glass takes better pix and is too awkward to carry in my pocket.
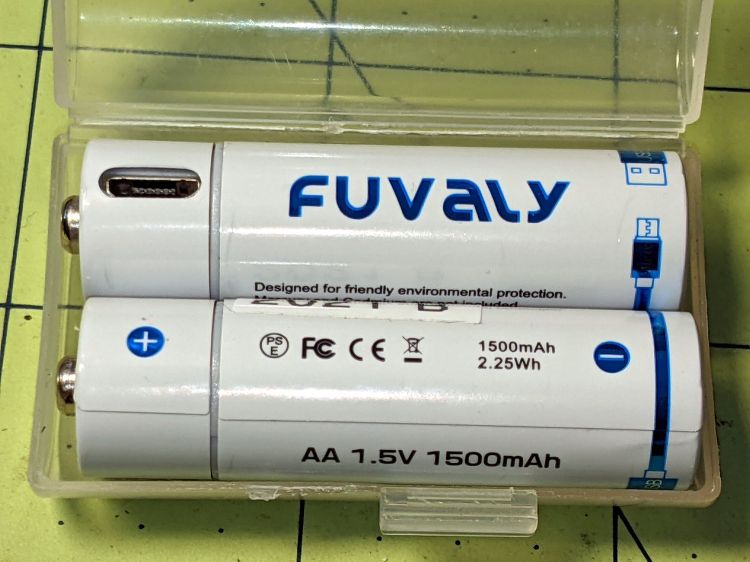
The label claims 1500 mA·h, not the 1120 mA·h I measured:
Fuvaly Bucked Li AA – mAh – 2021-02
My numbers would be higher with a load less than 500 mA. I doubt the 2.5 A maximum current rating.
The claim of 2.25 W·h is rather optimistic:
Fuvaly Bucked Li AA – 2021-02
Back of the envelope: 2.25 W·h at 1.5 V equals 1.5 A·h, all right. If you squint carefully, though, the output voltages run around 1.4 V, some of which is surely IR drop in my battery holder & test wiring, but it still knocks nearly 10% off the wattage and doesn’t seem to add to the runtime.
The camera’s battery charge indicator will obviously show Full right up until it shuts off, but I’ve always carried a spare pair of cells in my pocket anyway.
Recharging them with a USB meter in series required 425 to 600 mA·h at about 4.8 V, so about 2.5 W·h.
Enlarging the instructions from the back of the box, should they become useful:
Fuvaly Bucked Lithium AA – Instructions
Nowhere does the package mention the “brand name”, manufacturer, specifications, or much of anything substantial. I suppose anybody selling white-label products appreciates this level of detail.
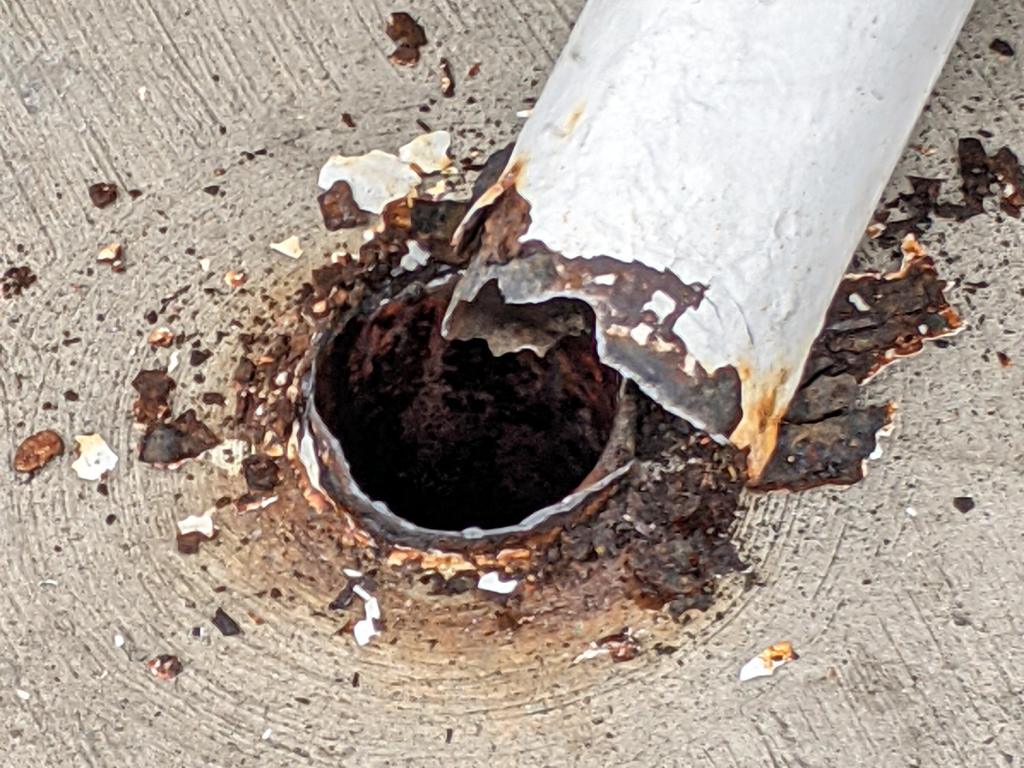
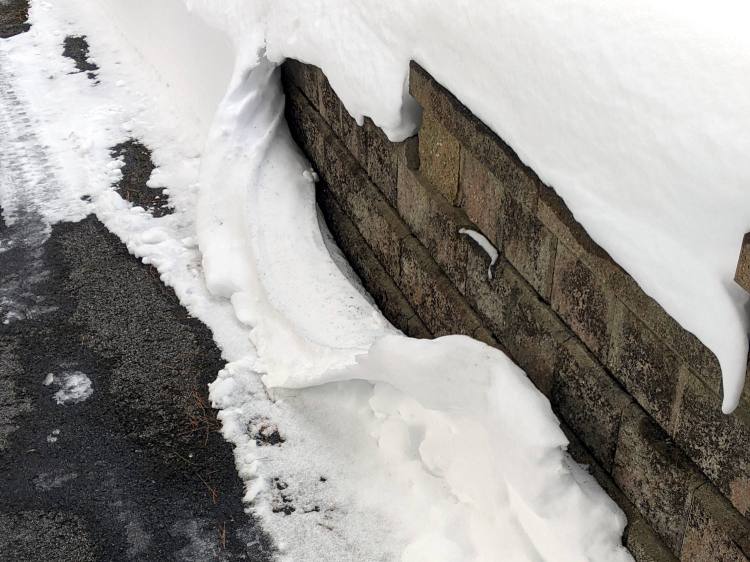
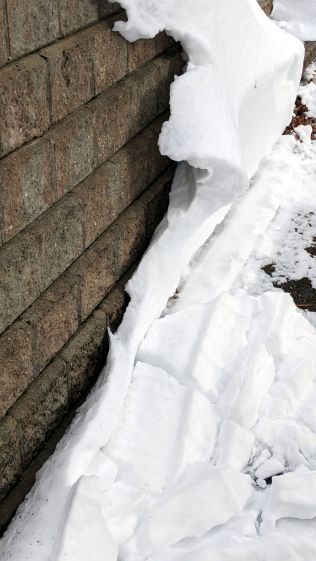
Spotted at the corner gas station on a recent walk:
Gas pump barrier – smashed
Judging from the tire tracks and extrapolating from recent weather, a snowplow driver misjudged the truck’s right-side clearance while backing.
That big steel tube didn’t put up nearly as much resistance as the architect figured after consulting the relevant building codes:
Gas pump barrier – right base
The paint seems to have been the only thing holding the other side together:
Gas pump barrier – left base
Google Streetview suggests the barriers were new-ish in May 2009:
Gas pump barrier – newish 2009-05
Steel is a great construction material, but it doesn’t fare well when installed at grade (or above) where it’s exposed to water and salt. On the other paw, they got over a decade out of it, so maybe it’s as good as it needs to be.
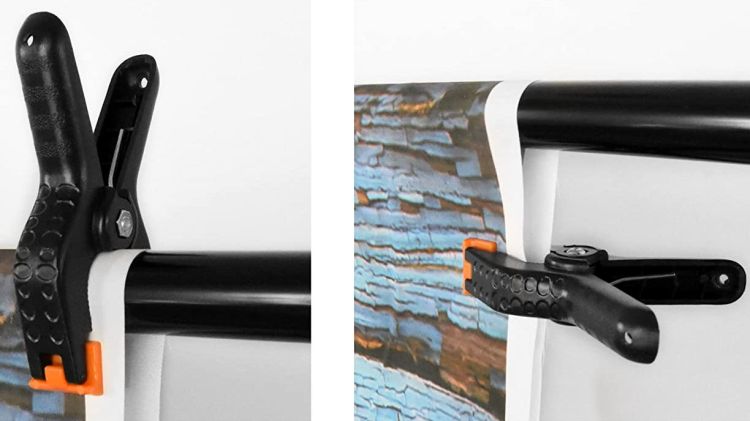
We got a photo backdrop stand to hold Mary’s show-n-tell quilts during her quilting club meetings, but the clamps intended to hold the backdrop from the top bar don’t work quite the way one might expect. These photos snagged from the listing shows their intended use:
Emart Photo Backdrop – clamp examples
The clamp closes on the top bar with the jaws about 15 mm apart, so you must wrap the backdrop around the bar, thereby concealing the top few inches of whatever you intended to show. This doesn’t matter for a preprinted generic backdrop or a green screen, but quilt borders have interesting detail.
The clamps need thicker jaws, which I promptly conjured from the vasty digital deep:
Spring Clamp Pads – PS preview
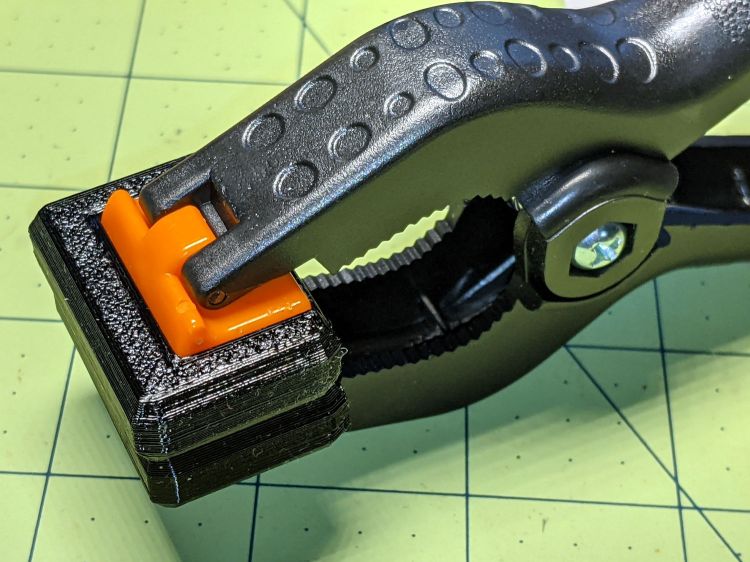
The original jaws fit neatly into those recesses, atop a snippet of carpet tape to prevent them from wandering off:
Spring Clamp pads – detail
They’re thick enough to meet in the middle and make the clamp’s serrated round-ish opening fit around the bar:
Spring Clamp pads – compared
With a quilt in place, the clamps slide freely along the bar:
Spring Clamp pads – fit test
That’s a recreation based on actual events, mostly because erecting the stand wasn’t going to happen for one photo.
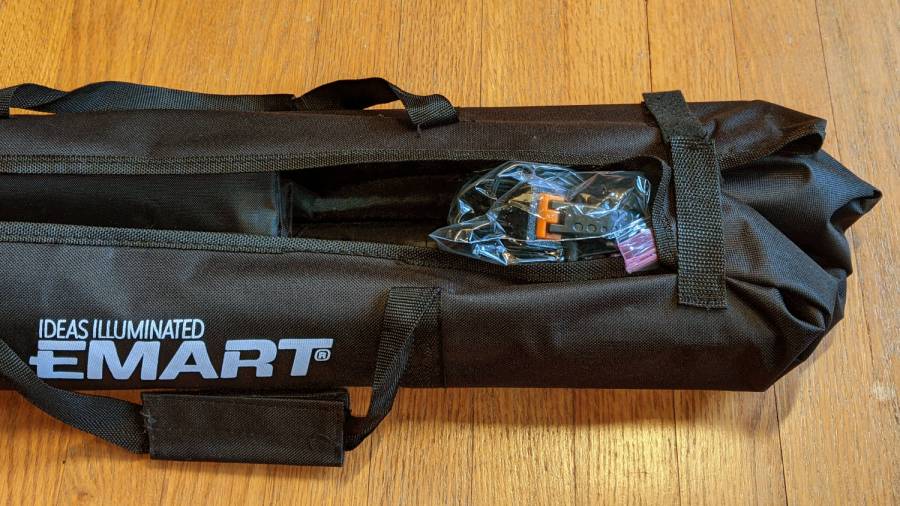
To level set your expectations, the “Convenient Carry Bag” is more of a wrap than a bag, without enough fabric to completely surround its contents:
Emart photo backdrop bag
I put all the clamps / hooks / doodads in a quart Ziploc baggie, which seemed like a better idea than letting them rattle around loose inside the wrap. The flimsy pair (!) of hook-n-loop straps don’t reach across the gap and, even extended with a few inches of double-sided Velcro, lack enough mojo to hold it closed against all the contents.
This file contains hidden or bidirectional Unicode text that may be interpreted or compiled differently than what appears below. To review, open the file in an editor that reveals hidden Unicode characters.
Learn more about bidirectional Unicode characters
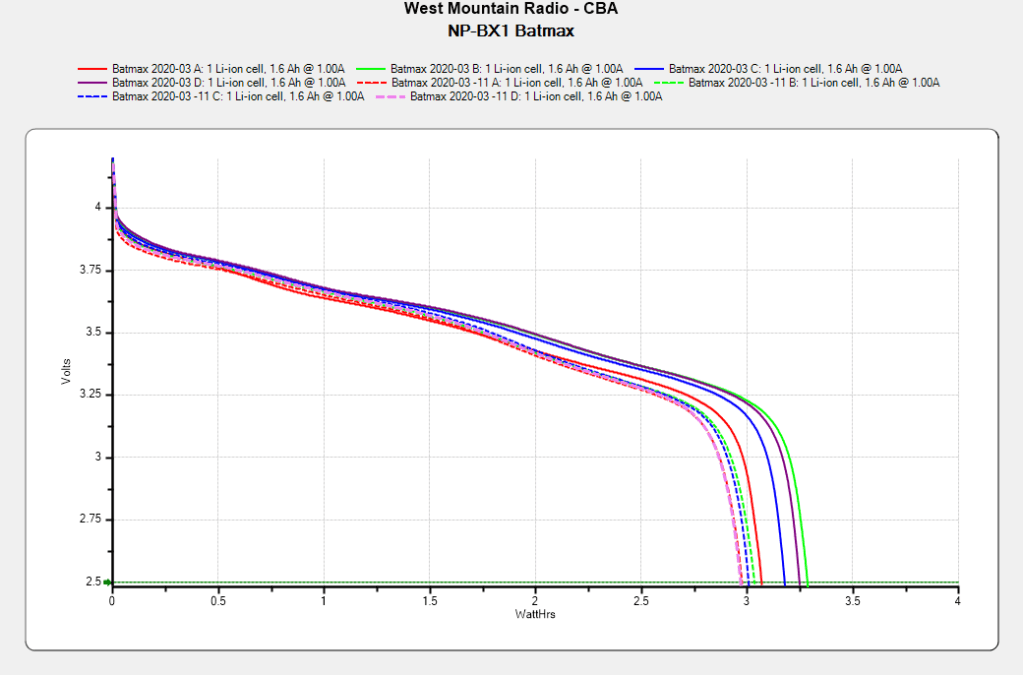
After powering my Sony HDR-AS30V helmet camera for nearly all of this year’s riding, the Batmax NP-BX1 lithium batteries still have roughly 90% of their original capacity:
Batmax NP-BX1 – 2020-11
Those are hot off the Official Batmax charger, which appears identical to other randomly named chargers available on Amazon.
They’re holding up much better after a riding season than the DOT-01 batteries I used two years ago:
Sony DOT-01 NP-BX1 – 2019-10-29
Empirically, they power the camera for about 75 minutes, barely enough for our typical rides. I should top off the battery sitting in the camera unused for a few days, although that hasn’t happened yet.
Of course, the Batmax NP-BX1 batteries I might order early next year for the new riding season have little relation to the ones you see here.