Ed Nisley's Blog: Shop notes, electronics, firmware, machinery, 3D printing, laser cuttery, and curiosities. Contents: 100% human thinking, 0% AI slop.
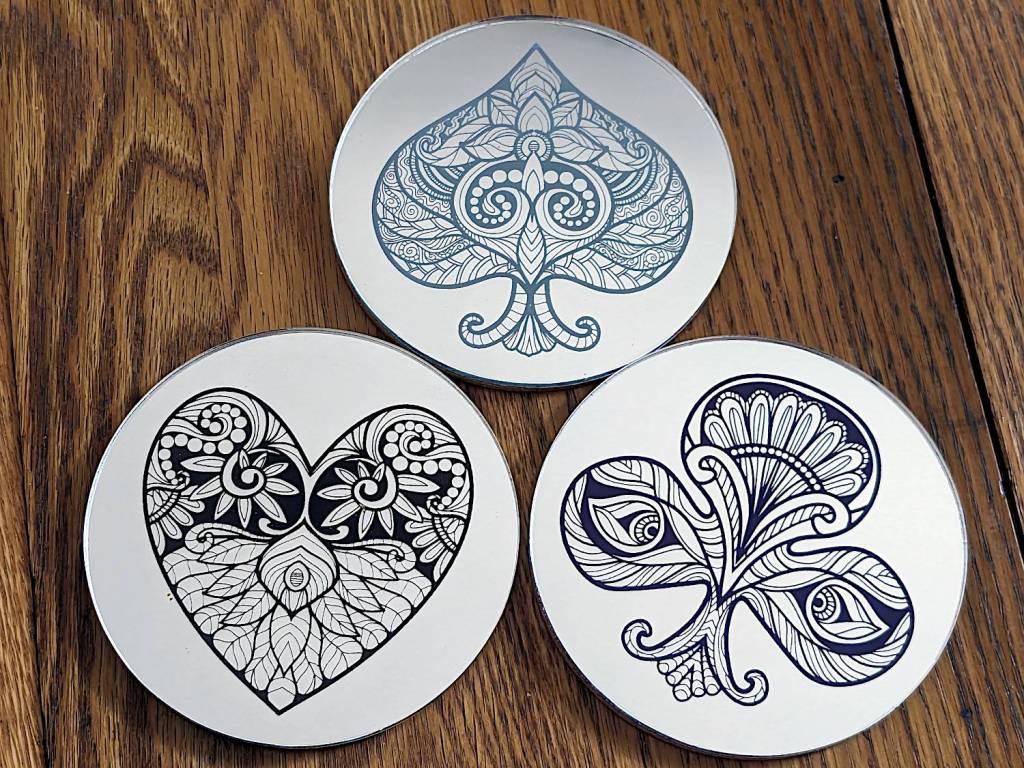
Having established that scribbling Sharpies on laser-cut acrylic is a Bad Idea™ due to stress cracking, I made some acrylic mirror coasters with rattlecan spraypaint on the back:
Back-painted mirror coasters
The colors, which look much more obvious in person, are gray, black, and blue. There should be a diamond to round out the playing card theme, but only three fit neatly on the remaining slab of mirror.
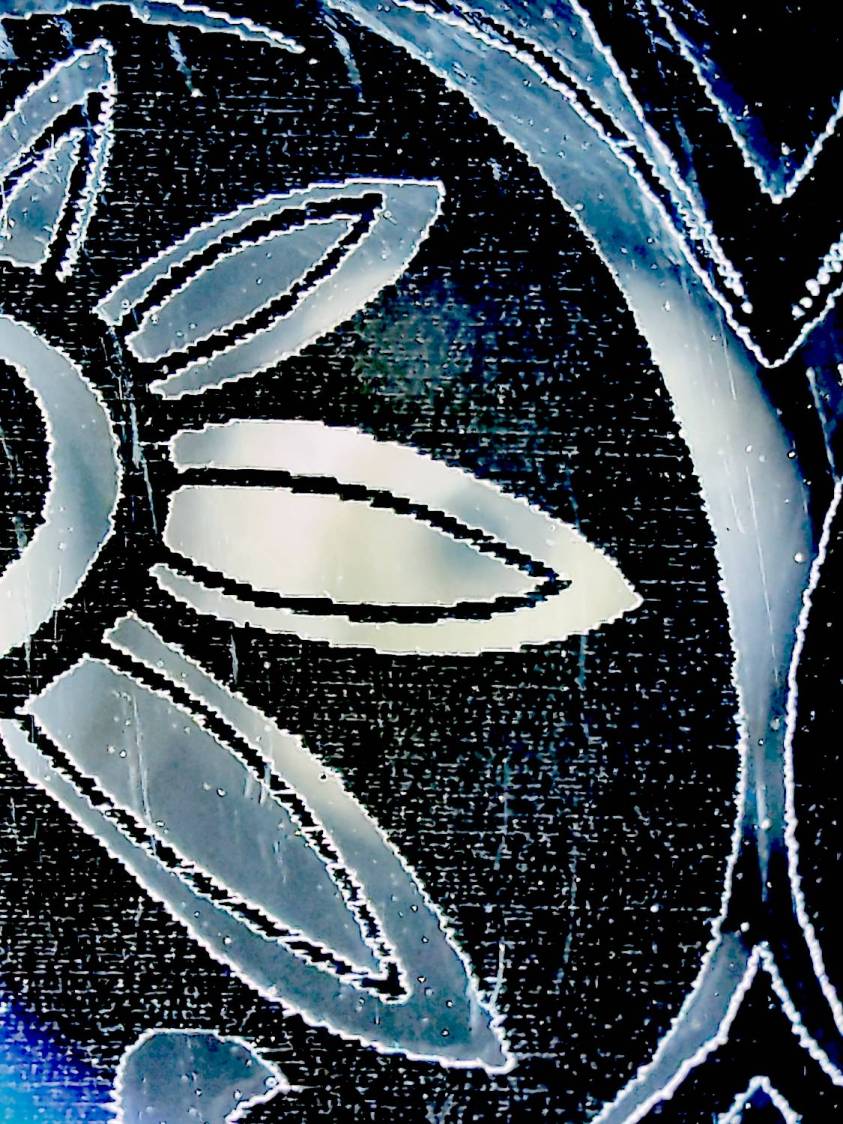
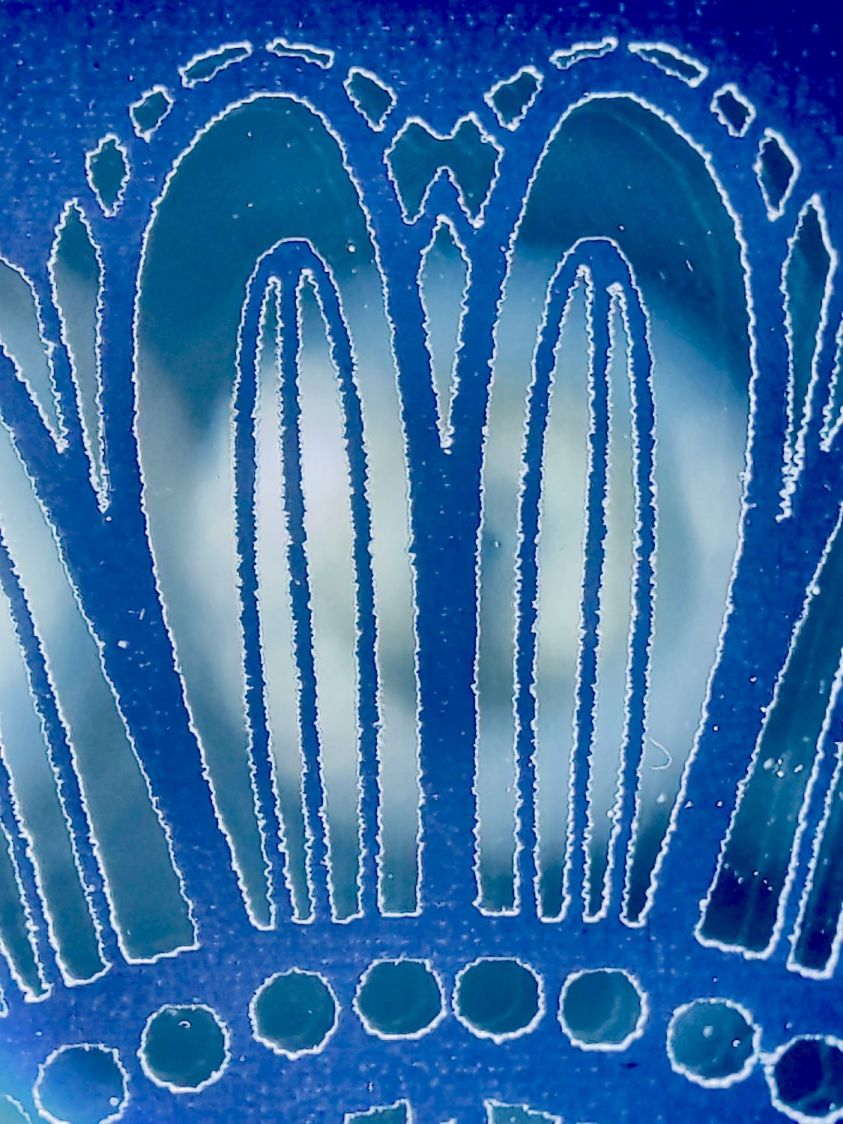
A slide show giving a closer look:
Back-painted mirror coaster – gray detail
Back-painted mirror coaster – black detail
Back-painted mirror coaster – blue detail
In person, all of the gritty edges and imperfections vanish, because they’re all well below eyeballometric resolution: you can see them, but only if you look hard.
Those are at 500 mm/s and 15% PWM, which is too fast for fine details due to the HV power supply’s bandwidth limitations. However, the tube doesn’t fire reliably below about 10% and tends to sprinkle speckles over the surface, so there’s not much leeway to slow down.
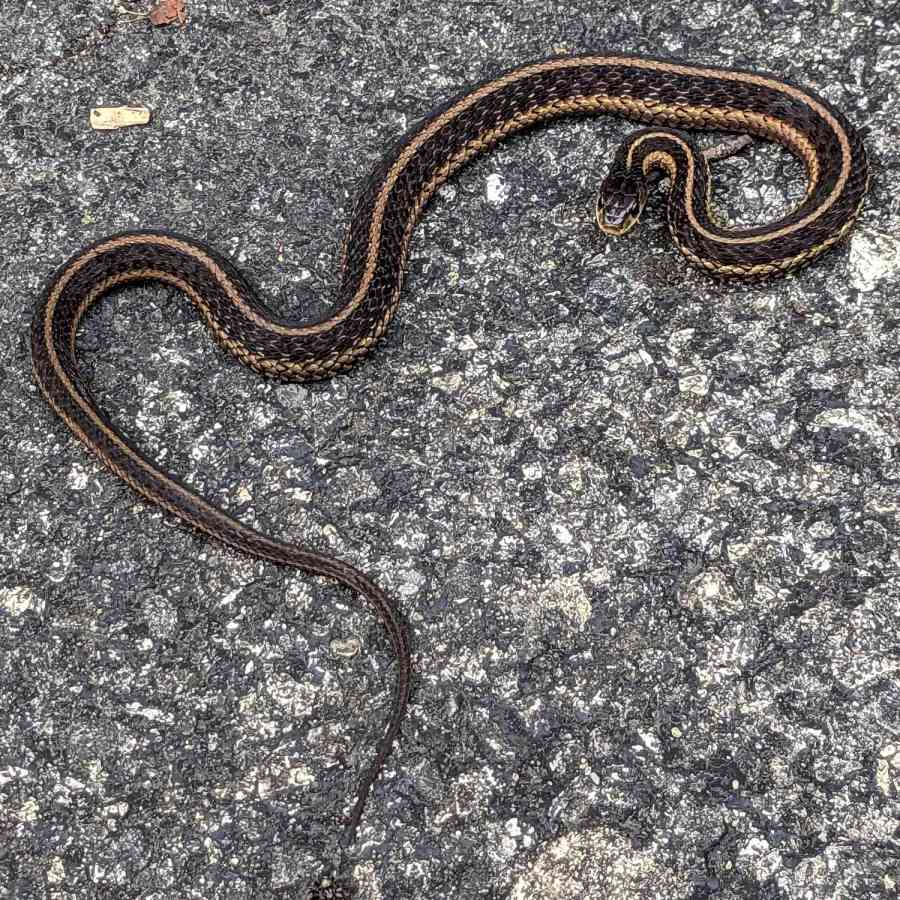
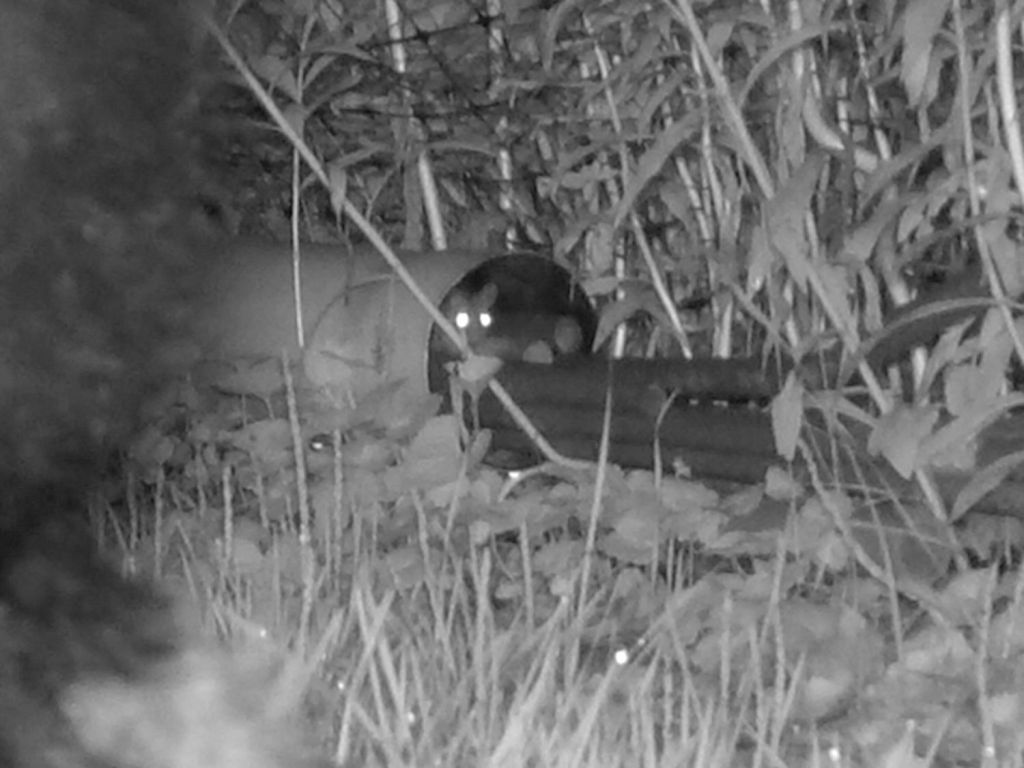
A garter snake has taken up residence under our garbage can and is startled when I wheel it away:
Garter snake on the alert
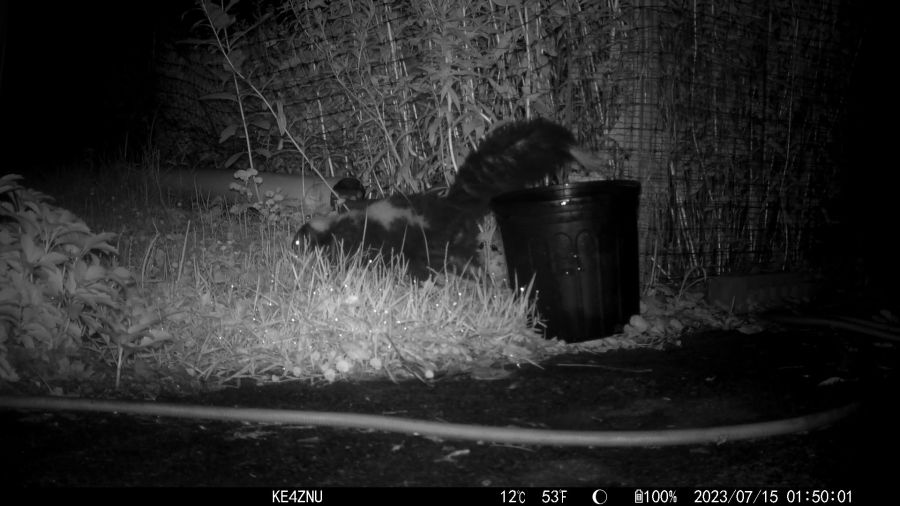
This week it was curled into a compact bundle:
Garter snake in compact mode
The blue eyes indicate it’s in the process of shedding its skin, so next week we’ll have an even bigger and shinier guardian.
Shedding one’s skin apparently requires a great deal of thought, as it remained in that pose while I fetched Mary, then moved deliberately off into the leaf litter behind the can.
The small rodent population around here has definitely declined: garter snakes are murder on field mice and the hawks are taking out the chipmunks.
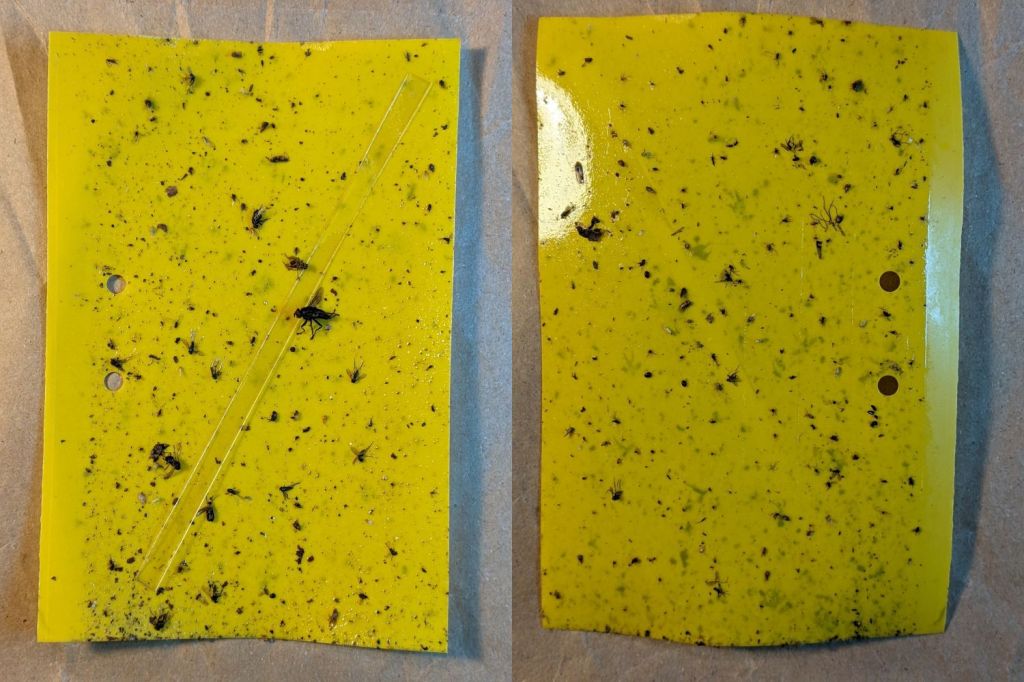
The six sticky traps guarding Mary’s onion beds in her Vassar Community Gardens plots collected this assortment of critter and mulch from mid-July through mid-August, when she harvested the last of the crop:
VCCG Onion Maggot Trap A
VCCG Onion Maggot Trap B
VCCG Onion Maggot Trap C
VCCG Onion Maggot Trap D
VCCG Onion Maggot Trap E
VCCG Onion Maggot Trap F
The labels do not match those on the first set through mid-July, because I don’t care quite enough to keep track of them.
The traps don’t collect many onion maggot flies, which suggests that a little control goes a long way. As far as she’s concerned, these traps work very well, because the crop has very little maggot damage.
Searching for onion sticky traps will produce the rest of the collection. Contact me for the full resolution images, should you need to ID all the critters.
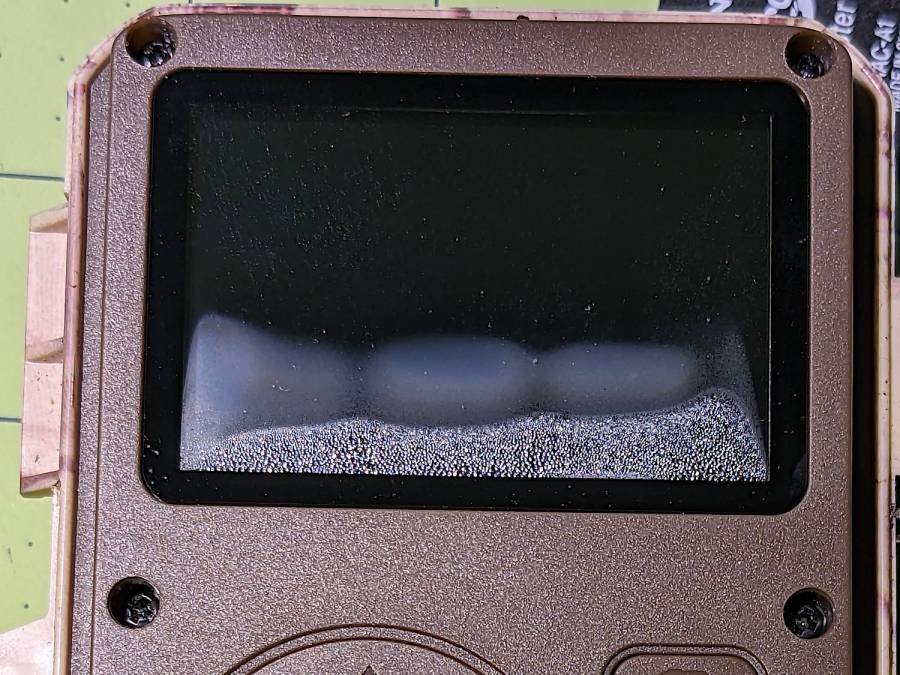
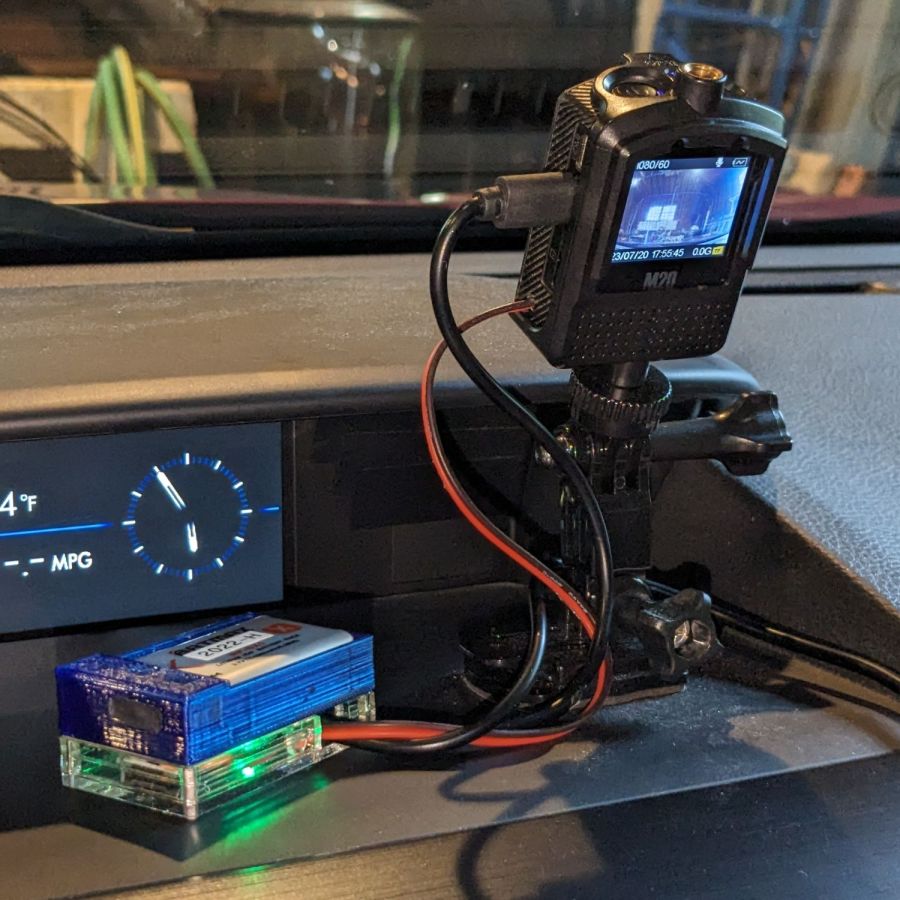
The SJCAM M50 camera gasket seems unable to cope with The New Normal weather conditions around here:
SJCAM M50 – screen condensation
I think this was probably another case of diurnal pumping, given the exceedingly hot days and cool nights in late July.
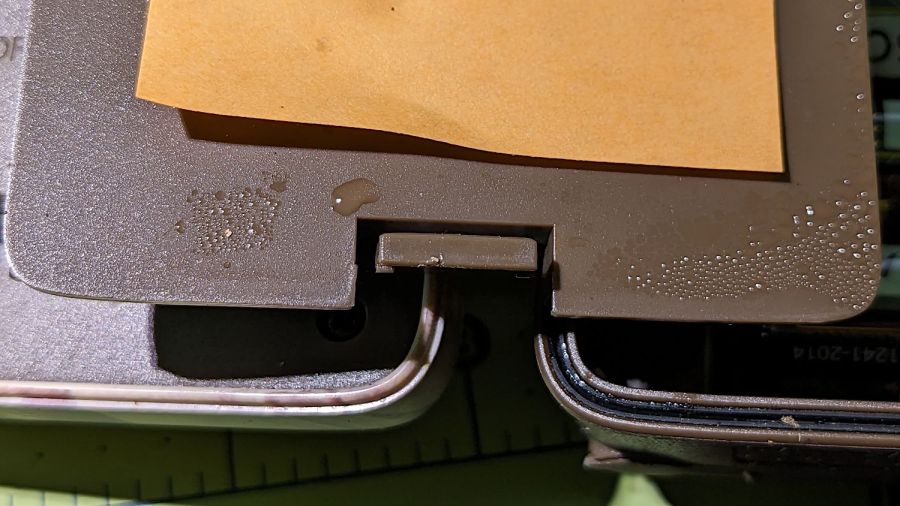
Plenty of water condensed on the bottom of the battery compartment cover:
SJCAM M50 – battery lid condensation
And inside the compartment around the AA cells:
SJCAM M50 – battery compartment condensation
Unlike the previous leak, the camera lens wasn’t involved, so I did not disassemble the case. I let the opened camera (without batteries) dry out in the hot hot sun for the rest of the day and it seemed fine by evening.
Keeping it out of full sunlight during the day definitely limits the locations I can use.
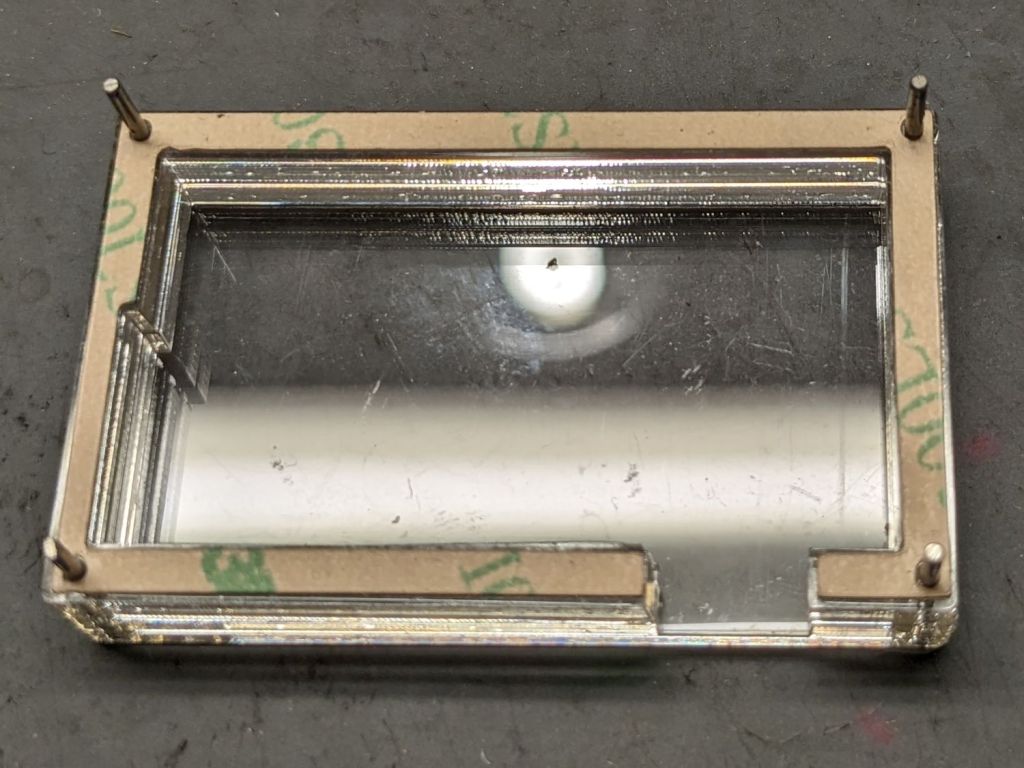
The four corner holes hold locating pins in the layered acrylic base:
SJCAM M20 Battery Replacement – case layers
Those pins got cut slightly shorter to fit in the battery holder; in this photo they’re serving to align the layers and adhesive sheets while I stacked them up.
The geometry is straightforward, with the outer perimeter matching the 3D printed battery holder:
SJCAM M20 Car-Mode Battery Hack – battery case
Cut one base and two wall layers from 3 mm (or a bit less) transparent acrylic, plus three adhesive sheets. I stuck adhesive on both sides of one wall layer, using the pins to align the adhesive, stuck the layer to the base, then topped it with the second wall layer, again using the alignment pins.
The motivation for transparent layered acrylic is being able to see the charge controller’s red and green status LEDs glowing inside the box. This probably isn’t required, but seemed like a Good Idea™ for the initial version.
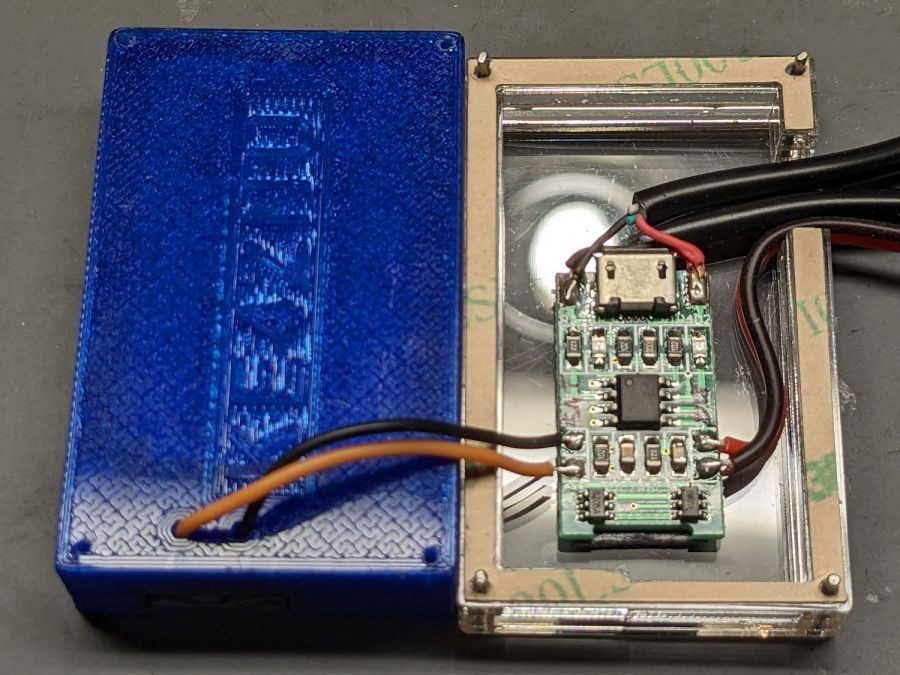
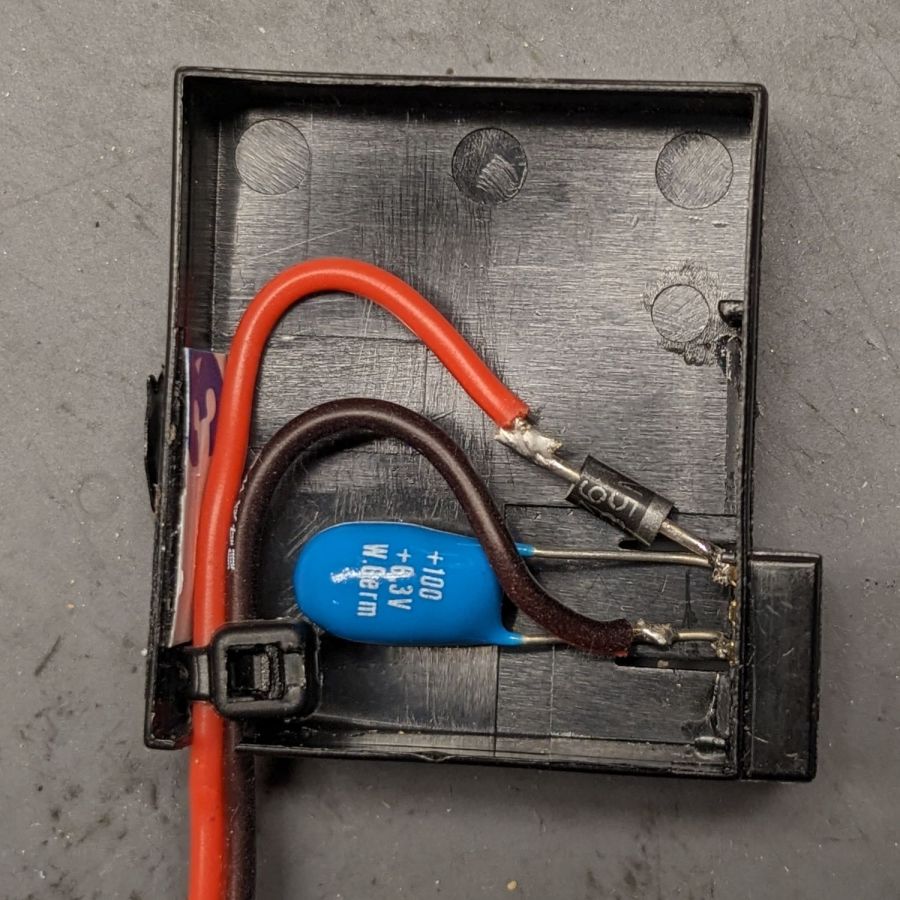
With all that in hand, wire it up:
SJCAM M20 Battery Replacement – charger wiring
The USB charger PCB sits atop a layer of double-sided foam tape. After verifying that the circuitry worked, I globbed the wires in place with hot-melt glue to make it less rickety than the picture suggests.
The alert reader will have noticed the holes in the 3D printed NP-BX1 holder were drilled, not printed. In the unlikely event I need another case, the holes will automagically appear in the right place.
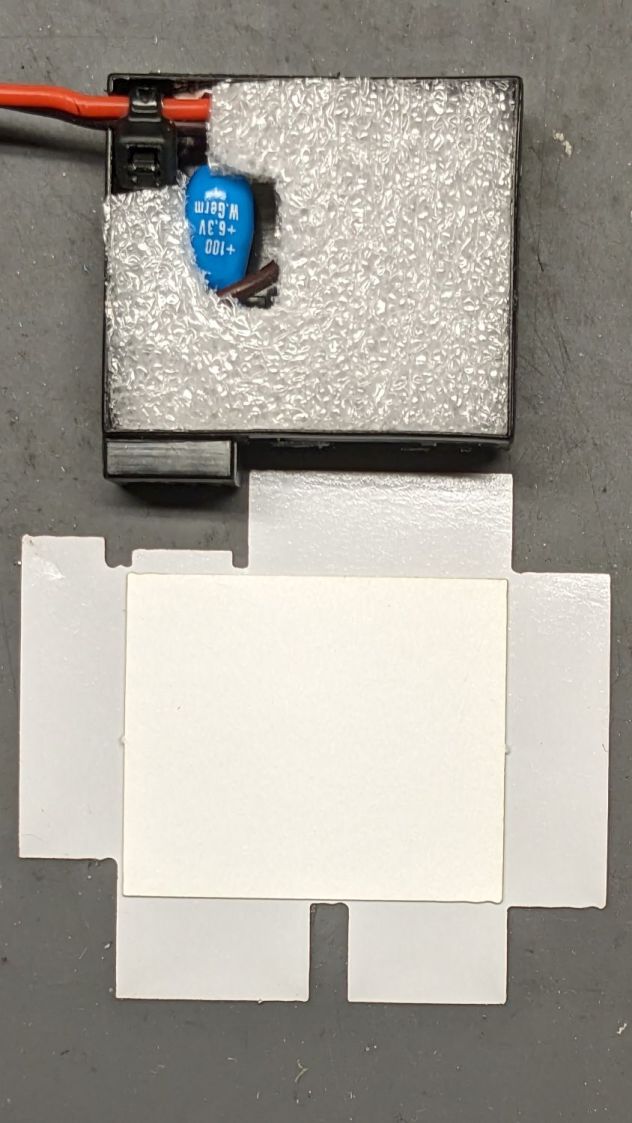
I haven’t yet peeled the protective paper off that top adhesive sheet to make a permanent assembly:
SJCAM M20 Battery Replacement – trial install
We use the car so infrequently that it’ll take a while to build up enough confidence to stick it together and stick it to the dashboard.
On the whole, it’s ugly but sufficient to the task.
A doodle with key dimensions, plus some ideas not surviving contact with reality:
SJCAM M20 Car-Mode Battery Hack – case doodle
I truly hope this entire effort is a waste of time.
The circuit board is the charge controller for the evicted high-voltage lithium pouch cell, but I started by connecting an ordinary lithium cell with a Schottky diode to the PCB’s battery terminals.
This worked about as poorly as you’d expect, because the lower battery voltage minus the forward drop of the diode minus whatever happens in the PCB put the final voltage below the camera’s instant low-battery shutdown.
The terminals connecting to the camera in the rectangular bump are soldered to the back of the PCB, but the whole affair snaps out of the battery case. Unsoldering the PCB from the terminals, gingerly soldering directly to them, and adding a bulk storage capacitor produced a better result:
SJCAM M20 Battery Replacement – circuitry
The cap stores just enough energy to keep the camera happy while writing to the Micro-SD card, although the LCD screen dims slightly during each pulse.
Cut a pad from a sheet of closed-cell foam that happened to be exactly the right thickness:
SJCAM M20 Battery Replacement – wrapper layout
The elaborate thing below the case is a cardboard pad atop the sticky side of a PSA non-PVC vinyl sheet, laser-cut to fit:
SJCAM M20 Battery Replacement – case wrapper top
The bottom view, showing the latch retaining the contact block:
SJCAM M20 Battery Replacement – case wrapper bottom
Admittedly, that’s the last iteration of the wrapper, starting with a hand-trimmed Kapton tape version and three paper versions to get the dimensions right before trying vinyl. Looks good to me!
The final geometry has a 0.5 mm radius on all the corners:
SJCAM M20 Car-Mode Battery Hack – battery wrapper
The fillets reduced (but did not eliminate) mechanical oscillations while slinging the laser gantry around those corners. If I don’t point them out, maybe nobody will notice.
The PSA vinyl is marginally thicker than the original plastic wrapper, so the battery fits very snugly into the camera. On the other paw, getting the swollen battery out required a major effort; this one should not get tighter.