So one of my Genuine Sony 64 GB MicroSDXC cards stopped working in my Genuine Sony HDR-AS30V action camera, failing to record video after starting normally.
For example:


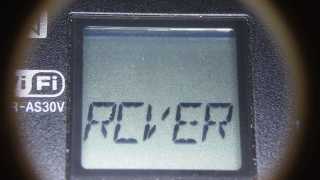
The RCVER status display doesn’t appear anywhere in the manual, but also occurs when the camera must rebuild its metadata indexes. Or something like that. Anyhow, it’s obviously unhappy about what just happened in the course of recording.
After several weeks of having Sony ignore my emailed requests (no “email agent” never contacted me after the initial “we’re on it” autoreplies) and after several days of being blown off by their phone menu (800-222-7669 and 800-282-2848 lead to the same tree, after which 5 – 1 – 6 disconnects after one ringy dingy), I got another number by picking a reasonable (to me) option and bulldozing the pleasant voice off-script: 877-440-3453. It turns out that if you’re at the Digital Camera node in the Sony tech support tree, the helpful agent cannot find the model number of the SR-64UY MicroSDXC card in their database, even though I’m looking at the Sony Support web page describing it.
Anyhow, 877-440-3453 (or the “direct” 956-795-4660) produces a pleasant voice that directs me to their Media Services center in Texas and, after clicking on the Ordering Information menu item (isn’t that obvious?), produces a PDF that one fills in and sends with the failed media for their perusal.
Being that type of guy, I sent in a somewhat more extensive description than would fit in the tiny space on the form:
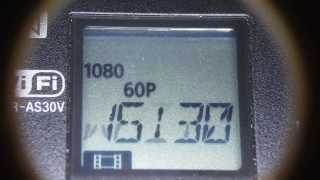
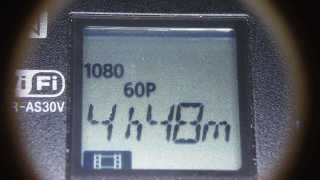
The problem with this SR-64UY MicroSDXC card (serial N73WAXOP) is that it cannot record video at the highest resolution produced by my SONY HDR-AS30V action camera: 1920x1080p @ 60 fps.
The formatted data capacity seems unchanged at 59 GB, so the problem is not a loss of capacity.
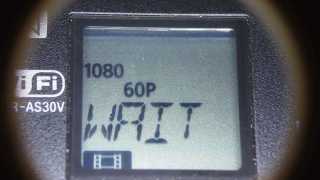
The camera starts recording and will continue for a few seconds or a few minutes, at which point it stops recording, flashes WAIT, then RCVER (“recover”), then returns to its idle mode. The recorded video is correct up to the failure.
I have reformatted the card in the camera, which does not correct the problem.
An identical SR-64UY MicroSDXC card (serial N73WA9JM), bought shortly afterward and not used, continues to operate correctly, so the problem isn’t the fault of the camera.
The failing card (XOP) has recorded less than 100 sessions since August, while the working card (9JM) has been sitting, unused, on my desk. Recording sessions generally run 45 to 90 minutes and the AS30V produces a 4 GB every 22 minutes, so each session involves 2 to 6 large video files, plus the same number of thumbnails. I transfer the files to a PC and delete them from the card after each session. The card has therefore recorded only 1000 GB of video before failing.
The XOP card can record video at 1920×1080 @ 30 fps and all lower resolutions. The camera requires a Class 4 speed, which means that the SR-64UY card no longer meets its Class 10 / U 1 speed rating.
Please replace this card with one that meets its speed rating.
Thank you…
The replacement card just arrived, so a speed reduction is a warranty failure.
I’ll test this one by plugging it into the high-amperage Micro-USB charger for the Kindle, aiming it at a clock, and letting it run until it’s either filled the card with excruciatingly boring high-data-rate video or crashed & burned in the attempt.