Ed Nisley's Blog: Shop notes, electronics, firmware, machinery, 3D printing, laser cuttery, and curiosities. Contents: 100% human thinking, 0% AI slop.
The orange curve is the last surviving (“least dead”) Wasabi battery from the 2017-08 batch and the dark green curve just above it is another DOT-01 from 2019-02. The problem is not so much their reduced capacity, but their grossly reduced voltage-under-load that triggers a premature camera shutdown.
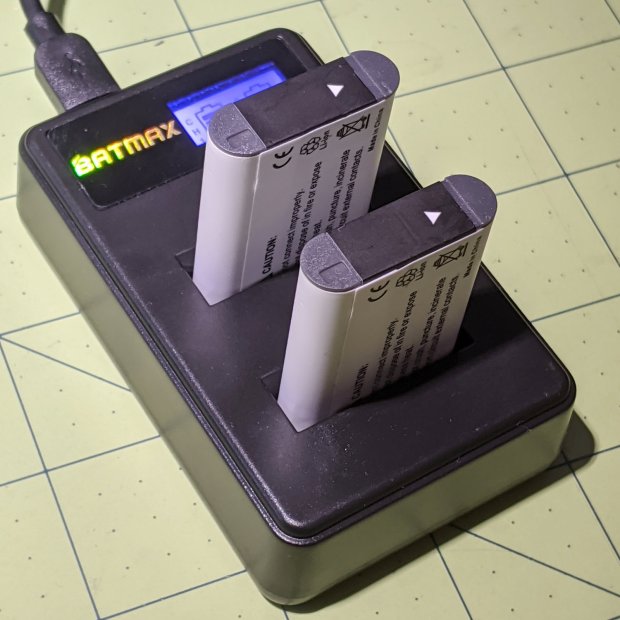
The Batmax batteries measure better than the craptastic Wasabi batteries, worse than the STK batteries, and should survive the next year of riding. As before, I have zero belief that Amazon would send me a “genuine” Sony NP-BX1 battery, even at six times the nominal price, nor that it would perform six times better.
Batmax is one of many randomly named Amazon Marketplace sellers offering seemingly identical NP-BX1 batteries: Newmowa, Miady, Powerextra, Pickle Power, LP, Enegon, and so forth. Mysteriously, it’s always cheaper to get a handful of batteries and a charger, rather than just the batteries, so I now have a two-socket USB charger:
Batmax NP-BX1 – USB dual charger
Despite the “5 V 2 A – 10 W” and “4.2 V 0.6 A – 5 W” label on the back, charging a pair of batteries after a ride started at 700 mA from a USB 3.0 port. The charger makes no claims about USB 3 compliance, so I’d expect it to top out around 1 A from a generously specified port.
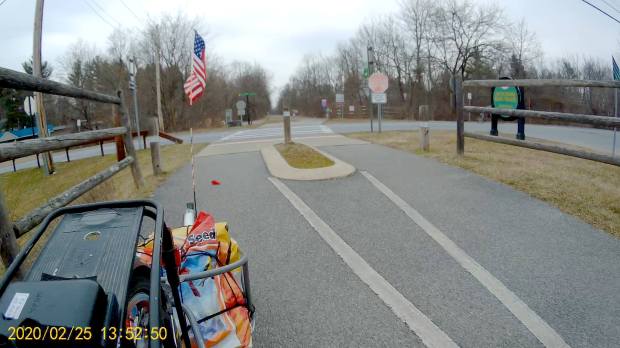
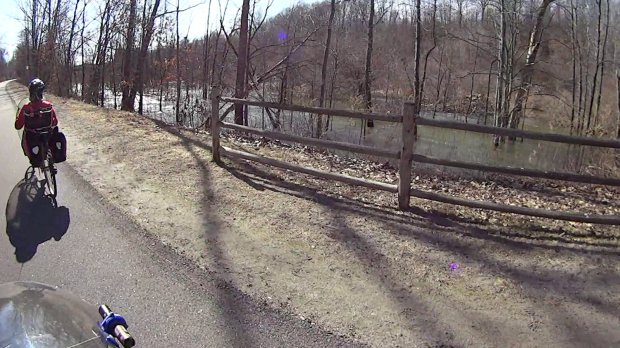
Eight minutes later, we’re turning onto the Dutchess County Rail Trail:
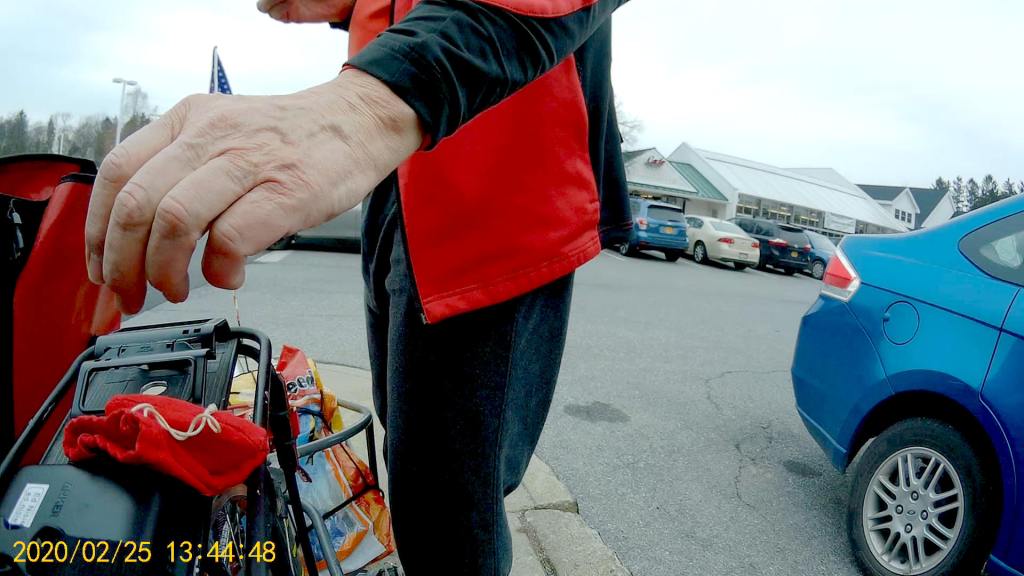
Losing the Battery Bag – flight – 2019-02-25
And then it’s gone:
Losing the Battery Bag – gone – 2019-02-25
Mary drove past there on her way to a distant meeting, but the little red bag was not to be found anywhere. Maybe it’ll reappear on a fence post or taped to the bulletin board; I’ve tried to return things I’ve found that way.
I expect somebody got a nice present and, if naught else, it’s good to drop happiness into the world.
There’s another reader and a quartet of batteries on their way.
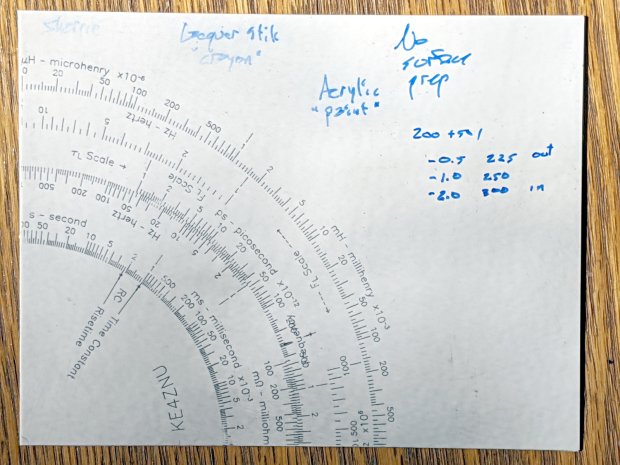
I covered one quarter with good old black Sharpie, a lacquer crayon, and well-aged black acrylic wall paint:
Diamond on styrene – engraving test – raw color fill
Applying a sanding block removed the rubble + scribbles and brought the surface down to the engraved patterns:
Diamond on styrene – engraving test – 225 250 300g 2400mm-min
The lacquer crayon doesn’t seem to adhere well to styrene:
Diamond on styrene – 225 250 g 2400mm-min – lacquer crayon
A closer look shows I probably sanded off too much of the surface, perhaps above some grit below the sheet, because those lines almost vanish:
Diamond on styrene – 225 250 g 2400mm-min – lacquer crayon
The crayon may adhere better to deeper lines. These are obviously too shallow and the pigment seems to come off in chunks:
Diamond on styrene – 300g 2400mm-min – lacquer crayon
The acrylic trim paint filled its patterns, despite having turned into a gummy mass during decades on the shelf:
Diamond on styrene – 225g 2400mm-min – acrylic paint
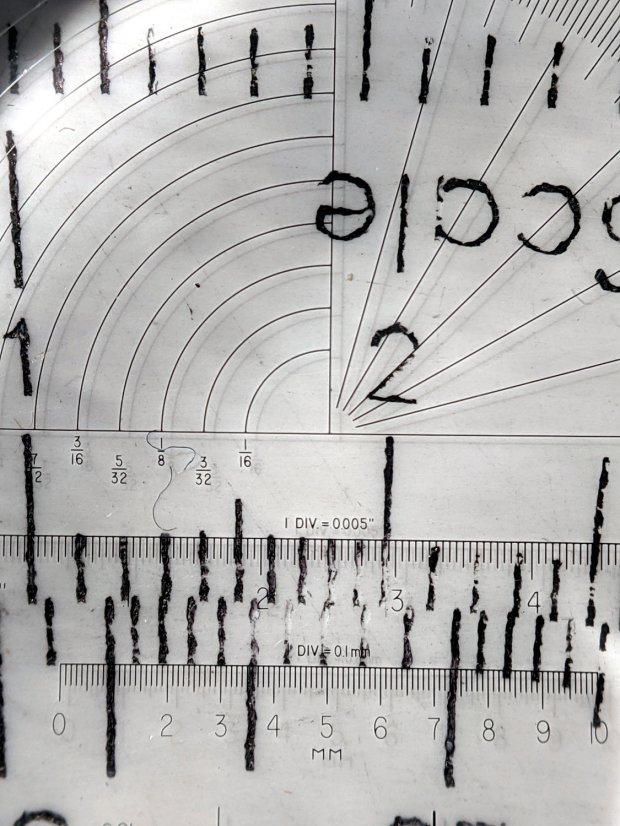
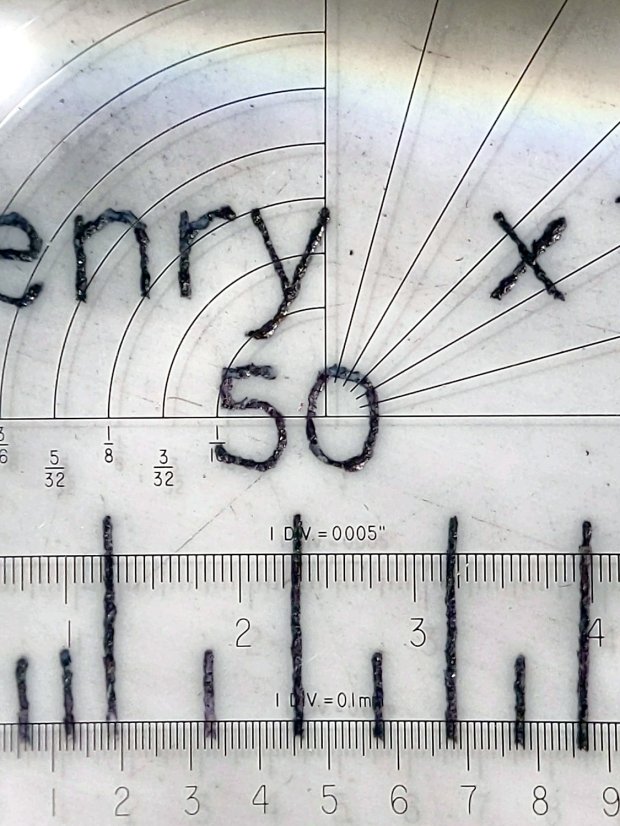
The Sharpie ink, being basically a thin liquid, completely filled its patterns and (apparently) soaked into the rough side walls. The lines seem to be 0.1 mm wide at 225 g downforce:
Diamond on styrene – 225g 2400mm-min – Sharpie
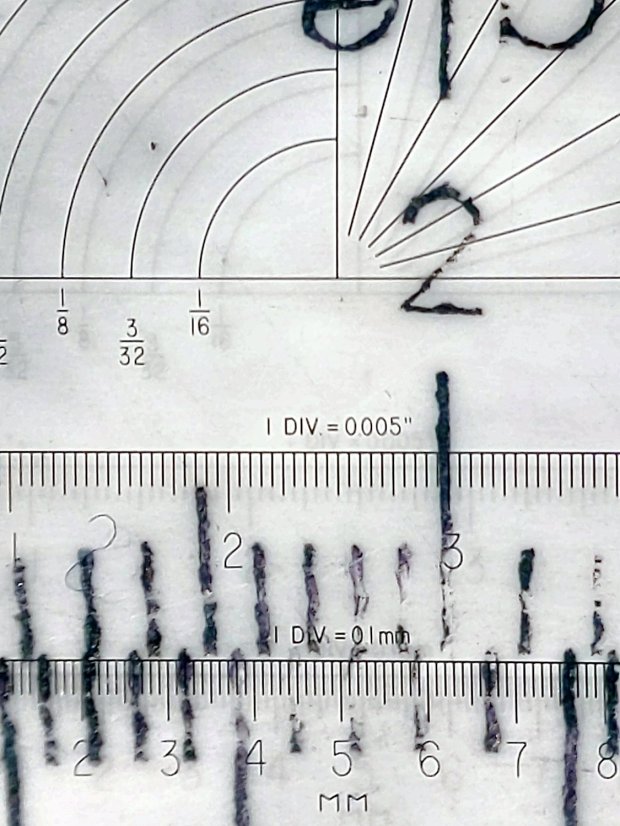
They’re less uniform at 250 g:
Diamond on styrene – 250g 2400mm-min – Sharpie
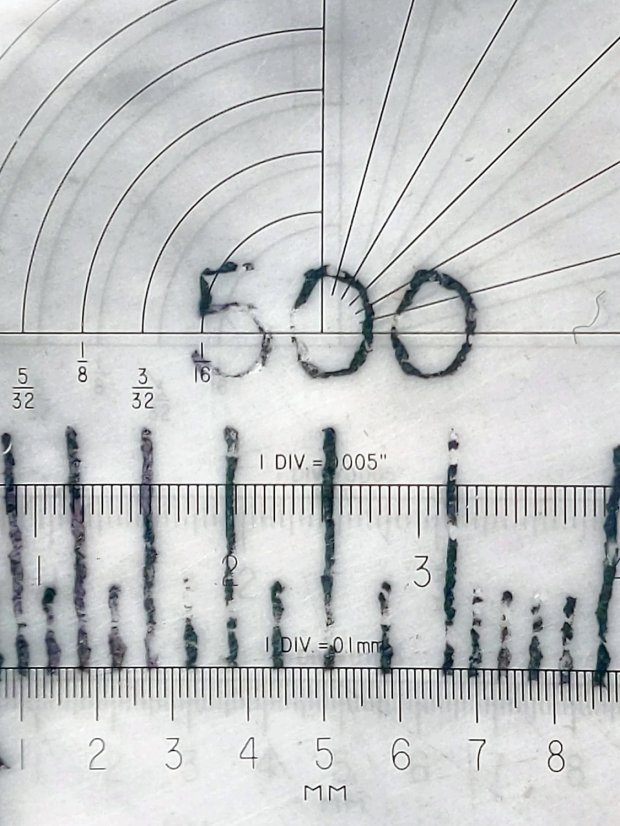
A 300 g downforce produces (somewhat) more uniform 0.15 mm wide lines and slightly distorted characters:
Diamond on styrene – 300g 2400mm-min – Sharpie
I have no way to measure the actual engraving depth. If the 60° diamond tool had a perfect point, which it definitely doesn’t, then a 0.15 mm wide trench would be 0.13 mm deep. I’ve obviously sanded off some of the surface, so those lines could be, at most, 0.1 mm deep.
All in all, the engraving came out better than I expected!
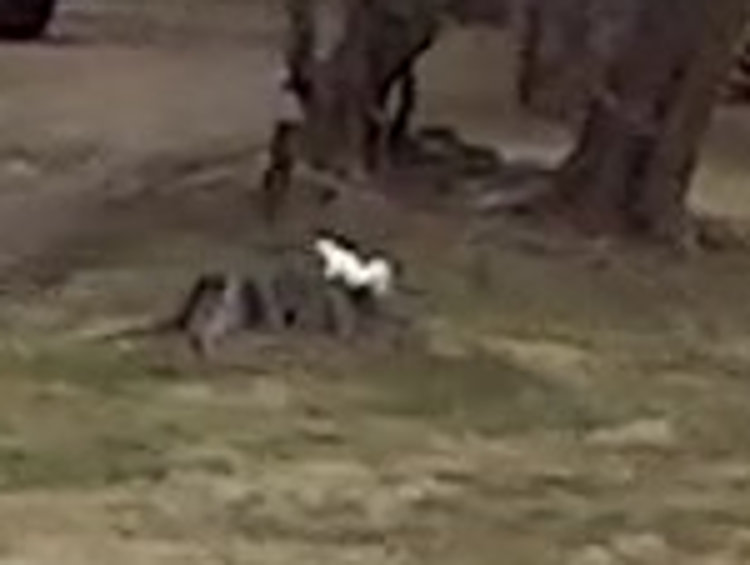
Beaver Lodge – DCRT N of Golds Gym – 2016 CIR image
We went back the next day and stopped at the culvert. Their dam spans the entire near side of the pond, upstream of the ditch (just above my hand) leading to the culvert:
Beaver Lodge and Dam – DCRT N of Golds Gym – 2020-02-25
The helmet camera pictures look west from the rail trail, with the lodge in the northernmost open area. The wide-angle camera lens exaggerates the distance, but the lodge is only about 35 feet from the fence.
A stand of birch trees near the lodge now looks like a combination buffet and construction yard. When beaversdiscoverferrocement, their structures will become much more obvious.
I fed all three of those G-Code files into bCNC, applied them to the same sheet with the same origin touchoff, and it worked fine.
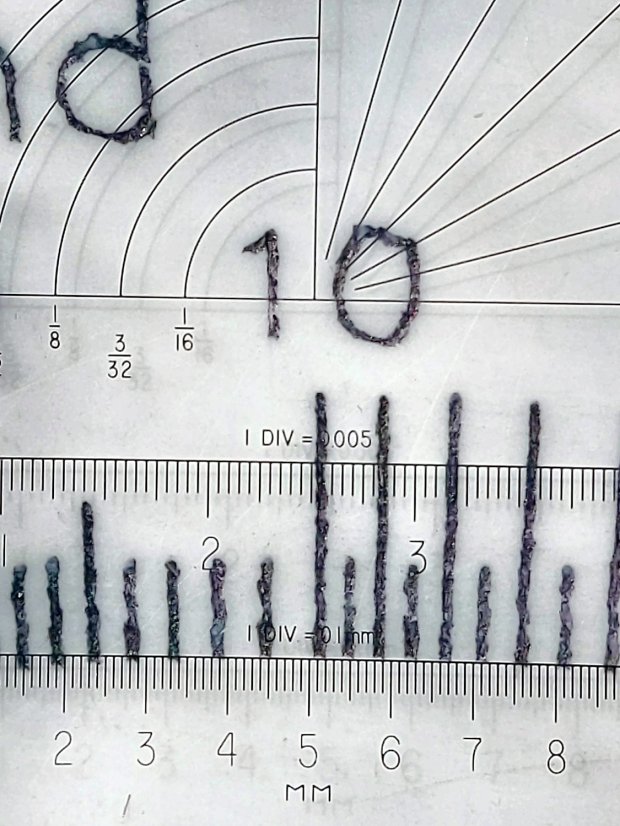
The tool holder rate of 200 g + 50 g/mm produced downforces of 225, 250, and 300 g. In retrospect, the range wasn’t really broad enough, so Moah Force may be in order.
The diamond produced plenty of swarf:
Diamond on styrene – engraving test – swarf
Wiping the surface with a strip of masking tape clears away the loose rubble:
Diamond on styrene – engraving test – cleaned
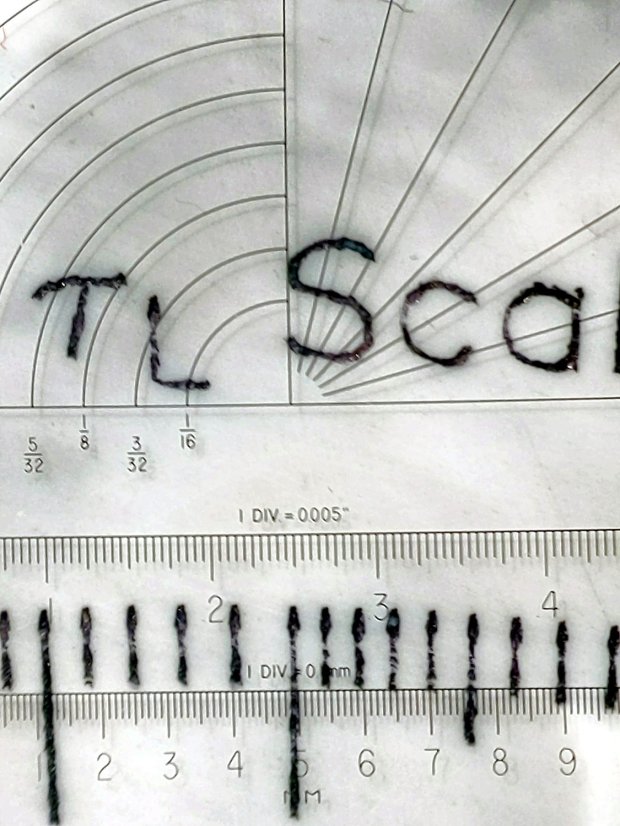
The innermost scale comes from the top deck, engraved at 300 g. The long shadows from the plastic pushed up along the tick marks seem to indicate the deepest trenches, although I don’t have any way to measure their depth.
I scribed and snapped the sheet into quarters so I can (mis)treat the engraved patterns in various ways:
Diamond on styrene – engraving test – raw color fill
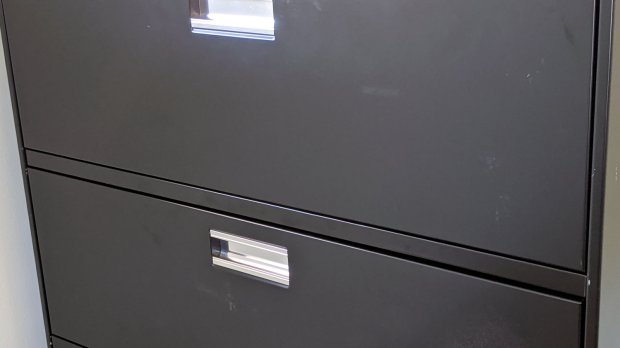
Somewhat to our surprise, our “new” HON Lateral File Cabinets include a pop-out shelf:
HON Lateral File – shelf – closed
The trick: push the bar inward against fairly stiff spring pressure, release it suddenly, watch it pop out maybe half an inch, get some fingers under the front edge, then pull it outward:
HON Lateral File – shelf – extended
Obviously, opening the drawer above the shelf will sweep whatever you put there onto the floor and opening the drawer below seems futile. I suppose it produced a bullet item on the features list.
Note that the topmost “drawer” is also called a “shelf”, because the front cover slides up-and-inward to reveal the contents. Should you stand eight feet tall, you might be able to look down on that shelf, but we mere mortals barely see its contents at eye level.
Dismantling the cabinets preparatory to deep cleaning revealed a pair of rubber bumpers along the rear edge of the shelf:
HON Lateral File – shelf bumper – installed
The slightly angled front side of the bumper (on the right) collides with a crossbar below the drawer just above it, preventing you from pulling the shelf entirely out of the cabinet.
Remove the bumper by pressing down and rearward (to the left), shoving the protruding lip into the slot with a thumb / screwdriver, then pull it upward through the slot:
HON Lateral File – shelf bumper – removed
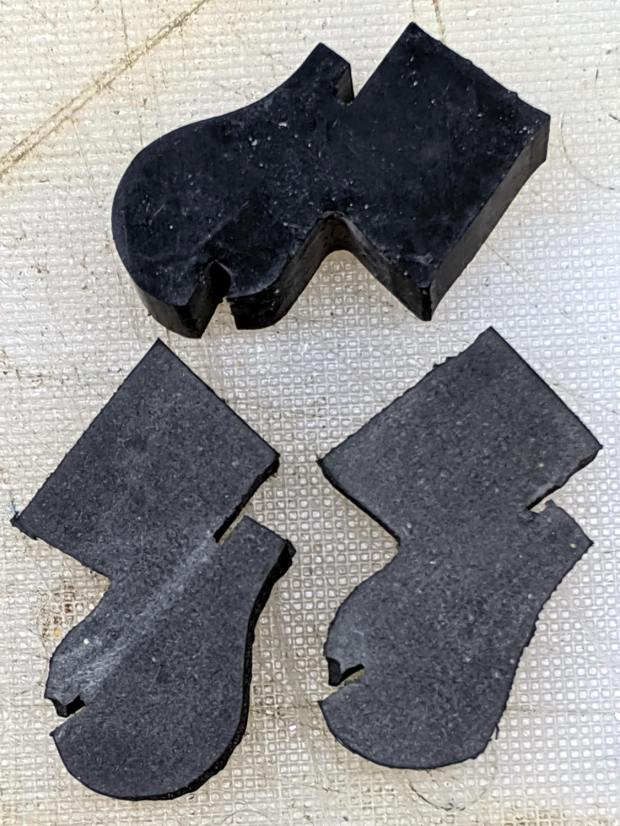
The second cabinet had only one bumper, so I traced it twice onto a rubber sheet half as thick as the OEM bumper, bandsawed the shapes, and introduced them to Mr Belt Sander for cleanup:
HON Lateral File – replacement shelf bumper
Jammed side-by-side into the slot, they’ll serve the purpose:
HON Lateral File – replacement shelf bumper – installed
As with the replacement foot on the first cabinet, they’re not the prettiest things you’ve ever seen, but Mary doesn’t expect to use the shelf and they’ll never actually bump into anything.
Even the Pixel phone’s HDR image processing has trouble dealing with dark gray objects on a black background in dim light …