The Smell of Molten Projects in the Morning

Ed Nisley's Blog: Shop notes, electronics, firmware, machinery, 3D printing, laser cuttery, and curiosities. Contents: 100% human thinking, 0% AI slop.

Category: PC Tweakage

Remembering which tweaks worked

  • CUPS Whoopsie

    CUPS Whoopsie

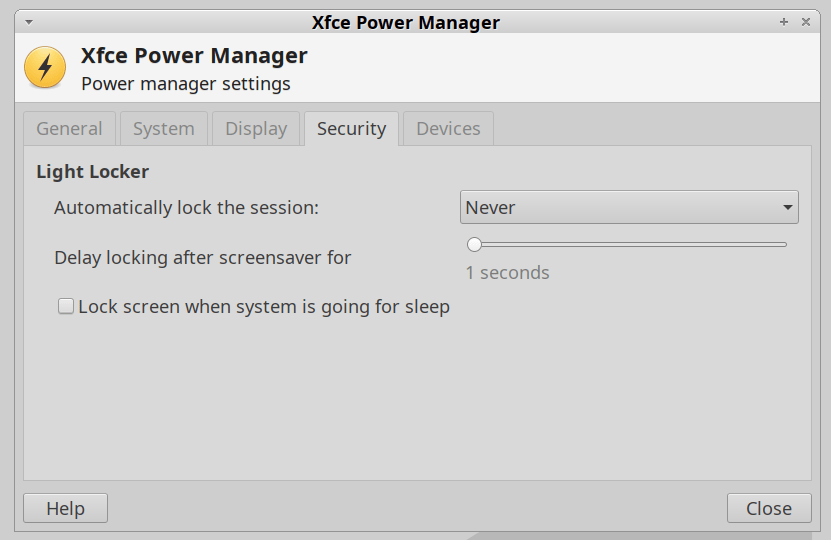
    No CUPS server setup can be considered complete without sending a print job to the wrong printer:

    HPLJ1200 - CUPS Pinball Panic - detail
    HPLJ1200 – CUPS Pinball Panic – detail

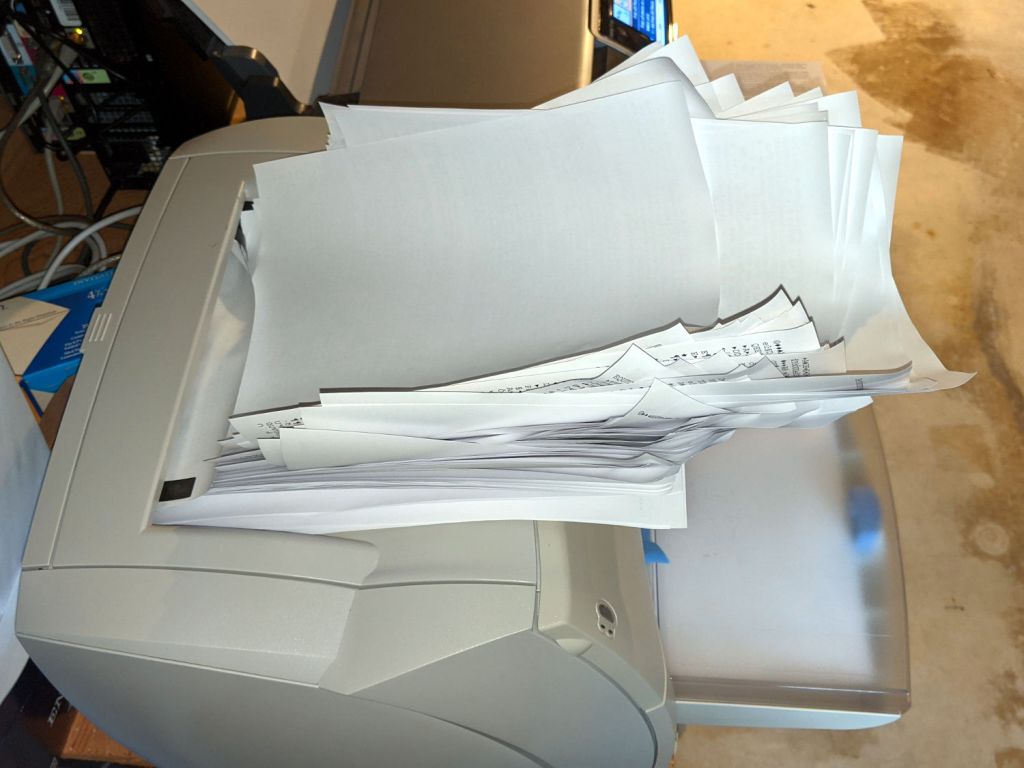
    Which wouldn’t be quite so bad if the printer weren’t ever so much faster than I am:

    HPLJ1200 - CUPS Pinball Panic - output pileup
    HPLJ1200 – CUPS Pinball Panic – output pileup

    It turns out an ordinary clothes iron can flatten those pages. Set it to “silk”, spread packing paper on the ironing board to intercept the toner, iron a few millimeters of pages at a time, and feed them back into the printer.

    Back in the day, laser-specific printer paper came with a grain arranged so it wouldn’t curl when you fed it into the printer with the proper side up. Those days are gone; I’ve tried both ways and they both curl.

    Protip: When CUPS thinks it’s done with the job and the Web interface shows nothing’s going on, it’s handed the job to the server’s printing subsystem, which continues spooling data to the printer. Choking off the bitstream requires one command-line invocation on the server connected to the printer:

    cancel -a
    

    A paper jam gives you enough time to figure all that out.

  • Manjaro 20.1: CUPS Setup

    Tweaking a new Manjaro Linux 20.1 installation to share printers and allow remote administration, done while replacing an aging Optiplex desktop box that’s been running unattended for far too long.

    Start by installing Manjaro’s printer support package:

    pamac install manjaro-printer
    

    In the general section of the default /etc/cups/cupsd.conf file, up near the top:

    Listen *:631       # listen on all interfaces
    DefaultShared Yes  # share the local printers
    BrowseWebIF Yes    # turn on the Web interface
    

    Allow remote admin:

    <Location />
      Allow all
      Order allow,deny
    </Location>
    <Location /admin>
      Allow all
      Order allow,deny
    </Location>


    Restart the CUPS server:

    sudo systemctl restart org.cups.cupsd
    

    And then It Should Just Work.

  • Huion H610Pro (V2) Tablet vs. USB 3.0

    Huion H610Pro (V2) Tablet vs. USB 3.0

    For reasons that surely made sense at the time, the Huion H610Pro (V2) tablet can recognize when it’s connected to an Android device’s USB port and enter a special mode where the stylus only responds in a phone-shaped portrait rectangle over on the left side:

    Huion H610Pro (V2) Tablet - Android layout
    Huion H610Pro (V2) Tablet – Android layout

    There’s a Vulcan Nerve Pinch button push to force the tablet into Android mode if it doesn’t automagically get there on its own, but AFAICT there’s no way to force it out of Android mode.

    It’s a USB 2.0 device, but I had plugged it into a USB 3.0 port on my desktop box, whereupon it would enter Android mode on pretty nearly every boot. The only way to coerce it back into normal mode was to unplug it, replug it, then manually run the xsetwacom incantation to restrict the coordinates to the portrait monitor.

    I just discovered it works perfectly when plugged into one of the few USB 2.0 ports on the box.

    Apparently, USB 3.0 ports keep the thing powered all the time, whereupon it doesn’t see the proper sequence of events (or, perhaps, sees the Android sequence) during the next boot. USB 2.0 ports don’t do that and it works fine all the time.

    Much better!

  • XFCE vs. Screen Locking

    XFCE vs. Screen Locking

    For reasons not relevant here, I was asked to tweak an XFCE 20.04 installation to not ask for a password after the screen power-saver kicks in. There’s no need for a screensaver with an LCD panel, so this should be straightforward, as per the XFCE 18.04 setup:

    XFCE Power Manager Light Locker settings 18.04
    XFCE Power Manager Light Locker settings 18.04

    Which had no effect.

    For some reason, perhaps having to do with an upgrade from 18.04 to 20.04, Light Locker wasn’t actually handling the screen locking; some dedicated searching suggested this is a problem of long standing.

    So tweak the Lock Screen settings of the screen saver that’s not in use:

    XFCE Screensaver Lock Screen Preferences - 20.04
    XFCE Screensaver Lock Screen Preferences – 20.04

    If you’re doing this remotely, adding a stanza to ~/.config/xfce4/xfconf/xfce-perchannel-xml/xfce4-screensaver.xml should suffice:

    <?xml version="1.0" encoding="UTF-8"?>
    
    <channel name="xfce4-screensaver" version="1.0">
      <property name="saver" type="empty">
        <property name="mode" type="int" value="0"/>
      </property>
      <property name="lock" type="empty">
        <property name="enabled" type="bool" value="false"/>
      </property>
    </channel>
    

    The threat model for this particular installation is “minimal”.

  • Finding & Copying Only The New Music Files

    Given a collection of music files in various subdirectories, find all the mp3 files that aren’t in the target directory and copy them. The only catch: don’t use rsync, because the target directory is on a Google Pixel phone filesystem which doesn’t support various attributes required by rsync.

    The solution goes like this:

    cd /mnt/music/Netlabel Mixes
    sudo jmtpfs /mnt/pixel -o allow_other,fsname="Pixel"
    find . -name \*mp3 -execdir test ! -e  /mnt/pixel/Internal\ shared\ storage/Music/Netlabel/\{\} \; -execdir cp -v -t /mnt/pixel/Internal\ shared\ storage/Music/Netlabel/ \{\} \;
    sudo umount /mnt/pixel

    The trick is remembering the second execdir operation in find happens only if the first succeeds, so the cp runs when the target file doesn’t exist.

    All the backslash escaping gets tedious, but it’s the least awful way to get the job done when the directories contain blanks, which is true for the default directory structure inside the Pixel.

    Your choice in music will surely be different …

  • Closing the Dmesg Audit Firehose

    I’m not entirely clear what’s being audited in the Manjaro Linux boxes I’ve recently set up, nor what the difference between res=success and res=failed might mean for the x11vnc unit:

    [   98.632347] audit: type=1131 audit(1594859418.419:110): pid=1 uid=0 auid=4294967295 ses=4294967295 msg='unit=x11vnc comm="systemd" exe="/usr/lib/systemd/systemd" hostname=? addr=? terminal=? res=success'
    [   98.632348] audit: audit_lost=46 audit_rate_limit=0 audit_backlog_limit=64
    [   98.632349] audit: kauditd hold queue overflow
    [   98.649743] audit: type=1130 audit(1594859418.433:111): pid=1 uid=0 auid=4294967295 ses=4294967295 msg='unit=x11vnc comm="systemd" exe="/usr/lib/systemd/systemd" hostname=? addr=? terminal=? res=failed'
    [   98.649745] audit: audit_lost=47 audit_rate_limit=0 audit_backlog_limit=64
    [   98.649746] audit: kauditd hold queue overflow
    [  100.515527] audit: type=1101 audit(1594859420.299:112): pid=843 uid=1000 auid=1000 ses=2 msg='op=PAM:accounting grantors=pam_unix,pam_permit,pam_time acct="ed" exe="/usr/bin/sudo" hostname=? addr=? terminal=/dev/pts/0 res=success'

    That’s the better part of two seconds in the life of the box and, later on, the pace picks up. Casual searching suggests nobody else knows what’s going on, either, apart from the fact than that it obviously has something to do with systemd and, thus, is just the way things are these days.

    Add audit=off to the default kernel command-line parameters by editing /etc/default/grub thusly:

    GRUB_CMDLINE_LINUX_DEFAULT="quiet resume=UUID=whatever udev.log_priority=3 audit=off"

    Then update the bootloader:

    sudo grub-mkconfig -o /boot/grub/grub.cfg 

    Whereupon dmesg becomes all quiet and (mostly) meaningful to this civilian.

  • Copying All! The! Files! (Except Some)

    All our data files spin around on a nearly full 1 TB drive in a “file server”, a grandiosely overqualified and dirt-cheap off-lease Dell Optiplex desktop sitting in the basement. It’s been running headless and unattended for the last half-dozen years and is badly in need of replacement, so I must copy all its files to a newer, even more overqualified, and equally cheap off-lease Optiplex.

    Copying the files from the /mnt/music collection on the existing server to the identically named directory on the new server proceeds thusly:

    sudo mount -o ro fileserver.local:/mnt/music /mnt/nfs
    sudo rsync -ahu --progress --log-file=/tmp/music.log \
     --exclude="/lost+found" \
     --exclude=".Trash*" \
     --exclude=".dtrash*" \
     --delete \
     /mnt/nfs/ /mnt/music

    Mount the existing collection (from the old server) in read-only mode to avoid heartache subsequent to confusion. It could happen.

    The first time through, add a -n option for a dry run, then inspect the log file for surprises.

    The various --exclude options avoid copying trashed-but-not-yet-deleted files from the various trash directories maintained by various file handlers. In the process of sorting this out, I learned the DigiKam photo manager creates a .dtrash directory holding deleted files for each of its Album listings, appearing down near the bottom of the top-level album wherein you’ve quasi-deleted photos via “Move to Trash”.

    The --delete option removes files on the destination (new disk) if they’re not on the source (old disk). I started this migration earlier this year, before the world fell apart, and have moved / consolidated / renamed various directories & files in the interim, so deleting the previous copies from their old locations makes the destination match the source.

    So far, so good …