Ed Nisley's Blog: Shop notes, electronics, firmware, machinery, 3D printing, laser cuttery, and curiosities. Contents: 100% human thinking, 0% AI slop.
It didn’t involve waiting: by random chance, a fifth NYSDOT road repair crew happened to be in that area when Mary rode by. She stopped directly atop the sinkhole and screamed at the flagger until he came over. She explained the problem and, wonder of wonders, this time they put asphalt in the right spot.
The patch looks hand-tamped and will pop out after a while, but it’ll be great while it lasts.
Mad Phil gave me his Brother PT-1090 labeler, which I’ve been using rather often of late. The white tape cartridge (the TZ flavor) ran out, giving me the opportunity to pry it apart:
Brother P-Touch TZ tape cartridge – disassembled
Surprisingly, a few small pins molded into the cover, plus a few obvious latches, hold it together without a trace of glue or thermal welding.
A detail of the little factory that assembles the label from several parts:
Brother P-Touch TZ tape cartridge – detail
Colored paper tape unwinds from the lower right and the top plastic layer from the lower left. Tape with thermal dye unspools from the upper left, the printhead (in the printer) heat-transfers pixels to the plastic tape in the opening right of center along the top, and the roller at the top right joins the just-printed plastic layer to the slightly sticky front surface of the paper tape. The used imaging tape respools in the gray cylinder near the middle.
For those concerned with privacy, that gray spool of used imaging tape contains everything you’ve printed in order:
Brother P-Touch TZ tape cartridge – imaging tape
I thought the thermal dye was part of the transparent tape cover layer, but in retrospect that doesn’t make sense: the printed tape would turn black in hot environments like, say, your car. So the printer must transfer the dye from a separate tape.
The knockoff “ESD” tape cartridges from Amazon seem to have a slightly different tape path, probably to work around Brother’s patents. I’ll pry one of those apart in due course.
For obscure reasons, the Silly Season brought Sanders, Trump, and Clinton fille to the City of Poughkeepsie within the span of eight days. We know enough to stay far away from such events, but one of the contestants came to us!
A siren heralded flashing lights off to the left, coming up the hill from the bridge over the Mighty Wappingers Creek:
Candidate Motorcade – 0463
The police car jammed to a stop in the middle of the Red Oaks Mill intersection, directly in front of the cars (and bikes) that had just begun moving after the light turned green:
Candidate Motorcade – 0700
During the next minute, the officer managed to clear most of the traffic from the left-turn storage lanes perpendicular to us, after which two motorcycle officers led the procession:
Candidate Motorcade – 5015
Two ordinary SUVs with flashing light bars followed:
Candidate Motorcade – 5211
Two stretched SUVs with side window and marker flashers:
Candidate Motorcade – 5403
One blatantly inconspicuous black sedan running dark:
Candidate Motorcade – 5467
Two black patrol cars and a white patrol car, all with flashing lights:
Candidate Motorcade – 5792
The officer jumped into his car and rejoined the procession at the end:
Candidate Motorcade – 5992
According to my back-of-the-envelope, the motorcade moved through the intersection at a steady 20 mph.
Given where all the folks who merit such an escort were supposed to be at the time, I don’t know why they brought The Personage through the Red Oaks Mill intersection in that direction; the City of Poughkeepsie is to our rear, due north of Red Oaks Mill. Perhaps they’re following a randomly chosen route to confuse the unprepared, even though it’s longer and requires more traffic control?
Rumors from a Reliable Source indicate that not all trains travel on steel rails.
I suppose you eventually get used to having a couple of quiet people standing in every room with you.
One benefit of the inevitable news coverage: a few more people now know how to pronounce “Poughkeepsie”.
We all know that LED brightness decreases with age. An exit sign in Vassar’s Skinner Hall shows what that looks like in real life:
Exit Sign – LED aging
The LEDs on the other side of the sign look about the same: a few very bright spots, a few very dim ones, and a whole bunch in the middle.
It’s hard to judge by eye, but the brightest LEDs look much more than a factor of two brighter than the dimmest ones.
An LED with a 50,000 hour lifetime will have 50% of its initial brightness at EOL and a year has 8,766 hours, so the LEDs will reach half-brightness in a bit under six years. I think discrete LEDs went out of style around the turn of the millennium, so it’s three half-lives old: the dimmer LEDs must be around 1/8 brightness.
In case of an actual emergency, just follow me out the door, OK?
So I found two copies of the US Army’s Demolition Card GTA 5-10-9 tucked under a row of completely unrelated books in the Basement Laboratory (clicky for more dots):
One can only hope it’s slightly more useful than the Calculator Set, Nuclear, M28 — FSN 6665-897-8697 on another shelf. It dates back to the era when you could get ammonium nitrate that went blam when prompted; rumor has it that retail fertilizer now comes with built-in detonation inhibitors.
Essentially all adult human males have a story including the phrase “but for an (inch | second), I wouldn’t be here” … it’s a survivor bias thing.
An unusually late two-day snowstorm laid down half a foot of snow starting in the evening of April 3:
Norway Spruce with April snow
Up until then, the weather had been running a bit warmer than usual, which seems to be the new normal, and this snowfall put more snow on the ground than we’d seen all winter.
The snow took some critters by surprise:
Sparrow – nest box in April snow
Most of the snow melted during the sunny 40 °F day after the storm, but overnight lows in the teens wiped out most of the spring flowers and buds.
The first pass at the lip balm holders suffered from a grossly overstuffed first solid infill layer:
Overfilled layer 2
The skirt measured the usual scant 0.25 mm and was level all around, so the platform alignment and home position were just fine. That’s rarely a problem, but it’s good to verify before proceeding.
Previewing the G-Code didn’t show any problems; all the second-layer threads looked just fine. With that said, I did create an issue for gcode.ws pointing out that the profusion of thread colors wasn’t useful and suggesting some alternative methods.
The first layer requires 15-ish minutes to print, so I decided to reproduce the problem in a solid calibration box sliced with the same settings as the holder:
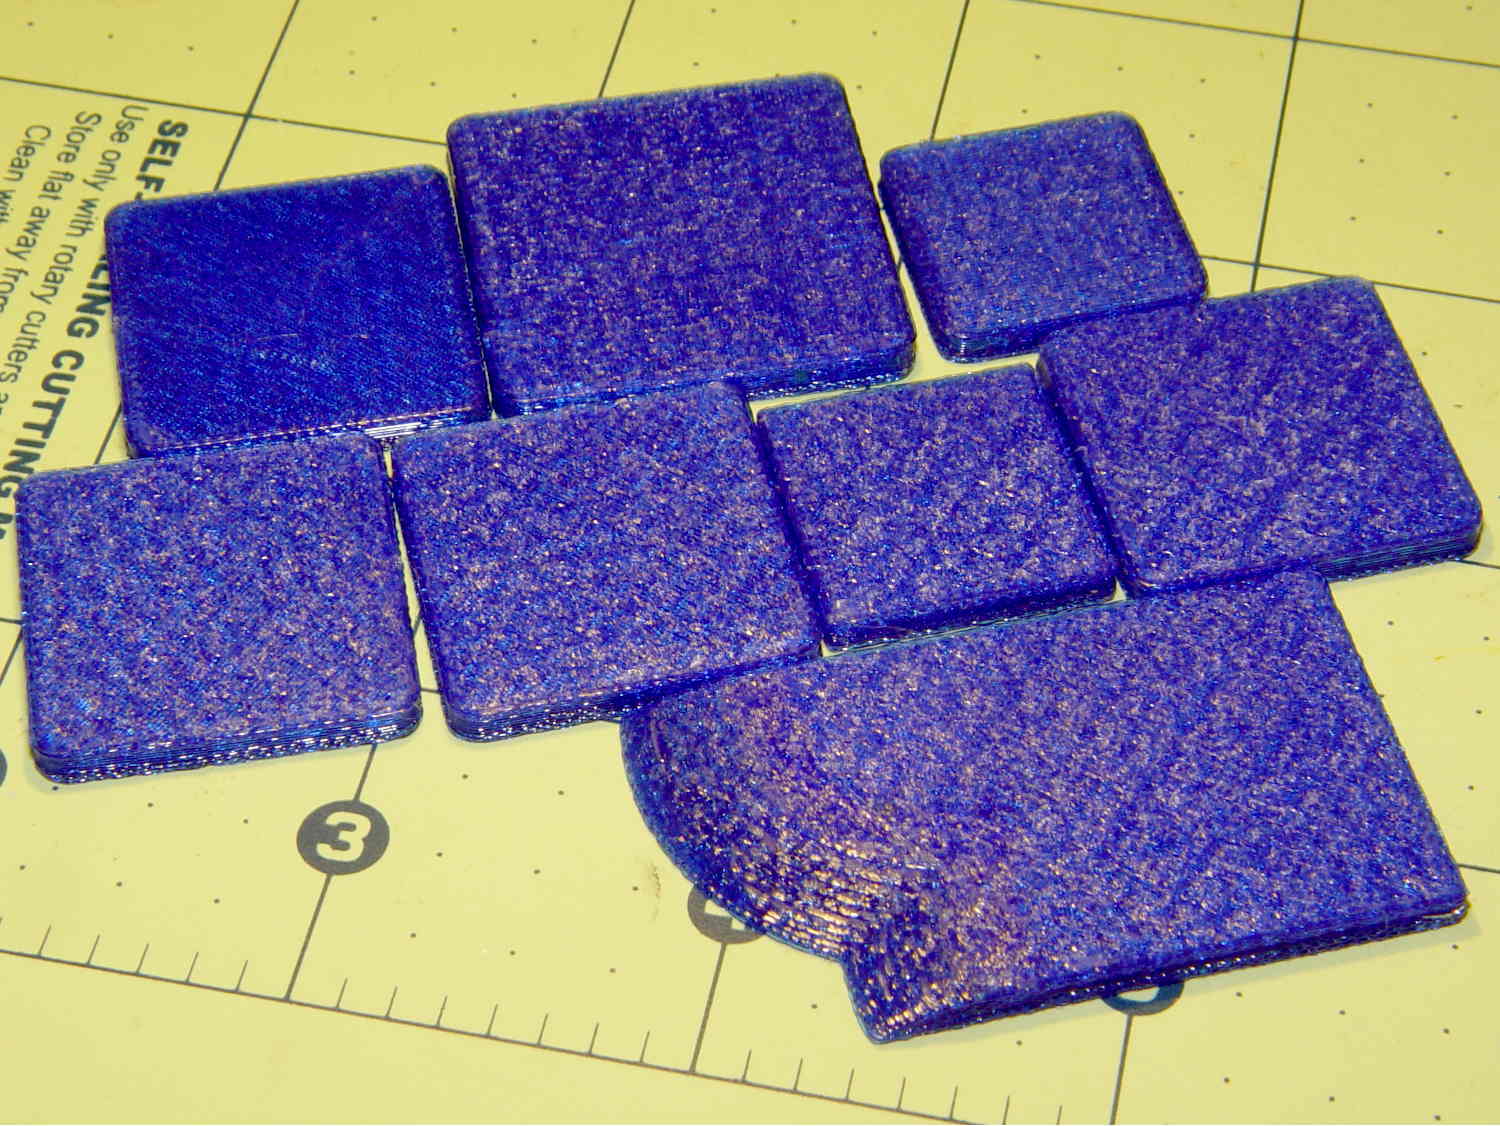
Calibration boxes – solid
That still life represents these tests:
Solid 3 mm tall box, 20 mm square
30 mm square
25 mm square, with text in Arial
Again, because I can’t believe it hasn’t failed yet
With rectilinear first layer
Back to Hilbert with text in Zapf Chancery
All of those printed without trouble; every layer came out exactly as it should. In particular, the first solid infill layer atop the Hilbert Curve bottom layer had the precisely filled threads I’m used to seeing, each one butted against its neighbors without any excess plastic.
I modified the OpenSCAD source code to extract a 20x20x3 sample block from the lip balm holder model, including a snippet of the actual text. That worked fine.
Expanding the sample produced the irregular chunk in the front row, also 3 mm tall, including a section of the lilypads surrounding the tubes. Another successful print!
I’ll leave to your imagination a pile of half a dozen first layers topped with small sections of grossly overstuffed solid infill, printed in between the successful blocks and as a result of the variations mentioned below, with identical text and slicer settings. The test blocks work fine, but the actual holder and sections from it do not.
Having eliminated the obvious causes, it was time for more drastic measures.
I build OpenSCAD and Slic3r from the latest source files on GitHub. Nothing in this leads me to suspect the OpenSCAD models and using the most recent stable Slic3r version produced the same results.
Rebuilding the Slic3r configuration files from scratch produced the same results.
That’s where I gave up, set the 3D Honeycomb infill to start with Layer 2, and completed the mission.
Lacking any better ideas, I decided to throw all the balls in the air at once …